> ## Documentation Index
> Fetch the complete documentation index at: https://notes.kodekloud.com/llms.txt
> Use this file to discover all available pages before exploring further.

# Demo Azure Pipelines

> This tutorial builds a CI/CD workflow for a Blazor WebAssembly app using Azure Pipelines and deploys it to Azure Static Web Apps.

In this tutorial, we’ll build a complete CI/CD workflow for a Blazor WebAssembly app using **Azure Pipelines** and deploy it to **Azure Static Web Apps**. By the end, code changes pushed to Git will automatically build, test, and publish your site.

## 1. Create an Azure DevOps Project

1. Sign in to [Azure DevOps](https://dev.azure.com/).
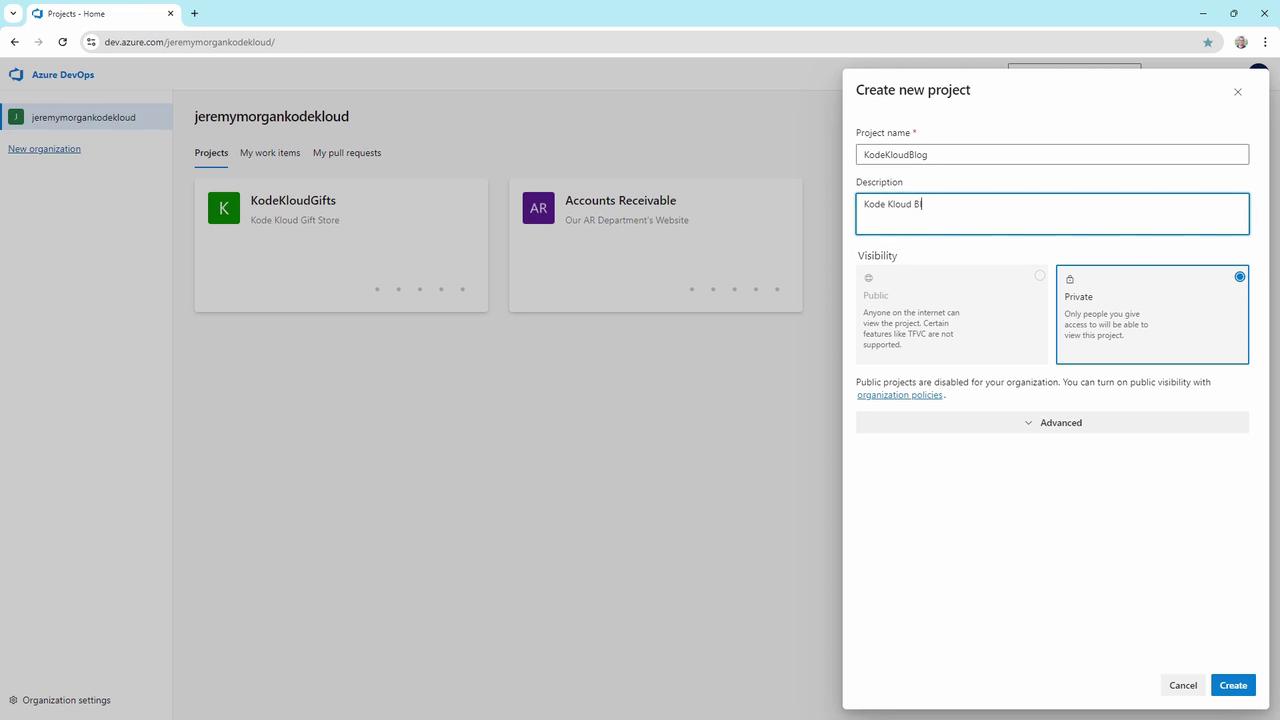
2. Click **New project**, name it **KodeKloudBlog**, and create.
<Frame>
  ![The image shows an Azure DevOps interface with a "Create new project" dialog open, where a user is entering details for a new project named "KodeKloudBlog."](https://kodekloud.com/kk-media/image/upload/v1752867801/notes-assets/images/AZ-400-Designing-and-Implementing-Microsoft-DevOps-Solutions-Demo-Azure-Pipelines/azure-devops-create-new-project-kodekloudblog.jpg)
</Frame>

## 2. Initialize the Repository

1. In your new project, go to **Repos** and create a Git repository.

2. Clone it locally:

   ```bash theme={null}
   git clone https://jeremymorgankodekloud@dev.azure.com/jeremymorgankodekloud/KodeKloudBlog/_git/KodeKloudBlog
   cd KodeKloudBlog
   ```

3. Copy your Blazor WebAssembly app into this folder.

4. Commit and push:

   ```bash theme={null}
   git add .
   git commit -m "Initial commit"
   git push -u origin master
   ```
<Frame>
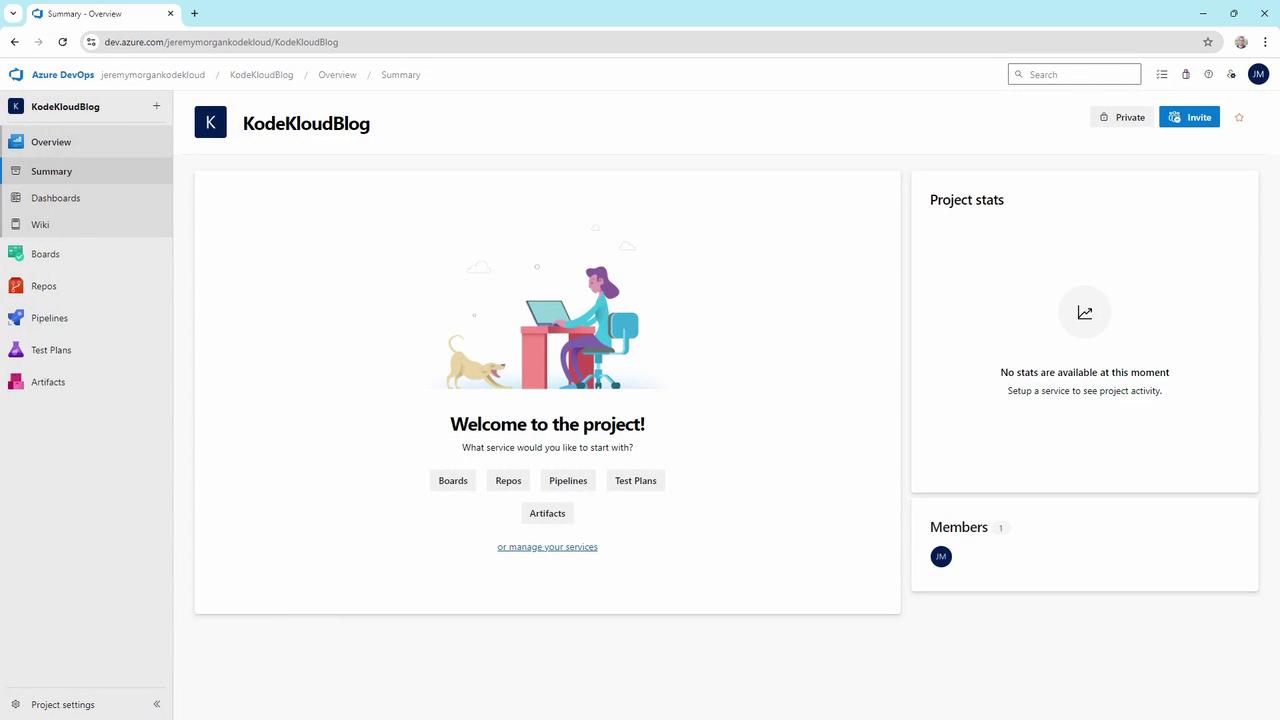
  ![The image shows a screenshot of an Azure DevOps project dashboard named "KodeKloudBlog," featuring options for Boards, Repos, Pipelines, Test Plans, and Artifacts. It includes a welcome message and a section for project stats, which are currently unavailable.](https://kodekloud.com/kk-media/image/upload/v1752867804/notes-assets/images/AZ-400-Designing-and-Implementing-Microsoft-DevOps-Solutions-Demo-Azure-Pipelines/azure-devops-kodekloudblog-dashboard-screenshot.jpg)
</Frame>

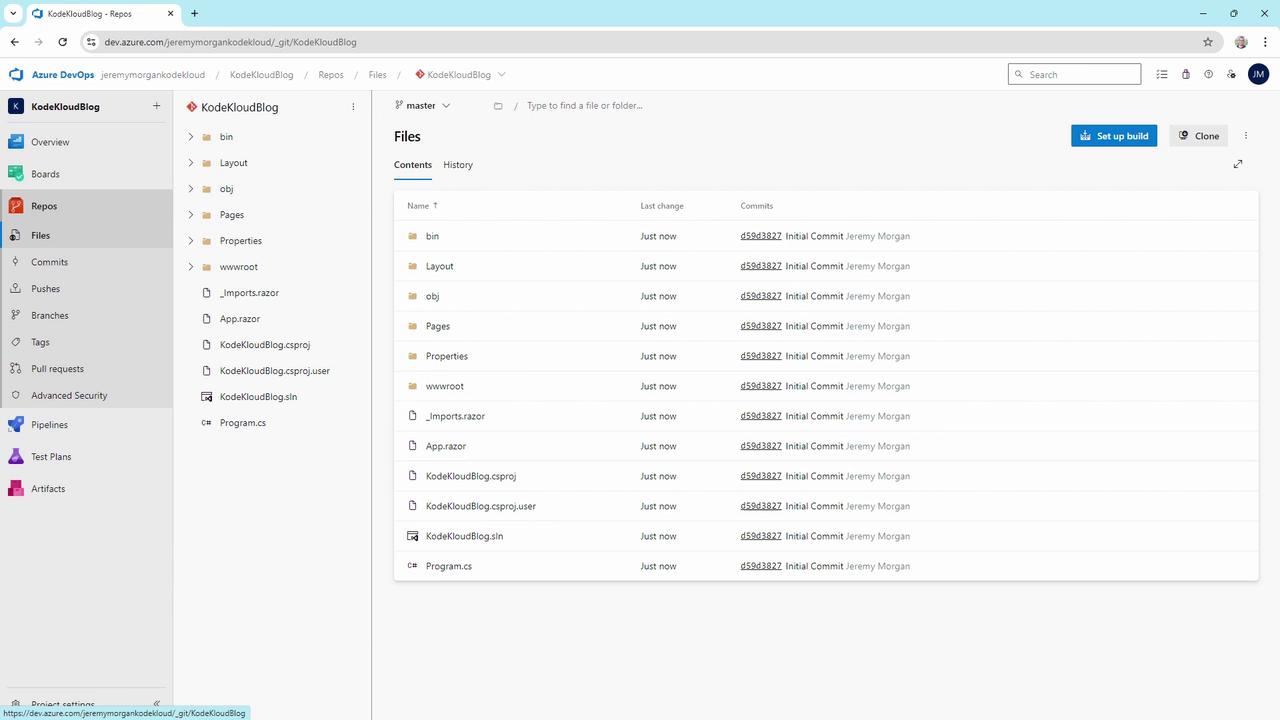
Now your code is versioned:

<Frame>
  ![The image shows an Azure DevOps interface for a repository, listing files and folders for the "KodeKloudBlog" project with last change timestamps and commit details.](https://kodekloud.com/kk-media/image/upload/v1752867806/notes-assets/images/AZ-400-Designing-and-Implementing-Microsoft-DevOps-Solutions-Demo-Azure-Pipelines/azure-devops-kodekloudblog-repo-interface.jpg)
</Frame>

## 3. Create the Build Pipeline

### 3.1 Scaffold the Pipeline

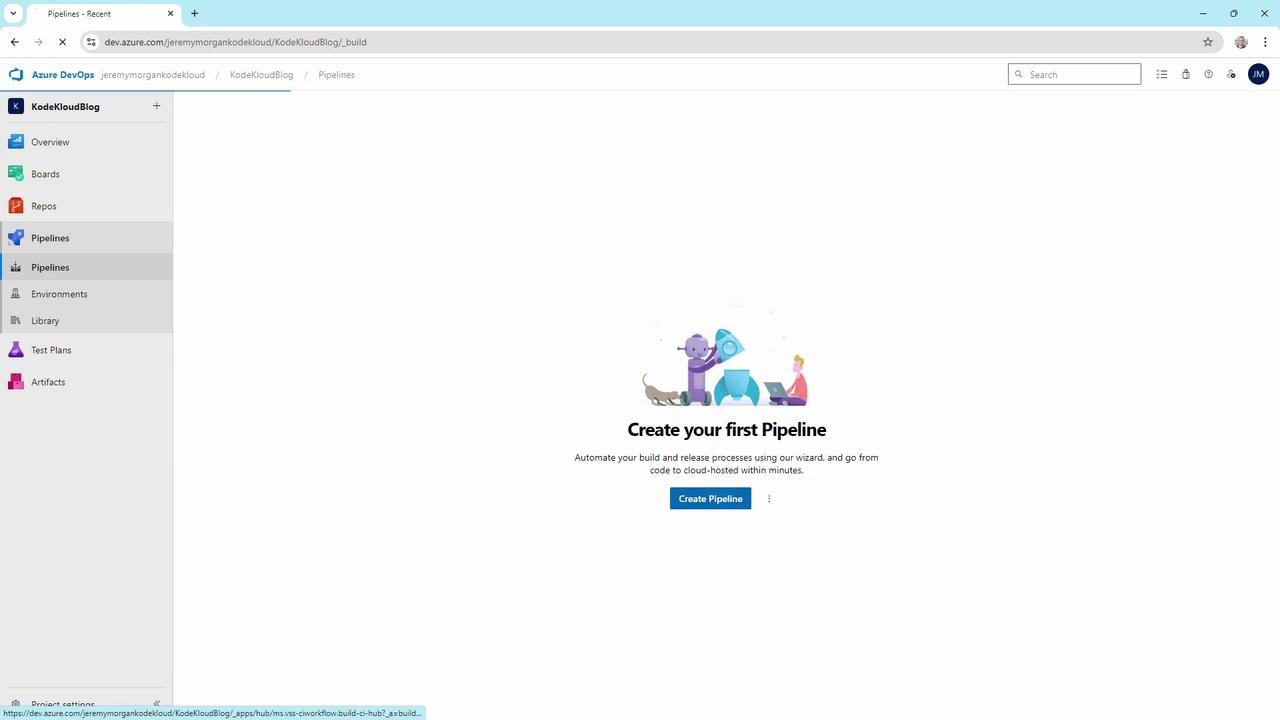
1. Navigate to **Pipelines** > **Create Pipeline**.
<Frame>
  ![The image shows an Azure DevOps interface prompting the user to create their first pipeline, with a sidebar menu on the left and a "Create Pipeline" button in the center.](https://kodekloud.com/kk-media/image/upload/v1752867807/notes-assets/images/AZ-400-Designing-and-Implementing-Microsoft-DevOps-Solutions-Demo-Azure-Pipelines/azure-devops-create-pipeline-interface.jpg)
</Frame>

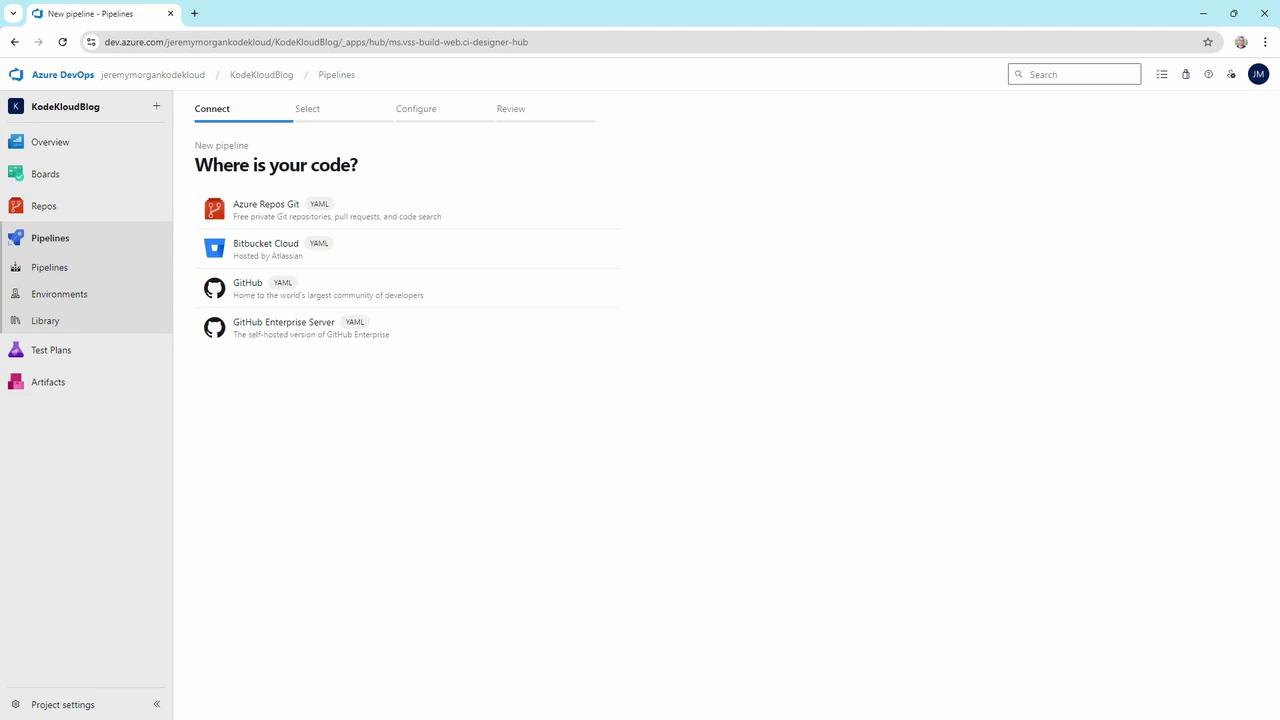
2. Select **Azure Repos Git** as the source.
<Frame>
  ![The image shows an Azure DevOps interface for creating a new pipeline, asking "Where is your code?" with options like Azure Repos Git, Bitbucket Cloud, GitHub, and GitHub Enterprise Server.](https://kodekloud.com/kk-media/image/upload/v1752867807/notes-assets/images/AZ-400-Designing-and-Implementing-Microsoft-DevOps-Solutions-Demo-Azure-Pipelines/azure-devops-new-pipeline-interface.jpg)
</Frame>

3. Choose the **ASP.NET Core** template and review the YAML:

   ```yaml theme={null}
   # azure-pipelines.yml
   trigger:
     branches:
       include:
         - master

   pool:
     vmImage: 'windows-latest'

   variables:
     solution: '**/*.sln'
     buildPlatform: 'Any CPU'
     buildConfiguration: 'Release'

   steps:
     - task: NuGetToolInstaller@1
       displayName: 'Install NuGet'

     - task: NuGetCommand@2
       inputs:
         restoreSolution: '$(solution)'

     - task: VSBuild@1
       inputs:
         solution: '$(solution)'
         msbuildArgs: '/p:DeployOnBuild=true /p:WebPublishMethod=Package /p:PackageAsSingleFile=true /p:SkipInvalidConfigurations=true'
         configuration: '$(buildConfiguration)'

     - task: VSTest@2
       inputs:
         platform: '$(buildPlatform)'
         configuration: '$(buildConfiguration)'
   ```

### 3.2 YAML Variables

| Variable           | Description                           |
| ------------------ | ------------------------------------- |
| solution           | Path to your `.sln` file (`**/*.sln`) |
| buildPlatform      | Target platform (`Any CPU`)           |
| buildConfiguration | Build mode (`Release`)                |

<Callout icon="lightbulb" color="#1CB2FE">
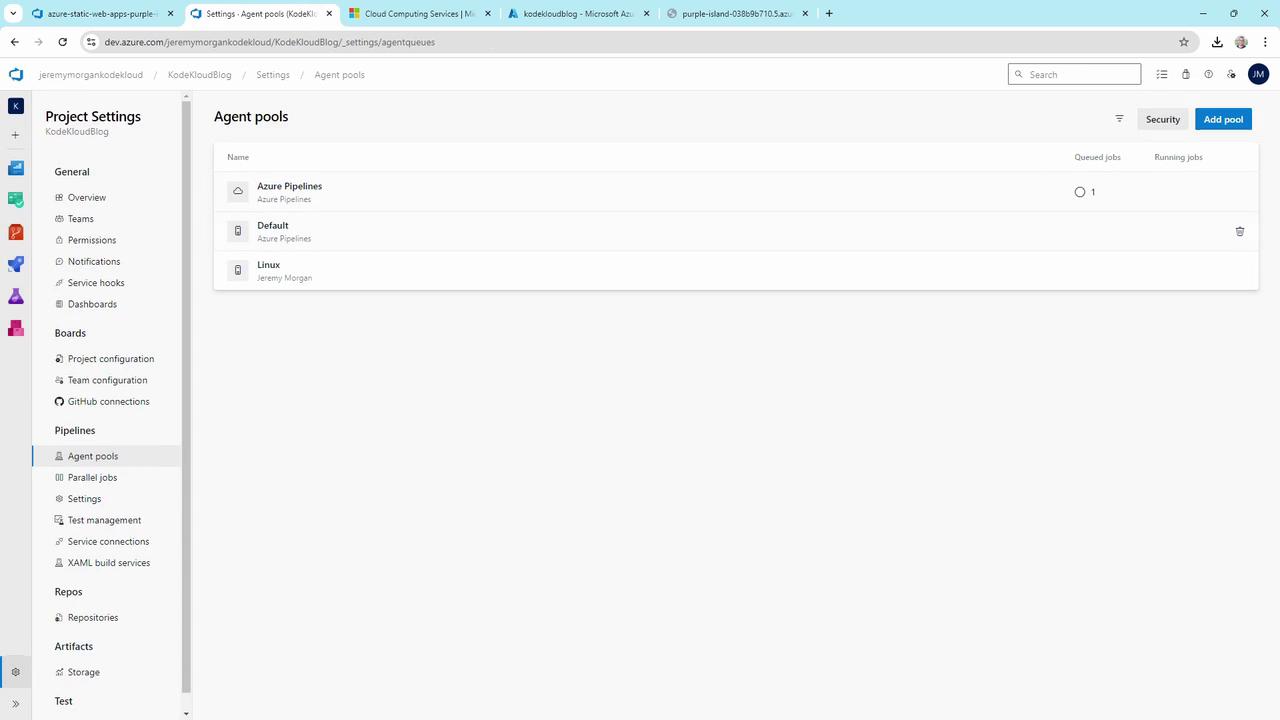
  Ensure your project has access to either Microsoft-hosted agents or self-hosted agents. Check **Project settings** > **Agent pools** to verify availability.
</Callout>

### 3.3 Run and Inspect

* Save and run the pipeline.
* If prompted to grant permissions for the agent pool, approve to continue.
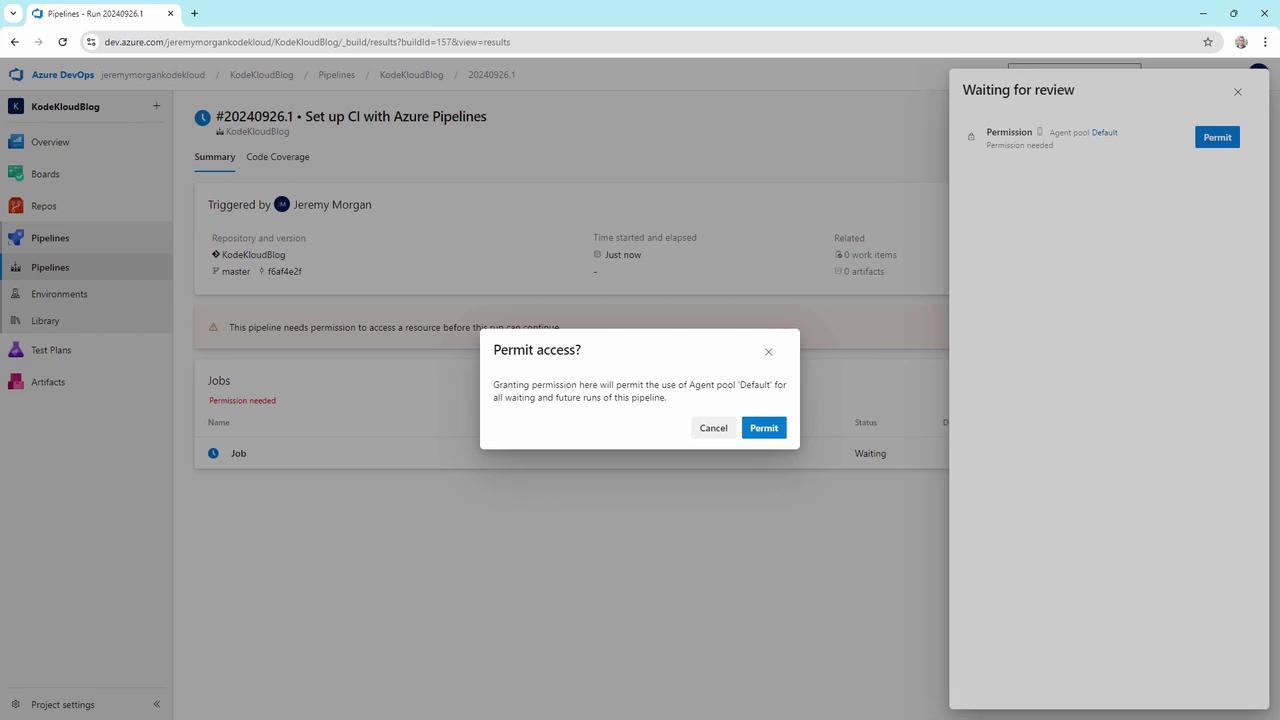
<Frame>
  ![The image shows an Azure DevOps pipeline interface with a pop-up asking for permission to access a resource, specifically to permit the use of an agent pool for the pipeline.](https://kodekloud.com/kk-media/image/upload/v1752867808/notes-assets/images/AZ-400-Designing-and-Implementing-Microsoft-DevOps-Solutions-Demo-Azure-Pipelines/azure-devops-pipeline-permission-popup.jpg)
</Frame>

* After completion, click the build to see each step’s logs:
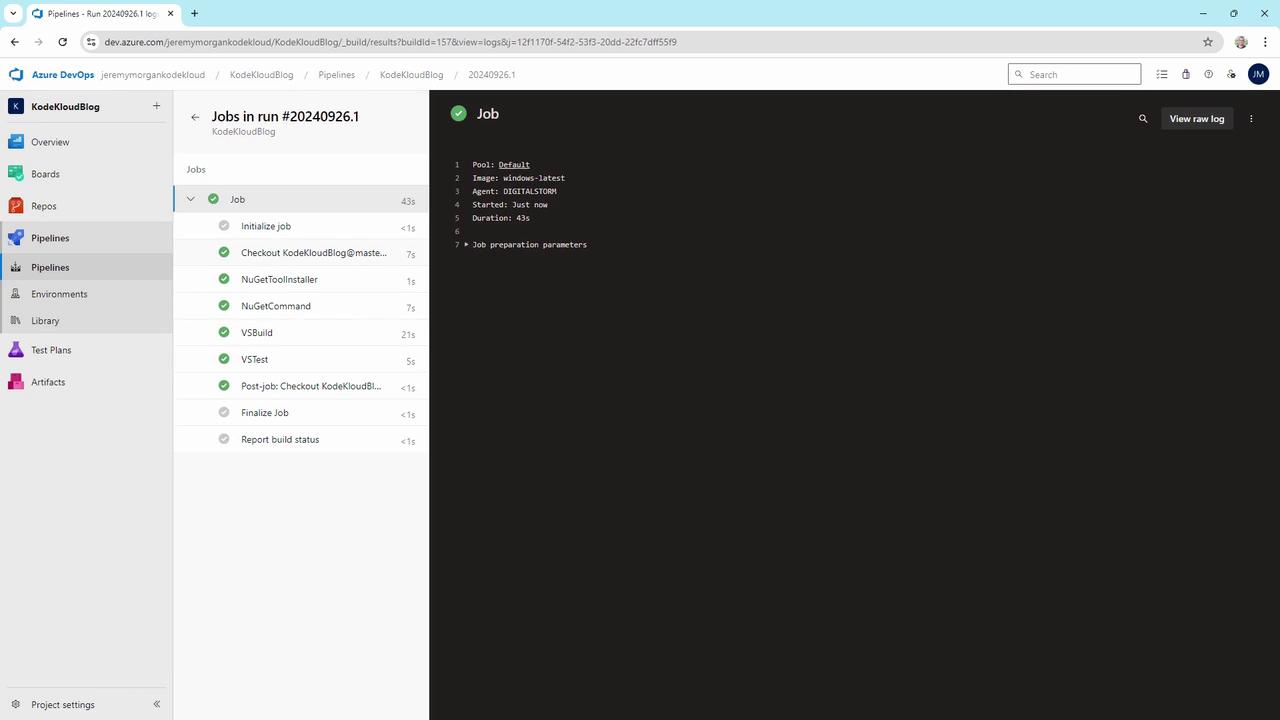
<Frame>
  ![The image shows an Azure DevOps pipeline interface with a completed job run, displaying the steps and their statuses on the left and job details on the right.](https://kodekloud.com/kk-media/image/upload/v1752867809/notes-assets/images/AZ-400-Designing-and-Implementing-Microsoft-DevOps-Solutions-Demo-Azure-Pipelines/azure-devops-pipeline-job-run-interface.jpg)
</Frame>

Review your agent pool:

<Frame>
  ![The image shows a web interface for Azure DevOps, specifically the "Agent pools" settings page, displaying two agents with their status, last run time, and version information.](https://kodekloud.com/kk-media/image/upload/v1752867810/notes-assets/images/AZ-400-Designing-and-Implementing-Microsoft-DevOps-Solutions-Demo-Azure-Pipelines/azure-devops-agent-pools-settings.jpg)
</Frame>

## 4. Deploy to Azure Static Web Apps

1. In the [Azure portal](https://portal.azure.com/), search **Static Web Apps** > **Create**.
2. Configure subscription, resource group, and name (e.g., **KodeKloudBlog**).
3. Choose **Free** plan.
4. Under **Deployment Details**, select **Azure DevOps**, then your organization, project, repo, and branch.
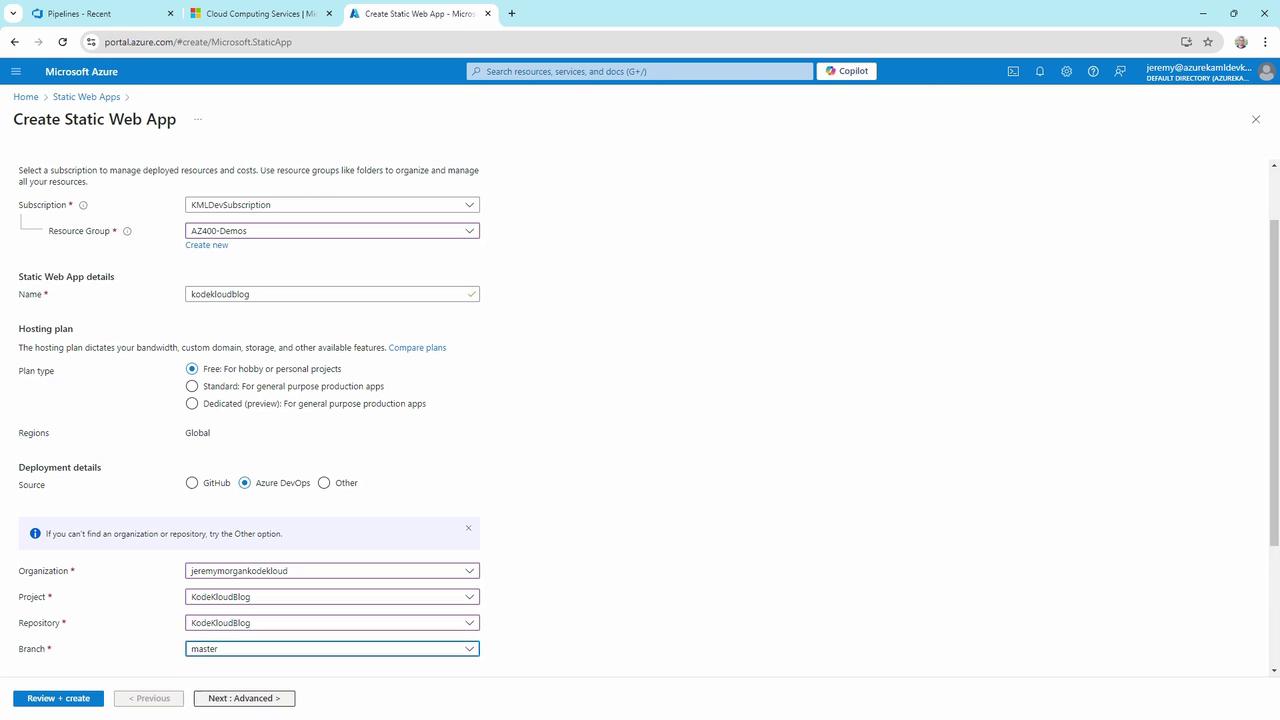
<Frame>
  ![The image shows a Microsoft Azure portal page for creating a Static Web App, with fields for subscription, resource group, app details, hosting plan, and deployment details.](https://kodekloud.com/kk-media/image/upload/v1752867811/notes-assets/images/AZ-400-Designing-and-Implementing-Microsoft-DevOps-Solutions-Demo-Azure-Pipelines/azure-portal-static-web-app-creation.jpg)
</Frame>

On **Advanced**, pick region and API settings if needed:
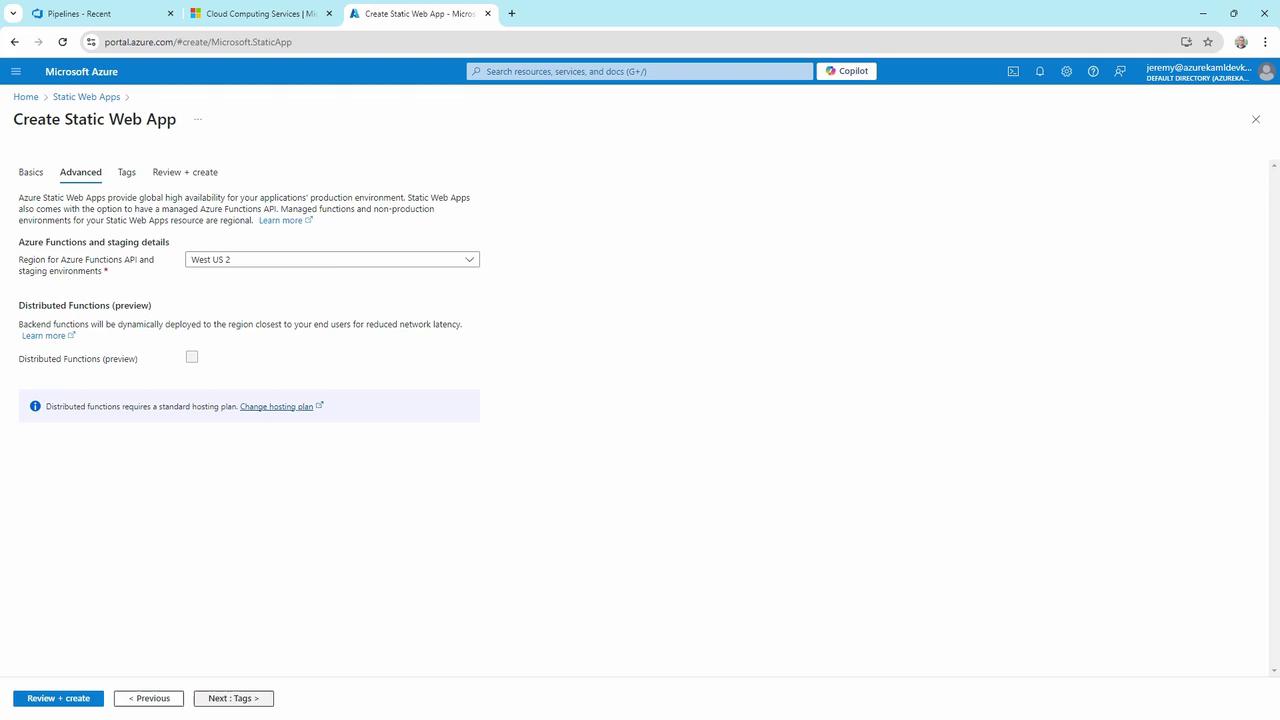
<Frame>
  ![The image shows a Microsoft Azure portal page for creating a Static Web App, specifically on the "Advanced" tab, where users can select the region for Azure Functions API and staging environments. There are options for distributed functions and a note about hosting plans.](https://kodekloud.com/kk-media/image/upload/v1752867812/notes-assets/images/AZ-400-Designing-and-Implementing-Microsoft-DevOps-Solutions-Demo-Azure-Pipelines/azure-portal-static-web-app-advanced.jpg)
</Frame>

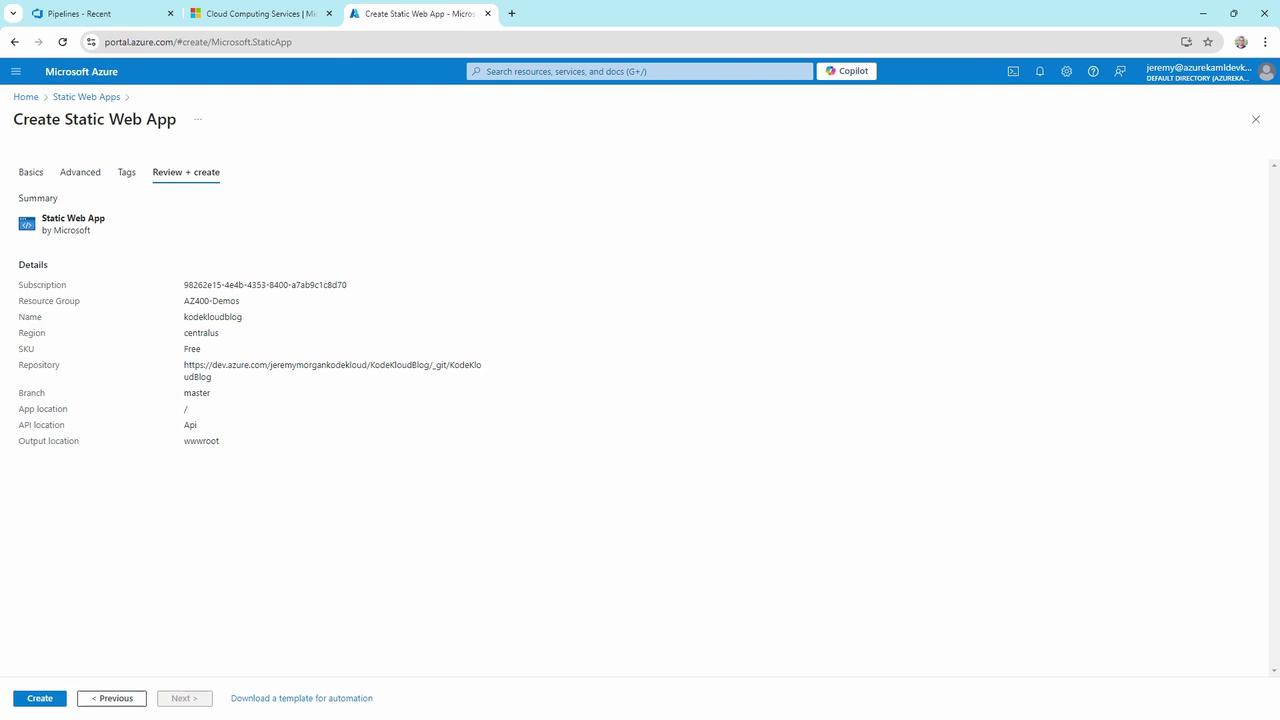
Review and **Create**:

<Frame>
  ![The image shows a Microsoft Azure portal page for creating a static web app, displaying details such as subscription, resource group, name, region, and repository information. There is a "Create" button at the bottom for finalizing the setup.](https://kodekloud.com/kk-media/image/upload/v1752867813/notes-assets/images/AZ-400-Designing-and-Implementing-Microsoft-DevOps-Solutions-Demo-Azure-Pipelines/azure-portal-static-web-app-setup.jpg)
</Frame>

Once provisioned, you’ll see this confirmation:
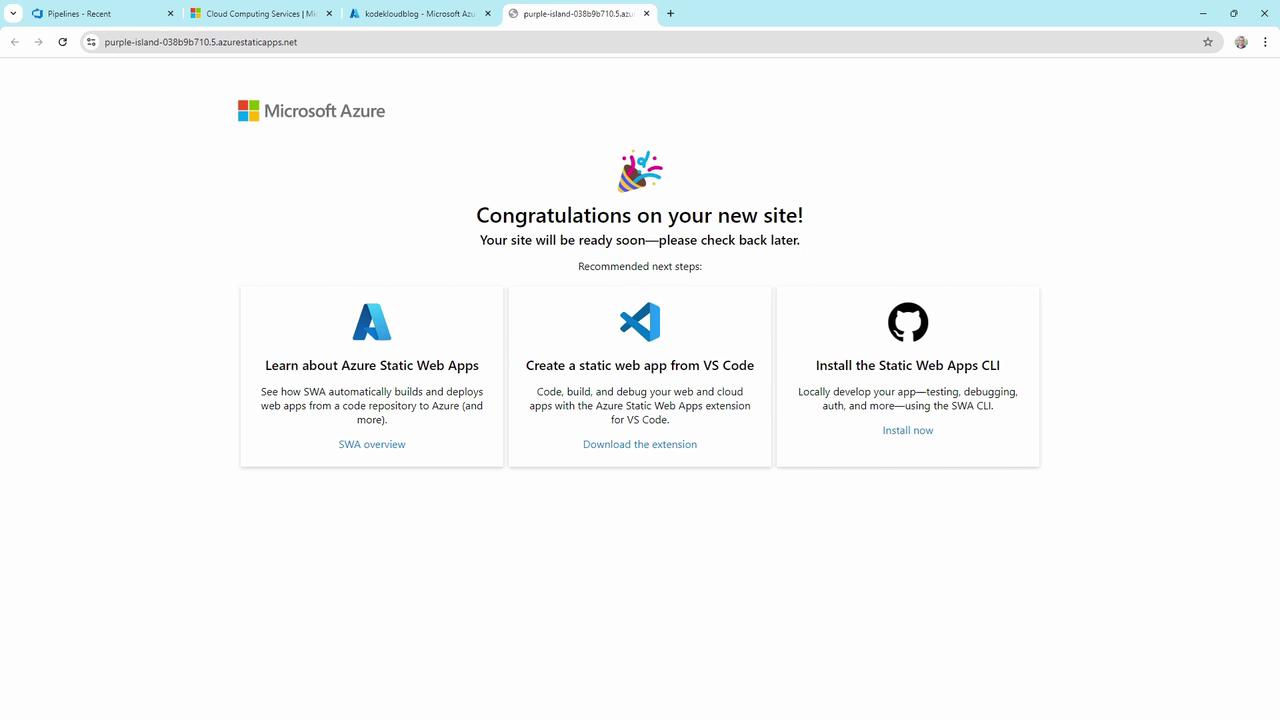
<Frame>
  ![The image shows a Microsoft Azure congratulatory message for a new site, with recommended next steps including learning about Azure Static Web Apps, creating a static web app from VS Code, and installing the Static Web Apps CLI.](https://kodekloud.com/kk-media/image/upload/v1752867815/notes-assets/images/AZ-400-Designing-and-Implementing-Microsoft-DevOps-Solutions-Demo-Azure-Pipelines/azure-congratulatory-message-static-web-apps.jpg)
</Frame>

Azure DevOps automatically creates a second pipeline for the Static Web App.

## 5. Adjust the Static Web App Pipeline

Edit the generated YAML to ensure the right VM image and paths:

```yaml theme={null}
# azure-static-web-apps.yml
name: Azure Static Web Apps CI/CD

trigger:
  branches:
    - master
pr:
  branches:
    - master

jobs:
  build_and_deploy_job:
    displayName: Build and Deploy Job
    pool:
      vmImage: 'ubuntu-latest'
    variables:
      - group: Azure-Static-Web-Apps-purple-island-038b9b710-variable-group
    steps:
      - checkout: self
        submodules: true

      - task: AzureStaticWebApp@0
        inputs:
          app_location: '/'           # Path to Blazor WebAssembly app
          api_location: 'api'         # Azure Functions folder (optional)
          output_location: 'wwwroot'  # Build output folder
```

Commit and run. When both pipelines finish successfully:
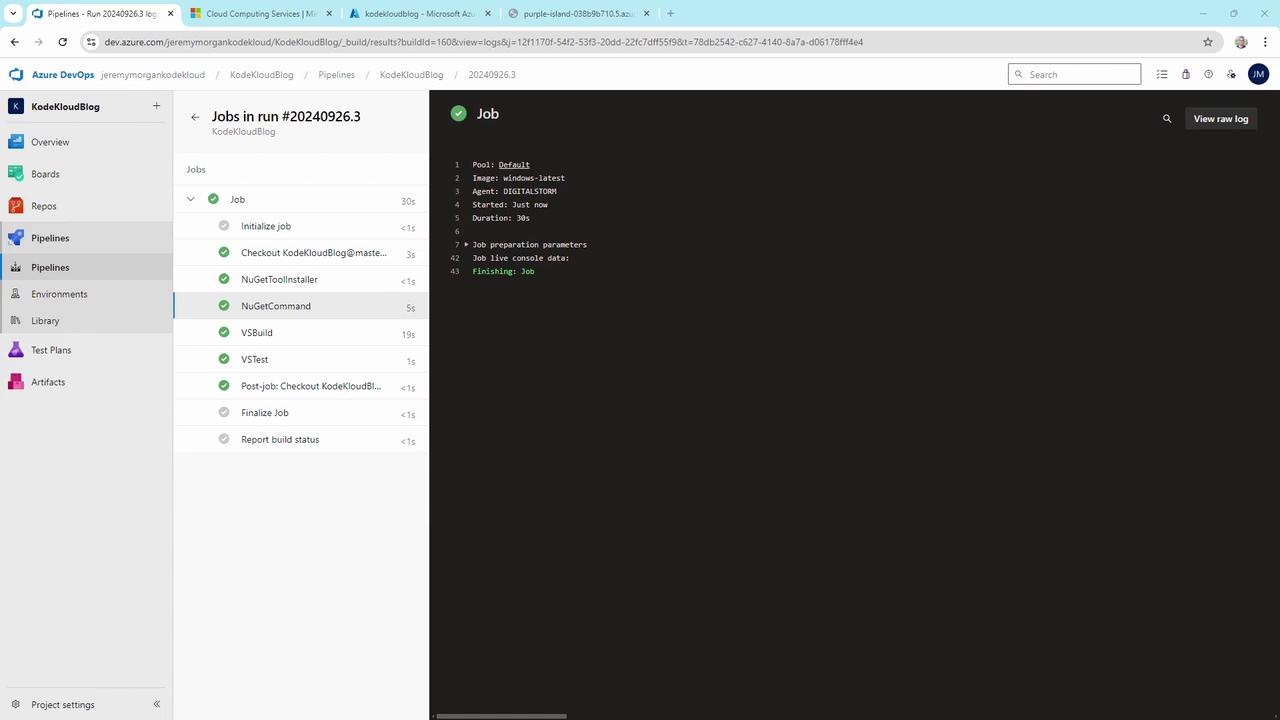
<Frame>
  ![The image shows an Azure DevOps pipeline interface with a list of completed jobs and their statuses, indicating a successful build process.](https://kodekloud.com/kk-media/image/upload/v1752867816/notes-assets/images/AZ-400-Designing-and-Implementing-Microsoft-DevOps-Solutions-Demo-Azure-Pipelines/azure-devops-pipeline-successful-build.jpg)
</Frame>

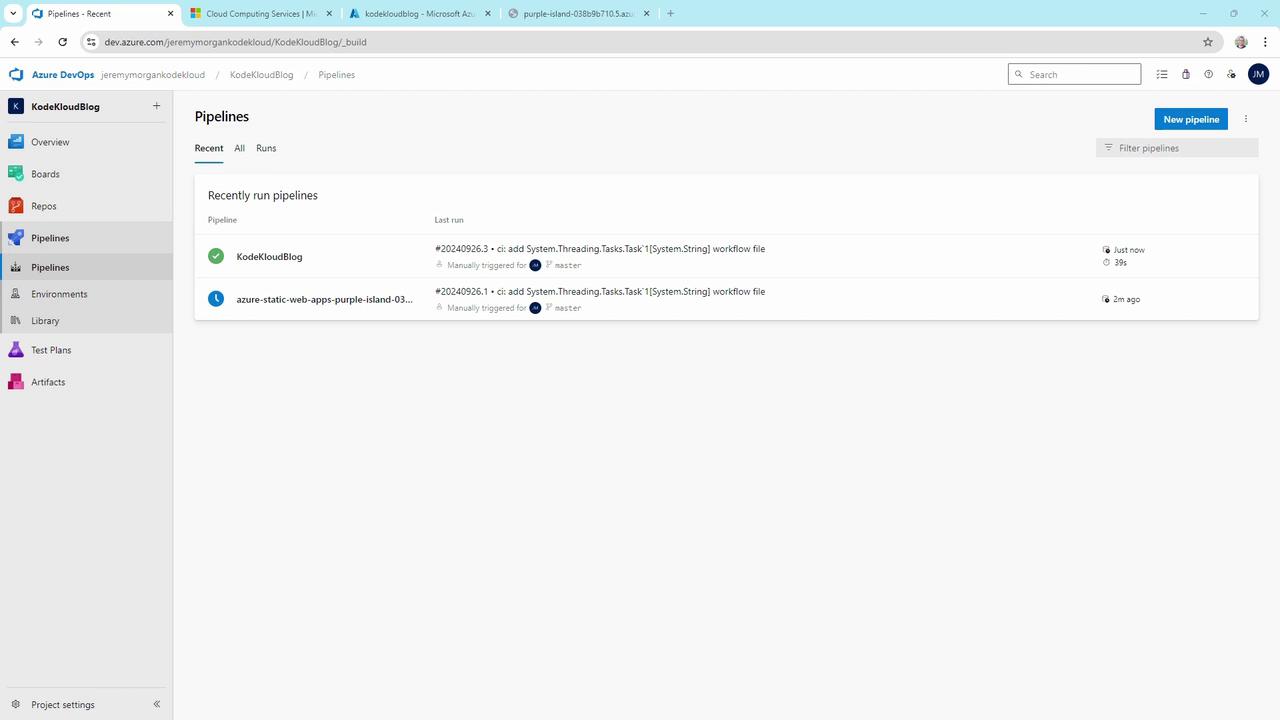
Check the pipelines dashboard:

<Frame>
  ![The image shows an Azure DevOps Pipelines dashboard with a list of recently run pipelines, including "KodeKloudBlog" and "azure-static-web-apps-purple-island," along with their statuses and last run details.](https://kodekloud.com/kk-media/image/upload/v1752867817/notes-assets/images/AZ-400-Designing-and-Implementing-Microsoft-DevOps-Solutions-Demo-Azure-Pipelines/azure-devops-pipelines-dashboard-recent-runs.jpg)
</Frame>

<Callout icon="triangle-alert" color="#FF6B6B">
  If all agents are busy, your builds queue:
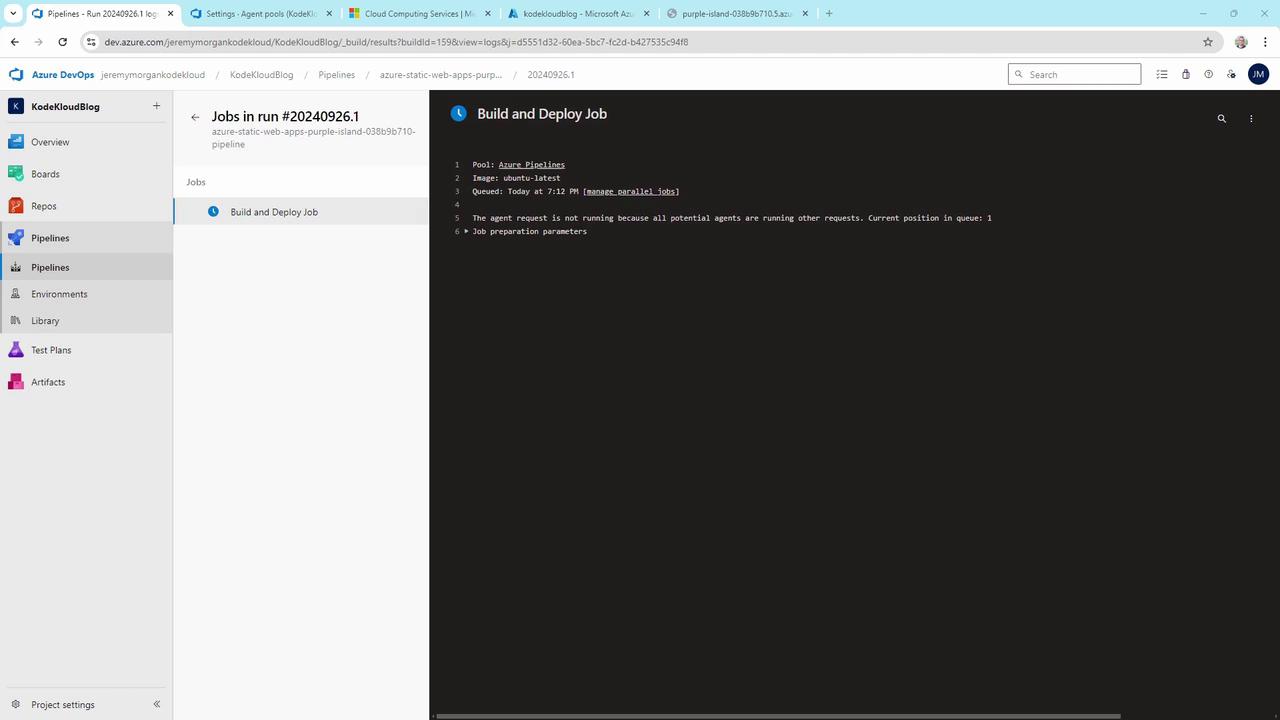
  ![The image shows an Azure DevOps interface with a "Build and Deploy Job" in progress. The job is queued because all agents are busy, and it is in position 1 in the queue.](https://kodekloud.com/kk-media/image/upload/v1752867818/notes-assets/images/AZ-400-Designing-and-Implementing-Microsoft-DevOps-Solutions-Demo-Azure-Pipelines/azure-devops-build-deploy-job-queued.jpg)
</Callout>

Once agent pools are healthy, you’ll see green checks:
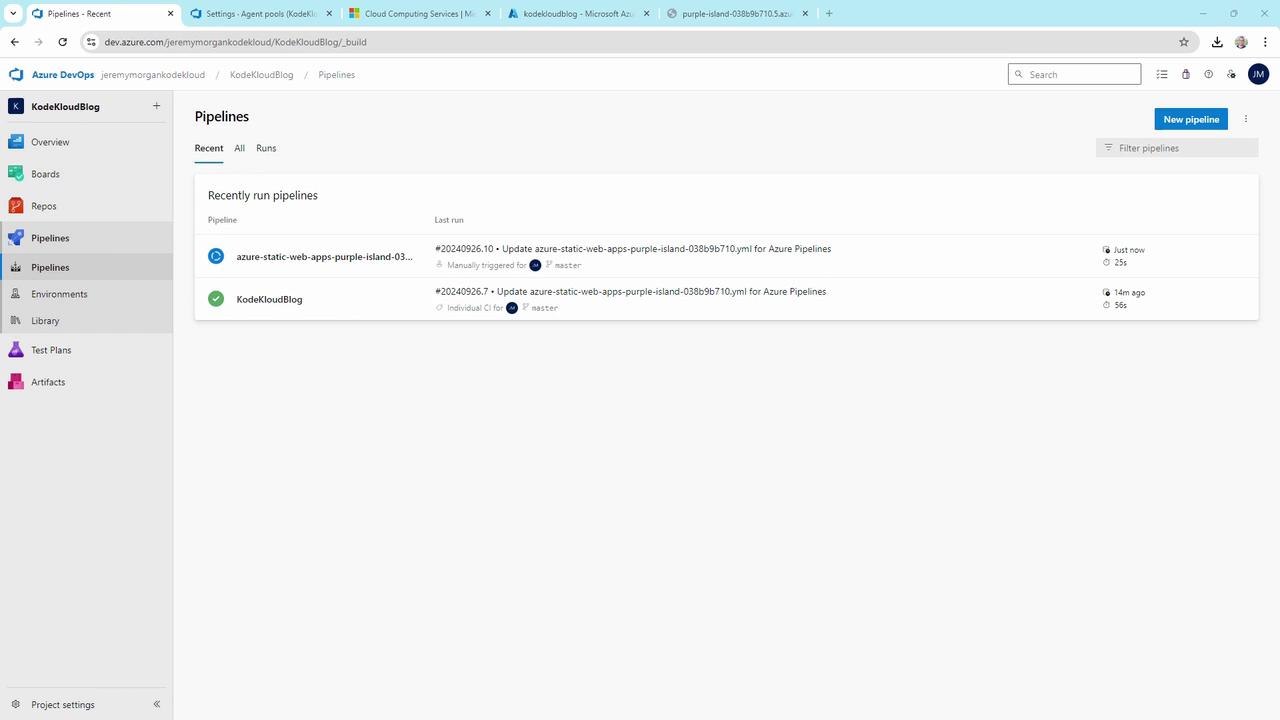
<Frame>
  ![The image shows an Azure DevOps Pipelines dashboard with a list of recently run pipelines, including details like the pipeline name, last run time, and status.](https://kodekloud.com/kk-media/image/upload/v1752867819/notes-assets/images/AZ-400-Designing-and-Implementing-Microsoft-DevOps-Solutions-Demo-Azure-Pipelines/azure-devops-pipelines-dashboard-recent-runs-2.jpg)
</Frame>

## 6. Verify the Live Site

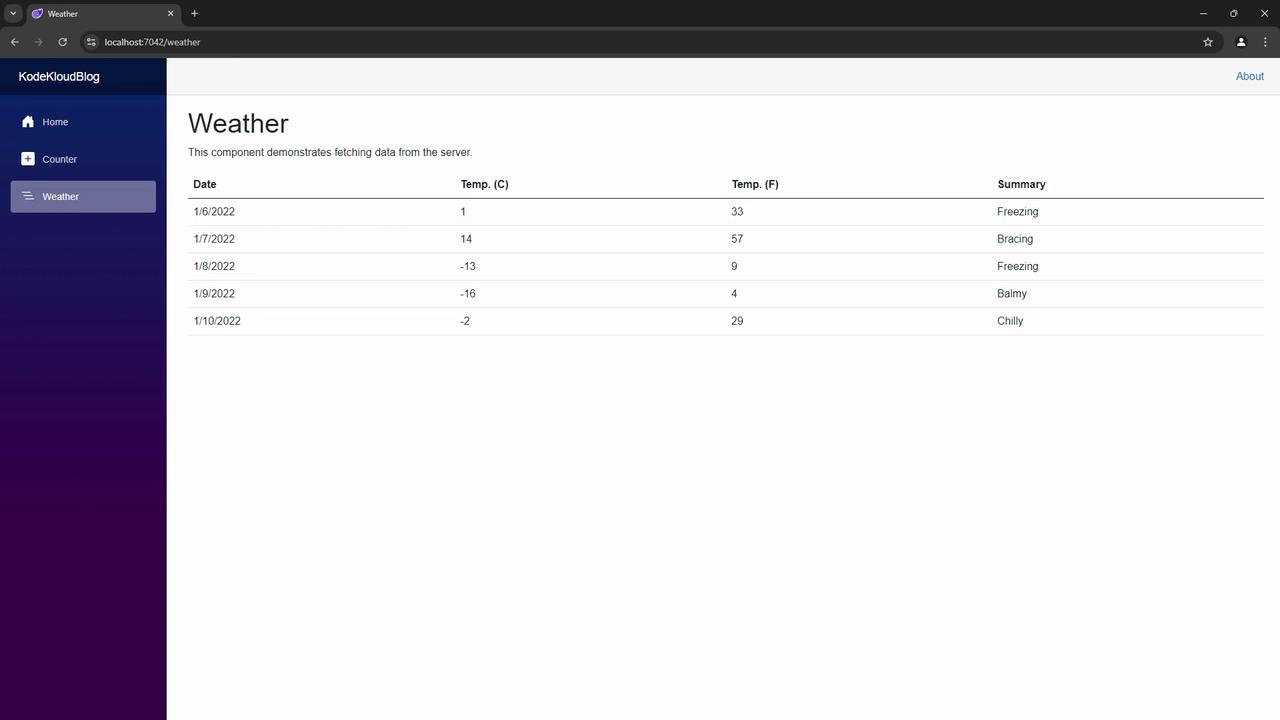
Browse to your Static Web App URL and confirm the Blazor app is live:
<Frame>
  ![The image shows a weather data table from a web application, displaying dates, temperatures in Celsius and Fahrenheit, and a summary of the weather conditions.](https://kodekloud.com/kk-media/image/upload/v1752867820/notes-assets/images/AZ-400-Designing-and-Implementing-Microsoft-DevOps-Solutions-Demo-Azure-Pipelines/weather-data-table-web-application.jpg)
</Frame>

## 7. Continuous Updates via Git

Any commit to `master` now triggers the CI/CD pipelines automatically.

1. Modify **Pages/Home.razor**:

   ```razor theme={null}
   @page "/"
   <PageTitle>Home</PageTitle>

   <h1>Welcome to the KodeKloud Blog</h1>
   <p>This change was deployed automatically via CI/CD.</p>
   ```

2. Push the update:

   ```bash theme={null}
   git pull
   git add Pages/Home.razor
   git commit -m "Update homepage content"
   git push
   ```

Pipelines will rebuild and redeploy your site in minutes.

## Recap

| Step | Action                                          |
| ---- | ----------------------------------------------- |
| 1    | Created Azure DevOps project & repo             |
| 2    | Imported Blazor WebAssembly app                 |
| 3    | Built & tested with Azure Pipelines             |
| 4    | Deployed to Azure Static Web Apps               |
| 5    | Configured CI/CD for automatic builds & deploys |

Your automated workflow now ensures code changes flow seamlessly from Git to production.

## Links and References

* [Azure Pipelines Documentation](https://docs.microsoft.com/azure/devops/pipelines/)
* [Azure Static Web Apps](https://docs.microsoft.com/azure/static-web-apps/)
* [Blazor WebAssembly Documentation](https://docs.microsoft.com/aspnet/core/blazor/)

<CardGroup>
  <Card title="Watch Video" icon="video" cta="Learn more" href="https://learn.kodekloud.com/user/courses/az-400/module/55cf24db-89bc-4b93-bb75-7350d1593073/lesson/3239f0ca-cf54-4102-8281-58c12e8118f7" />
</CardGroup>