> ## Documentation Index
> Fetch the complete documentation index at: https://notes.kodekloud.com/llms.txt
> Use this file to discover all available pages before exploring further.
# Exploring Classic Pipelines
> This article explores Azure DevOps Classic Pipelines, focusing on a visual approach to CI/CD workflows using a GUI-driven editor.
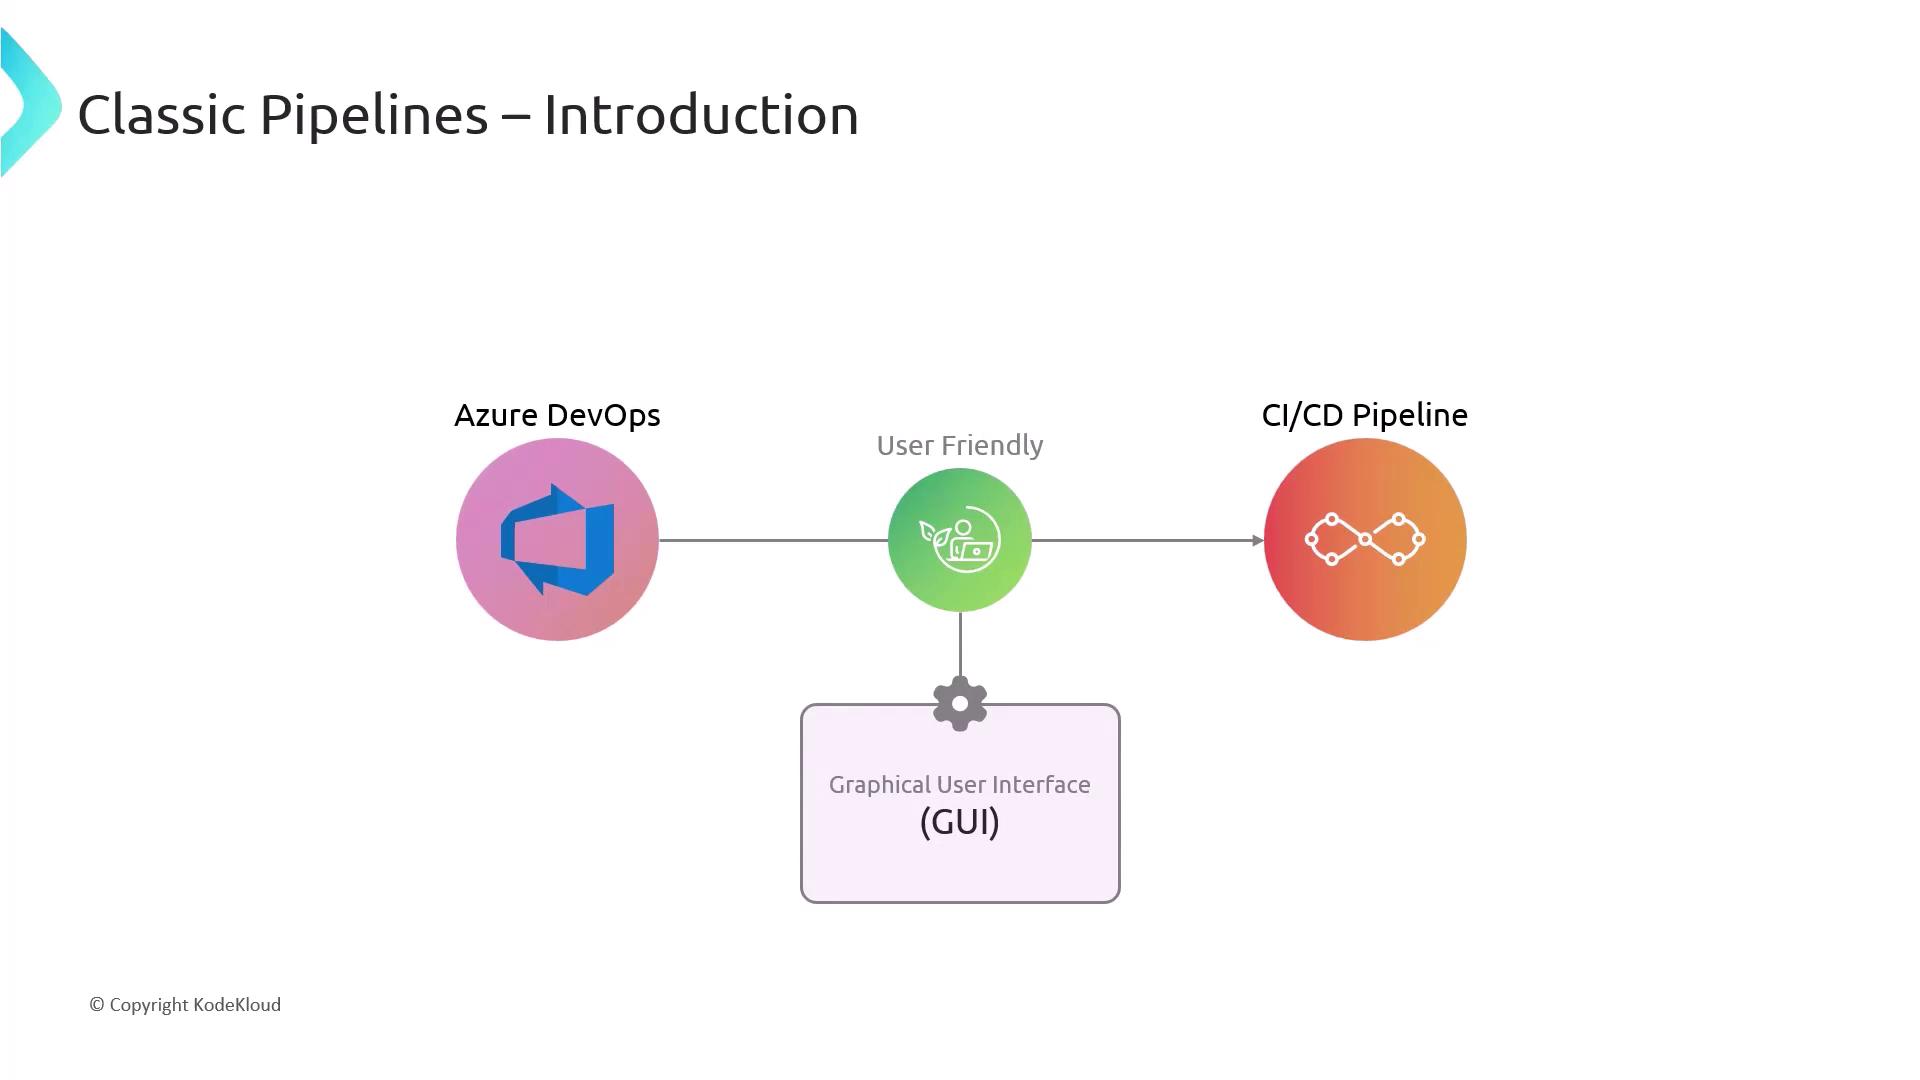
In this lesson, we’ll dive into **Azure DevOps Classic Pipelines**, a GUI-driven approach to building and releasing your applications. If you prefer a visual editor over hand-crafting YAML files, Classic Pipelines deliver an intuitive drag-and-drop experience for designing CI/CD workflows.
By the end of this guide, you’ll understand:
* Key features and benefits of Classic Pipelines
* Step-by-step creation of a pipeline
* How to decide between Classic and YAML models
* Best practices for maintaining a robust CI/CD process
## Why Choose Classic Pipelines?
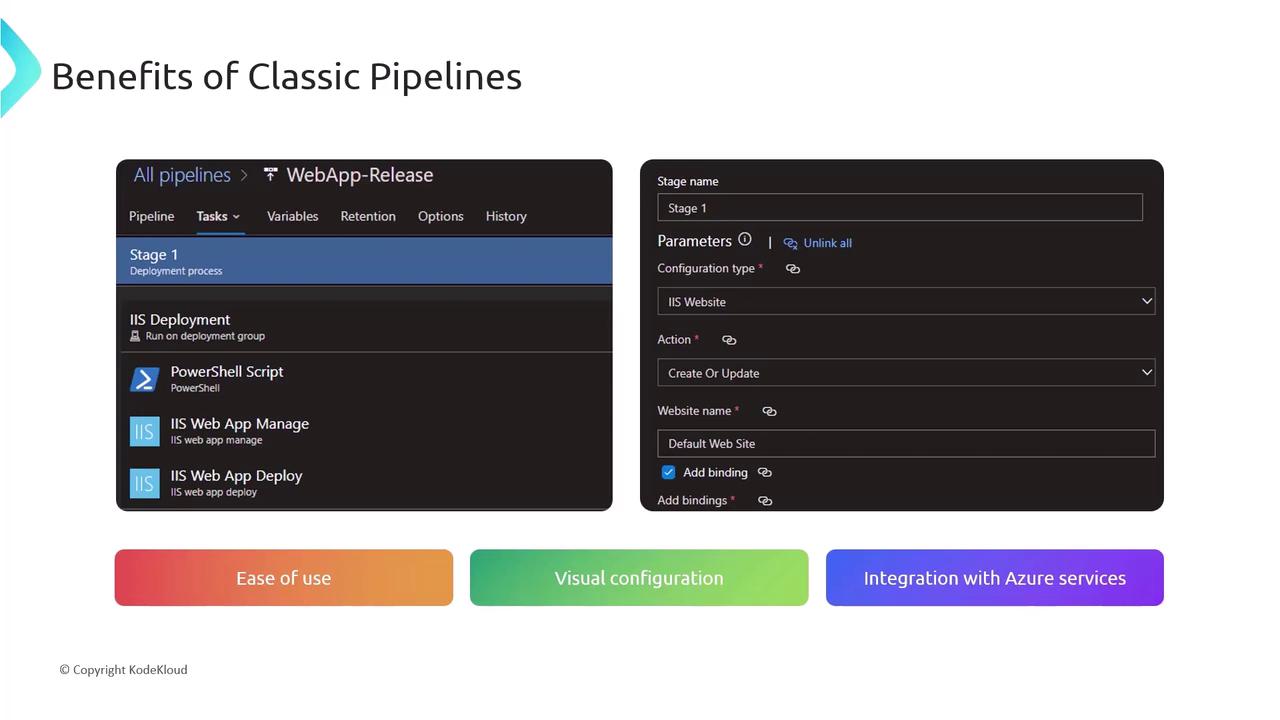
Classic Pipelines excel at lowering the barrier to entry for continuous integration and delivery:
* **Visual Configuration**\
Configure build and release tasks in a wizard-style editor.
* **Rapid Setup**\
Leverage prebuilt templates for .NET, Java, Docker, and more.
* **Seamless Azure Integration**\
Connect to Azure services like App Service, AKS, and Key Vault with a few clicks.
Classic Pipelines are perfect for teams that need a fast, low-code approach. For long-term maintainability, consider storing pipeline definitions in source control via YAML.
## Step 1: Selecting Your Source Repository
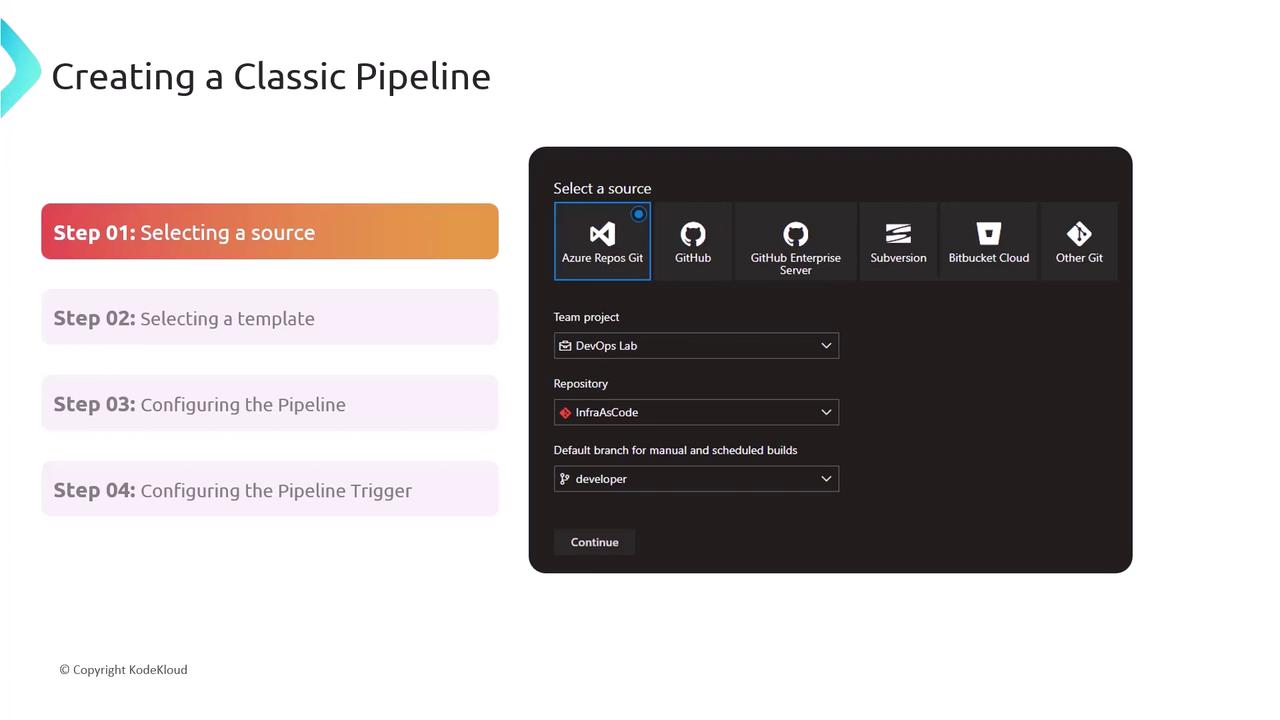
1. Open your Azure DevOps project and navigate to **Pipelines > Releases** (or **Builds**).
2. Click **New pipeline** and choose **Classic Editor**.
3. Select your source: Azure Repos Git, GitHub, Bitbucket, or other supported repositories.
## Step 2: Picking a Template
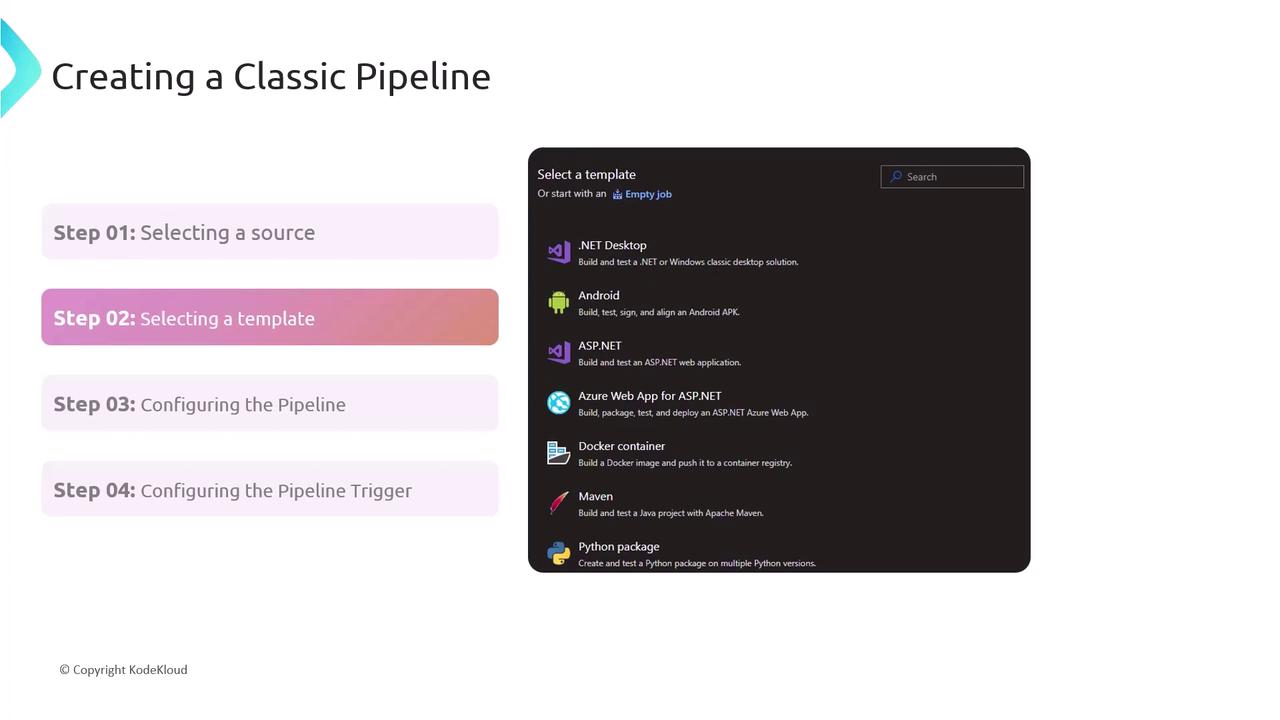
Azure DevOps ships with starter templates to kick-start your pipeline:
* .NET Desktop
* Android
* Docker Container
* Node.js
Select the template that best matches your tech stack—you can always customize tasks later.
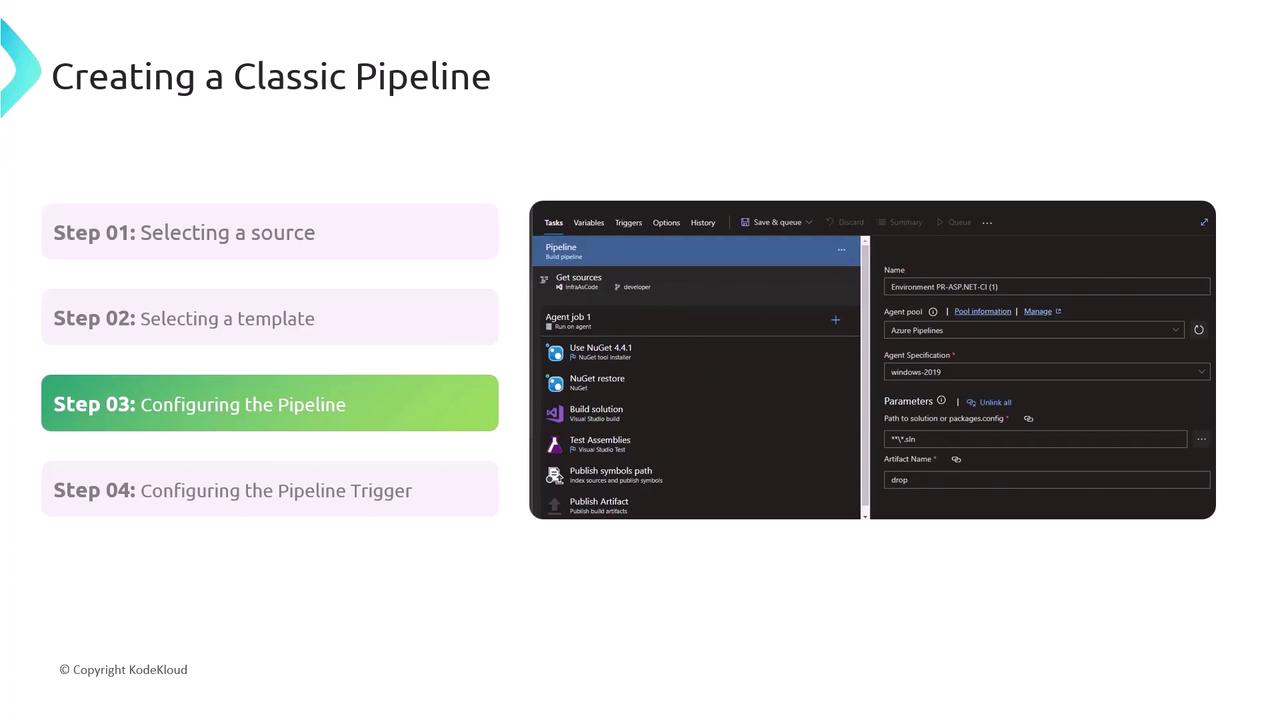
## Step 3: Configuring Tasks and Environments
Drag and drop tasks to define your build and release process:
* Compile or build artifacts
* Run unit/integration tests
* Package outputs (ZIP, WAR, Docker image)
* Deploy to environments (Dev, QA, Production)
## Step 4: Defining Triggers
Set triggers to automate your pipeline runs:
* **CI Trigger**: Automatically start the build on each commit.
* **Scheduled Trigger**: Run nightly or at specific intervals.
* **Manual Release**: Deploy on demand to any environment.
## Classic vs. YAML Pipelines
Azure DevOps offers two pipeline models—choose the one that aligns with your team’s workflow:
| Feature | Classic Pipelines | YAML Pipelines |
| --------------- | --------------------------------------- | ------------------------------------------ |
| Definition | GUI-driven visual editor | Code-defined in a YAML file |
| Version Control | Configuration stored in the portal | Pipeline as code stored alongside your app |
| Flexibility | Quick setup with standard templates | Full control over branching and reuse |
| Best for | Teams new to CI/CD, non-technical users | Complex workflows, infrastructure as code |
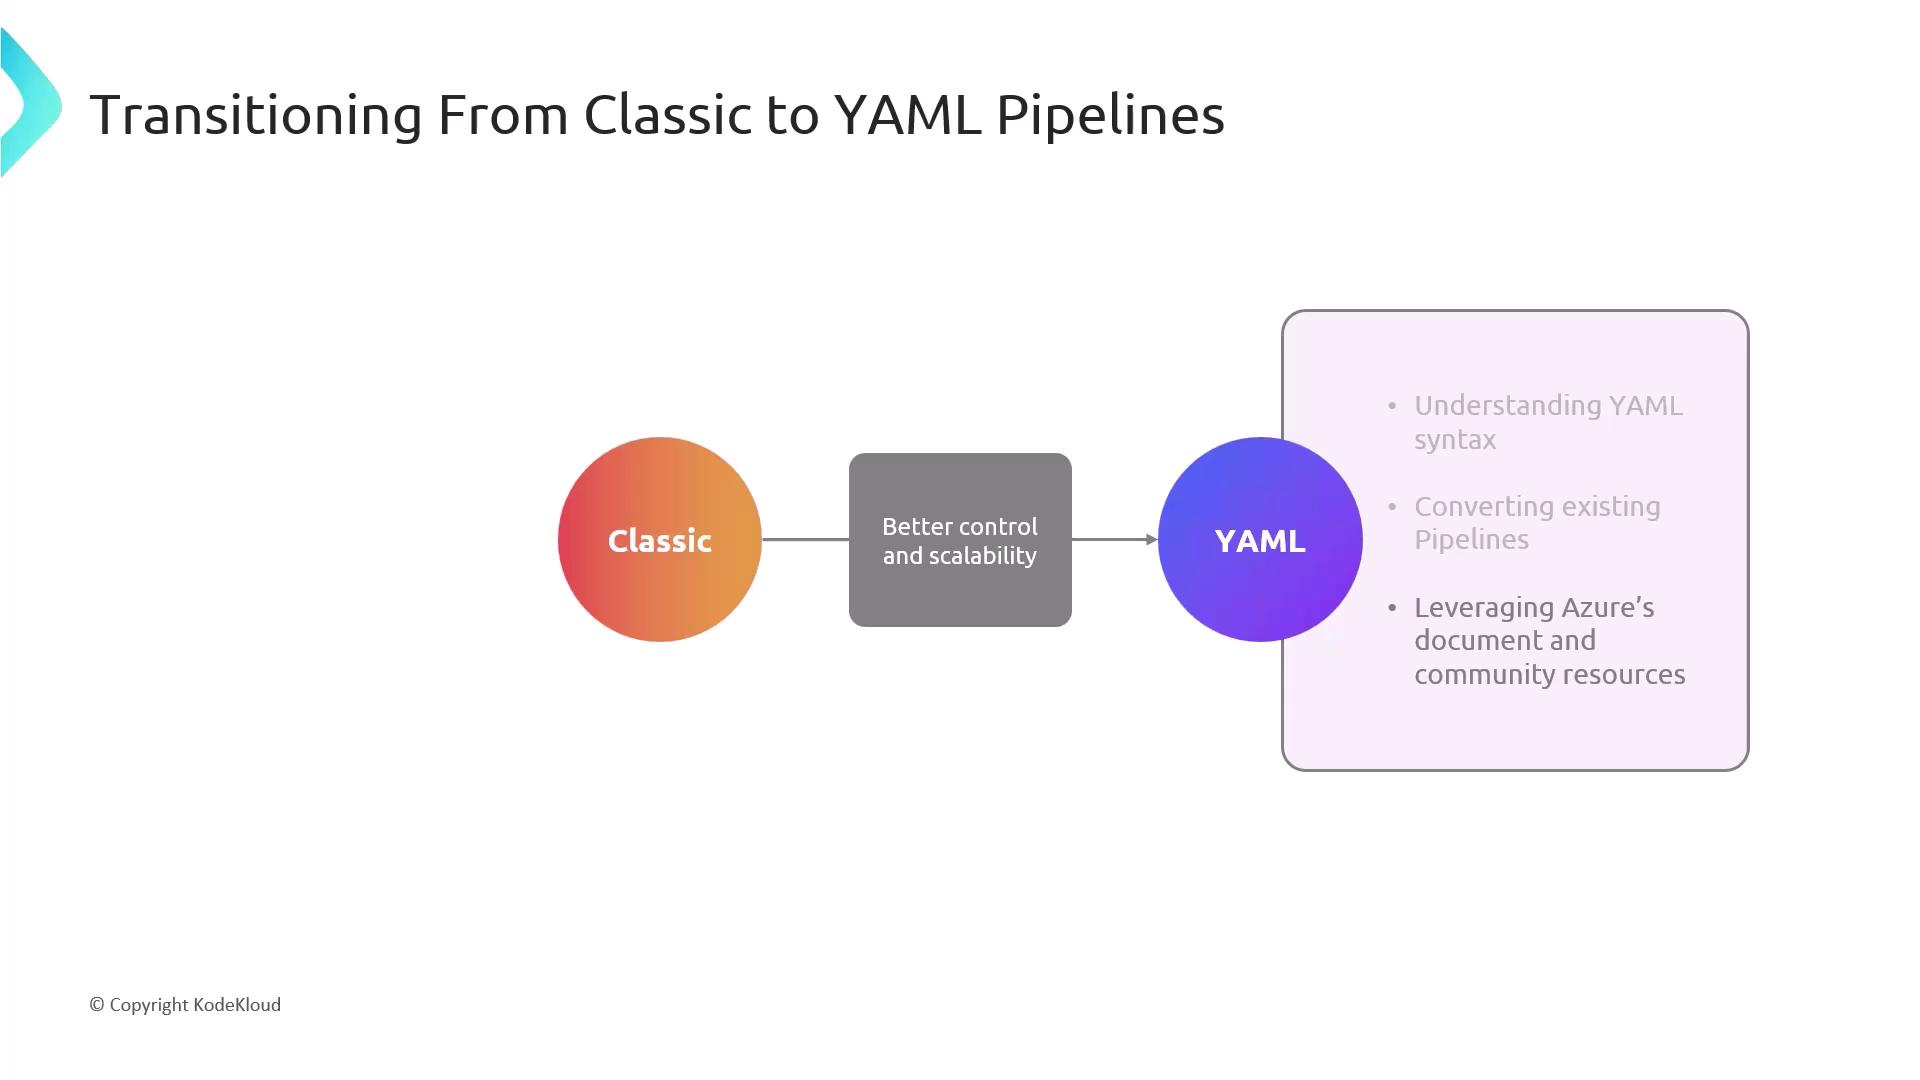
Classic Pipelines offer ease of use, but for advanced scenarios and full traceability, **YAML pipelines** provide better versioning, branching, and reuse across projects.
## Best Practices for Classic Pipelines
* **Modular Design**\
Group related tasks into [task groups](https://learn.microsoft.com/azure/devops/pipelines/library/task-groups) or reusable templates.
* **Regular Updates & Testing**\
Keep tasks and agents up to date to leverage security patches and new features.
* **Security & Compliance**\
Audit pipeline permissions, enforce branch policies, and scan for vulnerabilities.
## Links and References
* [Azure DevOps Classic pipelines](https://learn.microsoft.com/azure/devops/pipelines/classic)
* [Get started with YAML pipelines](https://learn.microsoft.com/azure/devops/pipelines/get-started/yaml)
* [Microsoft Learn: CI/CD with Azure Pipelines](https://learn.microsoft.com/training/modules/ci-cd-pipelines)
* [Task groups in Azure Pipelines](https://learn.microsoft.com/azure/devops/pipelines/library/task-groups)