> ## Documentation Index
> Fetch the complete documentation index at: https://notes.kodekloud.com/llms.txt
> Use this file to discover all available pages before exploring further.
# Exploring Containerized Agents
> This article guides on building and enhancing containerized Azure DevOps agents using Windows containers for improved scalability, consistency, isolation, and portability.
Containerizing your self-hosted Azure Pipelines agent on Windows provides:
* **Scalability**: Scale agents up or down on demand
* **Consistency**: Bundle all dependencies to avoid “works on my machine” issues
* **Isolation**: Keep each build environment separate
* **Portability**: Move containers across hosts with minimal effort
In this guide, you’ll build a basic Windows container agent, then enhance it with the .NET SDK and Visual Studio Build Tools for ASP.NET Core builds.
***
## Prerequisites
* Docker Desktop for Windows ([install guide](https://docs.docker.com/desktop/windows/))
* Docker switched to Windows containers (Docker icon → *Switch to Windows containers*)
* Azure DevOps organization, project, and a Personal Access Token (PAT)
***
## 1. Create a Basic Container Agent
### 1.1 Initialize Folder & Dockerfile
Open PowerShell:
```powershell theme={null}
mkdir "C:\azp-agent-in-docker"
cd "C:\azp-agent-in-docker"
```
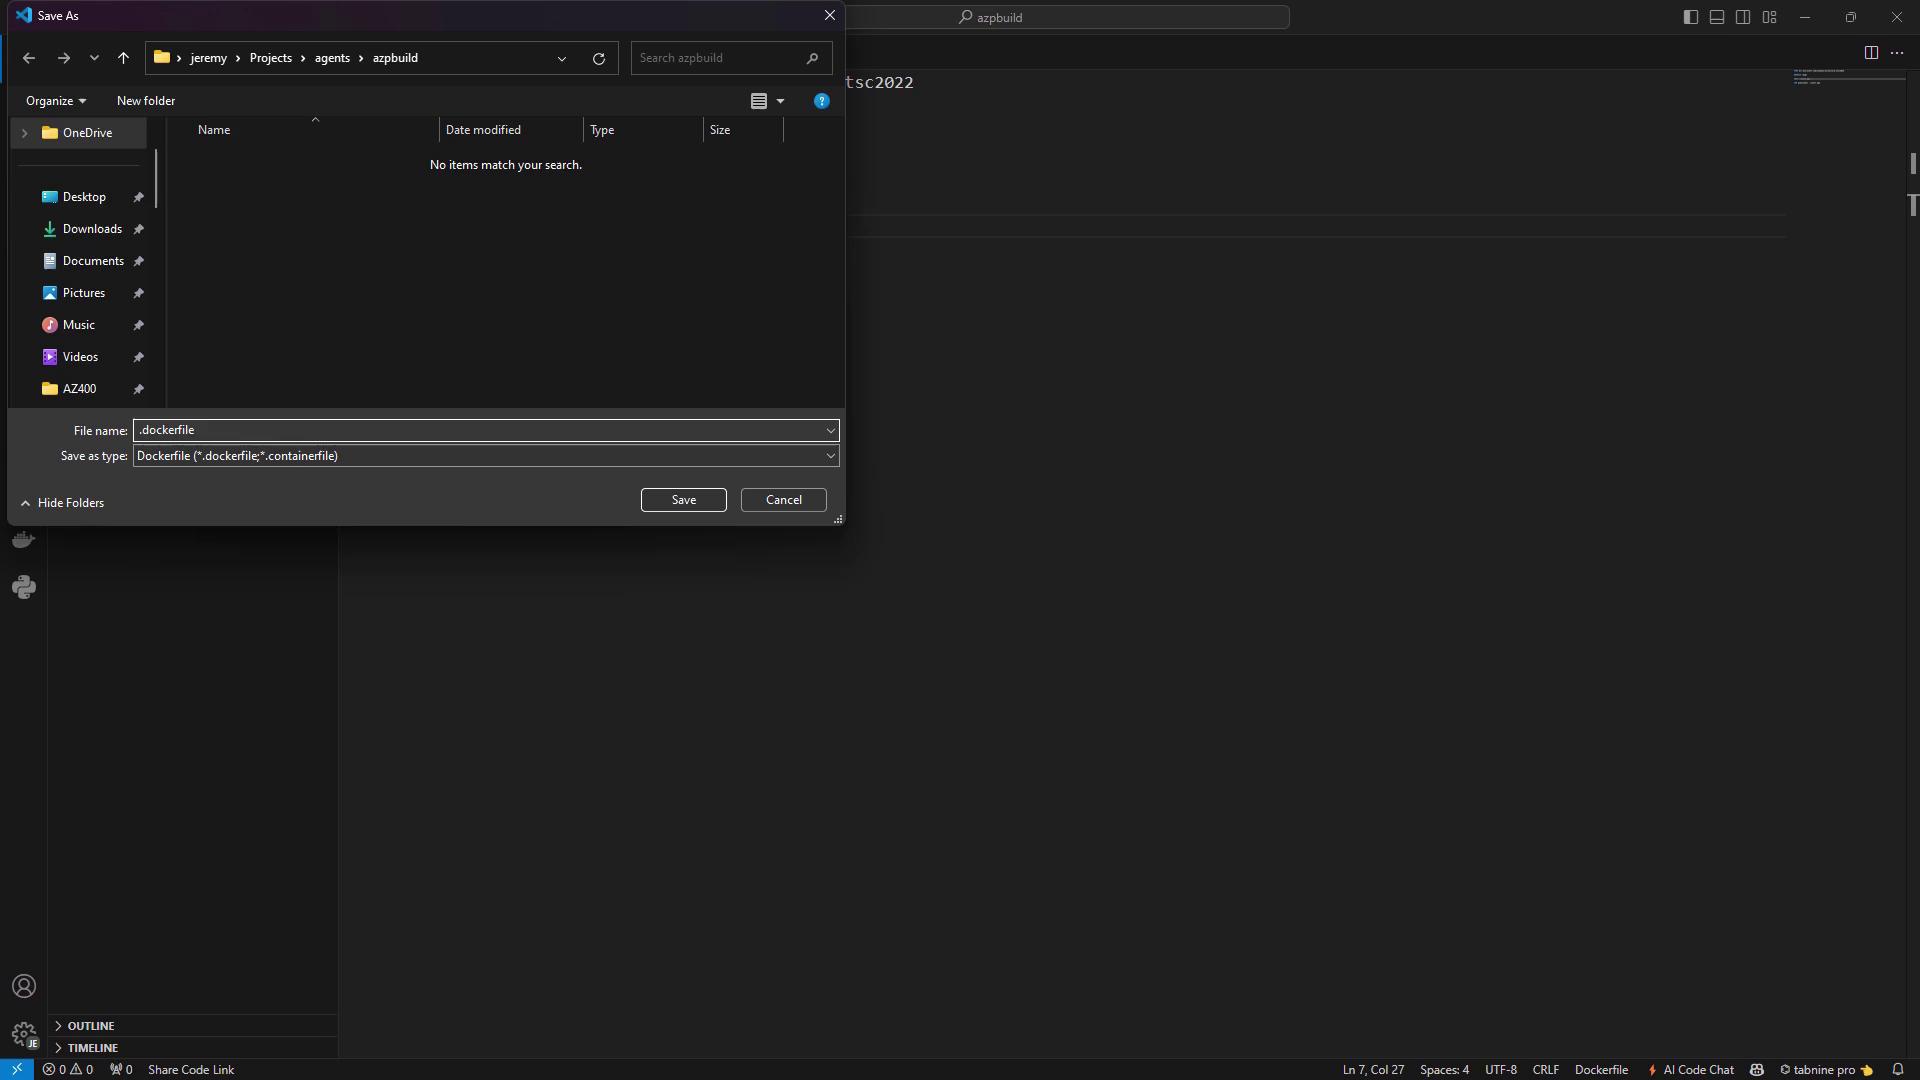
Create **azpagentwindows.dockerfile**:
```dockerfile theme={null}
FROM mcr.microsoft.com/windows/servercore:ltsc2022
WORKDIR /azp
COPY ./start.ps1 ./
CMD ["powershell", ".\\start.ps1"]
```
### 1.2 Add the `start.ps1` Script
Place this next to your Dockerfile. It downloads, configures, and runs the agent:
```powershell theme={null}
param()
function Print-Header($header) {
Write-Host "`n$($header):`n" -ForegroundColor Cyan
}
if (-not $env:AZP_URL) {
Write-Error "Missing AZP_URL"
exit 1
}
if (-not ($env:AZP_TOKEN -or $env:AZP_TOKEN_FILE)) {
Write-Error "Missing AZP_TOKEN or AZP_TOKEN_FILE"
exit 1
}
if ($env:AZP_TOKEN_FILE) {
$env:AZP_TOKEN = Get-Content -Path $env:AZP_TOKEN_FILE
Remove-Item Env:AZP_TOKEN_FILE
}
if ($env:AZP_WORK -and -not (Test-Path $env:AZP_WORK)) {
New-Item -ItemType Directory -Path $env:AZP_WORK | Out-Null
}
New-Item -ItemType Directory -Path "azp\agent" | Out-Null
$env:VSO_AGENT_IGNORE = "AZP_TOKEN,AZP_TOKEN_FILE"
Set-Location agent
Print-Header "1. Determining Azure Pipelines agent"
$auth = [Convert]::ToBase64String([Text.Encoding]::ASCII.GetBytes("PAT:$($env:AZP_TOKEN)"))
$pkg = Invoke-RestMethod -Headers @{ Authorization = "Basic $auth" } `
"$($env:AZP_URL)/_apis/distributedtask/packages/agent"
$download = $pkg[0].value.downloadUrl
Print-Header "2. Downloading and installing agent"
(New-Object System.Net.WebClient).DownloadFile($download, "agent.zip")
Expand-Archive -Path "agent.zip" -DestinationPath "azp\agent"
Print-Header "3. Configuring agent"
& ".\azp\agent\config.cmd" `
--unattended `
--agent "${if ($env:AZP_AGENT_NAME) { $env:AZP_AGENT_NAME } else { hostname }}" `
--url "$($env:AZP_URL)" `
--auth PAT --token "$($env:AZP_TOKEN)" `
--pool "${env:AZP_POOL}"
Print-Header "4. Running agent"
& ".\azp\agent\run.cmd"
```
For better security, mount your PAT via `AZP_TOKEN_FILE` instead of passing it directly.
### 1.3 Build and Run the Container
```powershell theme={null}
docker build `
--tag azp-agent:windows `
--file .\azpagentwindows.dockerfile .
docker run -d `
--name azp-agent-windows `
-e AZP_URL="https://dev.azure.com/YourOrg" `
-e AZP_TOKEN="YOUR_PAT" `
-e AZP_POOL="Default" `
-e AZP_AGENT_NAME="Docker Agent - Windows" `
azp-agent:windows
```
You should see startup logs:
```text theme={null}
1. Determining Azure Pipelines agent
2. Downloading and installing agent
3. Configuring agent
4. Running agent
Listening for Jobs
```
***
## 2. Verify the Agent in Azure DevOps
Navigate to **Project settings** → **Agent pools** → **Default** → **Agents**. Confirm **Docker Agent - Windows** is listed.
***
## 3. Test with a Simple Pipeline
Create **azure-pipelines.yml**:
```yaml theme={null}
trigger:
- master
pool:
name: Default
steps:
- script: echo Hello, world!
displayName: 'Run a one-line script'
- script: |
echo Add other tasks to build, test, and deploy.
displayName: 'Run a multi-line script'
```
Push to your repo, grant permissions, and verify the container agent executes the job.
***
## 4. Limitation: .NET Builds on Server Core
A plain Server Core image shows queued .NET pipelines:
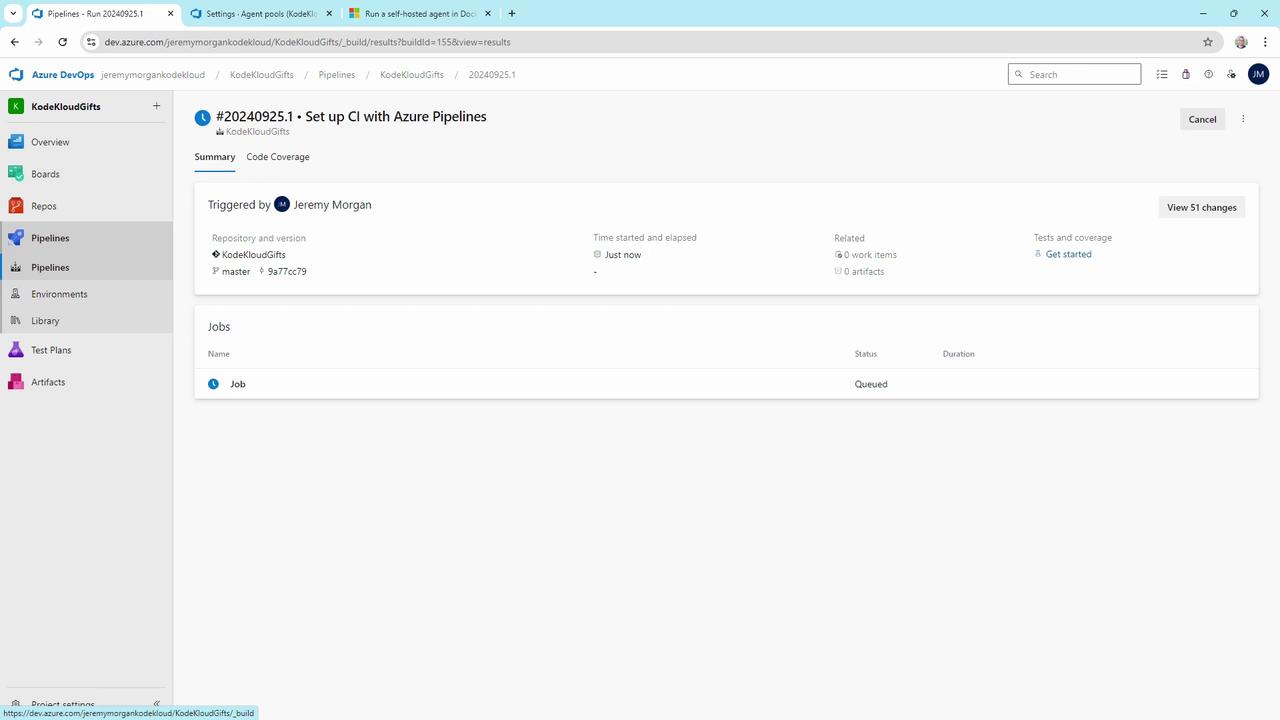
The Server Core base lacks MSBuild, .NET SDK, and build tools. It reports zero capabilities and cannot pick up .NET jobs.
***
## 5. Enhance the Image with .NET SDK & Build Tools
Switch to the .NET SDK image and install Visual Studio Build Tools:
```dockerfile theme={null}
FROM mcr.microsoft.com/dotnet/sdk:8.0-windowsservercore-ltsc2022
WORKDIR /azp
ENV BUILD_PATH="C:\\BuildTools" `
DOTNET_PATH="C:\\Program Files\\dotnet" `
MSBUILD_SDKS_PATH="C:\\Program Files\\dotnet\\sdk\\8.0.402"
SHELL ["powershell", "-Command"]
RUN Invoke-WebRequest -UseBasicParsing `
-Uri https://aka.ms/vs/17/release/vs_buildtools.exe `
-OutFile vs_buildtools.exe; `
.\vs_buildtools.exe --quiet --wait --norestart --nocache `
--installPath C:\BuildTools `
--add Microsoft.VisualStudio.Workload.MSBuildTools `
--add Microsoft.VisualStudio.Workload.NetCoreBuildTools `
--add Microsoft.VisualStudio.Workload.WebBuildTools `
--add Microsoft.VisualStudio.Workload.NetWeb `
--add Microsoft.NetCore.Component.SDK
RUN setx /M PATH "%PATH%;C:\BuildTools;C:\Program Files\dotnet;sdk\8.0.402"
SHELL ["cmd", "/S", "/C"]
COPY ./start.ps1 ./
CMD ["powershell", ".\\start.ps1"]
```
Rebuild and redeploy:
```powershell theme={null}
docker build --tag azp-agent:windows --file .\azpagentwindows.dockerfile .
docker rm azp-agent-windows
docker run -d --name azp-agent-windows `
-e AZP_URL="https://dev.azure.com/YourOrg" `
-e AZP_TOKEN="YOUR_PAT" `
-e AZP_POOL="Default" `
-e AZP_AGENT_NAME="Docker Agent - Windows" `
azp-agent:windows
```
Look for **Scanning for tool capabilities** in the logs to confirm MSBuild and .NET SDK detection.
***
## 6. Build an ASP.NET Core Application
Use this pipeline to restore, build, and test an ASP.NET Core solution:
```yaml theme={null}
trigger:
- master
pool:
name: Default
variables:
solution: '**/*.sln'
buildPlatform: 'Any CPU'
buildConfiguration: 'Release'
steps:
- task: NuGetToolInstaller@1
- task: NuGetCommand@2
inputs:
restoreSolution: '$(solution)'
- task: VSBuild@1
inputs:
solution: '$(solution)'
msbuildArguments: '/p:DeployOnBuild=true /p:WebPublishMethod=Package /p:PackageAsSingleFile=true /p:SkipInvalidConfigurations=true'
platform: '$(buildPlatform)'
configuration: '$(buildConfiguration)'
- task: VSTest@2
inputs:
platform: '$(buildPlatform)'
configuration: '$(buildConfiguration)'
```
Your enhanced container agent will now restore packages, compile the solution, and run tests just like a full self-hosted agent.
***
## Base Image Comparison
| Base Image | Purpose |
| ----------------------------------------------------------- | --------------------------------------- |
| mcr.microsoft.com/windows/servercore:ltsc2022 | Minimal Windows Server Core agent image |
| mcr.microsoft.com/dotnet/sdk:8.0-windowsservercore-ltsc2022 | .NET SDK + containerized build tools |
***
## Conclusion
Containerized Windows agents deliver portability, consistency, and scalability for Azure DevOps pipelines. By basing your image on the .NET SDK, adding Visual Studio Build Tools, and updating `PATH`, you unlock MSBuild and SDK capabilities for seamless ASP.NET Core builds.
***
## Links and References
* [Docker Desktop for Windows](https://docs.docker.com/desktop/windows/)
* [Azure Pipelines agent documentation](https://docs.microsoft.com/azure/devops/pipelines/agents/agents)
* [Azure DevOps Documentation](https://docs.microsoft.com/azure/devops/)
* [mcr.microsoft.com/dotnet/sdk Docker Hub](https://hub.docker.com/_/microsoft-dotnet-sdk)