> ## Documentation Index
> Fetch the complete documentation index at: https://notes.kodekloud.com/llms.txt
> Use this file to discover all available pages before exploring further.
# MySQL Package
> Learn to integrate a MySQL database into your Go project using the SQL package for common database operations.
In this guide, you'll learn how to integrate a MySQL database into your Go project using the SQL package and explore useful methods for common database operations. Follow along to set up your MySQL database, create tables, and execute queries and commands using Go.
***
## Setting Up MySQL and Creating the Database
Begin by installing MySQL on your system and logging into the MySQL console. Once logged in, create a database named "learning" with the following commands:
```sql theme={null}
mysql> create database learning;
Query OK, 1 row affected (0.01 sec)
mysql> use learning;
Database changed
```
Next, create a simple table called `data` that includes two fields:
* An integer `id` as the primary key.
* A `name` column of type `VARCHAR(255)` used for storing strings.
```sql theme={null}
mysql> CREATE TABLE data (
-> id INT PRIMARY KEY,
-> name VARCHAR(255)
-> );
```
The `data` table consists of an `id` (primary key) and a `name` field. This structure is suitable for basic storage, demonstration purposes, or further expansion in your applications.
***
## Inserting and Verifying Data
Insert some sample records into the table using the following SQL commands:
```sql theme={null}
mysql> insert into data values(1, "abc");
Query OK, 1 row affected (0.00 sec)
mysql> insert into data values(2, "defg");
Query OK, 1 row affected (0.00 sec)
mysql> insert into data values(3, "hij");
Query OK, 1 row affected (0.01 sec)
```
To confirm the inserted data, run a `SELECT` query:
```sql theme={null}
mysql> select * from data;
+----+------+
| id | name |
+----+------+
| 1 | abc |
| 2 | defg |
| 3 | hij |
+----+------+
3 rows in set (0.00 sec)
```
Later in the project, you will add additional rows using the SQL package in Go.
***
## Installing the SQL Package and Setting Up Your Project
To work with MySQL in Go, install the third-party driver package with:
```bash theme={null}
go get github.com/go-sql-driver/mysql
```
Create a file named `constants.go` to store your database connection details as constants. For example, if your database is named "learning" and your username is "root", define the constants as follows (remember to properly secure sensitive information in a real project):
```go theme={null}
package main
const DBName = "learning"
const DbUser = "root"
const DbPassword = "your_password_here"
```
***
## Establishing a Database Connection in Go
In your `main.go` file, import the MySQL driver for its side effects and open a new MySQL connection:
```go theme={null}
package main
import (
"database/sql"
"fmt"
"log"
_ "github.com/go-sql-driver/mysql"
)
func main() {
// Form the connection string using the constants defined in constants.go
connectionString := fmt.Sprintf("%v:%v@tcp(127.0.0.1:3306)/%v", DbUser, DbPassword, DBName)
// Open a database connection using the MySQL driver
db, err := sql.Open("mysql", connectionString)
checkError(err)
defer db.Close()
// Continue with further database operations...
}
```
The function `sql.Open` accepts a driver name and a corresponding data source name. For more details, refer to the Go documentation:
```go theme={null}
// go doc sql.Open
package sql // import "database/sql"
func Open(driverName, dataSourceName string) (*DB, error)
```
To ensure the connection is established correctly, use this helper function to check for errors:
```go theme={null}
package main
import "log"
func checkError(e error) {
if e != nil {
log.Fatal(e)
}
}
```
***
## Querying the Database
### Selecting Data
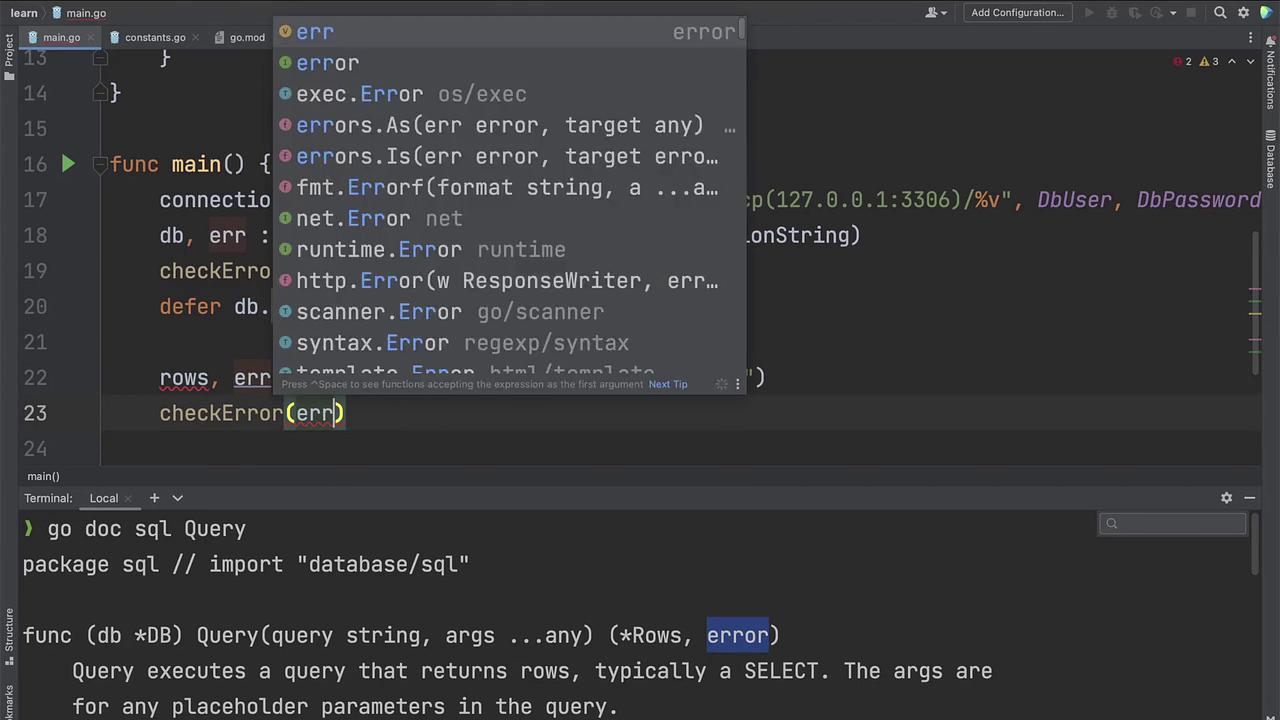
To retrieve rows from the `data` table, use the `Query` method as shown below:
```go theme={null}
rows, err := db.Query("SELECT * FROM data")
checkError(err)
```
For more details on the `Query` method, see the Go documentation:
```go theme={null}
// go doc sql.Query
package sql // import "database/sql"
func (db *DB) Query(query string, args ...any) (*Rows, error)
```
Define a struct to hold the query results:
```go theme={null}
type Data struct {
id int
name string
}
```
Loop through the result set using the `Next` and `Scan` methods to print each row:
```go theme={null}
for rows.Next() {
var data Data
err := rows.Scan(&data.id, &data.name)
checkError(err)
fmt.Println(data)
}
```
The `Next` method prepares the next row for reading, while `Scan` copies the column values into the provided variables. Their official documentation includes:
```go theme={null}
// go doc
func (rs *Rows) Next() bool
// and
func (rs *Rows) Scan(dest ...any) error
```
***
## Inserting Data via Go
After validating your SELECT query, insert a new row into the table using the `Exec` method:
```go theme={null}
result, err := db.Exec("INSERT INTO data VALUES(4, 'xyz')")
checkError(err)
```
Retrieve details about the execution, such as the last inserted ID and the number of rows affected:
```go theme={null}
// LastInsertId returns the integer generated by the database in response to an INSERT command.
lastInsertedId, err := result.LastInsertId()
checkError(err)
fmt.Println("lastInsertedId:", lastInsertedId)
// RowsAffected returns the number of rows affected by an update, insert, or delete.
rowsAffected, err := result.RowsAffected()
checkError(err)
fmt.Println("rowsAffected:", rowsAffected)
```
Verify the insertion by running another SELECT query and printing the results:
```go theme={null}
rows, err = db.Query("SELECT * FROM data")
checkError(err)
for rows.Next() {
var data Data
err := rows.Scan(&data.id, &data.name)
checkError(err)
fmt.Println(data)
}
```
When you run the program, the expected output should be similar to:
```text theme={null}
lastInsertedId: 0
rowsAffected: 1
{1 abc}
{2 defg}
{3 hij}
{4 xyz}
```
You can also confirm the new row in the MySQL console:
```sql theme={null}
mysql> select * from data;
+----+------+
| id | name |
+----+------+
| 1 | abc |
| 2 | defg |
| 3 | hij |
| 4 | xyz |
+----+------+
4 rows in set (0.00 sec)
```
***
## Conclusion
With these instructions, you now have a solid understanding of how to integrate MySQL with Go using the SQL package. You have learned to create a database and table, insert data, and perform both SELECT and INSERT operations programmatically. Use these techniques to build robust database operations in your Go projects.
Always ensure that your database credentials are stored securely and consider using environment variables or secret management tools for production applications.