This lesson explores library management in Golang, focusing on organizing code into repositories, modules, and packages for efficient code management and dependency tracking.
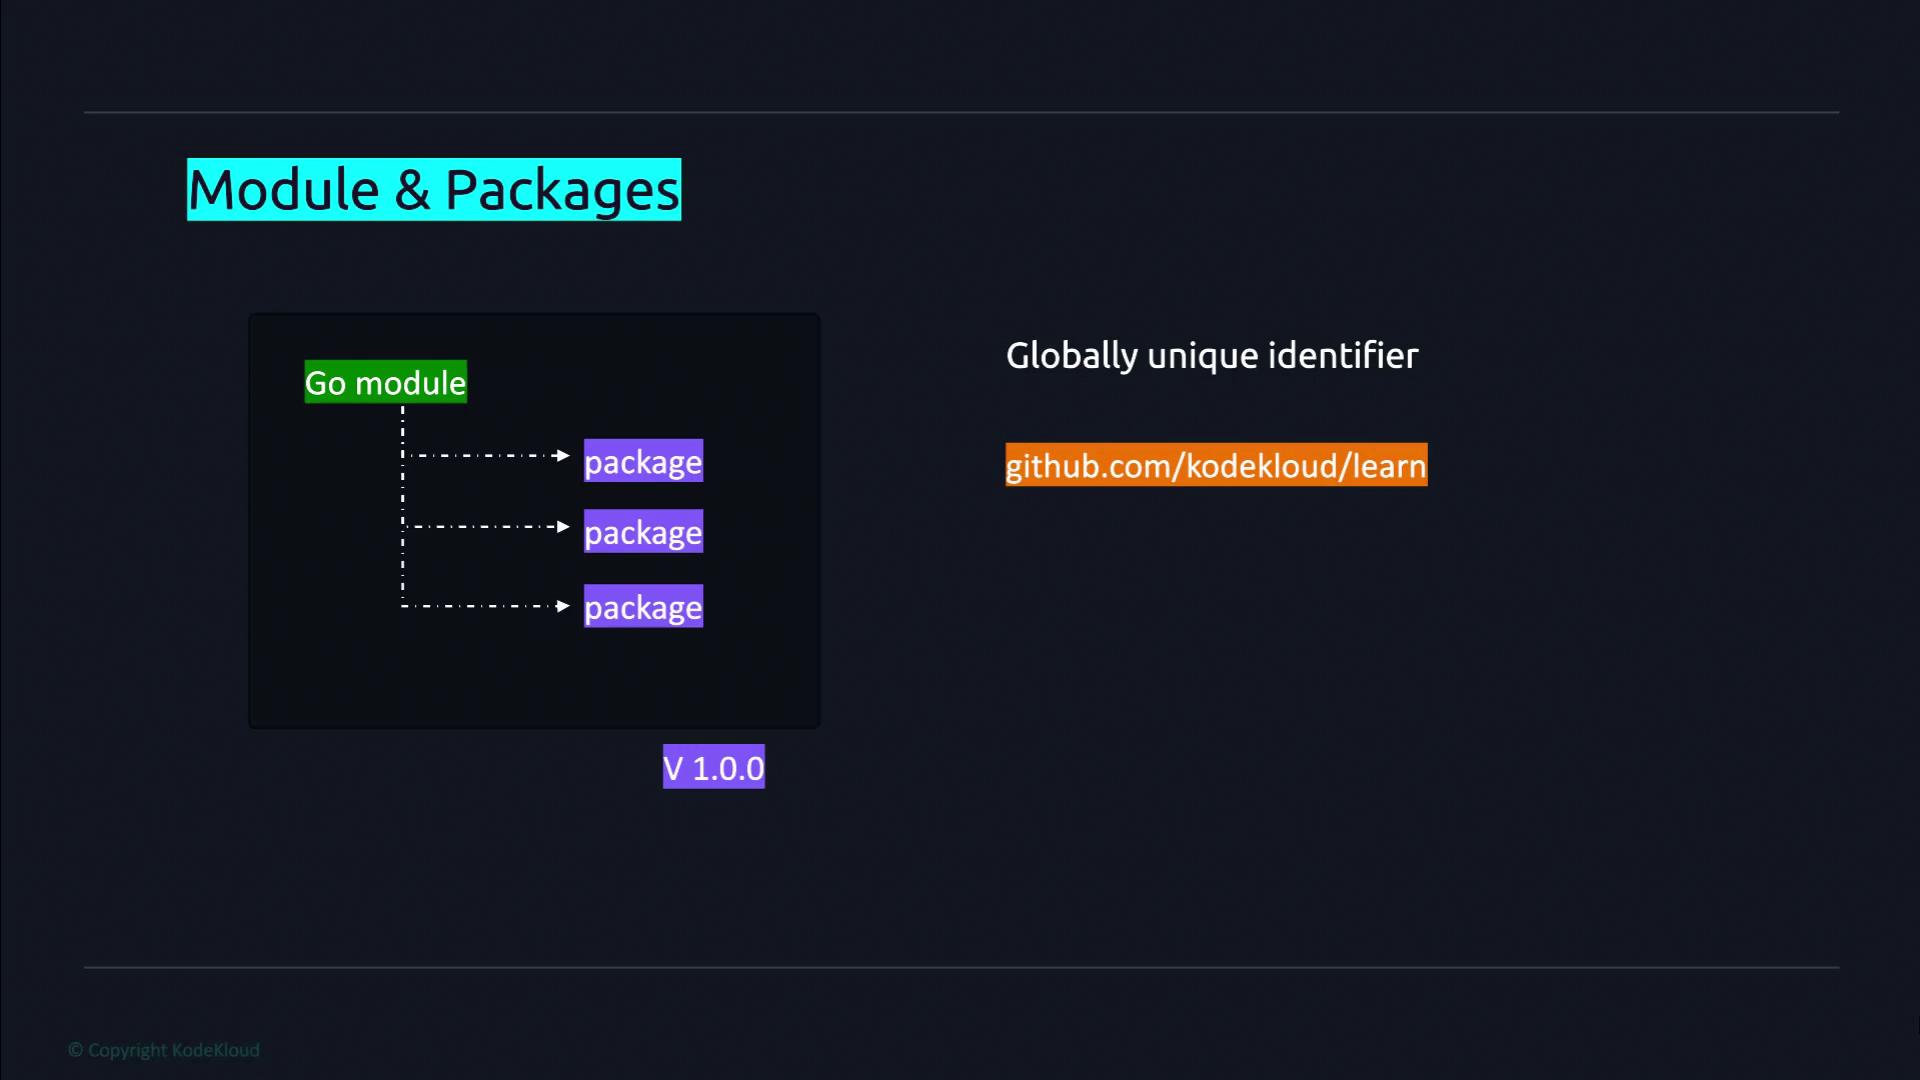
In this lesson, we explore library management in Golang by understanding how the language organizes code into repositories, modules, and packages. This foundational knowledge is essential for efficient code management and dependency tracking in Go projects.A repository is a designated location in a version control system where a project’s source code is stored. Within a repository, a module represents the root of a Go library or application. Modules can contain one or more packages, which serve as the building blocks used to organize and structure code. Although it is technically possible to store multiple modules in a single repository, this practice is discouraged. Since all code within a module is versioned together, maintaining separate version histories for different projects in one repository can introduce unnecessary complexity.Before incorporating code from packages outside the standard library, you must declare your project as a module. Each module is assigned a globally unique identifier—often a GitHub repository URL, a private domain, or another URL—that Go tools use as the download path.
In summary, Go code is structured into packages grouped into modules. A module not only organizes code but also specifies the dependencies needed to run the code, including the Go version and other modules, as recorded in the go.mod file.
Follow these steps to create a new Go module for your project:
Navigate to Your Source Code Directory:
Open your terminal and change to the directory where your source code is stored.
Create a New Project Directory:
For this lesson, we name the project “learn”. Execute the following command:
mkdir learn
Enter the Project Directory:
Change into the newly created directory:
cd learn
Initialize the Go Module:
Declare the directory as a Go module by running go mod init with a globally unique module path. While paths like github.com/yourusername/yourrepository are common, we will use example.com/learn for this lesson:
go mod init example.com/learn
The output should confirm the creation of the go.mod file:
go: creating new go.mod: module example.com/learn
Now, your learn directory is configured as a Go module, complete with a go.mod file. This file will later help manage dependencies and specify the Go version required for your project.
In upcoming lessons, we will dive deeper into the structure and functionalities of the go.mod file, exploring how it manages dependencies and versioning for Go projects.