> ## Documentation Index
> Fetch the complete documentation index at: https://notes.kodekloud.com/llms.txt
> Use this file to discover all available pages before exploring further.
# Demo Create EC2 instance using UI Part 1
> Launch your first Amazon EC2 virtual server with a step-by-step guide covering configuration, key pair generation, and verification on the AWS free tier.
Launch your first Amazon EC2 virtual server in just a few minutes. This step-by-step guide walks you through region selection, instance configuration, key pair generation, networking, storage, advanced settings, and verification. By the end, you’ll have a **t2.micro** instance running on the AWS free tier.
## Table of Contents
1. [Select AWS Region & EC2 Service](#select-aws-region--ec2-service)
2. [Configure EC2 Instance](#configure-ec2-instance)
3. [Generate Key Pair](#generate-key-pair)
4. [Networking & Storage Configuration](#networking--storage-configuration)
5. [Advanced Instance Details](#advanced-instance-details)
6. [Launch & Verify Your Instance](#launch--verify-your-instance)
7. [View Instance Status](#view-instance-status)
8. [References](#references)
***
## Select AWS Region & EC2 Service
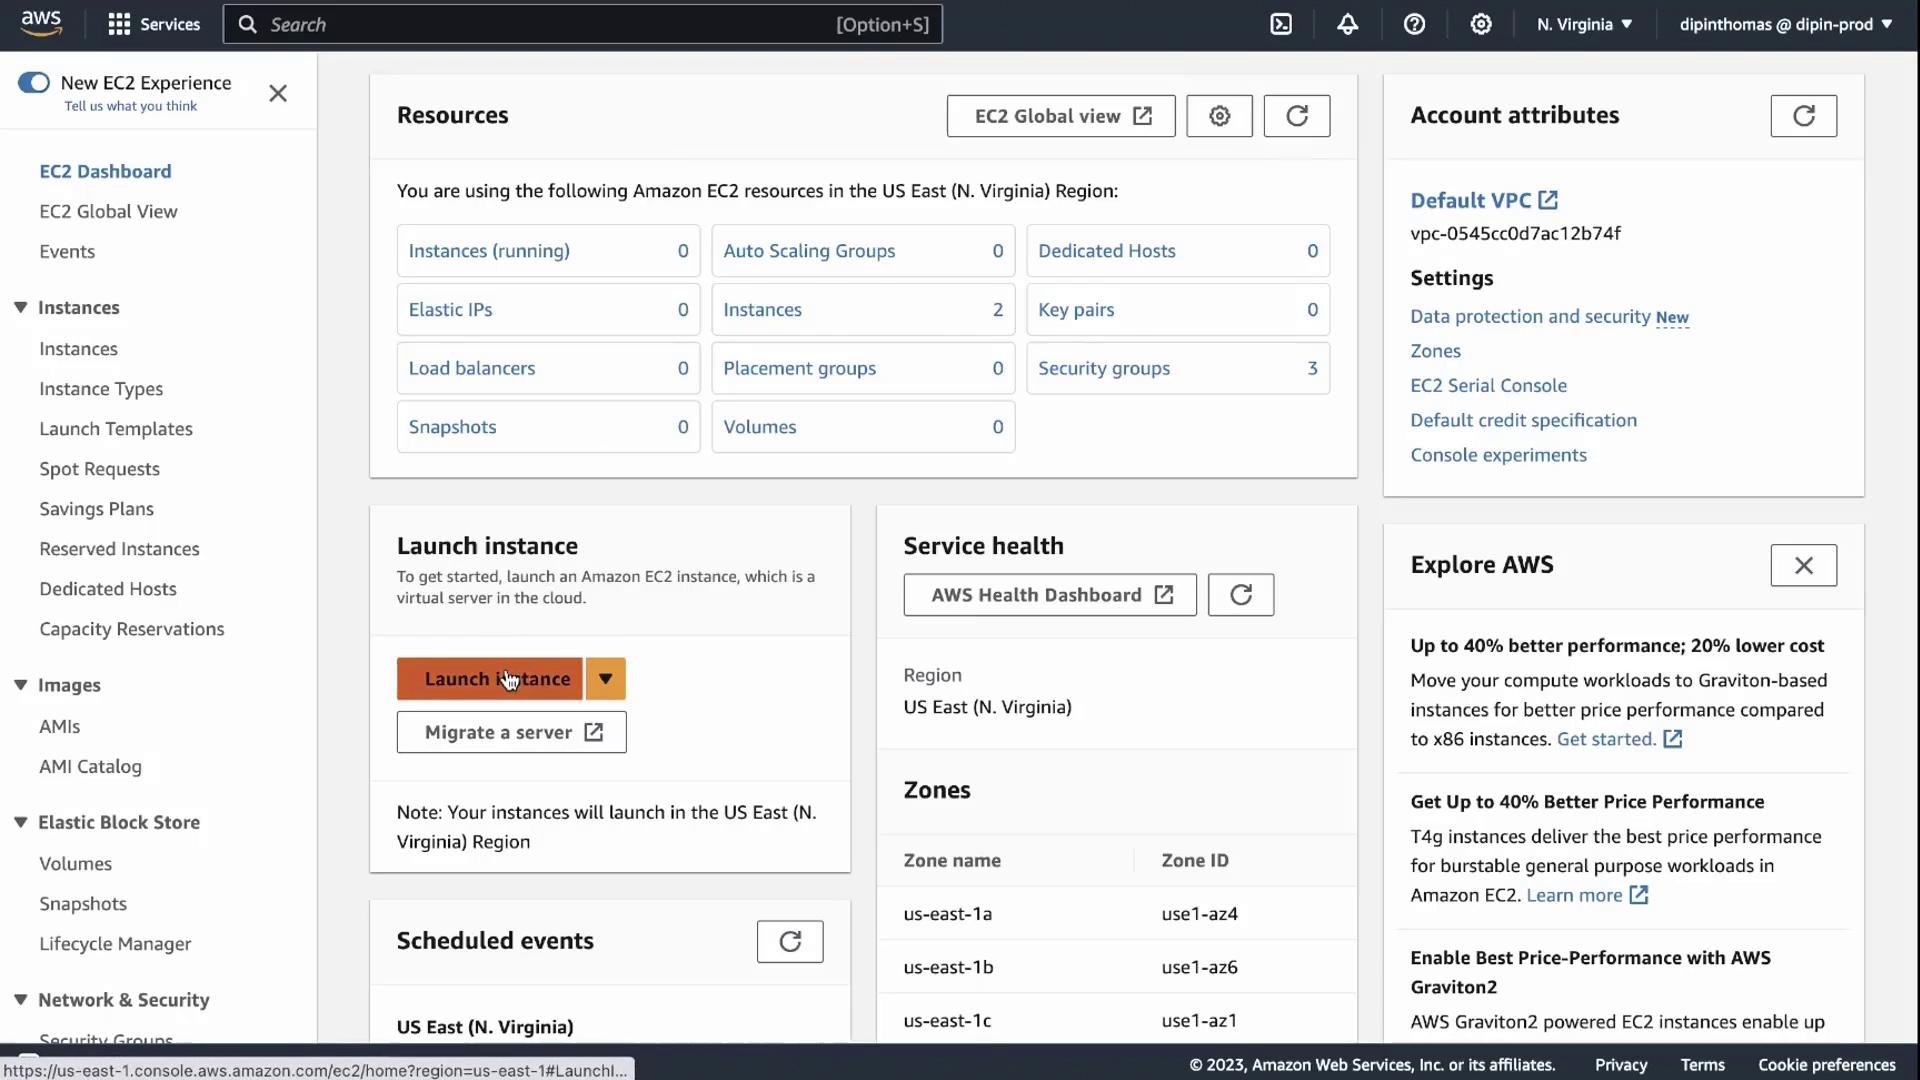
1. In the AWS Management Console, choose your desired Region (for example, **US East (N. Virginia)**) from the top-right corner.
2. Search for **EC2** in the Services menu and select **EC2** to open the EC2 Dashboard.
3. Click **Launch instance** to begin.
***
## Configure EC2 Instance
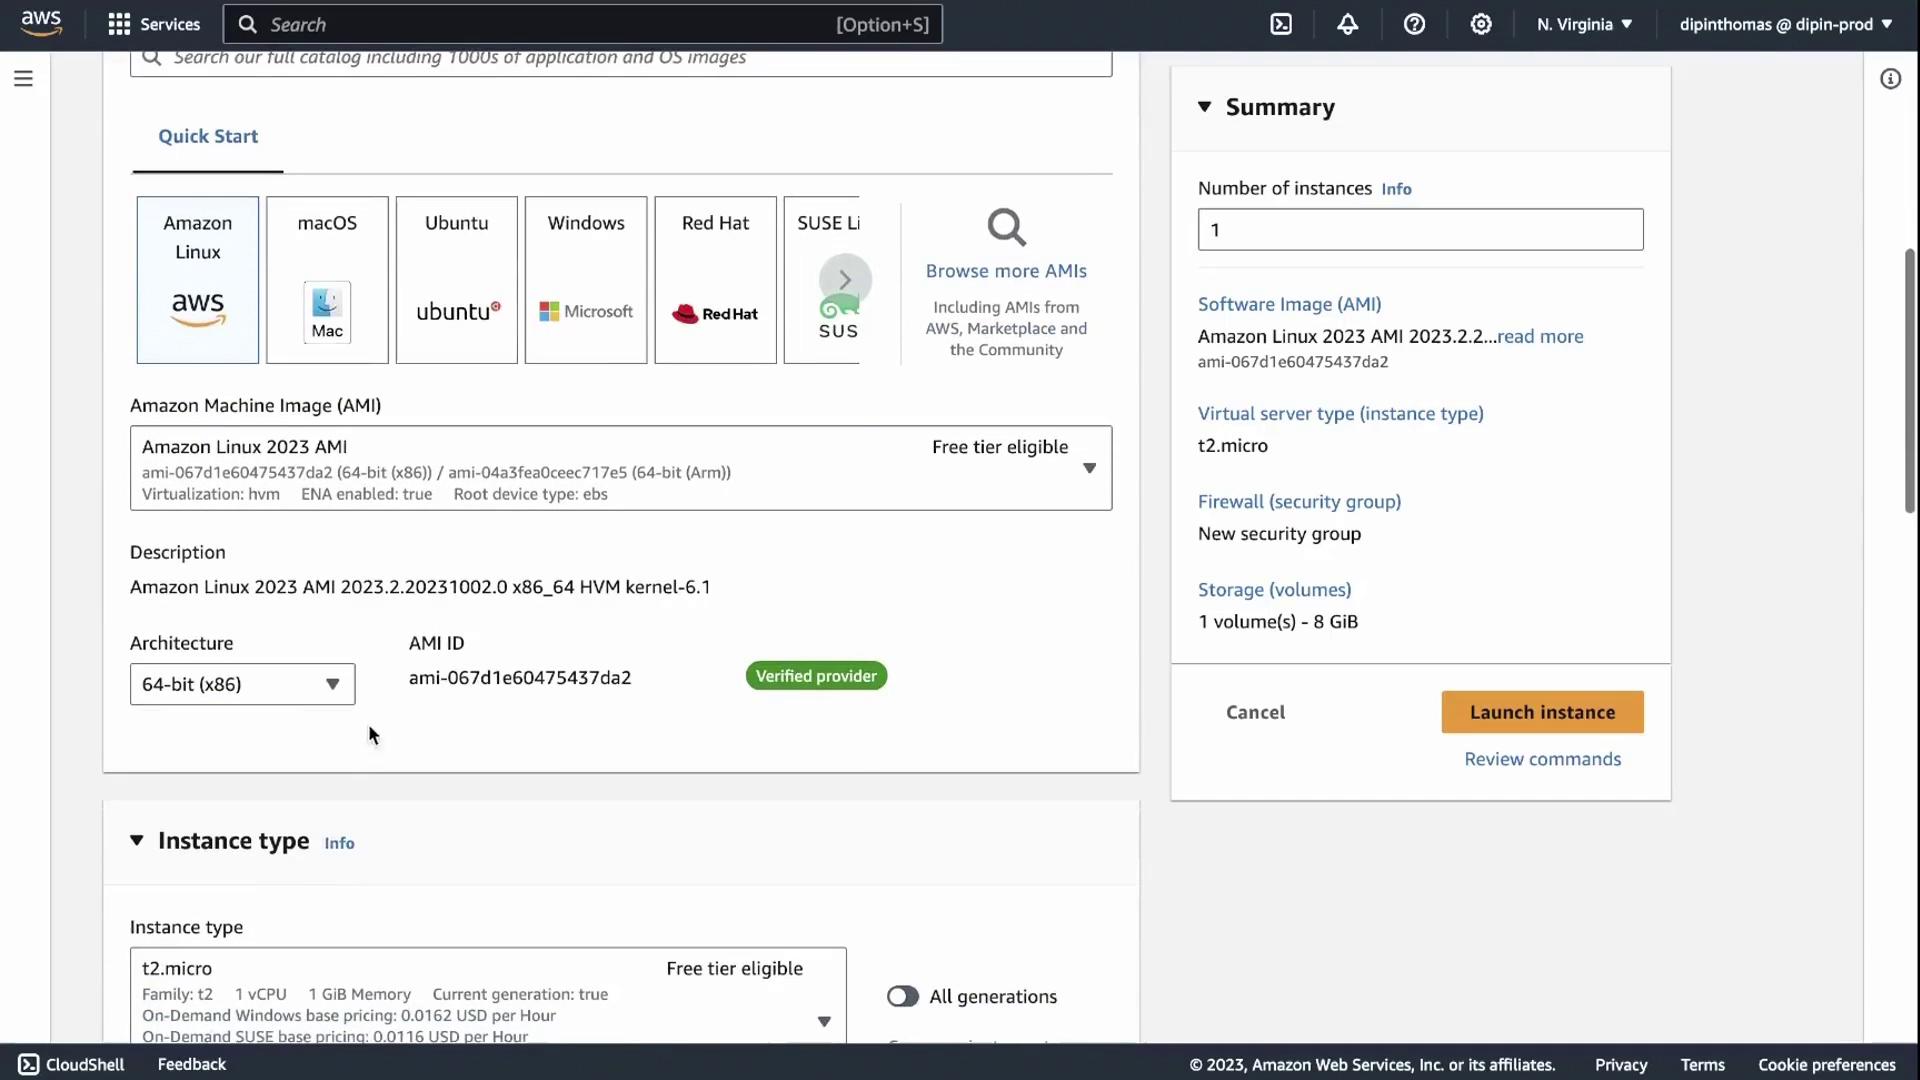
1. **Name your instance** – e.g., `demo`.
2. **Select an Amazon Machine Image (AMI)** – choose the OS you prefer. Ensure the CPU architecture (e.g., x86\_64) is correct.
3. **Choose Instance Type** – for free tier, pick **t2.micro**.
***
## Generate Key Pair
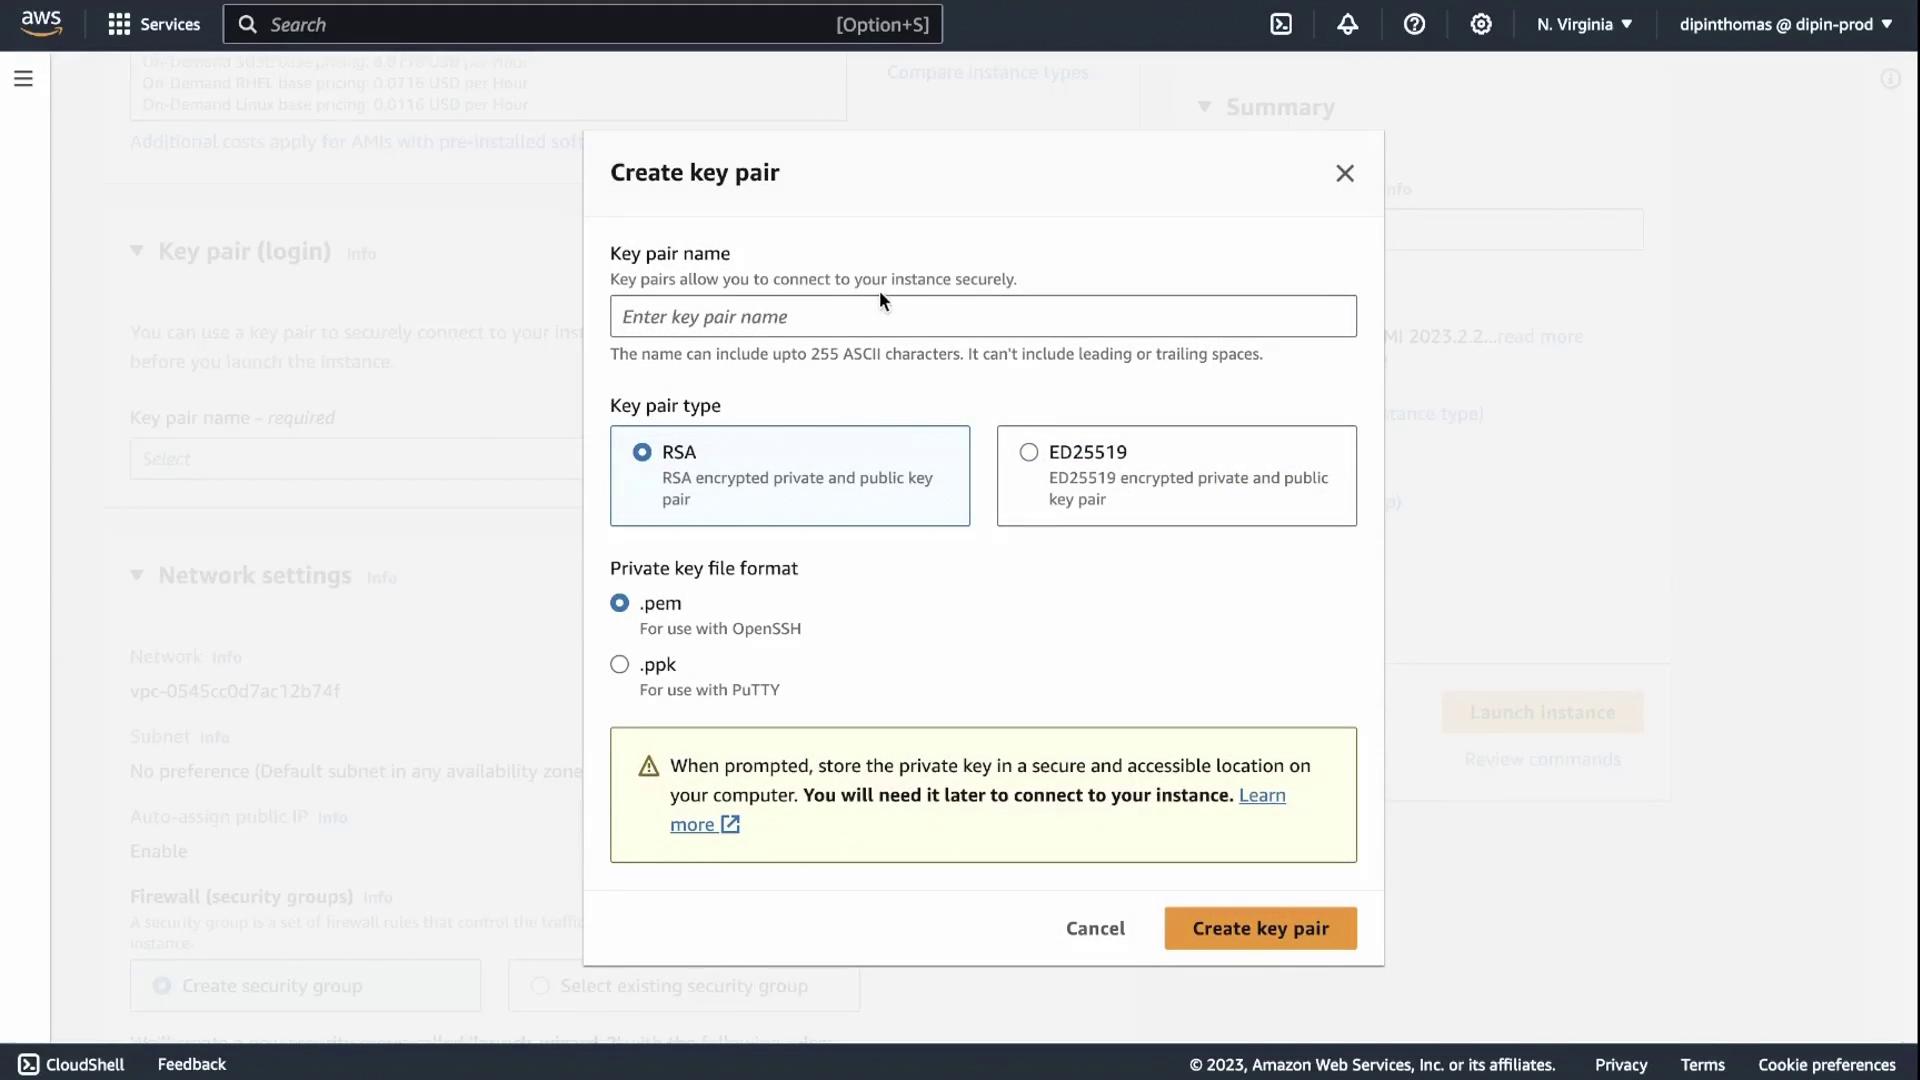
You must create or select an SSH key pair to connect to your instance.
Choose **Create a new key pair**, enter a name (e.g., `demo`), and **download** the private key (`.pem`) file immediately. You cannot retrieve it later.\
Save it securely—losing this file means you cannot SSH into your instance without recovery steps.
***
## Networking & Storage Configuration
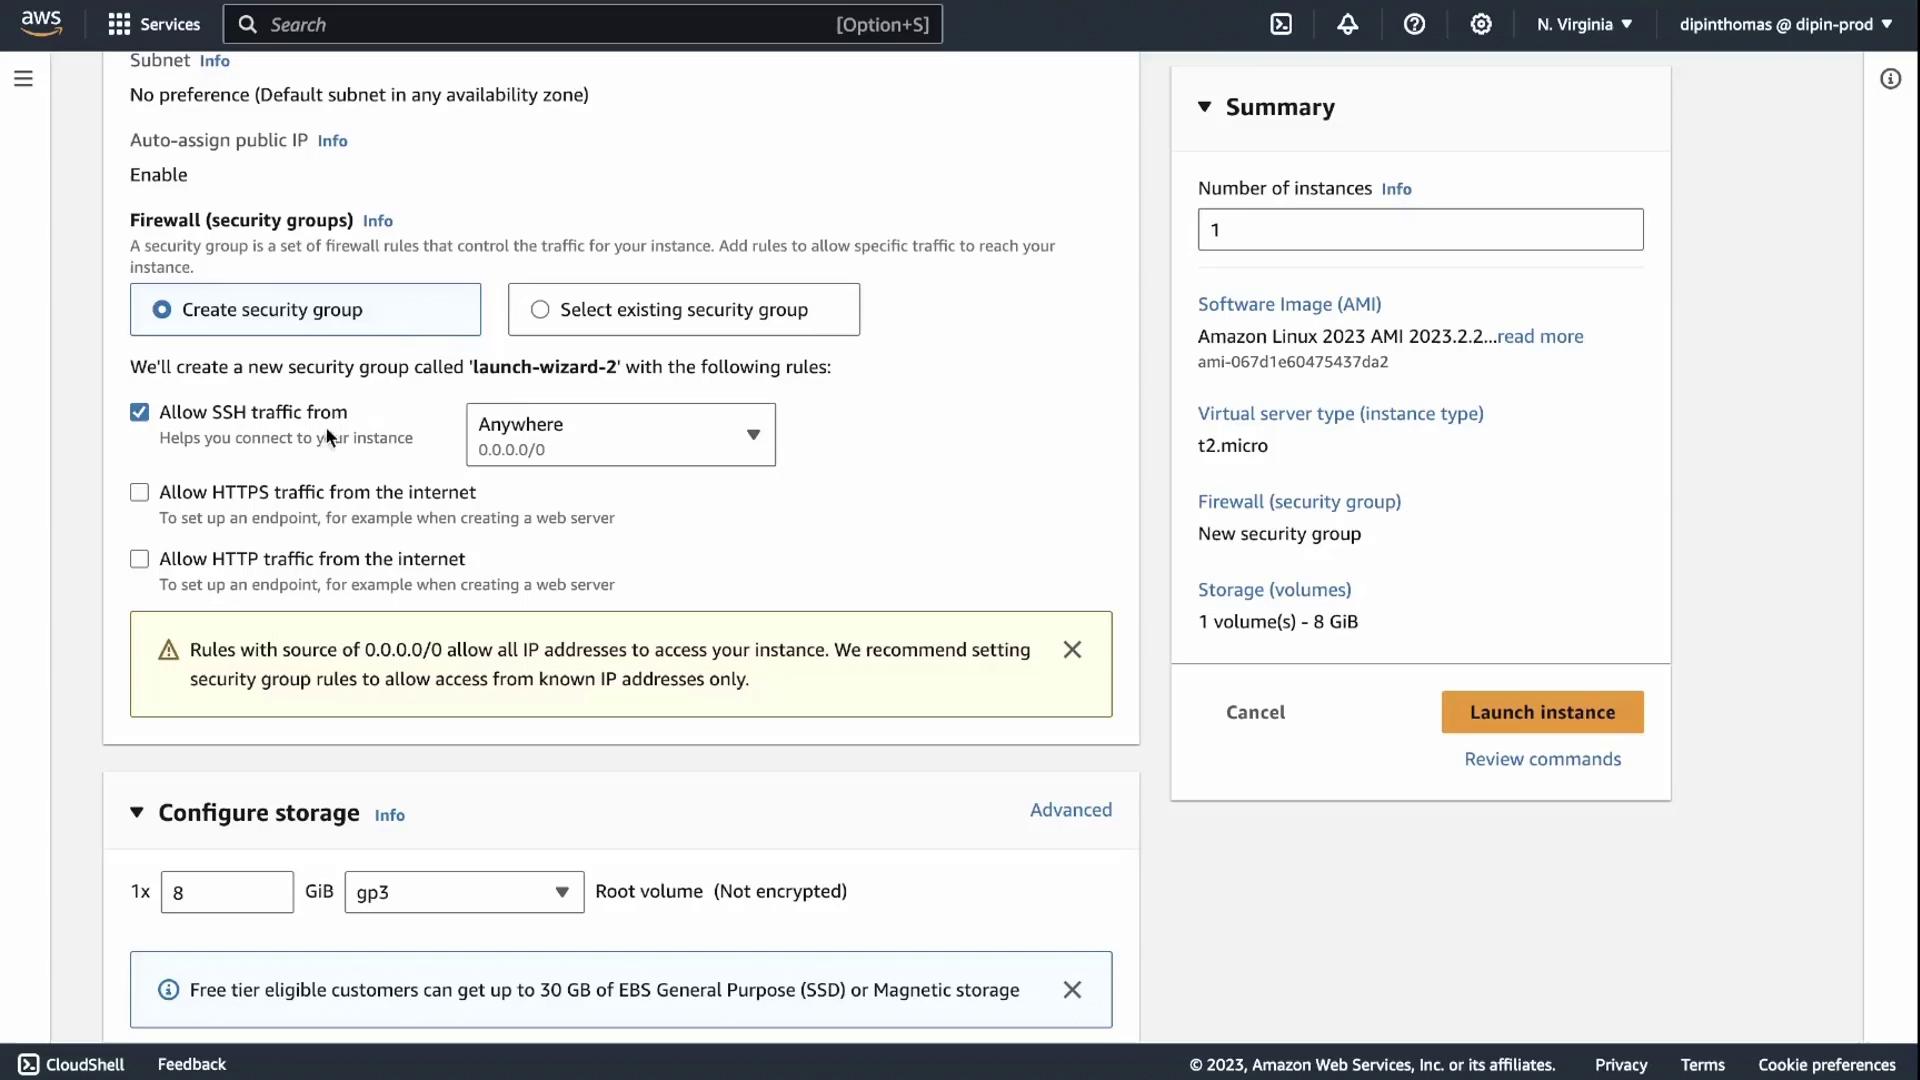
1. **Network settings**
* VPC: Default VPC
* Subnet: Default subnet
* **Auto-assign Public IP**: Enabled
2. **Storage**
* Root volume: 8 GB EBS (gp2 / gp3)
***
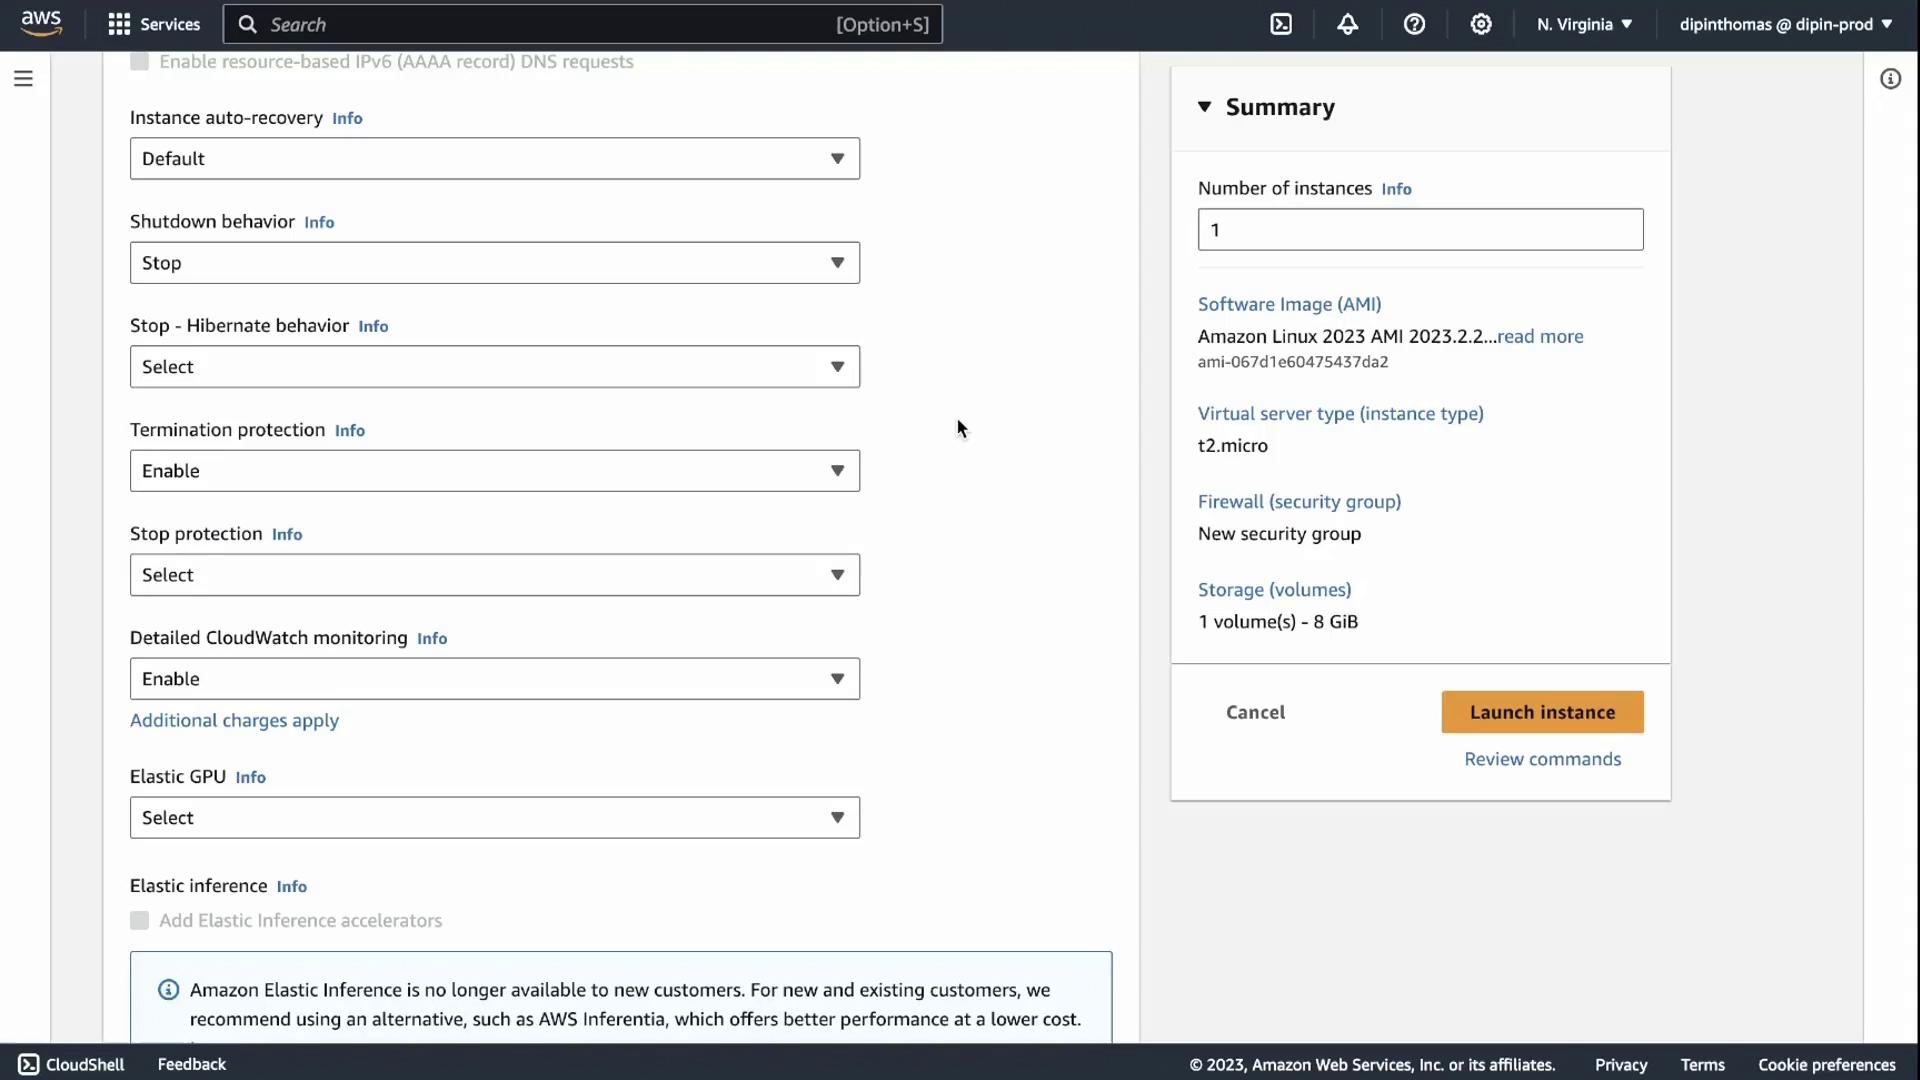
## Advanced Instance Details
Review and adjust advanced settings as needed:
* **Shutdown behavior**: Stop (prevents accidental termination)
* **Termination protection**: Enabled (requires confirmation to delete)
* **Metadata accessibility**: IMDSv1 & IMDSv2 enabled
* **User data**: Add initialization scripts (optional)
These defaults follow AWS best practices. Features like placement groups, capacity reservations, tenancy, and CloudWatch alarms are covered elsewhere.
***
## Launch & Verify Your Instance
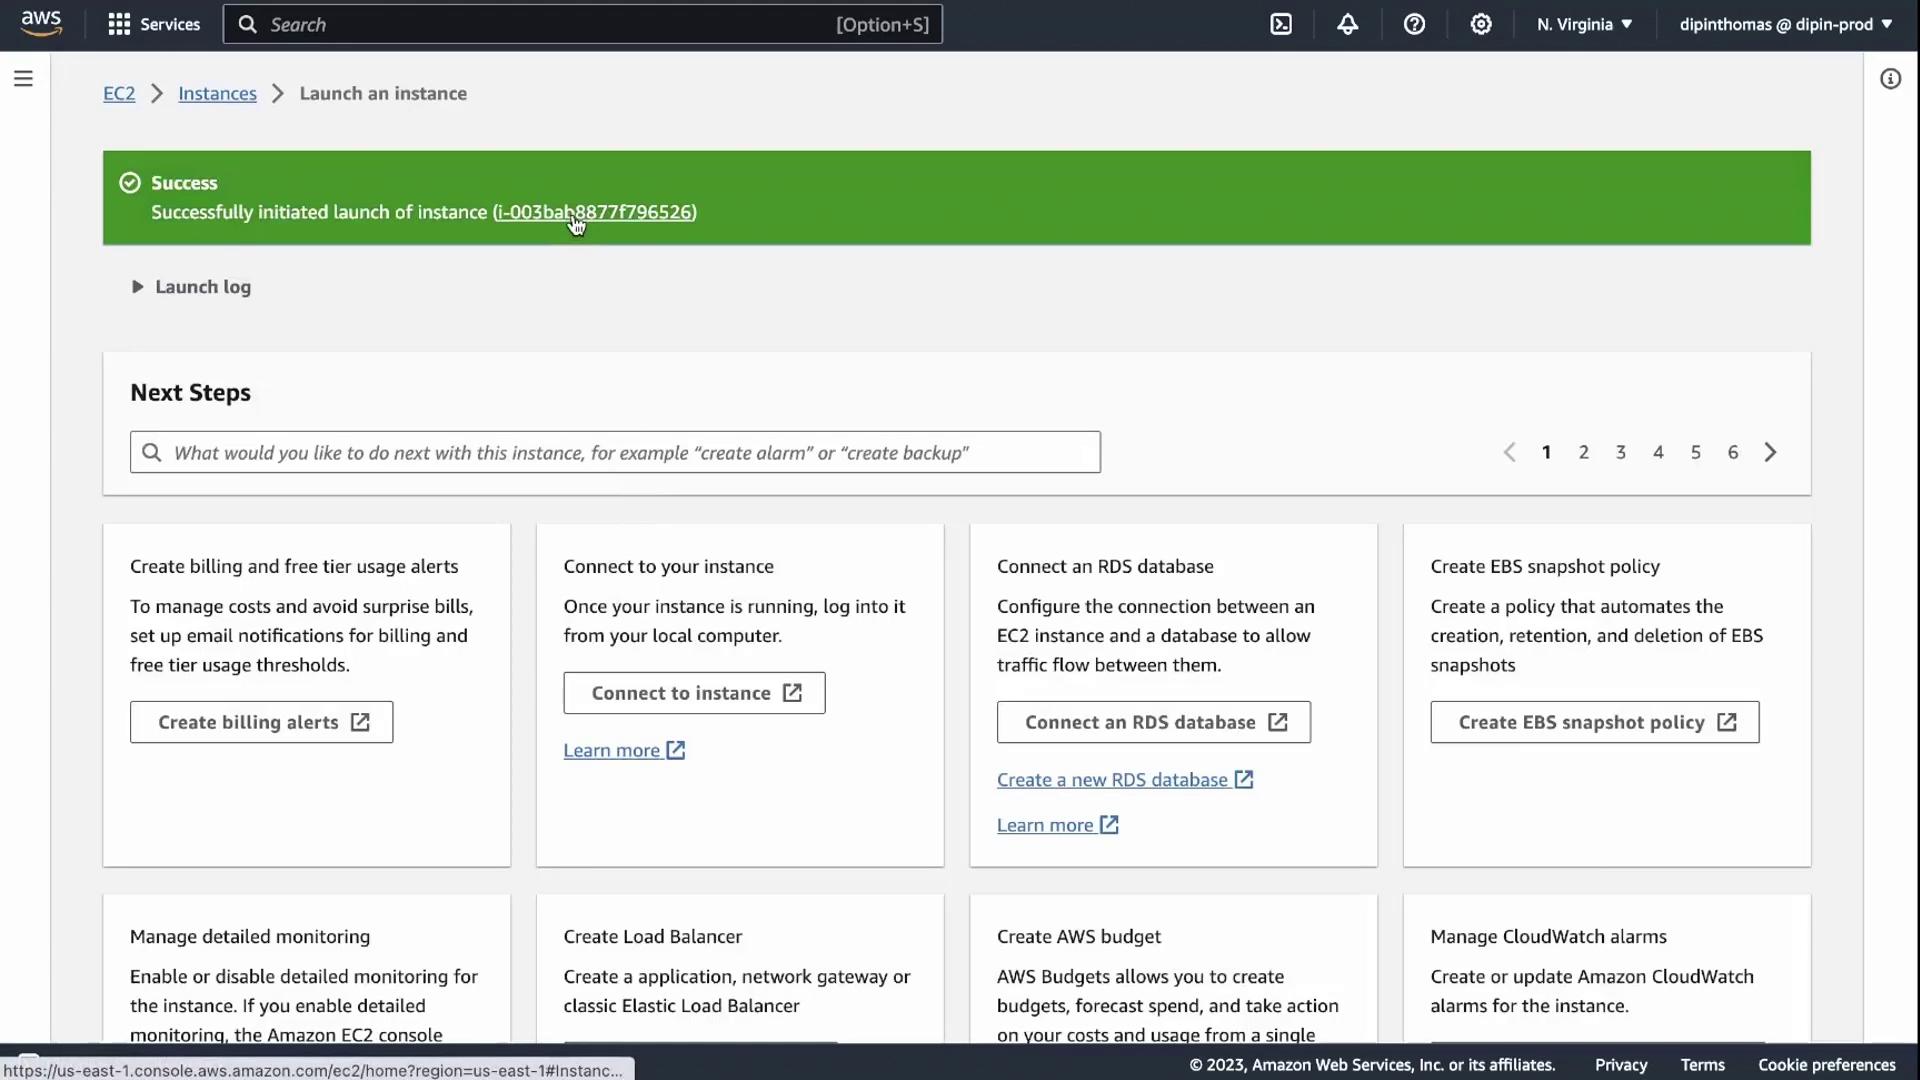
Click **Launch instance**. AWS will provision your VM in seconds.
***
### Instance Overview
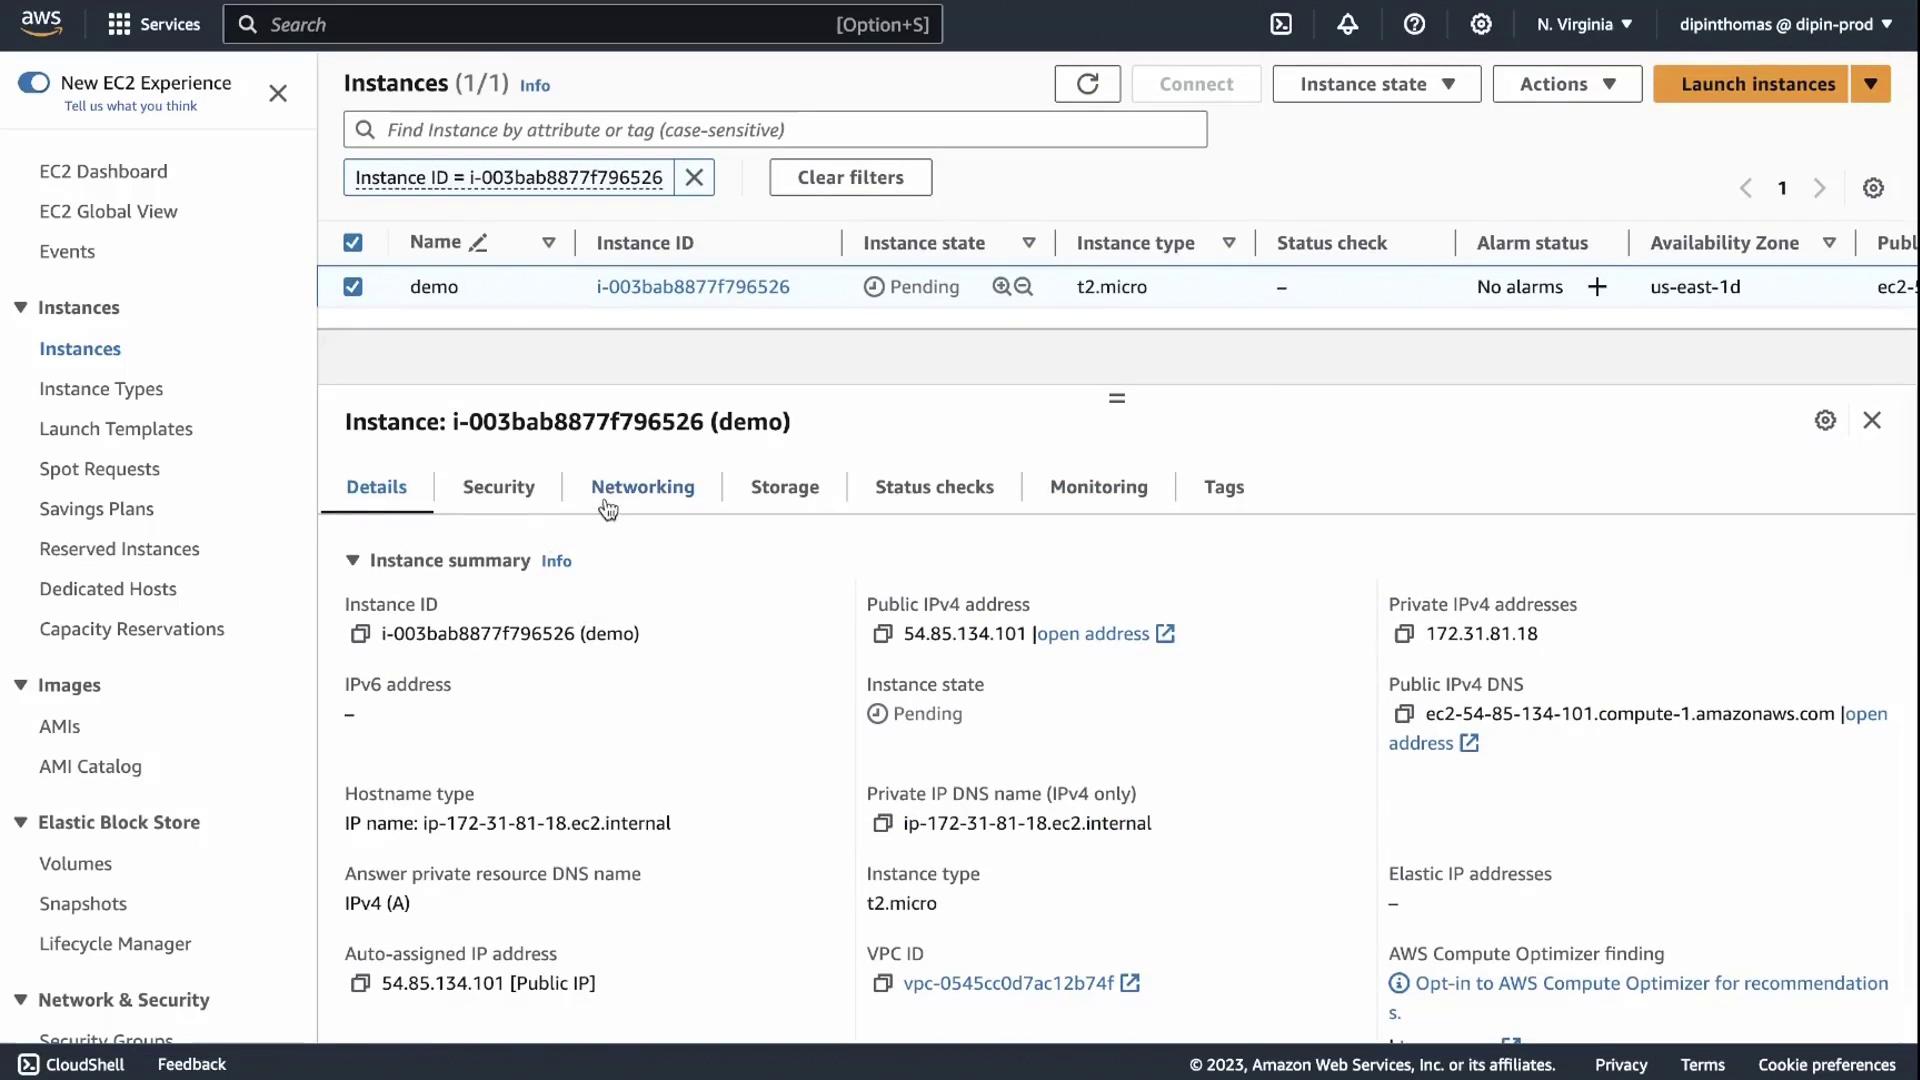
After launch, go to **View instances** or return to the EC2 Dashboard. You’ll see your **demo** instance with status **pending**.
| Property | Description |
| --------------- | ----------------------------------------------- |
| Instance ID | Unique identifier (e.g., `i-003bab8877f796526`) |
| Public IP | IPv4 address assigned for SSH access |
| Private IP | Internal IPv4 address within your VPC |
| AMI ID | Amazon Machine Image identifier |
| Key pair name | SSH key pair used for login |
| Security groups | Firewall rules allowing SSH (port 22) |
| Root volume | 8 GB EBS (gp2 / gp3) |
***
## View Instance Status
Refresh the console to update the state. Once the instance displays **running** and both status checks pass, your server is ready for SSH access and application deployment.
## References
* [AWS EC2 Documentation](https://docs.aws.amazon.com/ec2/)
* [AWS Free Tier](https://aws.amazon.com/free/)
* [Getting Started with Amazon Linux 2023](https://aws.amazon.com/amazon-linux-2/)
Your EC2 instance is now live. Proceed to configure security groups, install software, or deploy your applications. Happy computing!