Amazon Simple Storage Service (Amazon S3)

AWS S3 Basic Features

Demo Static Website

In this tutorial, you’ll learn how to deploy a simple static website using Amazon S3. We’ll cover:

  • Project file structure
  • Configuring S3 for static hosting
  • Setting public access and custom error pages
  • Testing your site endpoint
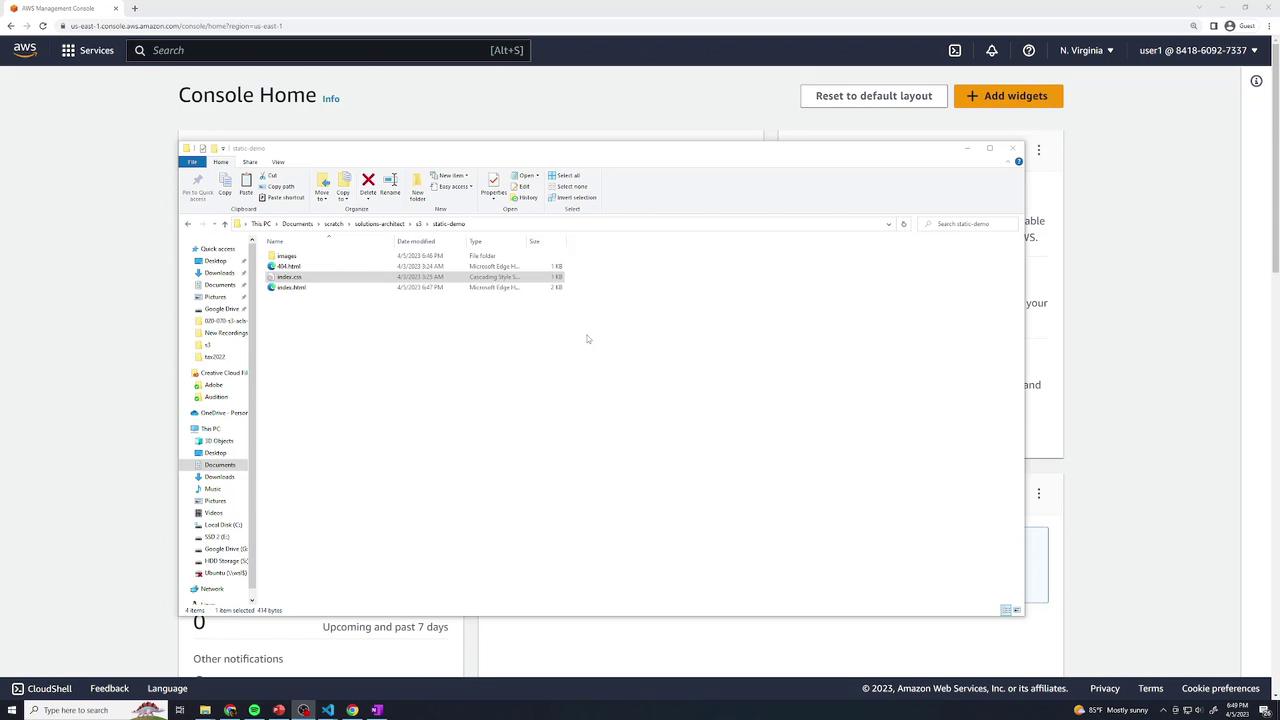
This guide is ideal for developers and DevOps engineers looking to serve HTML, CSS, and images directly from S3.


Project Structure

Your local directory (static-demo/) contains:
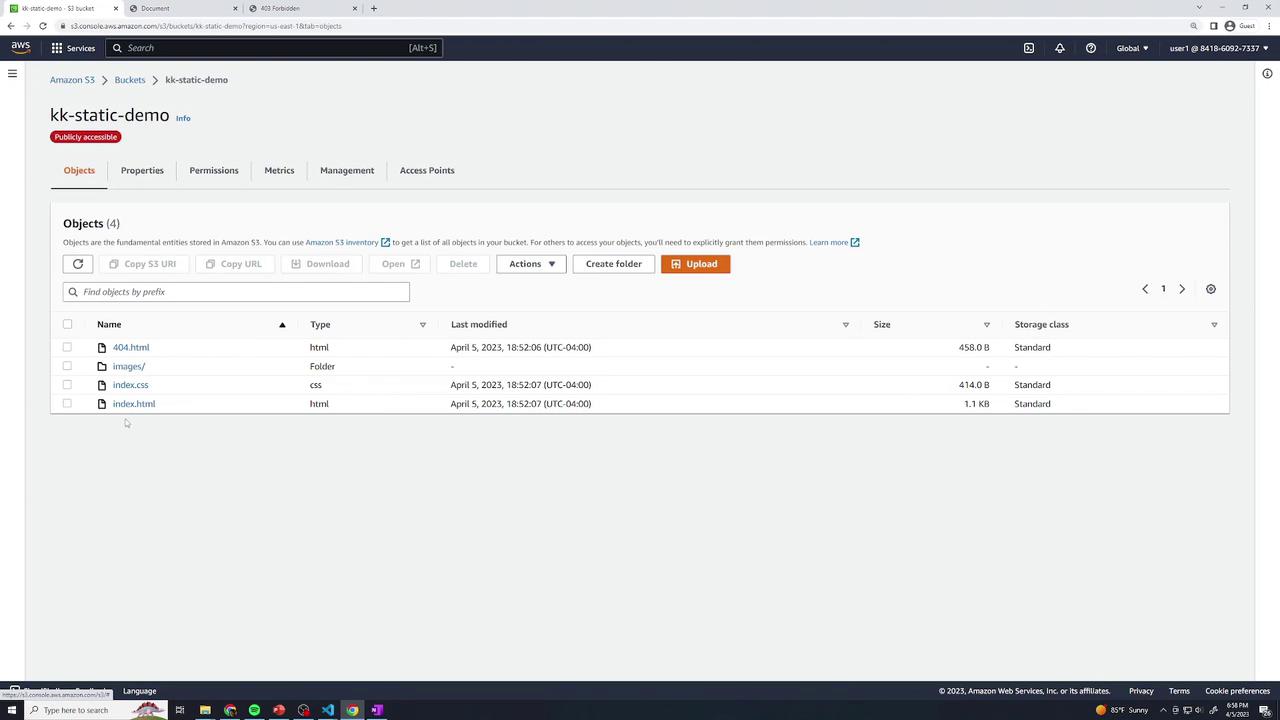
  • index.html – Main gallery page
  • index.css – Layout and styling rules
  • 404.html – Custom error page
  • images/ – JPEG photos used in the gallery

The image shows an AWS Management Console with a Windows File Explorer window open, displaying a folder named "static-demo" containing HTML files and an "images" folder.


index.html

This HTML file defines the page structure and references your CSS and images:

<!DOCTYPE html>
<html lang="en">
<head>
  <meta charset="UTF-8" />
  <meta http-equiv="X-UA-Compatible" content="IE=edge" />
  <meta name="viewport" content="width=device-width, initial-scale=1.0" />
  <link rel="stylesheet" href="index.css" />
  <title>Food Gallery</title>
</head>
<body>
  <div class="container">
    <div class="images">
      <!-- Nine food images displayed in a grid -->
      <div class="image"><img src="images/food1.jpg" alt="Food 1" /></div>
      <div class="image"><img src="images/food2.jpg" alt="Food 2" /></div>
      <div class="image"><img src="images/food3.jpg" alt="Food 3" /></div>
      <div class="image"><img src="images/food4.jpg" alt="Food 4" /></div>
      <div class="image"><img src="images/food5.jpg" alt="Food 5" /></div>
      <div class="image"><img src="images/food6.jpg" alt="Food 6" /></div>
      <div class="image"><img src="images/food7.jpg" alt="Food 7" /></div>
      <div class="image"><img src="images/food8.jpg" alt="Food 8" /></div>
      <div class="image"><img src="images/food9.jpg" alt="Food 9" /></div>
      <div class="image"><img src="images/food10.jpg" alt="Food 10" /></div>
    </div>
  </div>
</body>
</html>

Your accompanying index.css defines a responsive grid layout, background colors, and typography. Place all JPEGs in the images/ folder.


404.html

When users request a missing resource, S3 serves this custom error page:

<!DOCTYPE html>
<html lang="en">
<head>
  <meta charset="UTF-8" />
  <meta http-equiv="X-UA-Compatible" content="IE=edge" />
  <meta name="viewport" content="width=device-width, initial-scale=1.0" />
  <link rel="stylesheet" href="index.css" />
  <title>Page Not Found</title>
</head>
<body>
  <div class="container">
    <h1 class="head-404">404</h1>
    <h2 class="text-404">Page not found</h2>
  </div>
</body>
</html>

Note

You can preview both pages locally by opening index.html in your browser. The CSS grid will display your food gallery.


1. Create an S3 Bucket

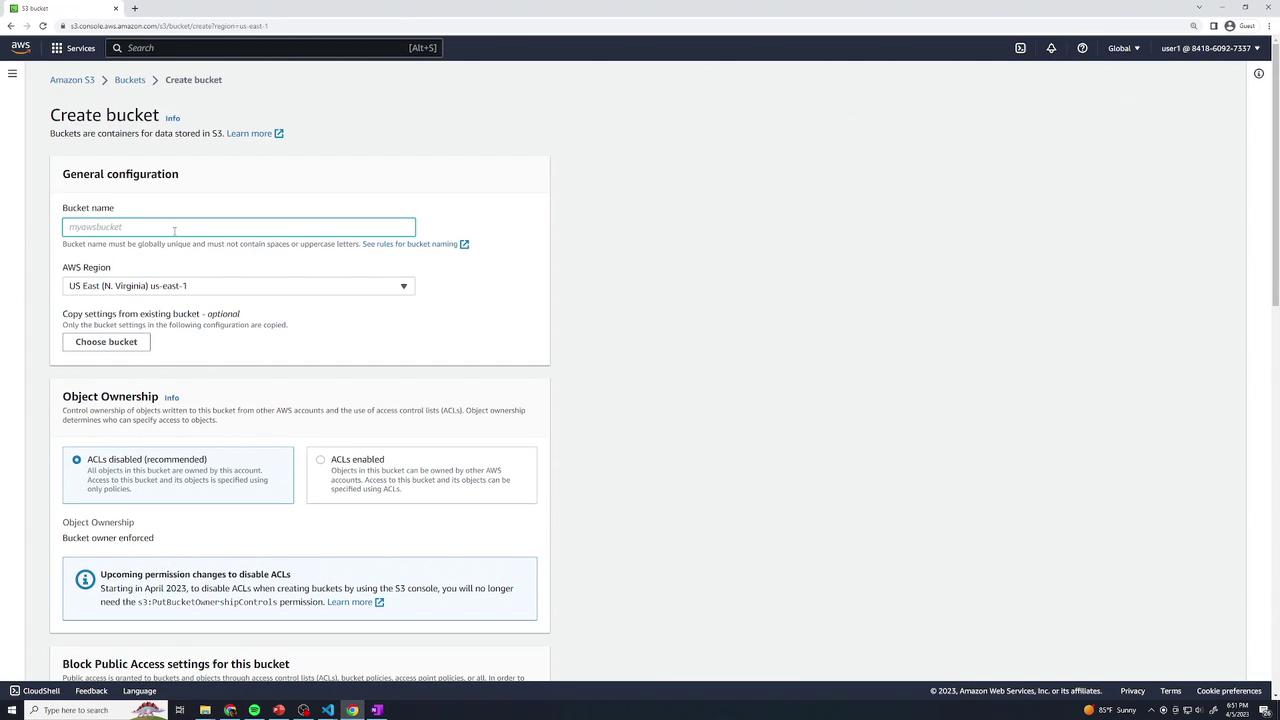
  1. Open the Amazon S3 console and click Create bucket.
  2. Enter a unique bucket name (e.g., kk-static-demo) and select your region.
  3. Keep default settings and click Create bucket.

The image shows the AWS S3 console interface for creating a new bucket, with fields for bucket name, region selection, and object ownership settings.

Once created, locate your bucket in the list:

The image shows the Amazon S3 Management Console with a notification of a successfully created bucket named "kk-static-demo." The console displays the bucket's details, including its creation date.


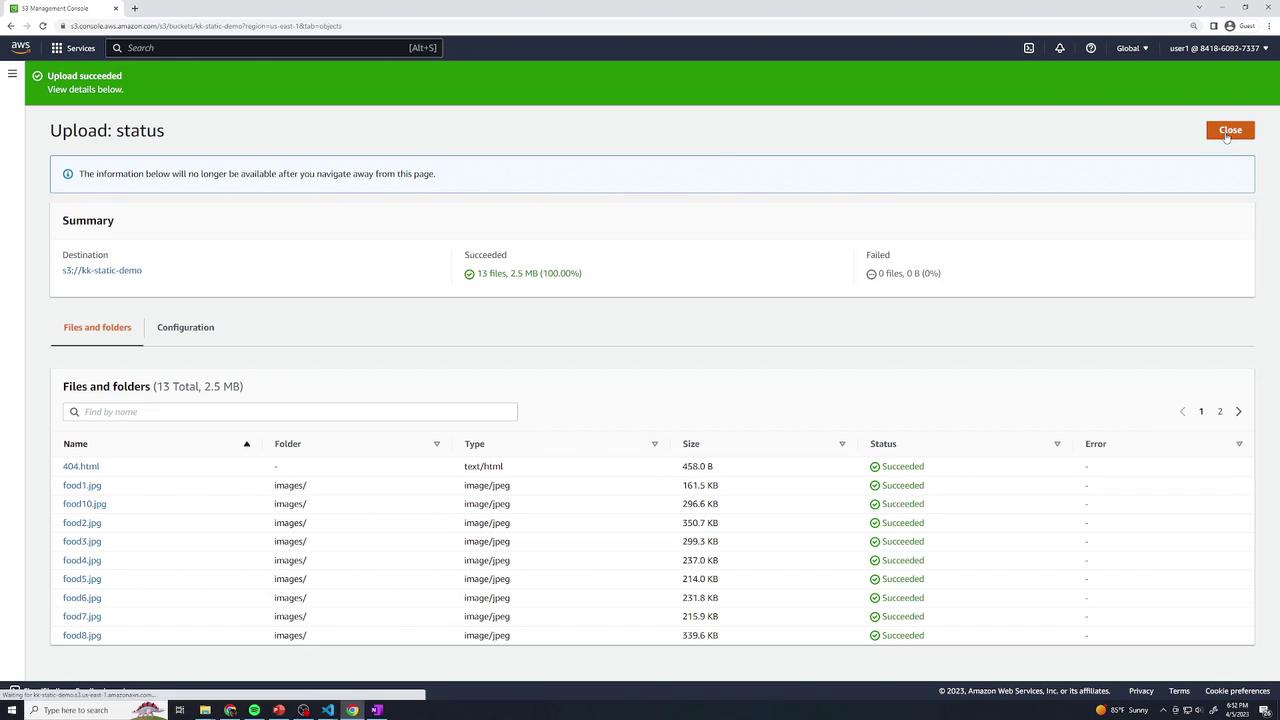
2. Upload Website Files

  1. Click your bucket name to open it.
  2. Drag & drop index.html, index.css, 404.html, and the images/ folder into the console.
  3. Choose Upload and confirm.

The image shows an AWS S3 Management Console screen with a successful upload status for 13 files totaling 2.5 MB. The files listed include images and an HTML file, all marked as succeeded.


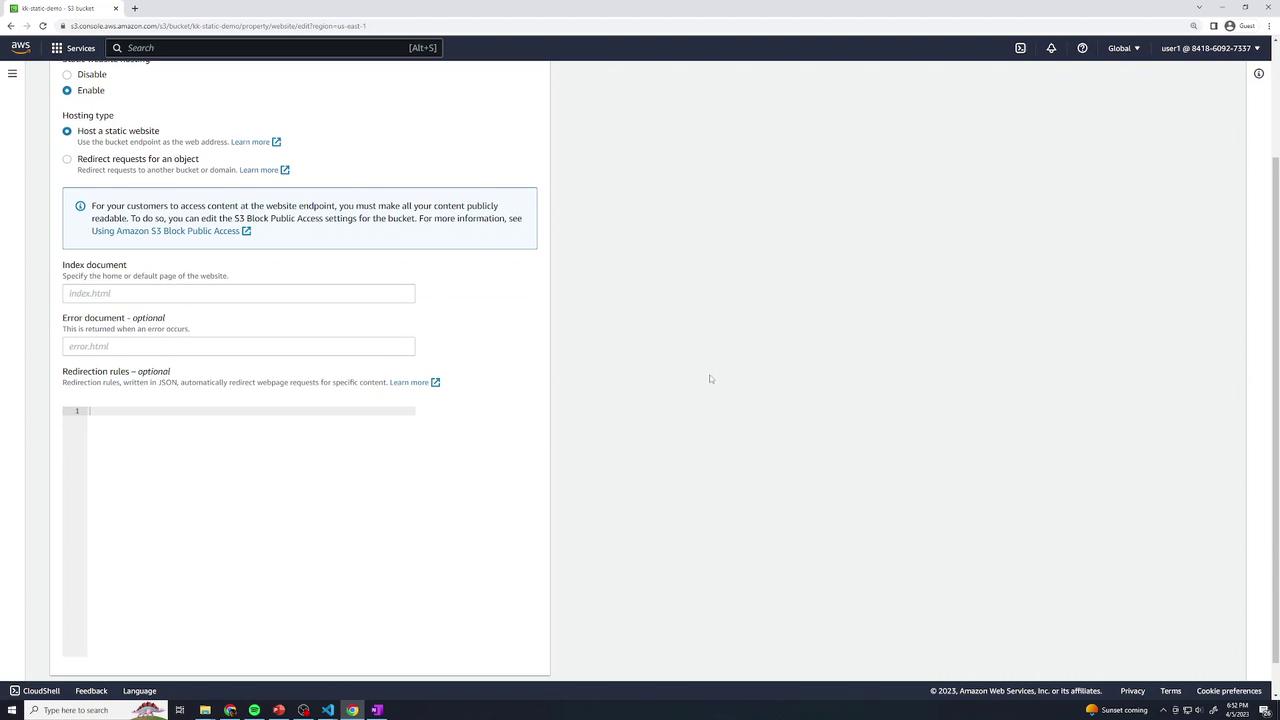
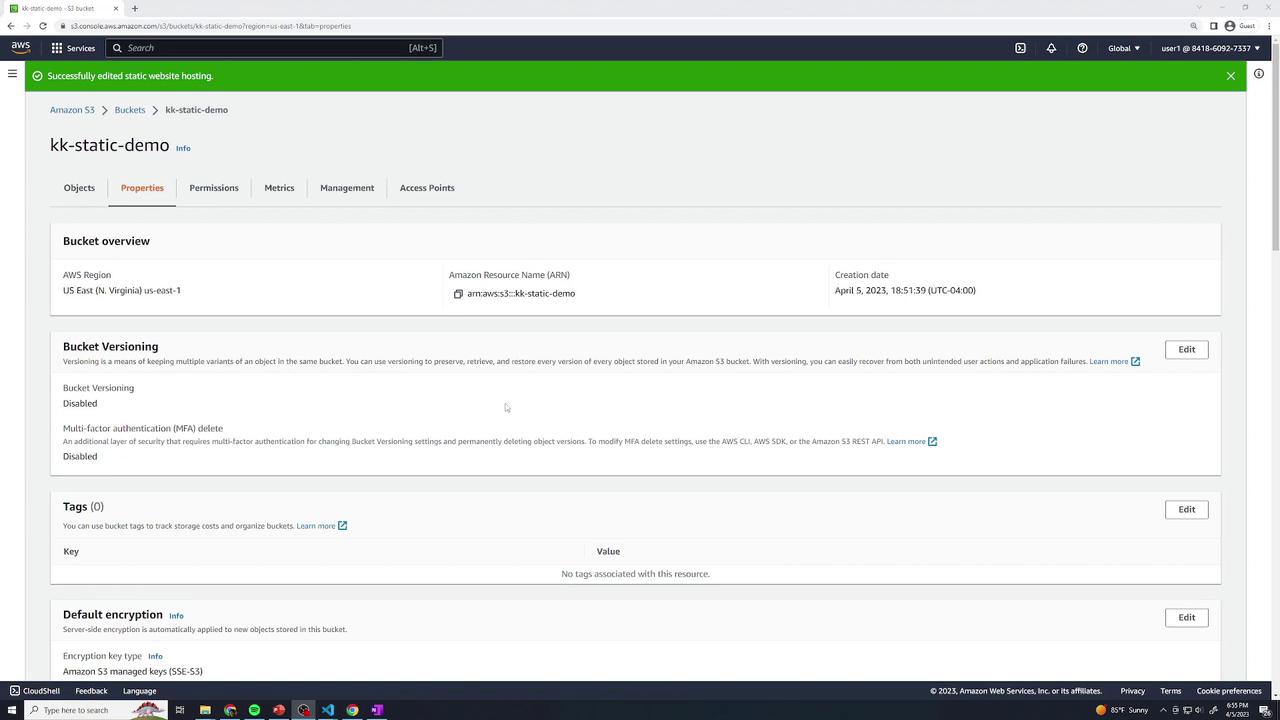
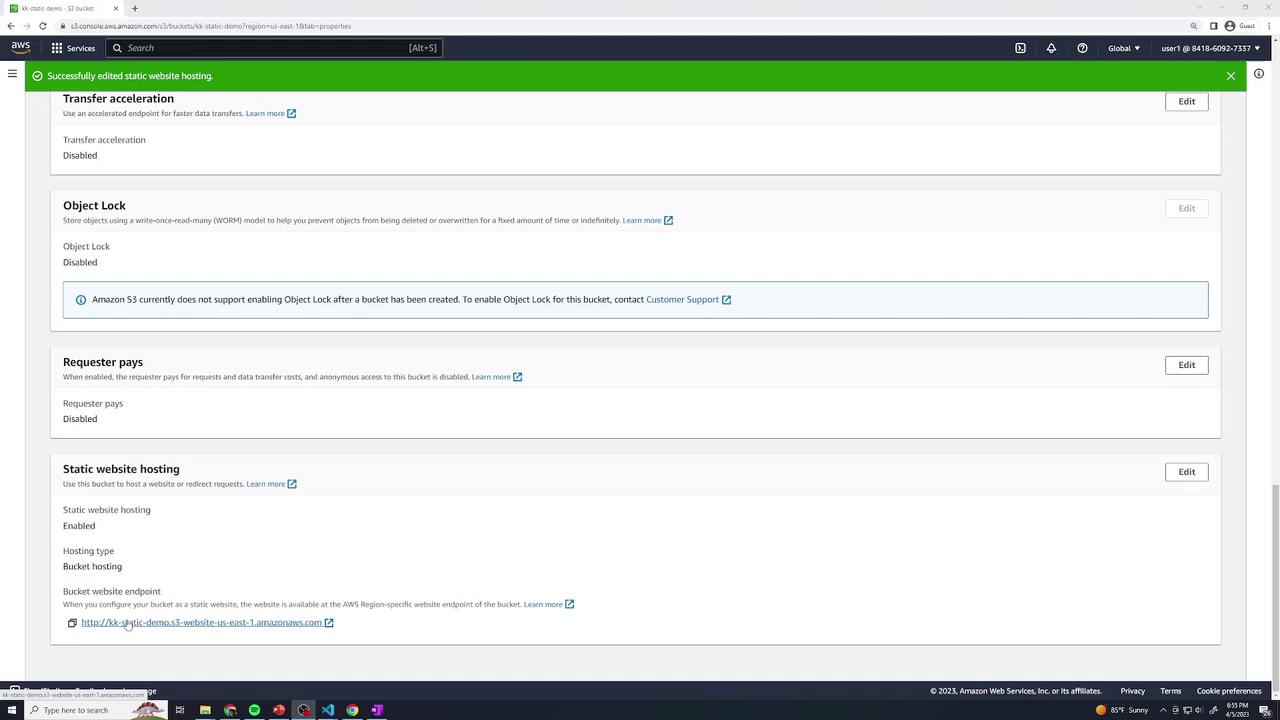
3. Enable Static Website Hosting

  1. In your bucket, navigate to PropertiesStatic website hostingEdit.
  2. Select Enable.
  3. For Index document, enter index.html.
  4. For Error document, enter 404.html.
  5. Save changes.

The image shows an Amazon Web Services (AWS) S3 bucket configuration page for setting up a static website. It includes options for enabling website hosting, specifying index and error documents, and adding redirection rules.

Review the bucket’s static hosting properties:

The image shows an Amazon S3 bucket properties page for "kk-static-demo," displaying details like bucket versioning, tags, and default encryption settings. The bucket is located in the US East (N. Virginia) region.

You should see a Bucket website endpoint listed:

The image shows an Amazon S3 console page with settings for a bucket, including options for transfer acceleration, object lock, requester pays, and static website hosting. Static website hosting is enabled, and a bucket website endpoint is provided.

At this point, clicking the endpoint yields Access Denied since the bucket is private.


4. Configure Public Access

4.1 Disable Block Public Access

  1. Go to PermissionsBlock public access (bucket settings)Edit.
  2. Uncheck Block all public access and confirm.

The image shows an AWS S3 bucket permissions settings page, where public access is blocked. The "Block all public access" option is turned on, and there is a note about the bucket policy.

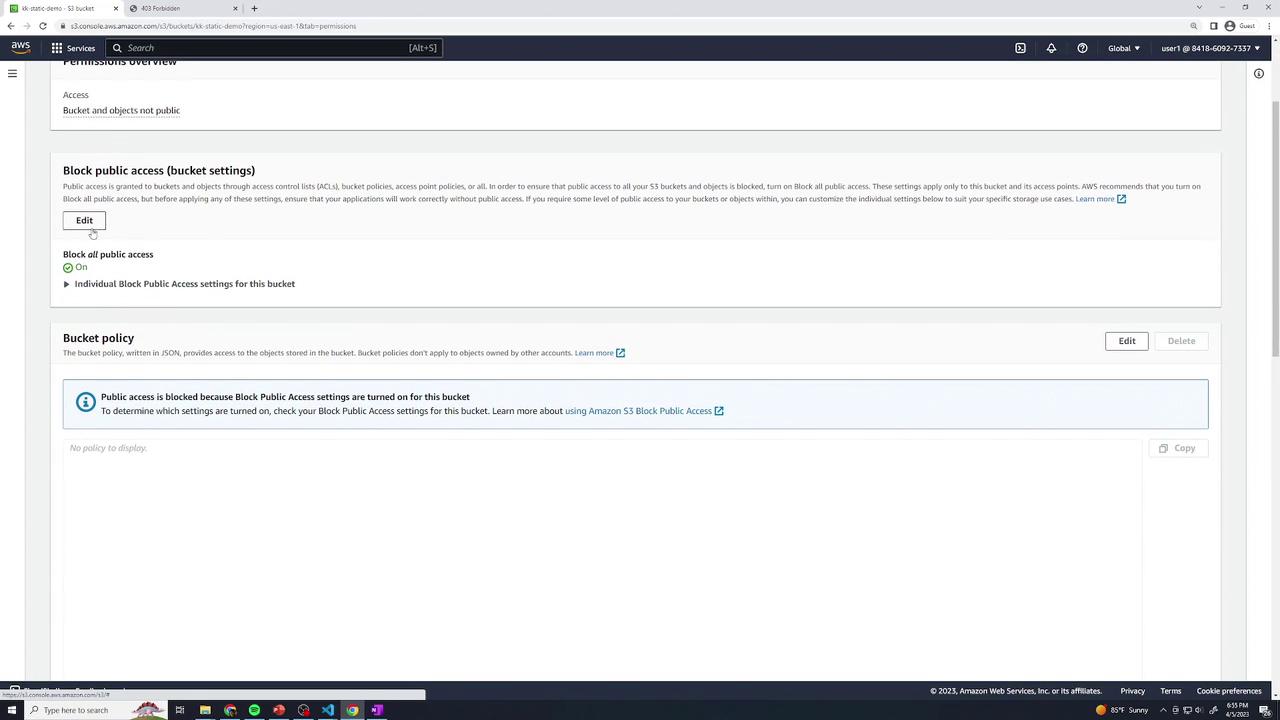
4.2 Add a Bucket Policy

Still under Permissions, select Bucket policy and paste the following JSON (replace the ARN with your bucket name):

{
  "Version": "2012-10-17",
  "Statement": [
    {
      "Sid": "AllowPublic",
      "Principal": "*",
      "Effect": "Allow",
      "Action": ["s3:GetObject"],
      "Resource": ["arn:aws:s3:::kk-static-demo/*"]
    }
  ]
}

Save the policy. Alternatively, use the Add a resource UI:

The image shows a web interface for adding a resource in AWS, specifically for an S3 service, with a dropdown menu for selecting the resource type.

Your bucket will now appear publicly accessible:

The image shows an Amazon S3 bucket permissions page, indicating that the bucket "kk-static-demo" is publicly accessible, with options to block public access and a section displaying the bucket policy in JSON format.

Warning

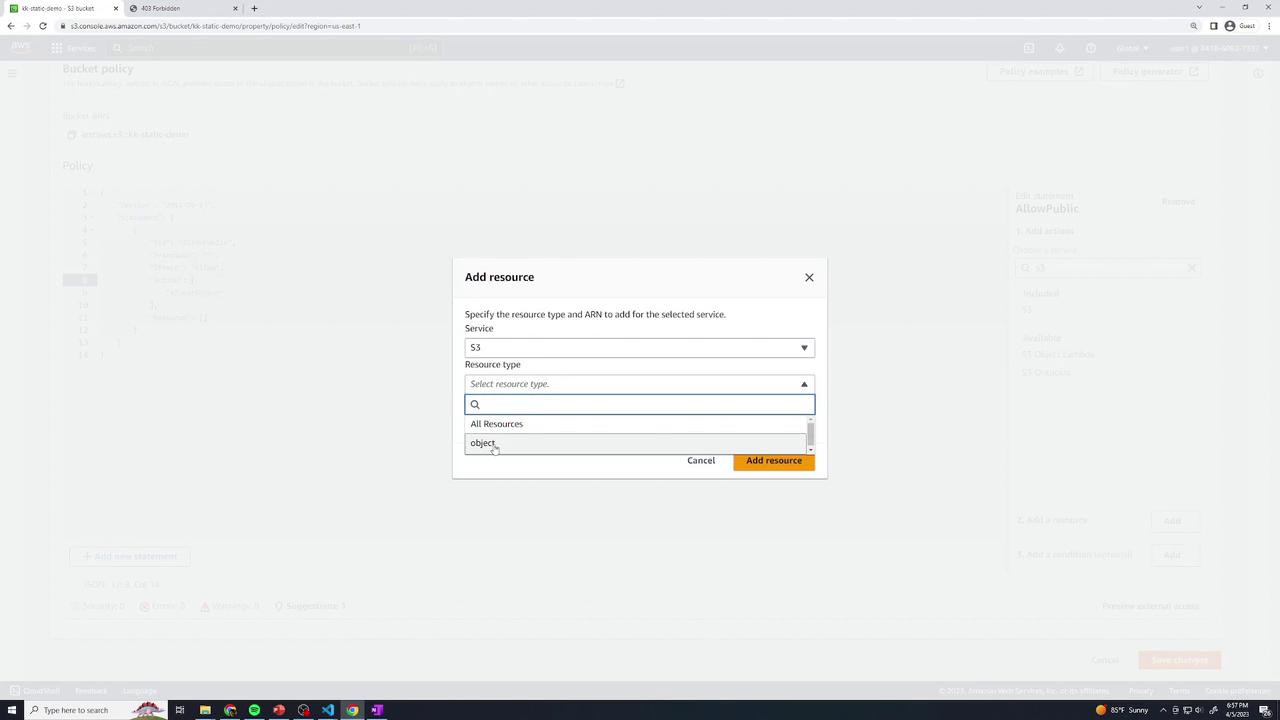
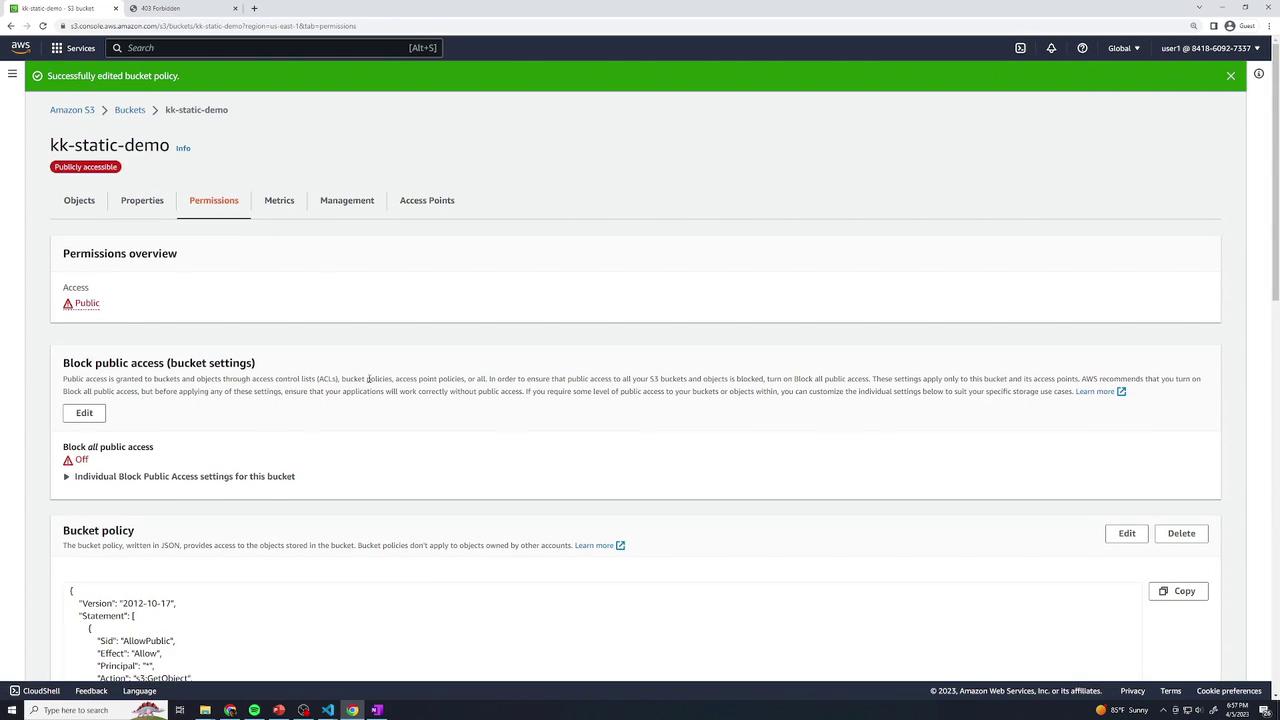
Making your bucket public exposes all objects. Ensure only intended files are uploaded.


5. Test Your Static Website

Return to PropertiesStatic website hosting and click the endpoint link. You should see the food gallery home page.

You do not need to append /index.html—the index document is served automatically.

The image shows an Amazon S3 bucket interface with a list of objects, including HTML and CSS files, and a folder named "images." The bucket is labeled as "publicly accessible."

ResourceURL Pattern
Home pagehttp://kk-static-demo.s3-website-<region>.amazonaws.com/
Explicit indexhttp://kk-static-demo.s3-website-<region>.amazonaws.com/index.html
Specific imagehttp://kk-static-demo.s3-website-<region>.amazonaws.com/images/food1.jpg
Missing resource (404 page)http://kk-static-demo.s3-website-<region>.amazonaws.com/does-not-exist

References

Watch Video

Watch video content

Practice Lab

Practice lab

Previous
Static Website