Prerequisites
- An AWS account with S3 access.
- IAM user permissions:
s3:CreateBucket,s3:PutObject,s3:PutObjectStorageClass. - Familiarity with the Amazon S3 console.
Choosing the right storage class balances cost, durability, and retrieval time. Review S3 pricing before proceeding.
1. Create a New S3 Bucket
- Open the Amazon S3 console.
- Click Create bucket.
- Enter Bucket name:
kk-sc-demo. - Leave default settings and click Create bucket.
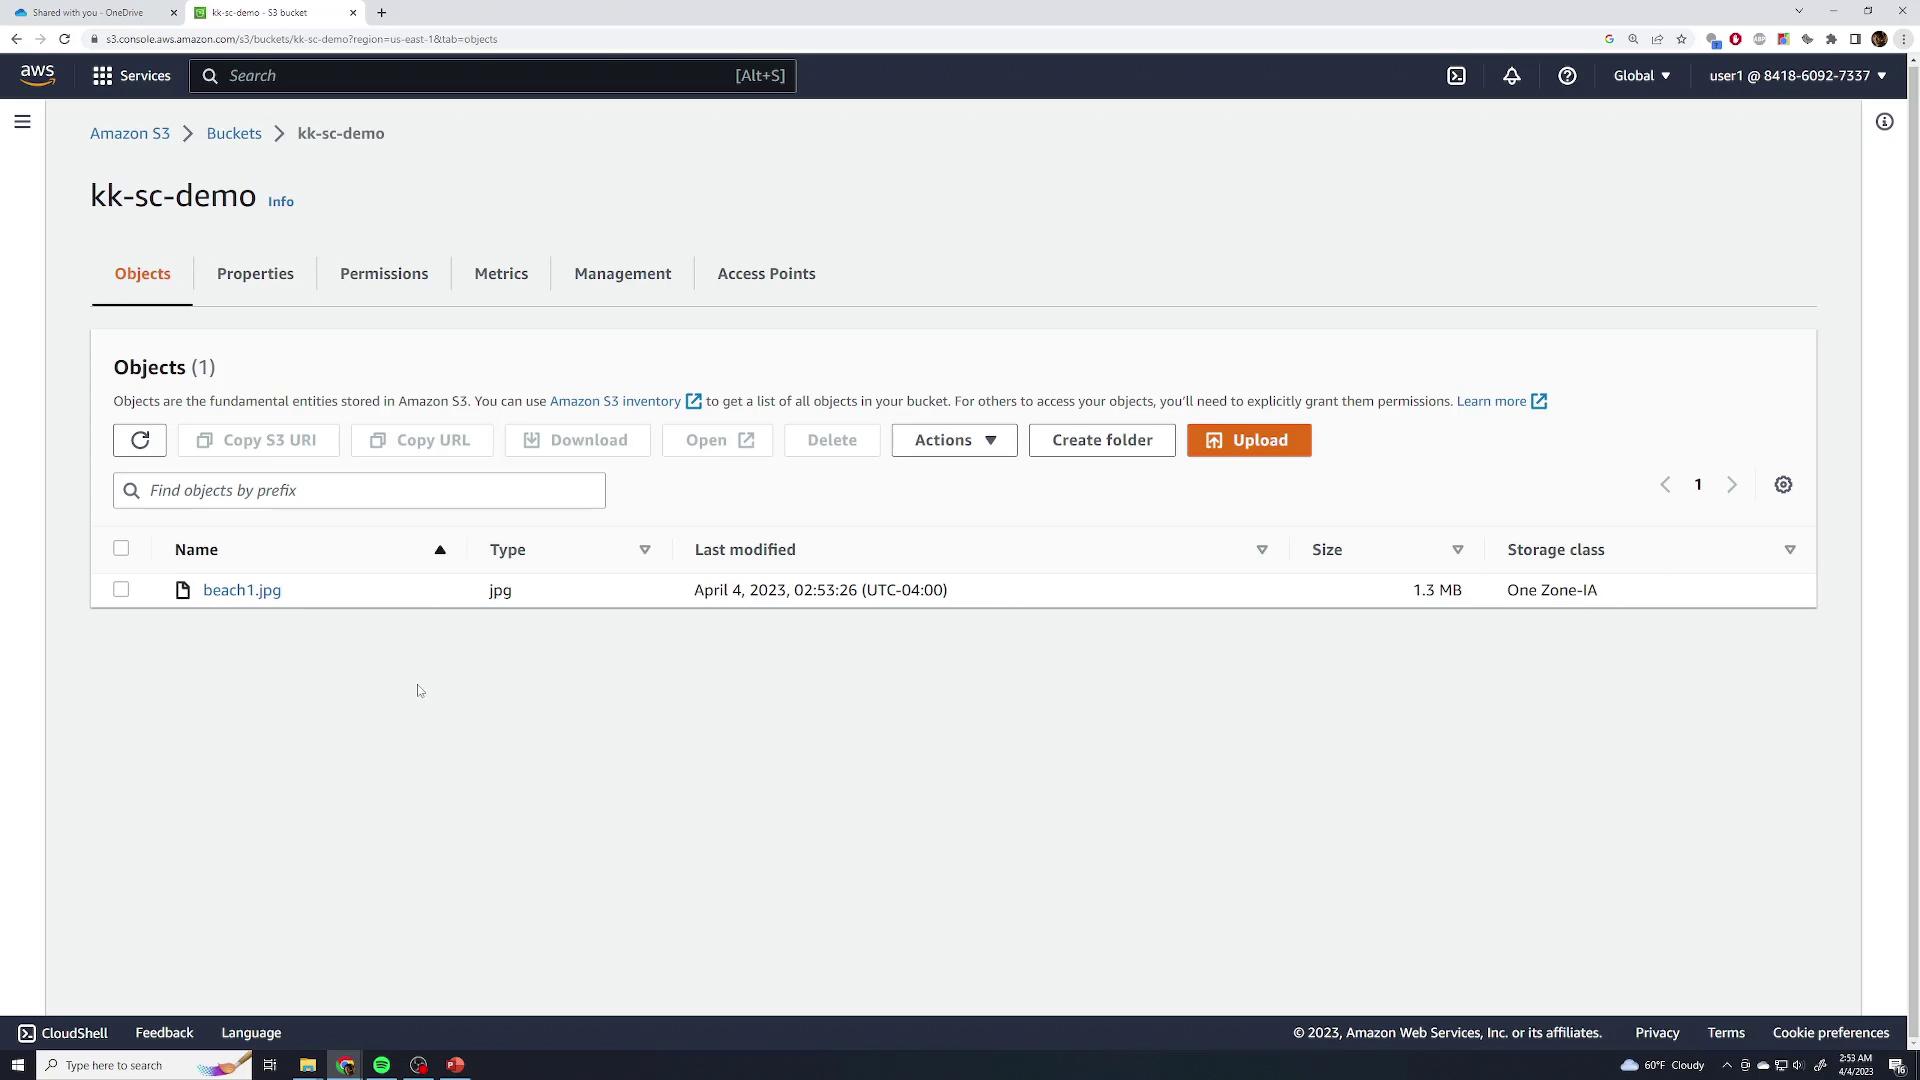
2. Upload an Object with a Custom Storage Class
- In the kk-sc-demo bucket, click Upload.
- Choose Add files and select your file.
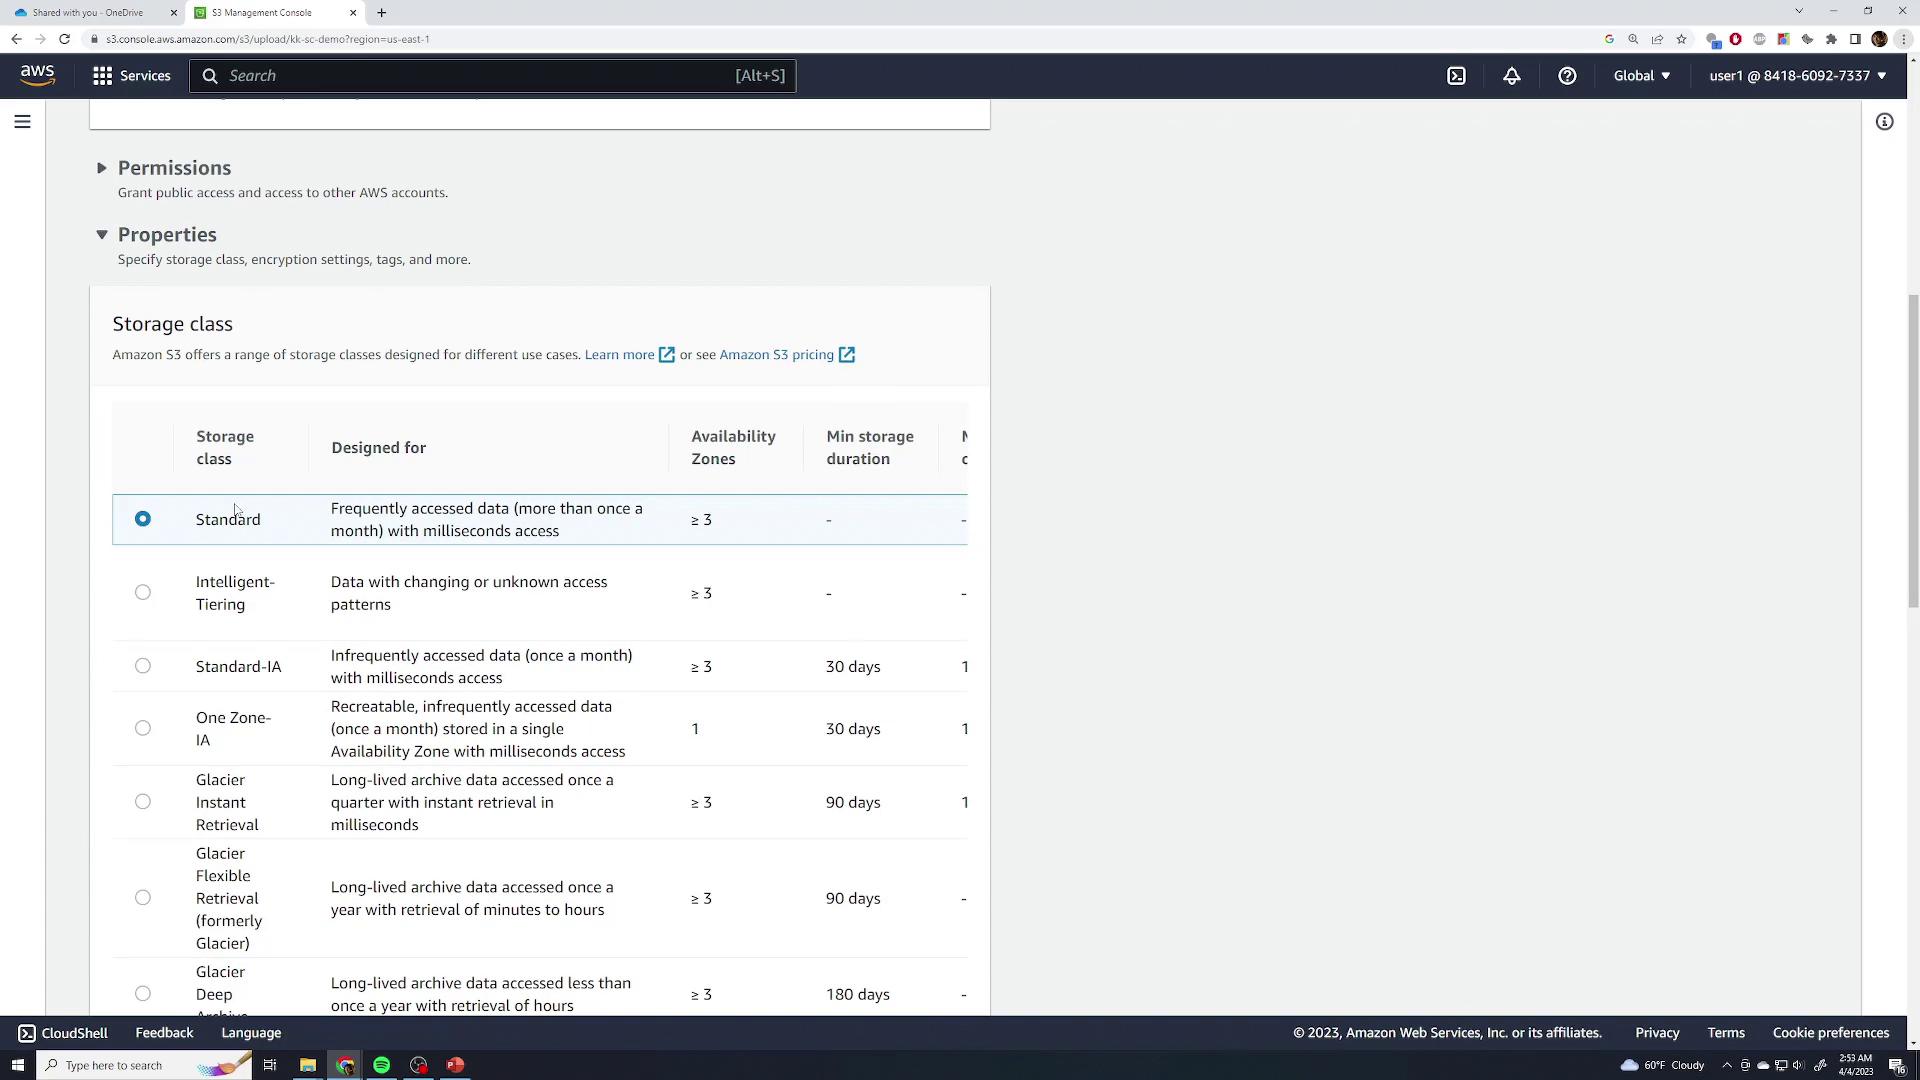
- Under Properties, expand Storage class and select One Zone-IA (default is Standard).
- Click Upload. The object now appears with the specified storage class.
Storage Class Comparison
| Storage Class | Use Case | Min. Storage Duration | Durability & Availability |
|---|---|---|---|
| Standard | Frequent access | None | 99.999999999% durability, 99.99% avail. |
| One Zone-IA | Infrequent access, lower cost | 30 days | 99.999999999% durability, single AZ |
| Intelligent-Tiering | Unknown/variable access patterns | 30 days | Auto-optimizes cost |
| Glacier Flexible Retrieval | Long-term archive, infrequent access | 90 days | 99.999999999% durability, minutes retrieval |
| Glacier Deep Archive | Archival with minimal retrieval | 180 days | Lowest-cost archival storage |
Archival classes (Glacier) incur retrieval fees and can take from minutes to hours.
3. Change the Storage Class of an Existing Object
- In the kk-sc-demo bucket, select the object (e.g.,
beach1.jpg). - Choose Actions → Change storage class.
- Select Standard (or another class) and click Save.