CKA Certification Course - Certified Kubernetes Administrator
Install Kubernetes the kubeadm way
Demo Deployment with Kubeadm
In this guide, we'll walk through bootstrapping a Kubernetes cluster using kubeadm. The setup involves three virtual machines (VMs): one control plane (master) node and two worker nodes. We will review the VM network configurations, install the container runtime and Kubernetes components, initialize the control plane, deploy a pod network add-on, and finally join the worker nodes to complete the cluster.
1. VM Overview and Network Interfaces
Before you start, ensure that all required VMs are created. The cluster consists of one master and two worker nodes. Verify the network interfaces on each node by executing the ip add command.
Master Node Network Configuration
Run the following command on the master node:
vagrant@kubemaster:~$ ip add
1: lo: <LOOPBACK,UP,LOWER_UP> mtu 65536 qdisc noqueue state UNKNOWN group default qlen 1000
    link/loopback 00:00:00:00:00:00 brd 00:00:00:00:00:00
    inet 127.0.0.1/8 scope host lo
       valid_lft forever preferred_lft forever
    inet6 ::1/128 scope host
       valid_lft forever preferred_lft forever
2: enp0s3: <BROADCAST,MULTICAST,UP,LOWER_UP> mtu 1500 qdisc fq_codel state UP group default qlen 1000
    link/ether 02:95:21:8a:38:bd brd ff:ff:ff:ff:ff:ff
    inet 10.0.2.15/24 metric 100 brd 10.0.2.255 scope global dynamic enp0s3
       valid_lft forever preferred_lft 51sec
    inet6 fe80::95:21ff:fe8a:38bd/64 scope link
       valid_lft forever preferred_lft forever
3: enp0s8: <BROADCAST,MULTICAST,UP,LOWER_UP> mtu 1500 qdisc fq_codel state UP group default qlen 1000
    link/ether 02:42:fd:69:82:cd brd ff:ff:ff:ff:ff:ff
    inet 192.168.44.2/24 brd 192.168.44.255 scope global enp0s8
       valid_lft forever preferred_lft forever
    inet6 fe80::42:fdff:fe69:82cd/64 scope link
       valid_lft forever preferred_lft forever

vagrant@kubemaster:~$ ls
vagrant@kubemaster:~$
Worker Node One Network Configuration
On the first worker node, run:
vagrant@kubenode01:~$ ip add
1: lo: <LOOPBACK,UP,LOWER_UP> mtu 65536 qdisc noqueue state UNKNOWN group default qlen 1000
   link/loopback 00:00:00:00:00:00:00
   inet 127.0.0.1/8 scope host lo
      valid_lft forever preferred_lft forever
   inet6 ::1/128 scope host
      valid_lft forever preferred_lft forever
2: enp0s3: <BROADCAST,MULTICAST,UP,LOWER_UP> mtu 1500 qdisc fq_codel state UP group default qlen 1000
   link/ether 02:95:e1:8a:38:bd brd ff:ff:ff:ff:ff:ff
   inet 10.0.2.15/24 metric 100 brd 10.0.2.255 scope global dynamic enp0s3
      valid_lft 83015sec preferred_lft 0sec
   inet6 fe80::a00:27ff:fe47:a2e/64 scope link
      valid_lft forever preferred_lft forever
3: enp0s8: <BROADCAST,MULTICAST,UP,LOWER_UP> mtu 1500 qdisc fq_codel state UP group default qlen 1000
   link/ether 02:95:e1:8a:38:bd brd ff:ff:ff:ff:ff:ff
   inet 192.168.56.101/24 metric 1024 scope global enp0s8
      valid_lft forever preferred_lft forever

vagrant@kubenode01:~$
Worker Node Two Network Configuration
On the second worker node, verify the network configuration:
vagrant@kubenode02:~$ ip add
1: lo: <LOOPBACK,UP,LOWER_UP> mtu 65536 qdisc noqueue state UNKNOWN group default qlen 1000
    link/loopback 00:00:00:00:00:00
    inet 127.0.0.1/8 scope host lo
       valid_lft forever preferred_lft forever
    inet6 ::1/128 scope link
       valid_lft forever preferred_lft forever
2: enp03: <BROADCAST,MULTICAST,UP,LOWER_UP> mtu 1500 qdisc fq_codel state UP group default qlen 1000
    link/ether 02:95:e1:8a:38:b0 brd ff:ff:ff:ff:ff:ff
    inet 10.12.0.2/24 brd 10.12.0.255 scope global dynamic enp0s3
       valid_lft 83155sec
    inet6 fe80::f50:e:38b:d6c5/64 scope link
       valid_lft forever preferred_lft forever
3: enp08: <BROADCAST,MULTICAST,UP,LOWER_UP> mtu 1500 qdisc fq_codel state UP group default qlen 1000
    link/ether 02:80:2c:50:5d:f0 brd ff:ff:ff:ff:ff:ff
    inet6 fe80::27f:f50:5c0:5c0/64 scope link
       valid_lft forever preferred_lft forever
vagrant@kubenode02:~$
The output confirms that each node has the correct network interfaces and associated IP addresses, ensuring both dynamic and static configurations are in place.
2. Reviewing Prerequisites
Before initializing your Kubernetes cluster, verify the following prerequisites:
- A supported Linux distribution (e.g., Ubuntu).
- A minimum of 2 GB memory and at least two CPUs per node.
- Required kernel modules (BR, netfilter, overlay) are loaded.
Note
Ensure that system variables are correctly set (to 1) so the network interfaces function properly. For more details, refer to the official Kubernetes Documentation.
3. Installing the Container Runtime (ContainerD)
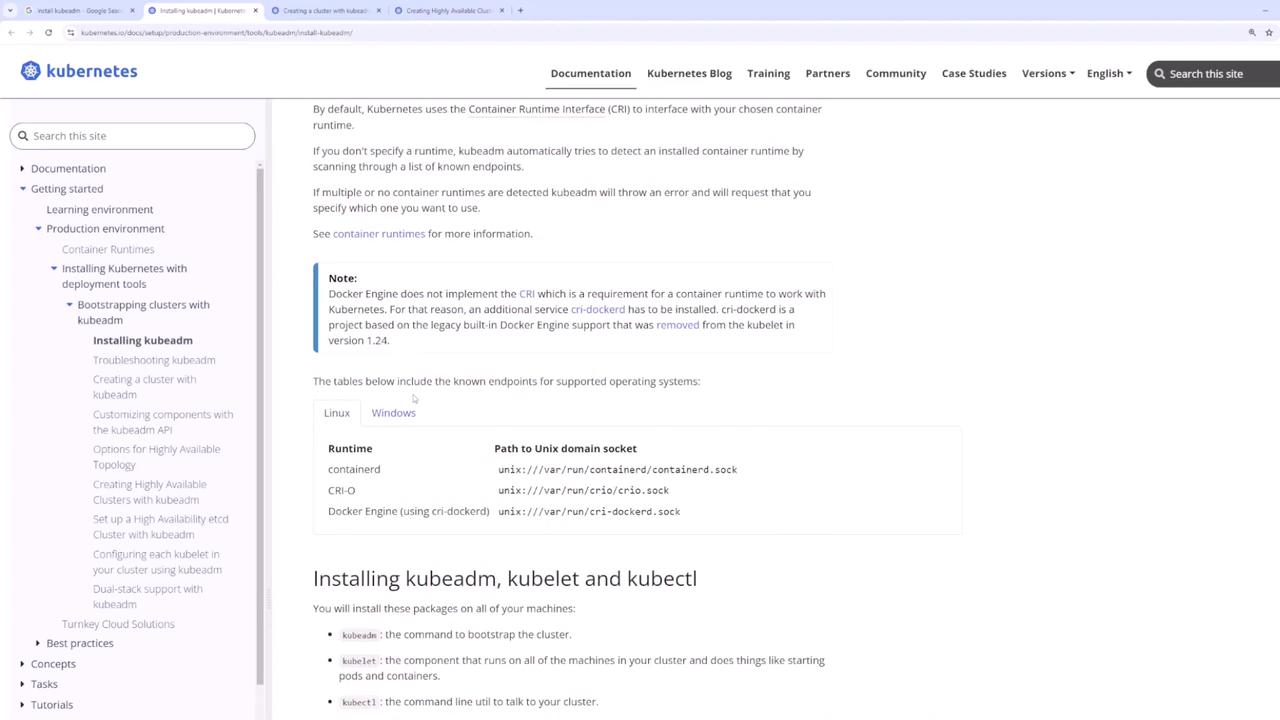
A container runtime is essential on every node. In this example, we will use ContainerD.
Step 1: Add the Kubernetes Repository and GPG Key
Execute these commands on all nodes:
sudo apt-get update
sudo apt-get install -y apt-transport-https ca-certificates curl gnupg
# Create the keyrings directory if it does not exist
sudo mkdir -p /etc/apt/keyrings
curl -fsSL https://pkgs.k8s.io/core/stable/v1.31/deb/Release.key | sudo gpg --dearmor -o /etc/apt/keyrings/kubernetes.gpg
echo "deb [signed-by=/etc/apt/keyrings/kubernetes.gpg] https://pkgs.k8s.io/core/stable/v1.31/deb/ /" | sudo tee /etc/apt/sources.list.d/kubernetes.list
sudo apt-get update
sudo apt-get install -y kubelet kubectl
Step 2: Install ContainerD
Run these commands on each node to install ContainerD:
sudo apt-get update
sudo apt-get install -y kubelet kubeadm kubectl
sudo apt-mark hold kubelet kubeadm kubectl
sudo systemctl enable --now kubelet
Now, install ContainerD:
sudo apt-get update
sudo apt-get install -y containerd
Verify the installation:
sudo systemctl status containerd
Step 3: Configure ContainerD for the systemd Cgroup Driver
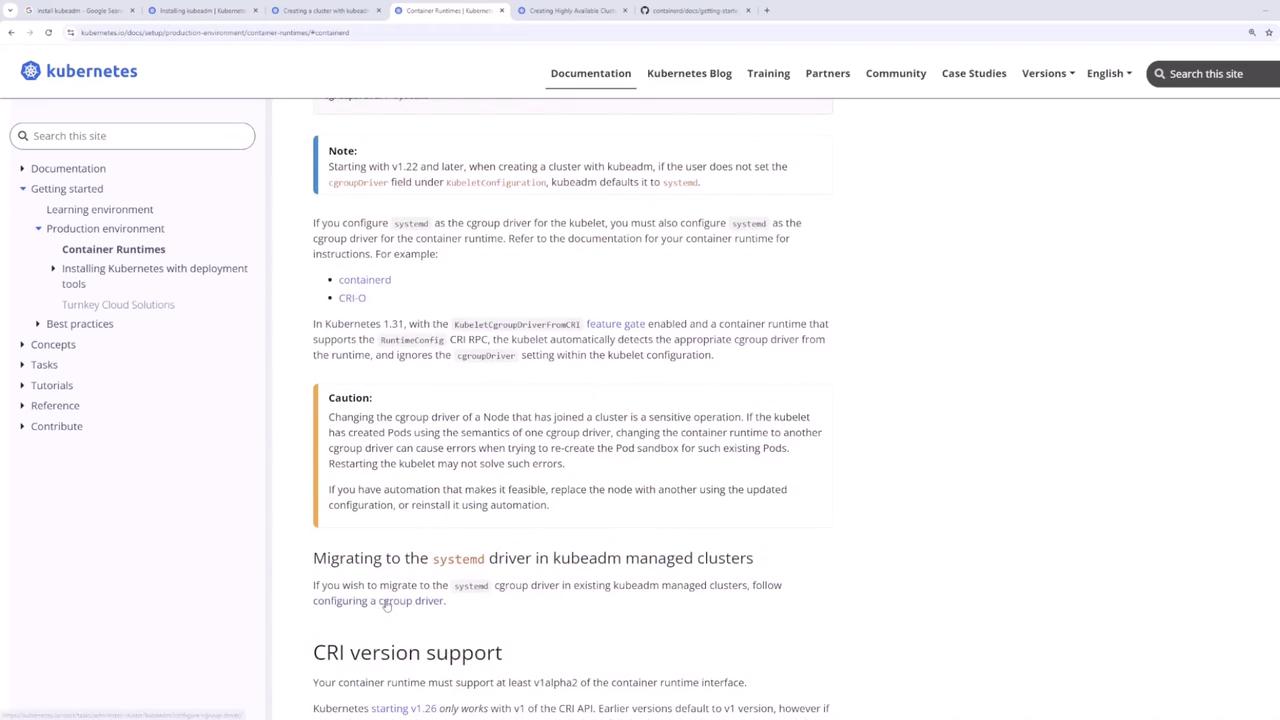
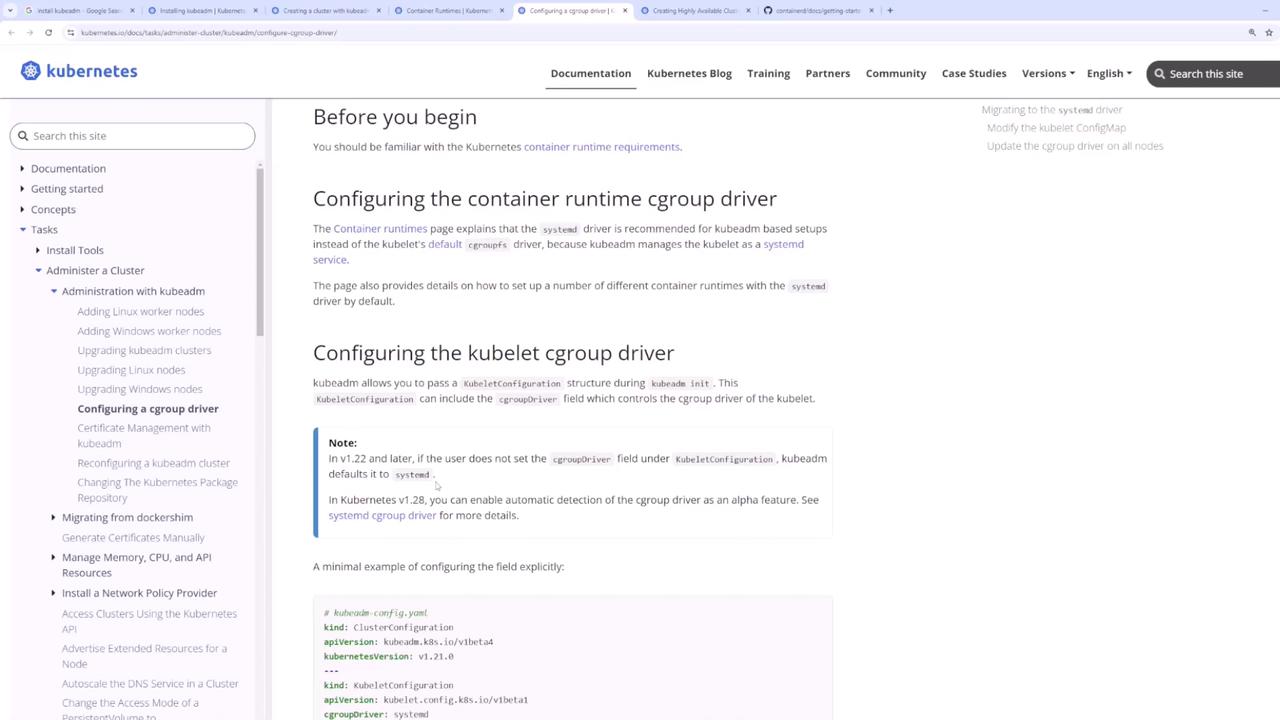
It is critical that both ContainerD and kubelet use the same cgroup driver. Since systemd is the init system (check via ps -p 1), update the ContainerD configuration:
sudo mkdir -p /etc/containerd
containerd config default | sed 's/SystemdCgroup = false/SystemdCgroup = true/' | sudo tee /etc/containerd/config.toml
sudo systemctl restart containerd
Note
For further details on cgroup drivers, please review the container runtime documentation.
4. Installing kubeadm, kubelet, and kubectl
After configuring the container runtime, install the Kubernetes components. Holding these packages prevents unintentional upgrades:
sudo apt-get update
sudo apt-get install -y kubelet kubeadm kubectl
sudo apt-mark hold kubelet kubeadm kubectl
sudo systemctl enable --now kubelet
The components serve the following purposes:
- kubeadm: Bootstraps and manages the cluster initialization.
- kubelet: Manages pods and containers on every node.
- kubectl: Provides the command-line interface to interact with the cluster.
5. Initializing the Kubernetes Cluster
On the master node, initialize the control plane with kubeadm init, making sure to specify the following:
--pod-network-cidr: Sets the CIDR for pod networking (e.g., "10.244.0.0/16").--apiserver-advertise-address: Uses the master node's static IP.
Before proceeding, verify the master node's IP address:
ip addr
For instance, if your master node's static IP is 192.168.56.11, run:
sudo kubeadm init --apiserver-advertise-address=192.168.56.11 --pod-network-cidr="10.244.0.0/16" --upload-certs
After initialization, an admin.conf file is created. Configure kubectl by copying this file:
mkdir -p $HOME/.kube
sudo cp -i /etc/kubernetes/admin.conf $HOME/.kube/config
sudo chown $(id -u):$(id -g) $HOME/.kube/config

export KUBECONFIG=/etc/kubernetes/admin.conf
Confirm access to the cluster by checking the pods:
kubectl get pods -A
A lack of pods in the default namespace indicates that the cluster is successfully initialized.
6. Deploying a Pod Network Add-on
To enable inter-pod communication, deploy a pod network add-on. In this demo, we use Weave Net. Run the following command on the master node:
kubectl apply -f [podnetwork].yaml
Replace [podnetwork].yaml with the URL or local file path to the Weave Net configuration file. This command deploys a DaemonSet that ensures the network add-on is applied across the control plane and later propagates to worker nodes.
Verify the network add-on by checking the pods:
kubectl get pods -A
Ensure the Weave Net pods are running on the control plane. Adjust network settings if necessary to match the pod network CIDR used during initialization.
7. Joining Worker Nodes to the Cluster
Once the pod network is deployed, add your worker nodes to the cluster using the kubeadm join command printed by the kubeadm init process.
For example, run the following command on each worker node:
sudo kubeadm join 192.168.56.11:6443 --token ps4rl5.0ns9vwu9exjul8tg \
    --discovery-token-ca-cert-hash sha256:fdb5c133b76f41d6d1f9ed72d90b7265de5e53a9156d7d48d83df65f3bde
After joining, verify the nodes from the master node:
kubectl get nodes
All nodes (master and workers) should appear with a "Ready" status.
8. Verifying the Cluster
To ensure that your Kubernetes cluster is operational, deploy a test pod (for example, an nginx container):
kubectl run nginx --image=nginx
kubectl get pod
Once the test pod is in the Running state, your cluster setup is complete. You may remove the test pod when finished.
Conclusion
This guide covered the following steps to bootstrap your Kubernetes cluster using kubeadm:
- Reviewed VM network configurations.
- Installed and configured ContainerD as the container runtime.
- Installed Kubernetes components (kubeadm, kubelet, and kubectl).
- Initialized the control plane with
kubeadm init(including specifying pod network CIDR and the API server advertise address). - Deployed a pod network add-on (Weave Net).
- Joined the worker nodes to the cluster.
- Verified cluster functionality with a test pod deployment.
You have now successfully set up your Kubernetes cluster from scratch using kubeadm. Happy clustering!
Watch Video
Watch video content
Practice Lab
Practice lab


