CKA Certification Course - Certified Kubernetes Administrator
Kustomize Basics 2025 Updates
kustomization
Now that you have the Kustomize tool installed and configured, let's explore the kustomization.yaml file in detail. This file is crucial for directing Kustomize on which Kubernetes configuration files to process and how to transform them.
Understanding the kustomization.yaml File
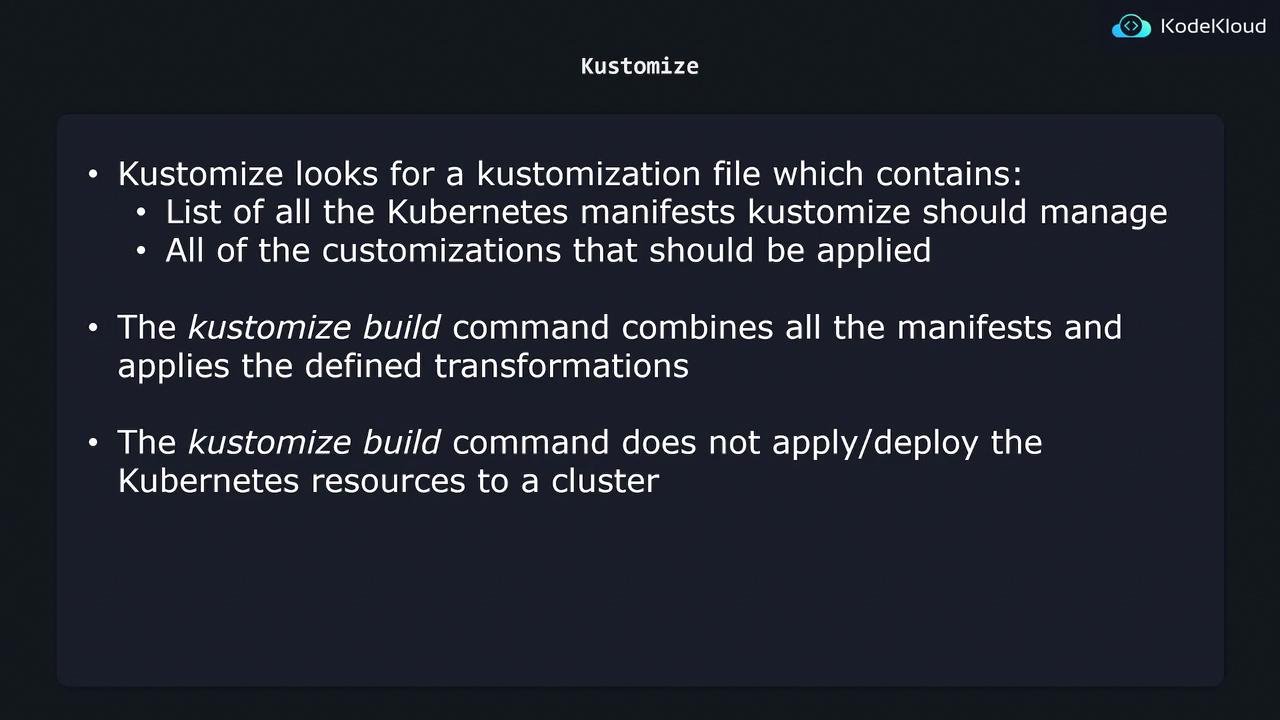
Imagine you have a Kubernetes directory (K8s) containing several configuration files, such as one for the nginx deployment and another for the nginx service. Instead of processing every YAML file in the directory, Kustomize looks for a specifically named file: kustomization.yaml. This file must be manually created, and its presence is essential for Kustomize to function properly.
Within the kustomization.yaml file, there are two primary sections:
- A list of Kubernetes resource files to be managed.
- Custom transformations to be applied across those resources.
For instance, consider the following example of a kustomization.yaml file:
# Kubernetes resources to be managed by Kustomize
resources:
  - nginx-deployment.yaml
  - nginx-service.yaml

# Customizations to be applied
commonLabels:
  company: KodeKloud
In this configuration:
- The resources section specifies the YAML files that Kustomize should process.
- The commonLabels transformation adds a label, with the key "company" and value "KodeKloud", to every resource listed in the included YAML files.
Note
This is just one example of the many transformations available in Kustomize. There are several other customization techniques that you can apply to tailor your deployments.
Building the Final Configuration
After configuring your kustomization.yaml file, you can generate the final configuration by running the following command:
$ kustomize build k8s/
When you execute this command, Kustomize performs the following steps:
- It locates the kustomization.yaml file in the specified K8s directory.
- It reads the list of resources defined within the file.
- It applies all configured transformations (in this case, adding the common label).
The output generated from this process might resemble the following:
apiVersion: v1
kind: Service
metadata:
  labels:
    company: KodeKloud
  name: nginx-loadbalancer-service
spec:
  ports:
    - port: 80
      protocol: TCP
      targetPort: 3000
  selector:
    company: KodeKloud
    component: nginx
  type: LoadBalancer

apiVersion: apps/v1
kind: Deployment
metadata:
  labels:
    company: KodeKloud
  name: nginx-deployment
spec:
  replicas: 1
  selector:
    matchLabels:
      company: KodeKloud
      component: nginx
  template:
    metadata:
      labels:
        company: KodeKloud
        component: nginx
    spec:
      containers:
        - image: nginx
          name: nginx
This output shows both the nginx service and deployment configurations with the applied transformation—adding the common label "company: KodeKloud". Note that running the kustomize build command only outputs the final configuration and does not deploy these resources to your Kubernetes cluster.
Deploying the Final Configuration
To deploy the final configuration to your Kubernetes cluster, you can redirect the output of the kustomize build command to kubectl apply. This deployment process will be explained in a subsequent lesson.
Key Takeaways
- Kustomize requires a kustomization.yaml file that lists the resources to manage and the transformations to apply.
- The
kustomize buildcommand processes these resource files and outputs the final configuration without deploying it. - Additional steps, such as piping the output to
kubectl apply, are necessary to deploy the resources to your Kubernetes cluster.
By understanding and using the kustomization.yaml file properly, you can efficiently manage and transform your Kubernetes resources using Kustomize.
Watch Video
Watch video content