CKA Certification Course - Certified Kubernetes Administrator
2025 Updates Solution Validating and Mutating Admission Controllers
In this lesson, we walk through a lab designed to demonstrate the concepts of validating and mutating admission controllers in Kubernetes. You will learn how these controllers operate and how to deploy configurations that enforce security policies.
Distinguishing Admission Controllers
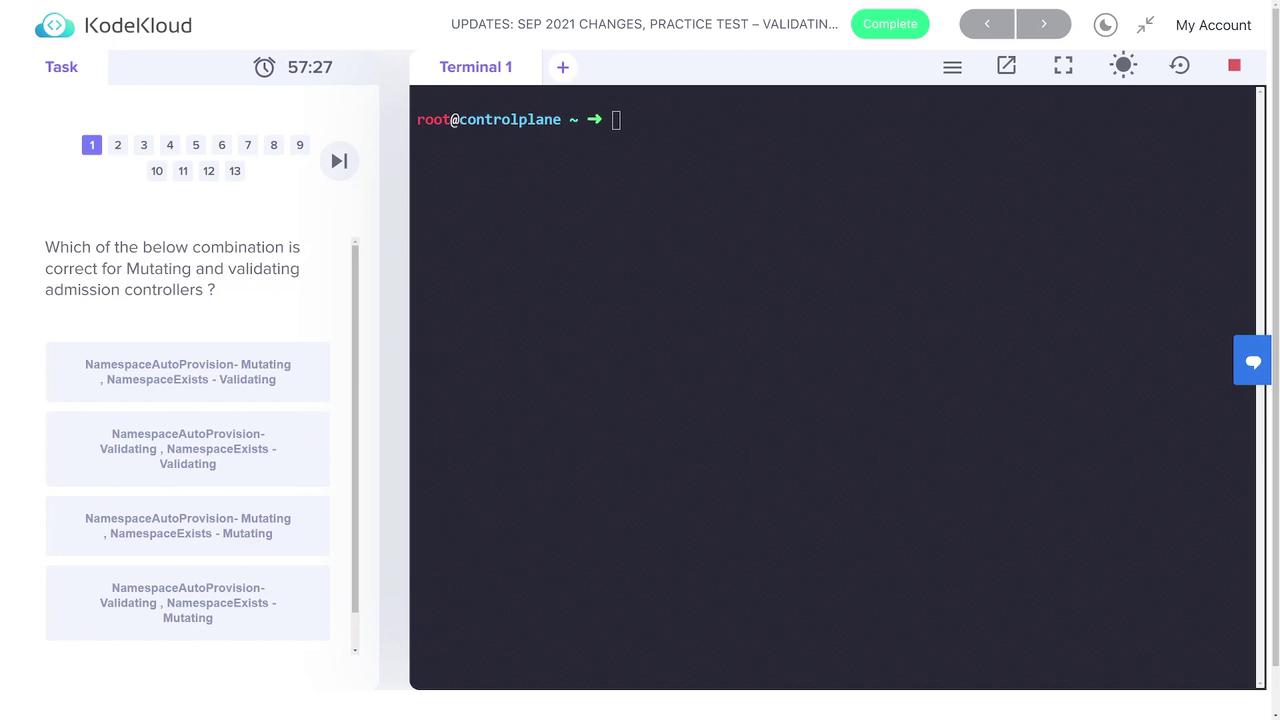
The lab begins with a question on the differences between mutating and validating admission controllers. The correct answer is that the "namespace auto-provision" admission controller is mutating because it creates or modifies a resource, while the "namespace exists" admission controller is validating since it checks for the presence of a namespace. This distinction is key to understanding how admission controllers intercept and process Kubernetes API requests.
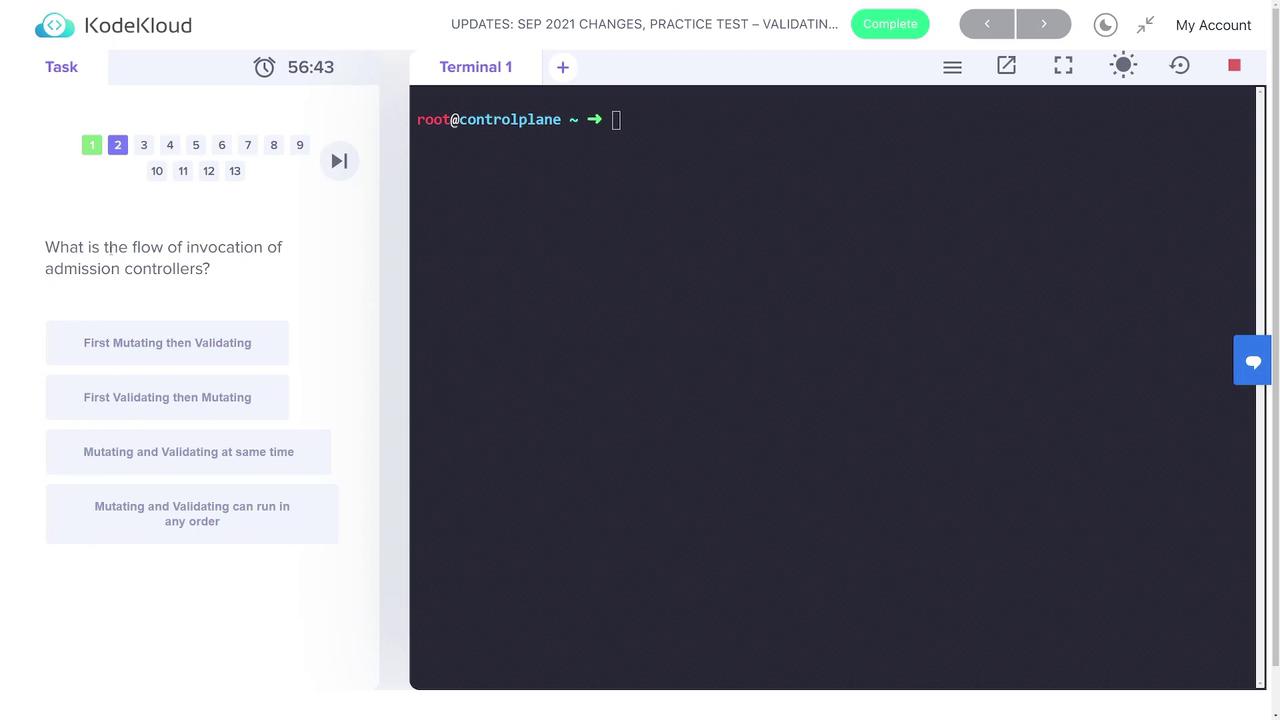
Next, the lab explores the invocation flow of admission controllers. The mutating controller is invoked first, followed by the validating controller, establishing a clear processing order for API requests.
Step 1: Creating the Namespace
Begin by creating a new namespace called "webhook-demo". This namespace will isolate all resources related to the webhook demo. Use the command below:
kubectl create ns webhook-demo
To confirm that the namespace was created successfully, list all namespaces:
kubectl get ns
Example output:
root@controlplane ~ ➜ kubectl create ns webhook-demo
namespace/webhook-demo created

root@controlplane ~ ➜ kubectl get ns
NAME              STATUS   AGE
default           Active   37m
kube-node-lease   Active   37m
kube-public       Active   37m
kube-system       Active   37m
webhook-demo      Active   3s
Step 2: Creating the TLS Secret
A TLS secret is required for secure webhook communication. Create the secret "webhook-server-tls" in the "webhook-demo" namespace with the certificate and key located at the specified paths:
kubectl -n webhook-demo create secret tls webhook-server-tls \
  --cert "/root/keys/webhook-server-tls.crt" \
  --key "/root/keys/webhook-server-tls.key"
After execution, you should receive a confirmation that the secret has been created.
Step 3: Deploying the Webhook
Deploy the Webhook Server
Apply the provided deployment definition in "webhook-deployment.yaml" as follows:
kubectl apply -f webhook-deployment.yaml
Create the Service for the Webhook
Next, deploy the service that will enable communication with the webhook server. Use the configuration in "webhook-service.yaml":
kubectl apply -f webhook-service.yaml
Configure the Webhook
A mutating webhook configuration is specified in "webhook-configuration.yaml". This configuration sets up the webhook to intercept CREATE operations on pods. An excerpt of the configuration is shown below:
webhooks:
  - name: webhook-server.webhook-demo.svc
    clientConfig:
      service:
        name: webhook-server
        namespace: webhook-demo
        path: "/mutate"
      caBundle: LS0tLS1CRUdJTiBDRVJUUzJ0QFUrS0tLS0tck1JSURqekNDQWl1Z0F3UJBZ0lV...
    rules:
      - operations: [ "CREATE" ]
        apiGroups: [""]
        apiVersions: [ "v1" ]
        resources: ["pods"]
Apply the webhook configuration:
kubectl apply -f webhook-configuration.yaml
Webhook Behavior
The demo webhook enforces the following rules:
- Denies pod requests where the container runs as root if no security context is provided.
- Automatically mutates pods by setting
runAsNonRootto true andrunAsUserto 1234 when not explicitly specified. - Permits running as root only if the security context explicitly sets
runAsNonRootto false.
Step 4: Testing the Webhook with Different Pod Configurations
Pod with Default Security Settings
Deploy a pod without any security context using the "pod-with-defaults.yaml" definition. Without the webhook, this pod would run as the root user. The webhook mutates the pod to enforce best practices.
# A pod with no securityContext specified.
# Without the webhook, it would run as user root (0). The webhook mutates it.
apiVersion: v1
kind: Pod
metadata:
  name: pod-with-defaults
  labels:
    app: pod-with-defaults
spec:
  restartPolicy: OnFailure
  containers:
    - name: busybox
      image: busybox
      command: ["sh", "-c", "echo I am running as user $(id -u)"]
Deploy the pod:
kubectl apply -f pod-with-defaults.yaml
Inspect the pod configuration to ensure that runAsNonRoot is set to true and runAsUser is set to 1234:
kubectl get pods pod-with-defaults -o yaml
Pod with an Explicitly Overridden Security Context
Next, test a pod configured to allow running as root. The "pod-with-override.yaml" file has its security context explicitly set to allow root execution by setting runAsNonRoot to false:
apiVersion: v1
kind: Pod
metadata:
  name: pod-with-override
  labels:
    app: pod-with-override
spec:
  restartPolicy: OnFailure
  securityContext:
    runAsNonRoot: false
  containers:
    - name: busybox
      image: busybox
      command: ["sh", "-c", "echo I am running as user $(id -u)"]
Deploy the pod:
kubectl apply -f pod-with-override.yaml
Pod with Conflicting Security Context
Finally, demonstrate the validation process by deploying a pod that conflicts with the established security policies. The "pod-with-conflict.yaml" file sets runAsNonRoot to true while specifying runAsUser as 0, which should be rejected by the webhook:
apiVersion: v1
kind: Pod
metadata:
  name: pod-with-conflict
  labels:
    app: pod-with-conflict
spec:
  restartPolicy: OnFailure
  securityContext:
    runAsNonRoot: true
    runAsUser: 0
  containers:
    - name: busybox
      image: busybox
      command: ["sh", "-c", "echo I am running as user $(id -u)"]
Deploy the pod:
kubectl apply -f pod-with-conflict.yaml
Deployment Rejection
If a pod conflicts with the security context policy, the creation request will be rejected with an error message similar to:
Error from server: error when creating "pod-with-conflict.yaml": admission webhook "webhook-server.webhook-demo.svc" denied the request: runAsNonRoot specified, but runAsUser set to 0 (the root user)
This verifies that the validating admission controller is actively enforcing the security policy by rejecting pods with invalid configurations.
This concludes the lab session on validating and mutating admission controllers in Kubernetes. For more detailed information, please refer to the Kubernetes Documentation.
Watch Video
Watch video content