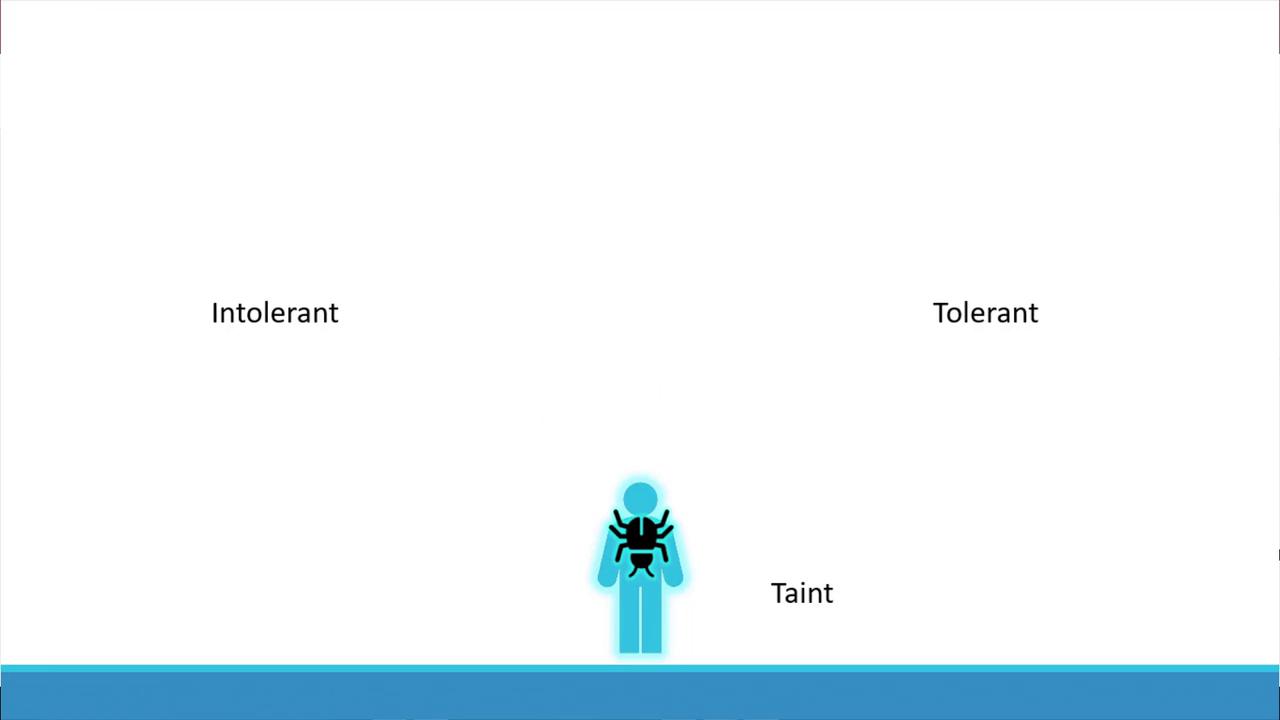
How Taints and Tolerations Work
Two factors determine whether a pod can run on a node:- The taint applied on the node.
- The pod’s toleration for that taint.
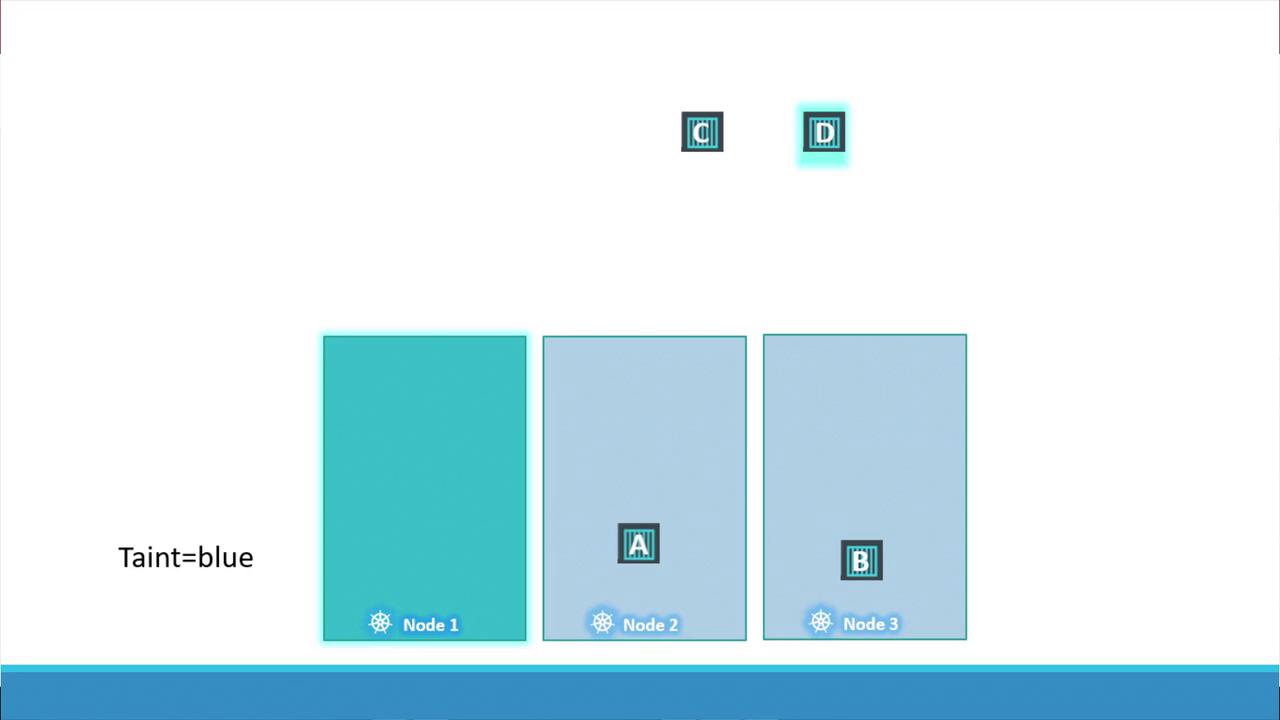
- First, taint node one (using, for example, the key-value pair “app=blue”) so that no pods are scheduled there by default.
- Then, add an appropriate toleration to the dedicated pod (Pod D) so that it alone can run on node one.
- Pod A, lacking a toleration, will be scheduled on node two.
- Pod B is repelled from node one and lands on node three.
- Pod C, without a matching toleration, is scheduled on node two or three.
- Pod D, having the correct toleration, is scheduled on node one.
Tainting a Node
To taint a node, use the following command where you specify the node name along with a taint in the format of a key-value pair and taint effect:- NoSchedule: Pods that do not tolerate the taint will not be scheduled on the node.
- PreferNoSchedule: The scheduler tries to avoid placing non-tolerating pods on the node, but it is not strictly enforced.
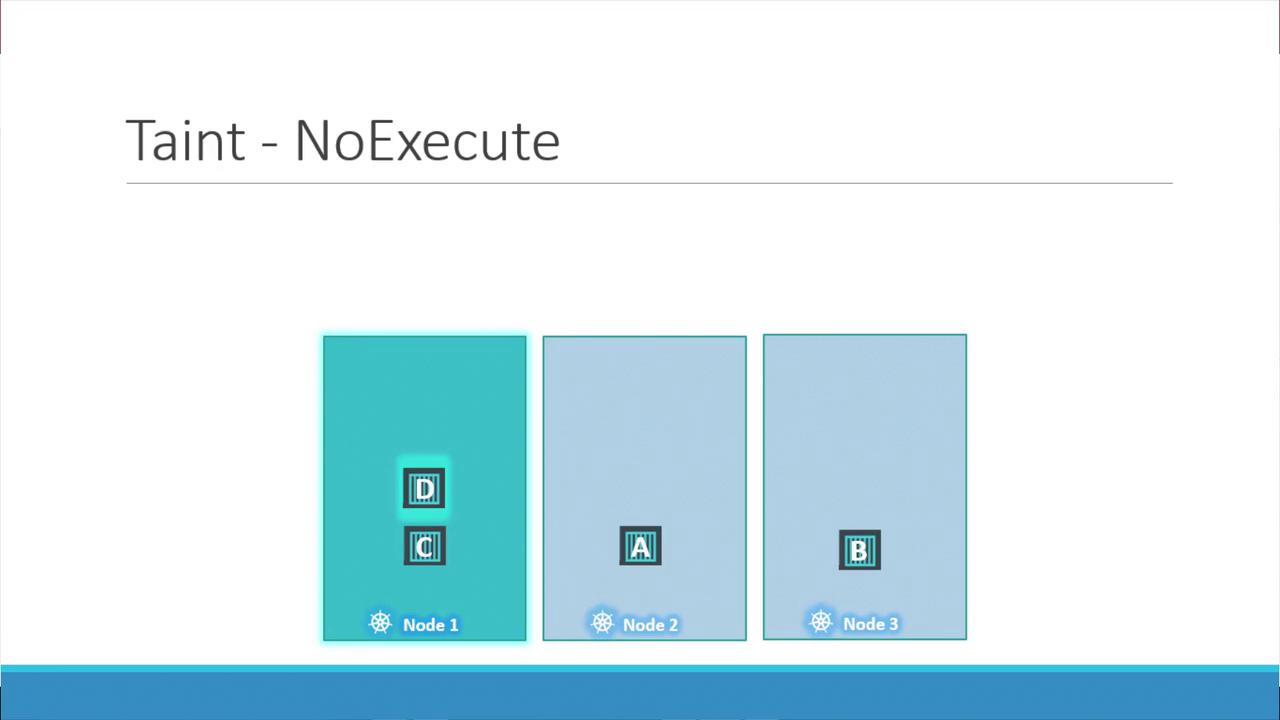
- NoExecute: New pods without a matching toleration will not be scheduled, and existing pods will be evicted from the node.
Adding Tolerations to Pods
To allow a specific pod to run on a tainted node, add a toleration to the pod’s manifest. For example, to enable Pod D to run on node one (tainted with “app=blue:NoSchedule”), modify the pod definition as follows:Understanding the NoExecute Effect
Using the NoExecute taint effect has a more immediate impact. Suppose node one is tainted with the key-value pair “app=blue” and the effect NoExecute. In an initially untainted cluster, all pods schedule normally. But once the taint is applied:- Pods without a matching toleration (e.g., Pod C) will be evicted from node one if already running, or prevented from being scheduled.
- Pods with the correct toleration (e.g., Pod D) continue to run on node one.
Taints and tolerations are used to ensure that pods are not accidentally scheduled on nodes that should run only specific workloads, but they do not guarantee that a pod will run on a particular node. For node-specific scheduling, consider using node affinity.
Master Node Taints
While the discussion so far has focused on worker nodes, master nodes are also capable of running pods. By default, Kubernetes applies a taint to master nodes to prevent workload pods from being scheduled there. This setup ensures that master nodes are reserved for critical system components. To check the taint on a master node, use the following command:Summary
Taints and tolerations provide a powerful mechanism for controlling pod scheduling in Kubernetes clusters:| Feature | Description | Example Command or Manifest Snippet |
|---|---|---|
| Tainting a Node | Prevents pods from being scheduled on a node unless they tolerate the taint. | kubectl taint nodes node1 app=blue:NoSchedule |
| Toleration in a Pod | Allows a pod to run on a tainted node by including a toleration in its manifest. | See the YAML snippet above |
| Taint Effect: NoExecute | Evicts pods not tolerating the taint from a node and prevents new non-tolerant pods from joining. | Command similar to the taint command with NoExecute effect |
Remember that taints and tolerations only influence pod scheduling. If you need to enforce pod placement on specific nodes, use node affinity rules.