Certified Backstage Associate (CBA)
Catalog
Demo Registering a Component
In this guide, we’ll explore four ways to register a component in Backstage:
- Statically from a local project
- From a remote URL (e.g., GitHub)
- Via the Backstage UI
- Automatically via templates or repository scanning
1. Where the Example Component Is Configured
Backstage ships with an example component in its software catalog. You can inspect it in the repo:
Open 
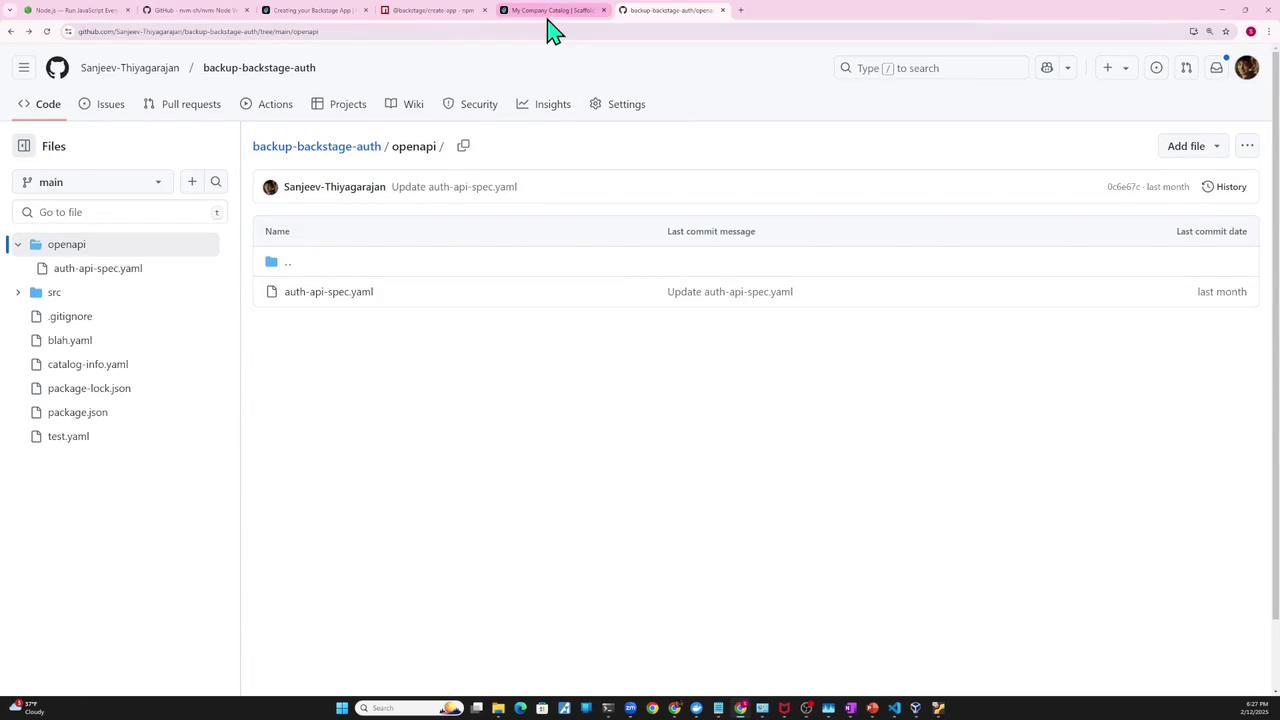
app-config.yaml
and find the catalog
section. By default, it imports example entities and templates:
# app-config.yaml
catalog:
import:
entityFilename: catalog-info.yaml
pullRequestBranchName: backstage-integration
rules:
- allow: [Component, System, API, Resource, Location]
locations:
# Local example data; paths are relative to packages/backend
- type: file
target: ../examples/entities.yaml
# Local example templates
- type: file
target: ../../examples/template/template.yaml
rules:
- allow: [Template]
The file examples/entities.yaml
defines the example component and API:
# examples/entities.yaml
apiVersion: backstage.io/v1alpha1
kind: Component
metadata:
name: example-website
spec:
type: website
lifecycle: experimental
owner: guests
system: examples
providesApis:
- example-grpc-api
---
apiVersion: backstage.io/v1alpha1
kind: API
metadata:
name: example-grpc-api
spec:
type: grpc
lifecycle: experimental
owner: guests
system: examples
definition: |
syntax = "proto3";
After starting Backstage, you’ll see example-website already registered:
2. Defining Your Own Component (catalog-info.yaml
)
Let’s add a simple Node.js “auth service” component:
src/index.js
import express from "express";
const app = express();
app.get("/", (req, res) => res.send("Hello World!"));
const port = 3000;
app.listen(port, () => {
console.log(`Example app listening on port ${port}`);
});
In your project root, create catalog-info.yaml
:
# catalog-info.yaml
apiVersion: backstage.io/v1beta1
kind: Component
metadata:
name: auth-service
description: Authentication service
tags:
- javascript
links:
- url: https://admin.example-org.com
title: Admin Dashboard
icon: dashboard
type: admin-dashboard
spec:
type: service
lifecycle: production
owner: guests
Backstage supports a variety of spec.type
values (e.g., service
, website
, library
). For full schema details, see the Backstage software catalog descriptor format docs:
3. Statically Importing the Entity
To register your auth-service
locally, update app-config.yaml
:
# app-config.yaml
catalog:
import:
entityFilename: catalog-info.yaml
pullRequestBranchName: backstage-integration
rules:
- allow: [Component, System, API, Resource, Location]
locations:
- type: file
target: ../../examples/entities.yaml
- type: file
target: ../../examples/auth-entity.yaml # <-- your new file
Restart the Backstage backend. In the catalog you’ll now see auth-service next to example-website:
Click auth-service to view its details and relations:
4. Importing from a GitHub URL
You can host catalog-info.yaml
alongside your code on GitHub:
Create a new repo (e.g.,
backstage-auth-service
):Push your code and YAML:
git init git add . git commit -m "first commit" git branch -M main git remote add origin https://github.com/YourOrg/backstage-auth-service.git git push -u origin main
Note
When using a GitHub URL for Backstage locations, point to the raw file link, for example:https://raw.githubusercontent.com/YourOrg/backstage-auth-service/main/catalog-info.yaml
- Update
app-config.yaml
to reference the remote URL:
catalog:
locations:
- type: file
target: ../../examples/entities.yaml
- type: url
target: https://raw.githubusercontent.com/YourOrg/backstage-auth-service/main/catalog-info.yaml
Restart the backend. Backstage will fetch auth-service from GitHub and register it automatically.
Backstage syncs on its regular interval (~30 min). You can force a sync by clicking the refresh icon in the UI.
Warning
If you update owner: auth-team
without registering the auth-team
group, you’ll get a missing relation error.
To fix relations, define 
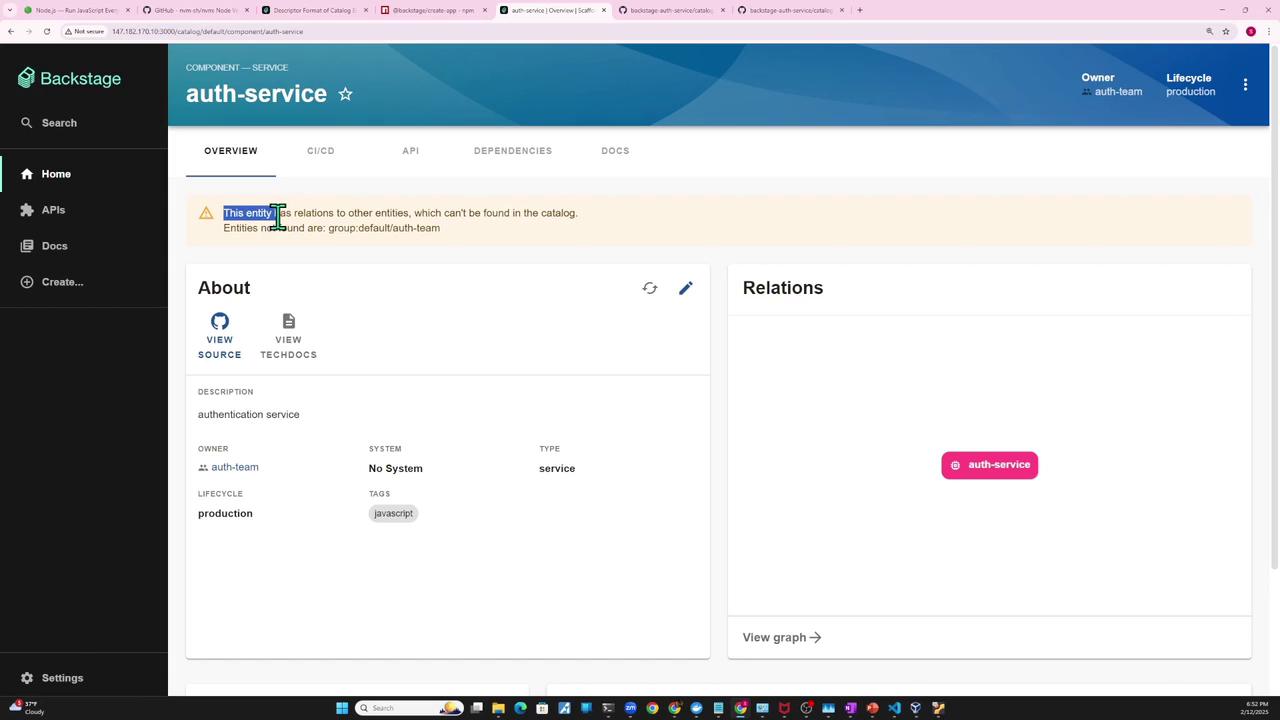
User
and Group
entities, for example:
---
apiVersion: backstage.io/v1alpha1
kind: User
metadata:
name: guest
spec:
memberOf:
- guests
---
apiVersion: backstage.io/v1alpha1
kind: Group
metadata:
name: guests
spec:
type: team
children: []
5. Registering via the Backstage UI
You can import any existing component directly in the UI:
- Click Create → Register existing component.
- Paste the URL to
catalog-info.yaml
and click Analyze.
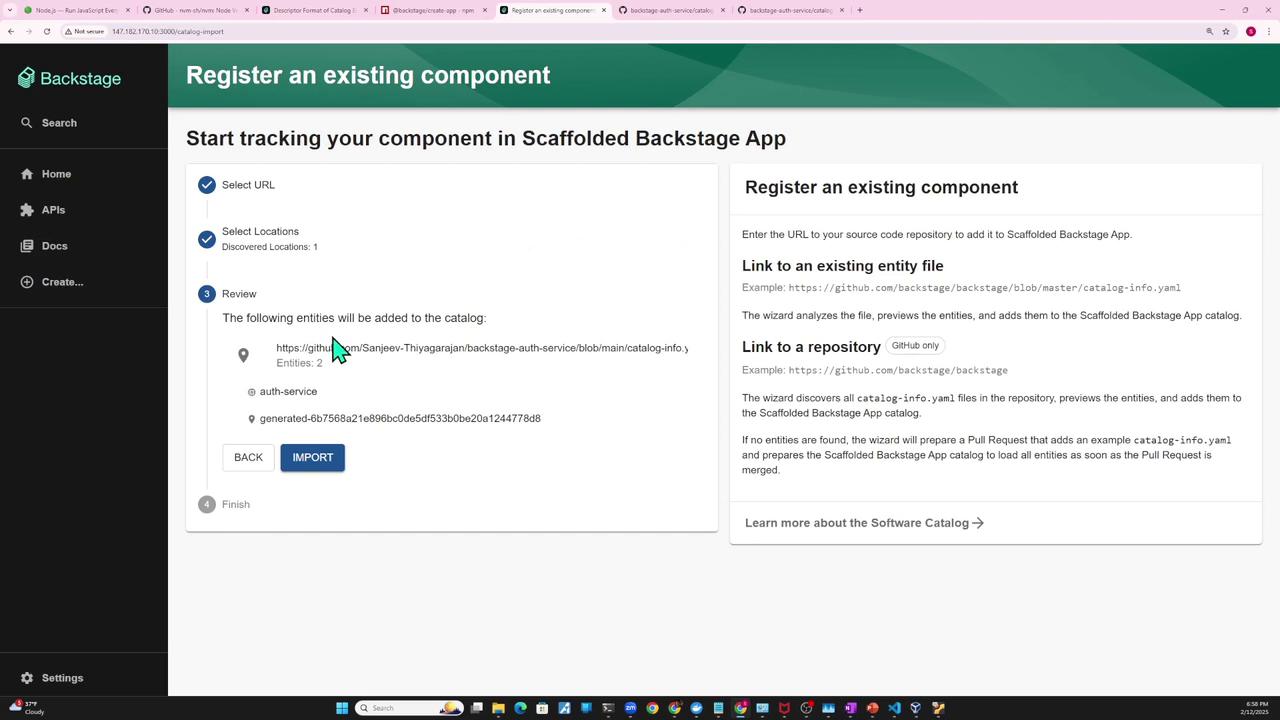
- Review the entity and click Import. Now auth-service appears in your catalog.
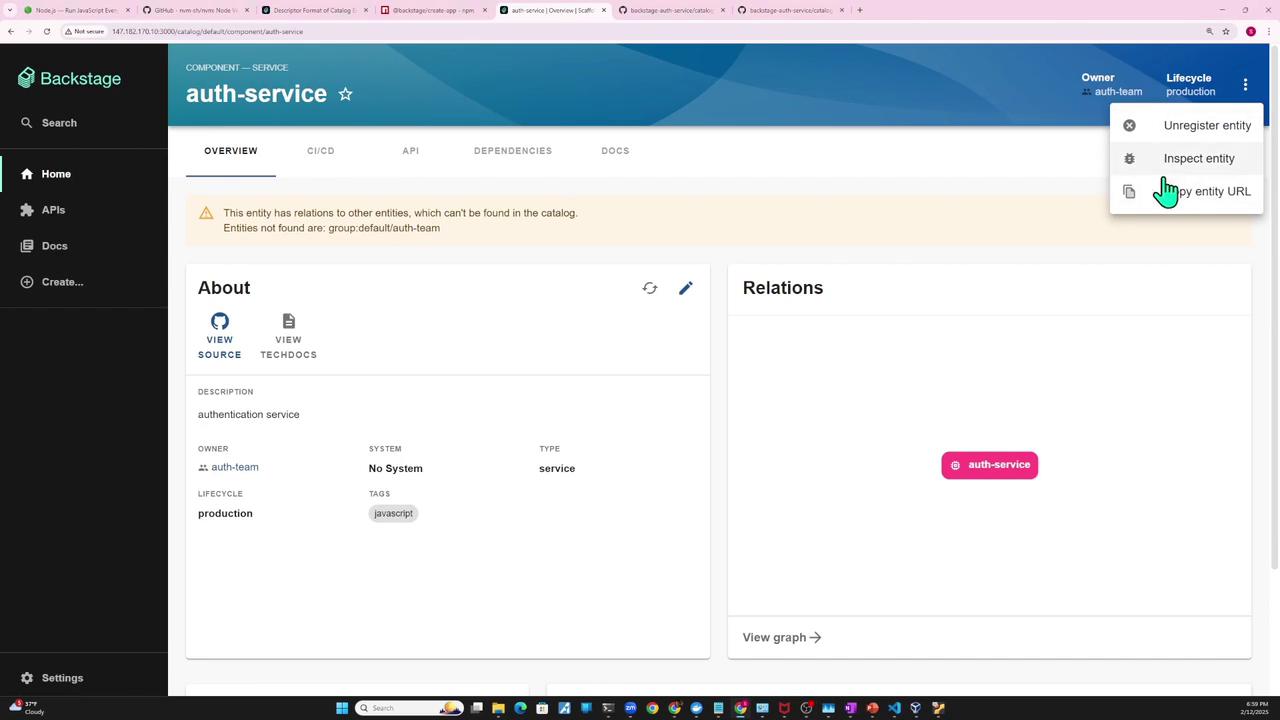
- Use the “…” menu on a component to:
- Inspect entity: view metadata or raw JSON/YAML
- Unregister entity: remove it from the catalog
The Entity Inspector provides a full overview:
Summary of Registration Methods
Method | Configuration Location | When to Use |
---|---|---|
Static file | app-config.yaml → type: file | Local projects or monorepos |
Remote URL | app-config.yaml → type: url | Hosted catalogs on GitHub or HTTPS endpoint |
UI import | Backstage Create → Register existing | Quick manual imports without config changes |
Templates & repo scan | Scaffold or scanning plugins | Automated registration during code generation |
Watch Video
Watch video content
Practice Lab
Practice lab