> ## Documentation Index
> Fetch the complete documentation index at: https://notes.kodekloud.com/llms.txt
> Use this file to discover all available pages before exploring further.
# Demo Lambda Deployment using Jenkinsfile
> This article provides a tutorial on automating AWS Lambda deployments using Jenkins, covering environment setup, code modifications, and CI/CD pipeline integration.
In this hands-on tutorial, we automate AWS Lambda deployments with Jenkins. By customizing our Lambda function code, packaging artifacts, uploading to Amazon S3, and triggering updates via the AWS CLI, we'll achieve a seamless CI/CD pipeline.
## 1. Clearing Existing Environment Variables
First, in the AWS Lambda console, navigate to your function named **solar-system-function**. Under **Configuration**, click **Edit**, remove all environment variables, and hit **Save**. We'll inject these values dynamically in Jenkins.
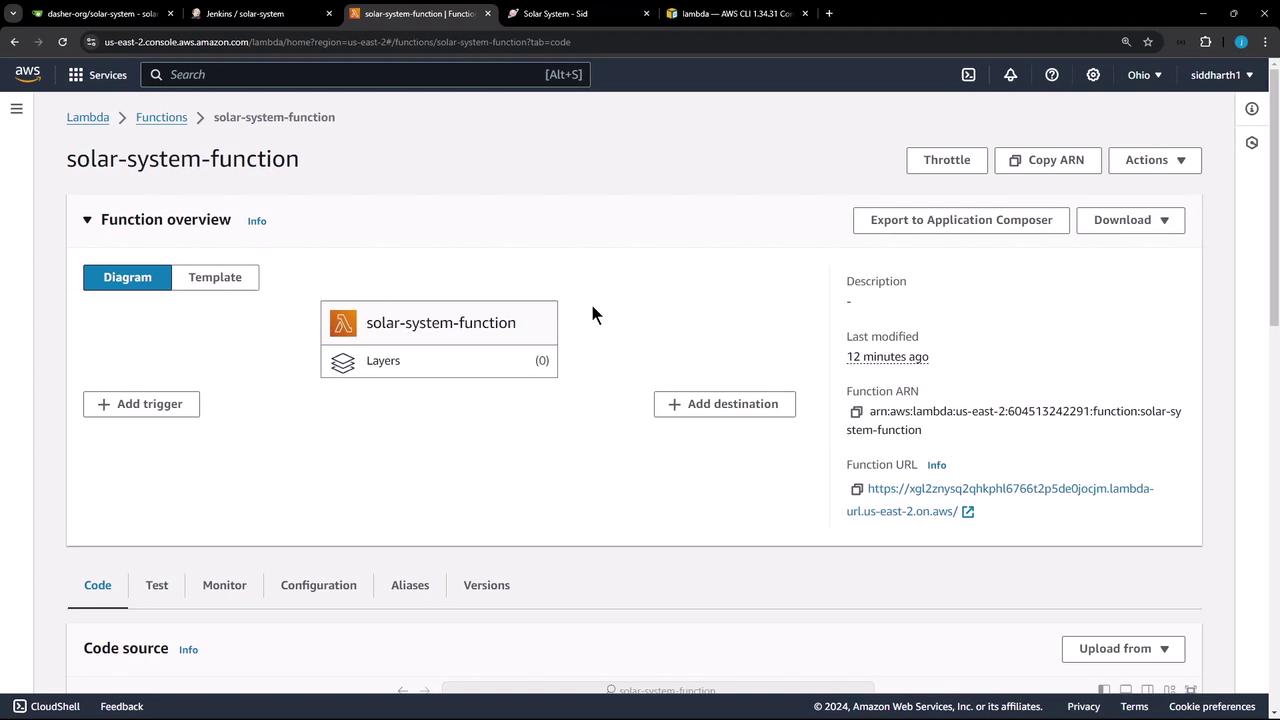
Removing environment variables here ensures that Jenkins controls all runtime settings securely.
## 2. Preparing the Local Workspace
On your build VM or local machine, clean up any existing sandbox and checkout the latest code from the `solar-system` repository:
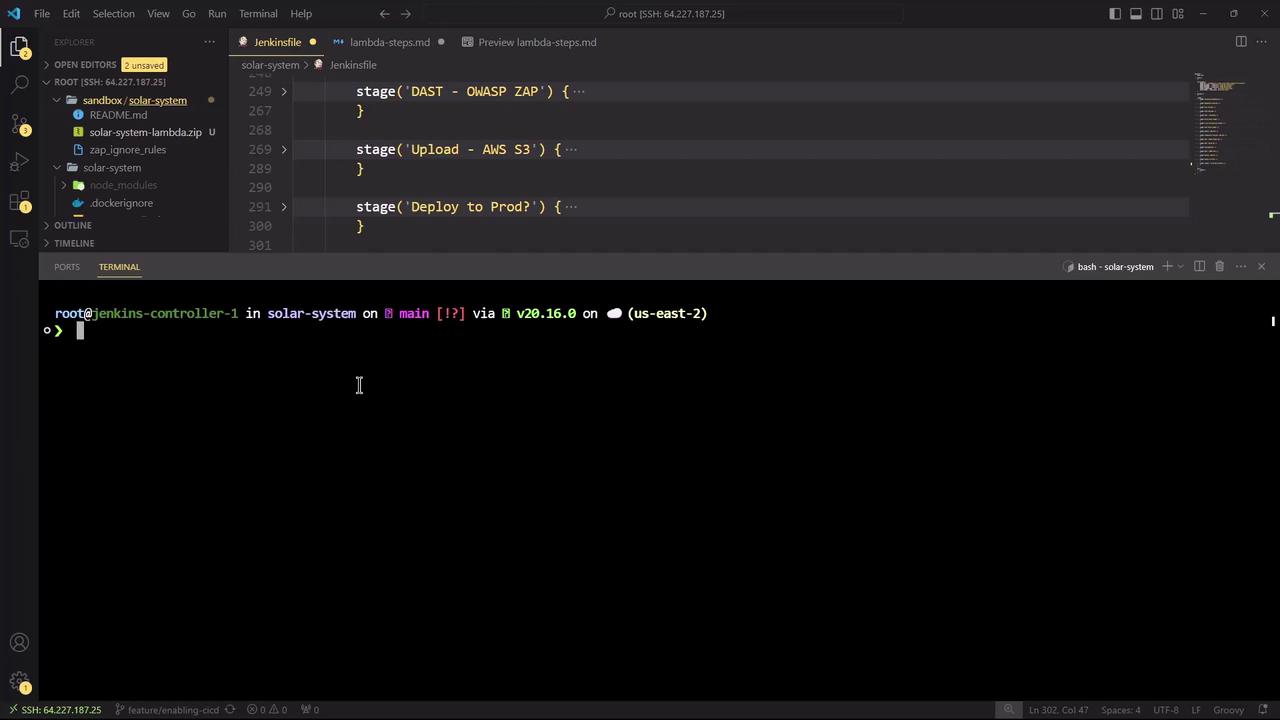
```bash theme={null}
cd ~
rm -rf sandbox
cd ~/solar-system
git fetch origin
git checkout main
git pull
```
You should see the new `Jenkinsfile` and updated files ready:
| File | Changes |
| ------------------------------- | --------------------------------- |
| Jenkinsfile | +328 insertions, updated pipeline |
| index.html | +30 additions |
| integration-testing-ec2.sh | minor revision |
| package-lock.json, package.json | dependency updates |
| zap\_ignore\_rules | new rules |
## 3. Adding the Lambda Deployment Stage
In `Jenkinsfile`, add a new stage under `stages` called **Lambda - S3 Upload & Deploy**. This stage triggers only on the `main` branch, modifies `app.js` to work in Lambda, creates a zip package, uploads it to S3, and then updates the Lambda function code:
```groovy theme={null}
stage('Lambda - S3 Upload & Deploy') {
when { branch 'main' }
steps {
withAWS(credentials: 'aws-s3-ec2-lambda-creds', region: 'us-east-2') {
sh '''
echo "----- Before Modification -----"
tail -5 app.js
echo "----- Modifying app.js for Lambda -----"
sed -i "/app\\.listen(3000/s/^\\/\\///" app.js
sed -i "s|module.exports = app;|//module.exports = app;|g" app.js
sed -i "s|//module.exports.handler|module.exports.handler|g" app.js
echo "----- After Modification -----"
tail -5 app.js
'''
sh '''
echo "----- Creating deployment package -----"
zip -qr solar-system-lambda-${BUILD_ID}.zip app* package* index.html node*
ls -ltr solar-system-lambda-${BUILD_ID}.zip
'''
s3Upload(
file: "solar-system-lambda-${BUILD_ID}.zip",
bucket: 'solar-system-lambda-bucket'
)
}
sh '''
echo "----- Updating Lambda function code -----"
aws lambda update-function-code \
--function-name solar-system-function \
--s3-bucket solar-system-lambda-bucket \
--s3-key solar-system-lambda-${BUILD_ID}.zip
'''
}
}
```
Ensure the AWS credentials you reference (`aws-s3-ec2-lambda-creds`) have `s3:PutObject` and `lambda:UpdateFunctionCode` permissions.
## 4. Bumping the Frontend Version
Increment the frontend version number in `index.html` (near line 66) to `v5.0` to reflect new changes:
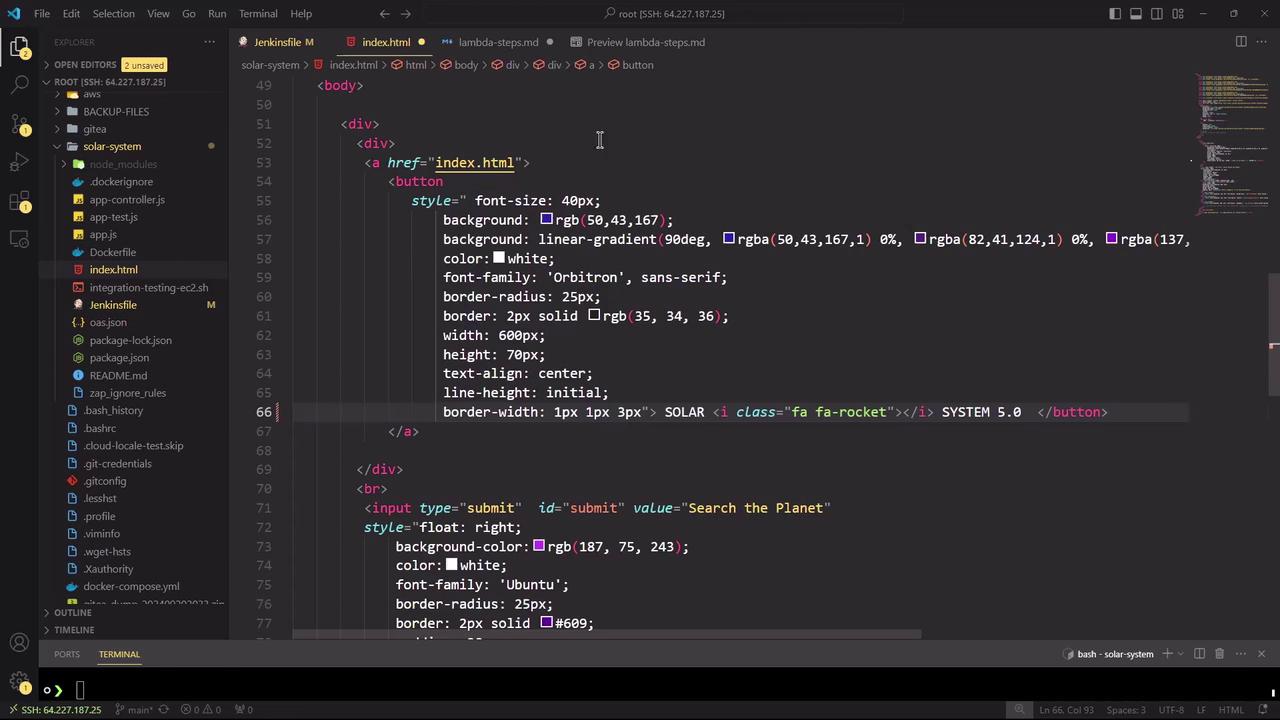
After updating, save the file.
## 5. AWS CLI Reference
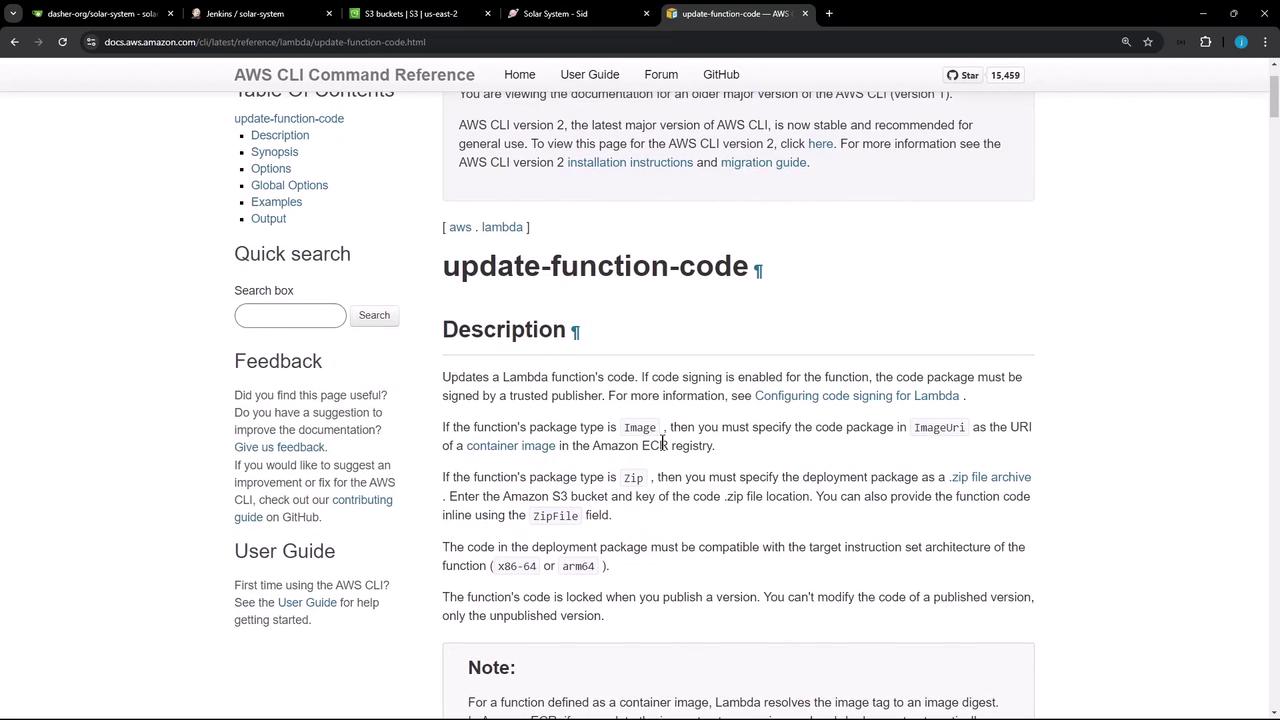
For more details on the `update-function-code` command, consult the AWS CLI reference:
[Lambda update-function-code](https://docs.aws.amazon.com/cli/latest/reference/lambda/update-function-code.html)
| Parameter | Description | Example |
| --------------- | -------------------------------------- | --------------------------- |
| --function-name | Name of the Lambda function | solar-system-function |
| --s3-bucket | S3 bucket holding deployment package | solar-system-lambda-bucket |
| --s3-key | Key (path) to the zip in the S3 bucket | solar-system-lambda-123.zip |
## 6. Committing and Pushing Changes
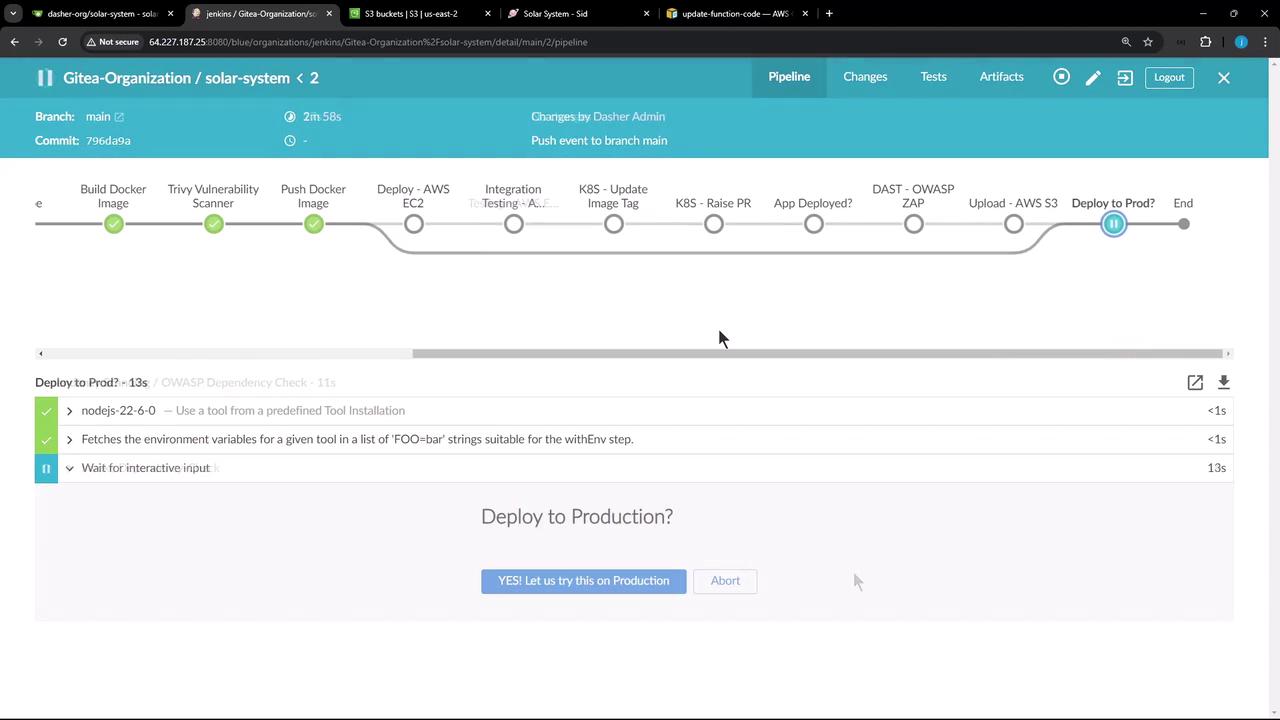
Stage and commit your updates, then push to the `main` branch. This action triggers the Jenkins pipeline automatically:
```bash theme={null}
git add Jenkinsfile index.html
git commit -m "Add Lambda deployment stage and bump frontend version"
git push origin main
```
Follow any manual approval prompts in Jenkins to proceed.
## 7. Validating the Deployment in S3
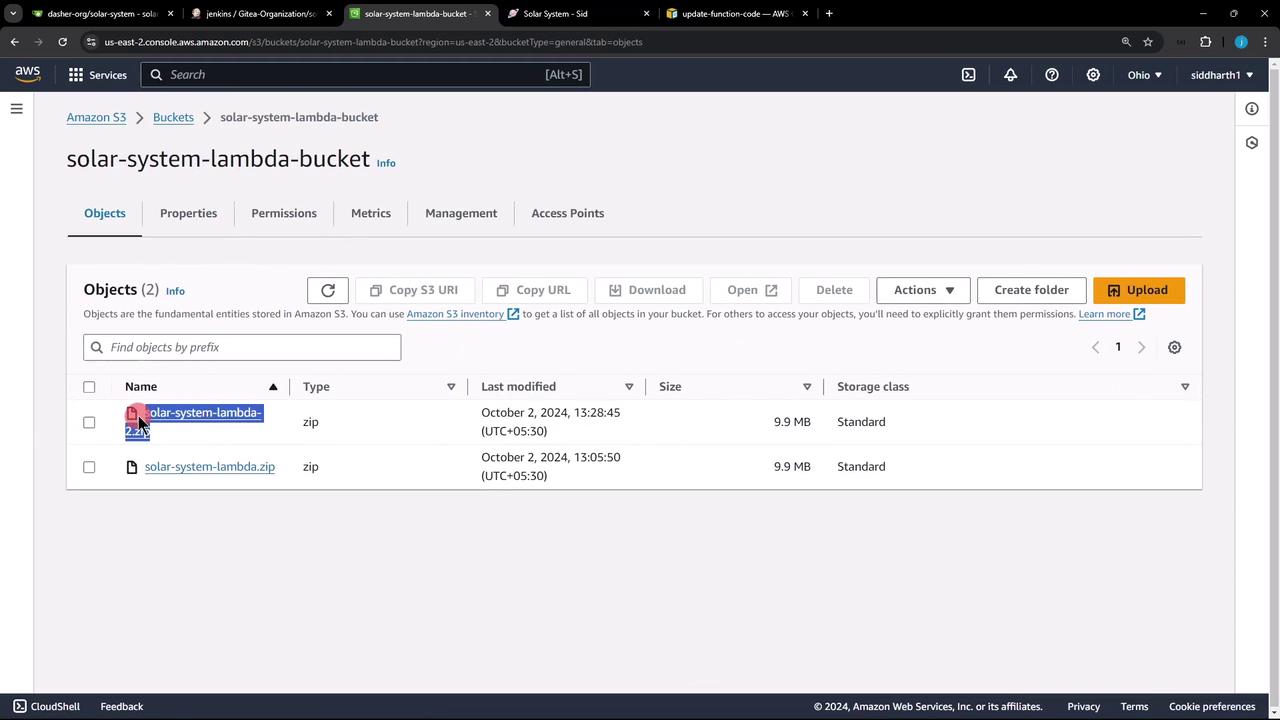
After the build completes, verify that the new ZIP artifact appears in your S3 bucket:
## 8. Troubleshooting: Missing Environment Variables
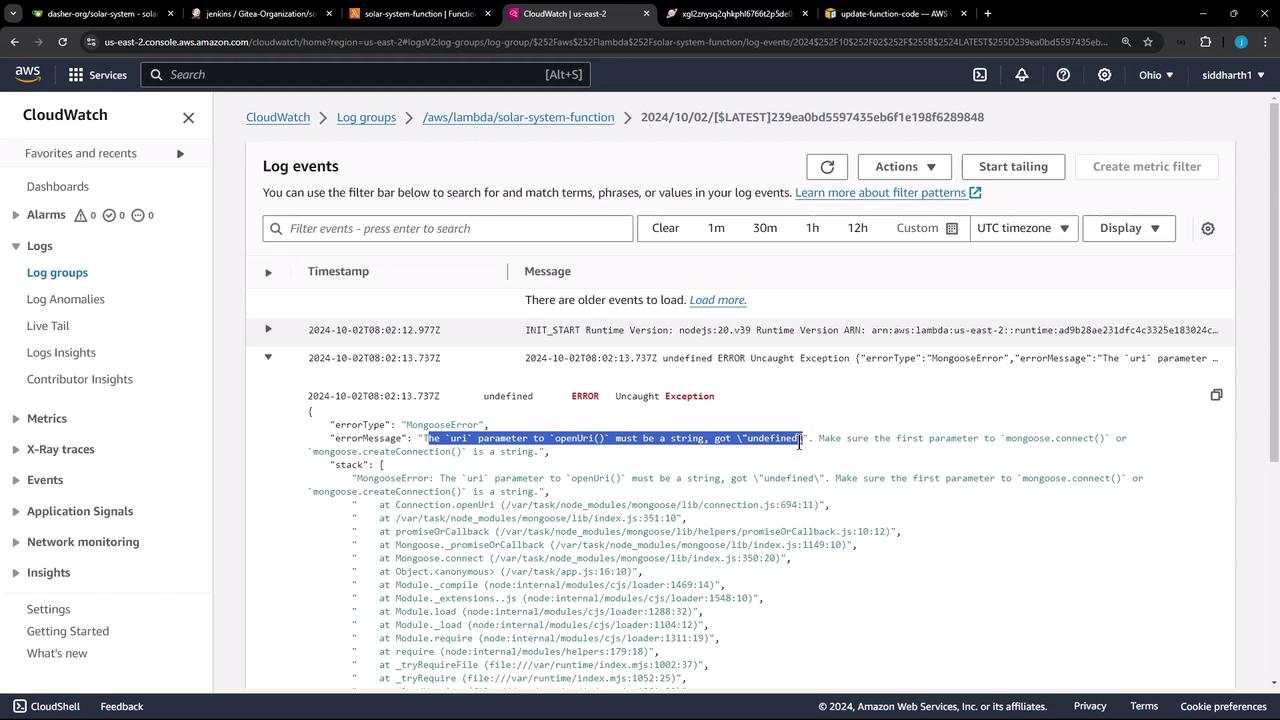
If you encounter an **Internal Server Error**, it often indicates missing environment variables. Check CloudWatch logs to debug:
In `app.js` you’ll find:
```javascript theme={null}
// app.js (excerpt)
const mongoose = require('mongoose');
// ...
mongoose.connect(process.env.MONGO_URI, {
user: process.env.MONGO_USERNAME,
pass: process.env.MONGO_PASSWORD,
useNewUrlParser: true,
useUnifiedTopology: true
}, (err) => {
if (err) {
console.error("MongoDB Connection Error:", err);
} else {
console.log("MongoDB Connection Successful");
}
});
```
Here, `process.env.MONGO_URI`, `MONGO_USERNAME`, and `MONGO_PASSWORD` must be supplied by Jenkins.
Without proper environment variables, your Lambda function will fail to connect to MongoDB.
## 9. Next Steps: Injecting Environment Variables via Jenkins
To address missing credentials, update your `pipeline` block in `Jenkinsfile`. Add an `environment` section with secure credential bindings:
```groovy theme={null}
pipeline {
agent any
environment {
MONGO_URI = credentials('mongo-db-uri')
MONGO_USERNAME = credentials('mongo-db-username')
MONGO_PASSWORD = credentials('mongo-db-password')
SONAR_SCANNER_HOME = tool 'sonarqube-scanner-610'
GITEA_TOKEN = credentials('gitea-api-token')
}
stages {
// … existing stages …
stage('Lambda - S3 Upload & Deploy') { … }
}
}
```
By following these steps, you’ll ensure your AWS Lambda deployments are automated, secure, and maintainable.