> ## Documentation Index
> Fetch the complete documentation index at: https://notes.kodekloud.com/llms.txt
> Use this file to discover all available pages before exploring further.
# Demo Configure cloud instances Kubernetes
> This guide explains how to integrate a Kubernetes cluster with Jenkins for dynamic build agent provisioning.
In this guide, you’ll learn how to integrate a Kubernetes cluster with Jenkins to provision dynamic build agents. We’ll cover plugin installation, cloud setup using both a full-admin kubeconfig and a least-privileged service account, and finalize key settings like pod retention and labels.
## 1. Install the Kubernetes Plugin
Jenkins requires the Kubernetes plugin to spin up agents in your cluster.
| Installation Method | Command / Steps |
| --------------------- | ------------------------------------------------------------------------------------------------------------------ |
| Jenkins UI | **Manage Jenkins** → **Manage Plugins** → **Available** → Filter “Cloud” → Select **Kubernetes 4.2.9.5** → Install |
| CLI | `jenkins-plugin-cli --plugins kubernetes:4.2.9.5` |
| Advanced (HPI upload) | Upload from URL: `https://updates.jenkins.io/download/plugins/kubernetes/4.2.9.5/kubernetes.hpi` |
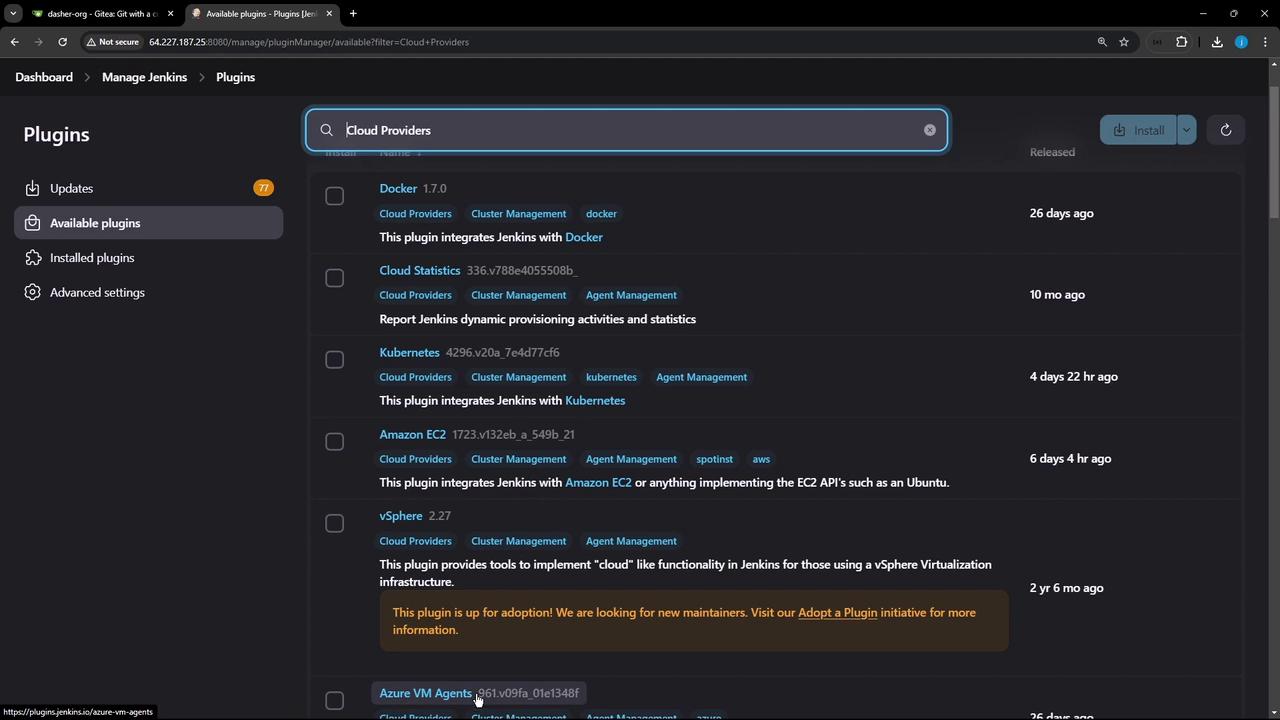
If dependency errors occur (e.g., an out-of-date Credentials plugin), update those first and restart Jenkins:
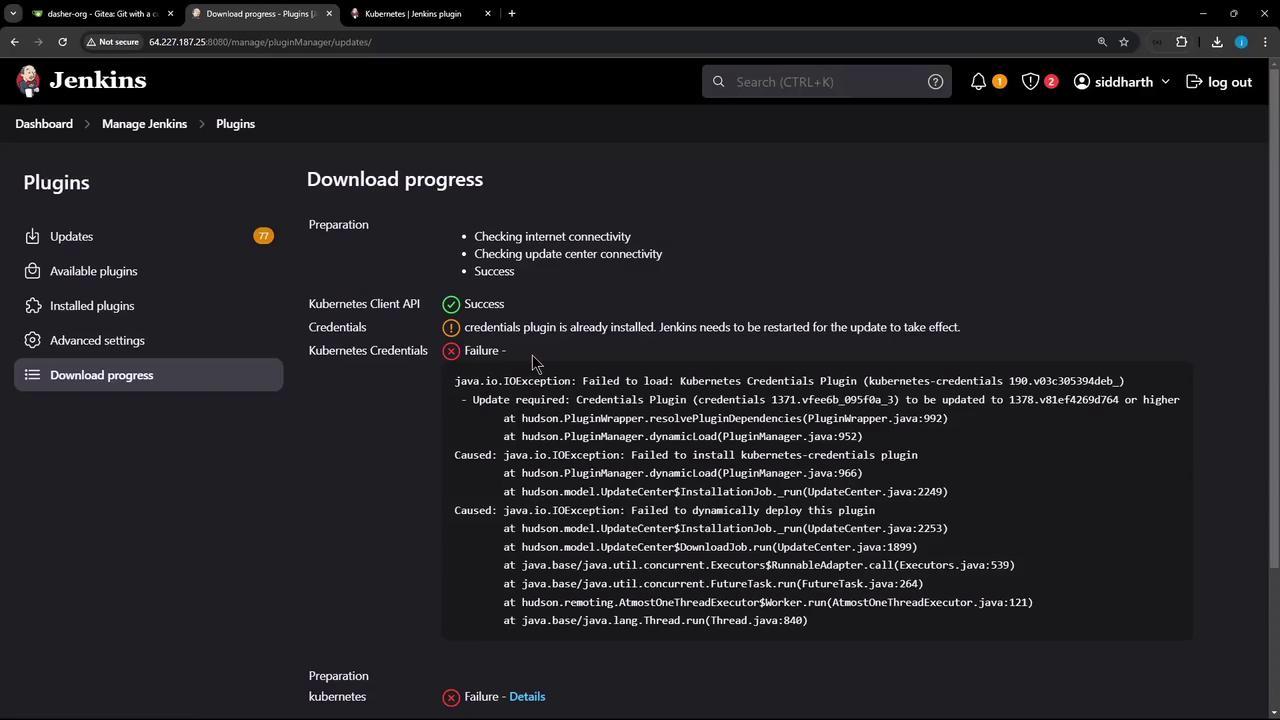
Always restart Jenkins after plugin upgrades to ensure dependencies load correctly.
## 2. Configure the Kubernetes Cloud
1. Go to **Manage Jenkins** → **Manage Nodes and Clouds** → **Configure Clouds**.
2. Click **Add a new cloud** and select **Kubernetes**.
3. Provide a name (e.g., `prod-k8s-us-east`).
You’ll see the Kubernetes cloud configuration form:
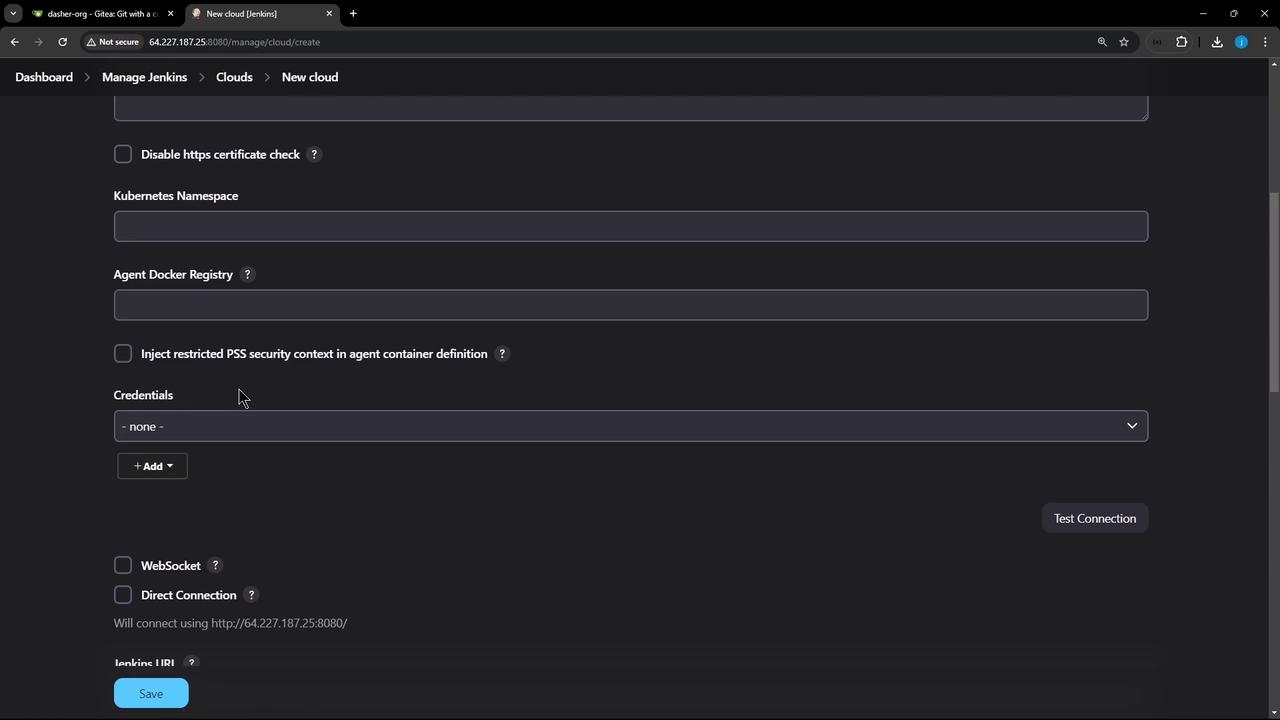
### A. Connect Using a Kubeconfig File
1. Export your full kubeconfig:
```bash theme={null}
kubectl config view --raw > kubeconfig.yaml
```
2. In Jenkins, add a **Secret file** credential (`kubeconfig-us-east`) and upload `kubeconfig.yaml`.
3. Select this credential under **Kubernetes Credentials** and click **Test Connection**.
A successful connection shows your cluster version:
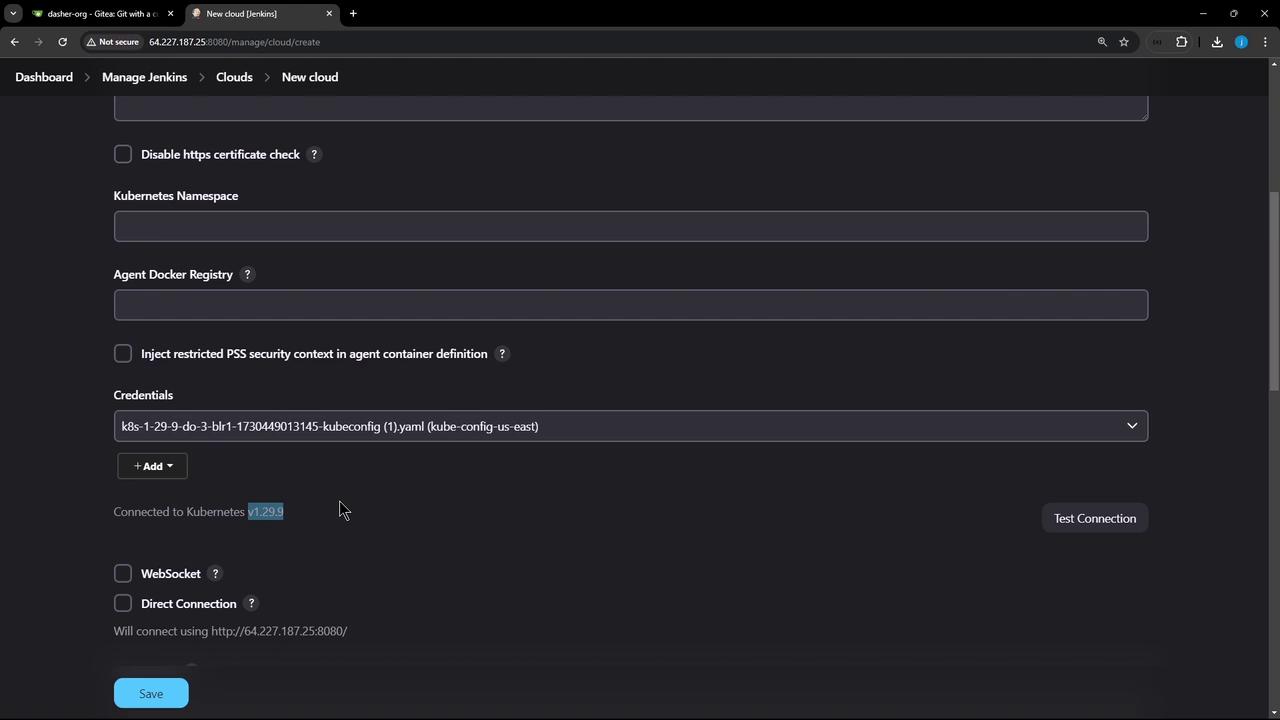
Using a full-admin kubeconfig grants access to the entire cluster. For production, it’s best practice to use a least-privileged service account.
### B. Connect Using a Service Account Token
Follow these steps to lock down permissions:
1. Create a namespace and service account:
```bash theme={null}
kubectl create namespace jenkins
kubectl -n jenkins create serviceaccount jenkins-sa
```
2. Generate a long-lived token:
```bash theme={null}
kubectl -n jenkins create token jenkins-sa --duration=115d
```
3. In Jenkins, add a **Secret text** credential (`jenkins-sa-token`) with this token.
4. Back in the Kubernetes cloud config:
* **Kubernetes URL**: your API server endpoint
* **Namespace**: `jenkins`
* **Credentials**: `jenkins-sa-token`
* Click **Test Connection**.
Initially, you may encounter a certificate path error:
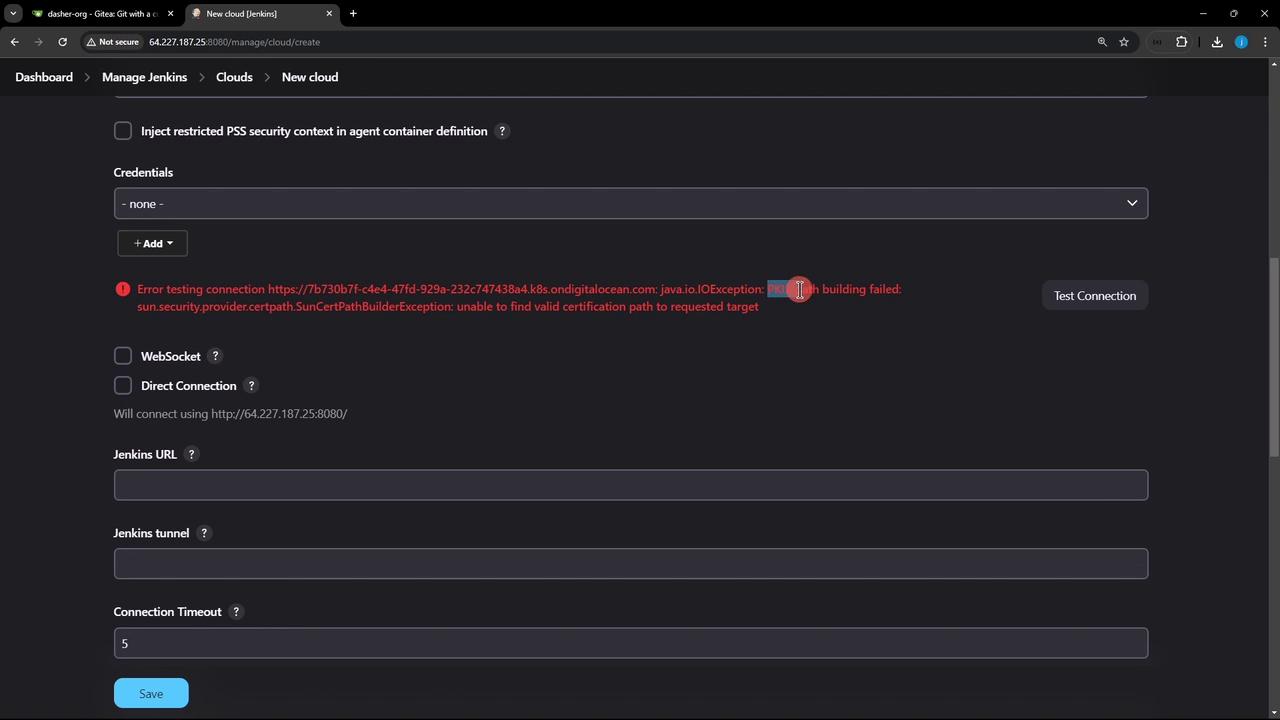
Disabling TLS verification is insecure. Instead, provide the CA certificate for your API server under **Kubernetes CA Certificate**.
You may then hit a **403 Forbidden** error due to missing RBAC permissions:
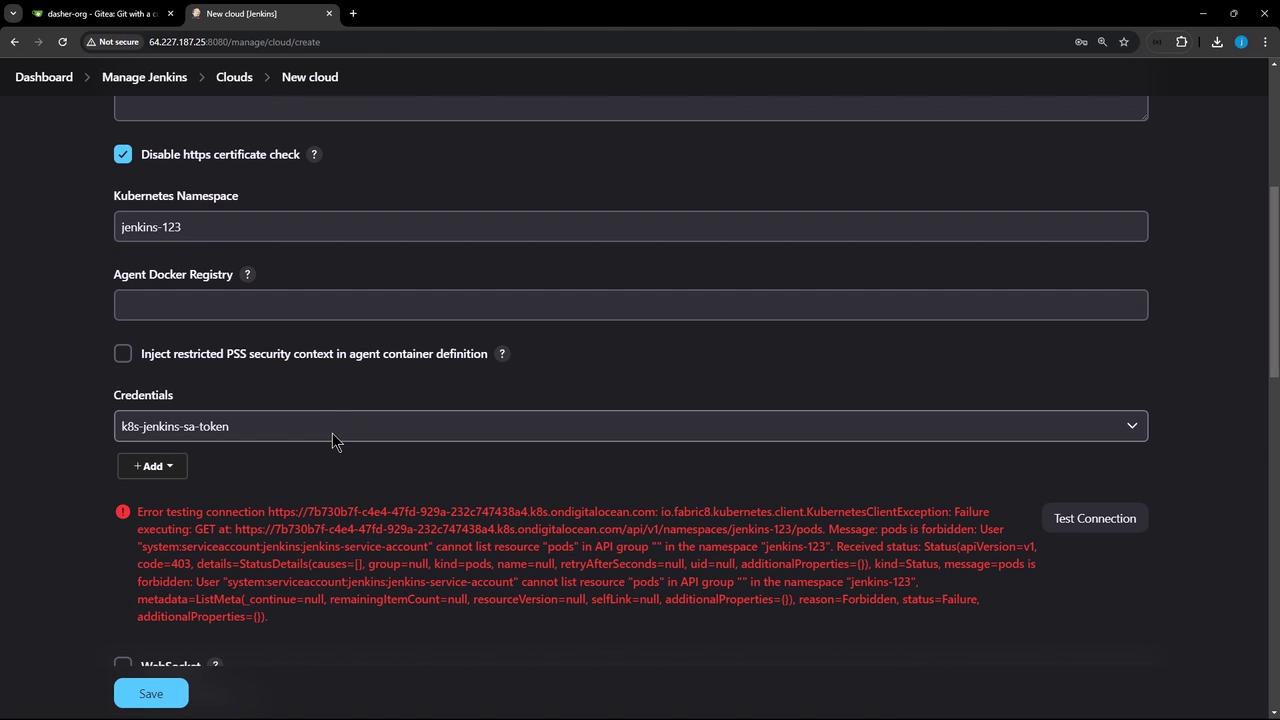
5. Grant namespace-scoped admin rights:
```bash theme={null}
kubectl -n jenkins create rolebinding jenkins-admin-binding \
--clusterrole=admin \
--serviceaccount=jenkins:jenkins-sa
```
6. In Jenkins, click **Test Connection** again. You should see the credentials dropdown populated and a successful response:
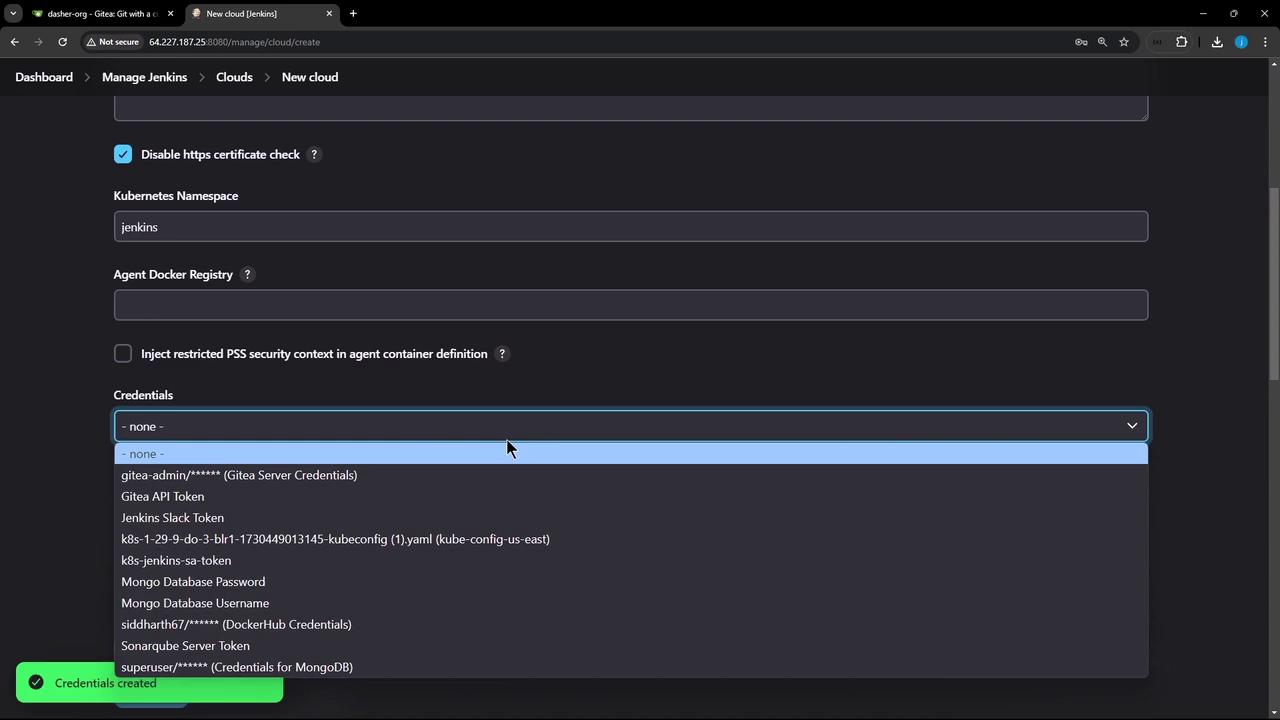
## 3. Finalize Cloud Settings
Configure how Jenkins launches and cleans up pods:
* **Jenkins URL / Jenkins tunnel**: Host:port for JNLP/WebSocket agent connections.
* **Pod Labels**: e.g., `organization=KodeKloudAzureArc`—tags applied to every agent pod.
* **Pod Retention**:
| Option | Description |
| ---------- | --------------------------------------- |
| Never | Delete pods immediately after build |
| On failure | Keep pods only if the build fails |
| Always | Retain pods regardless of build outcome |
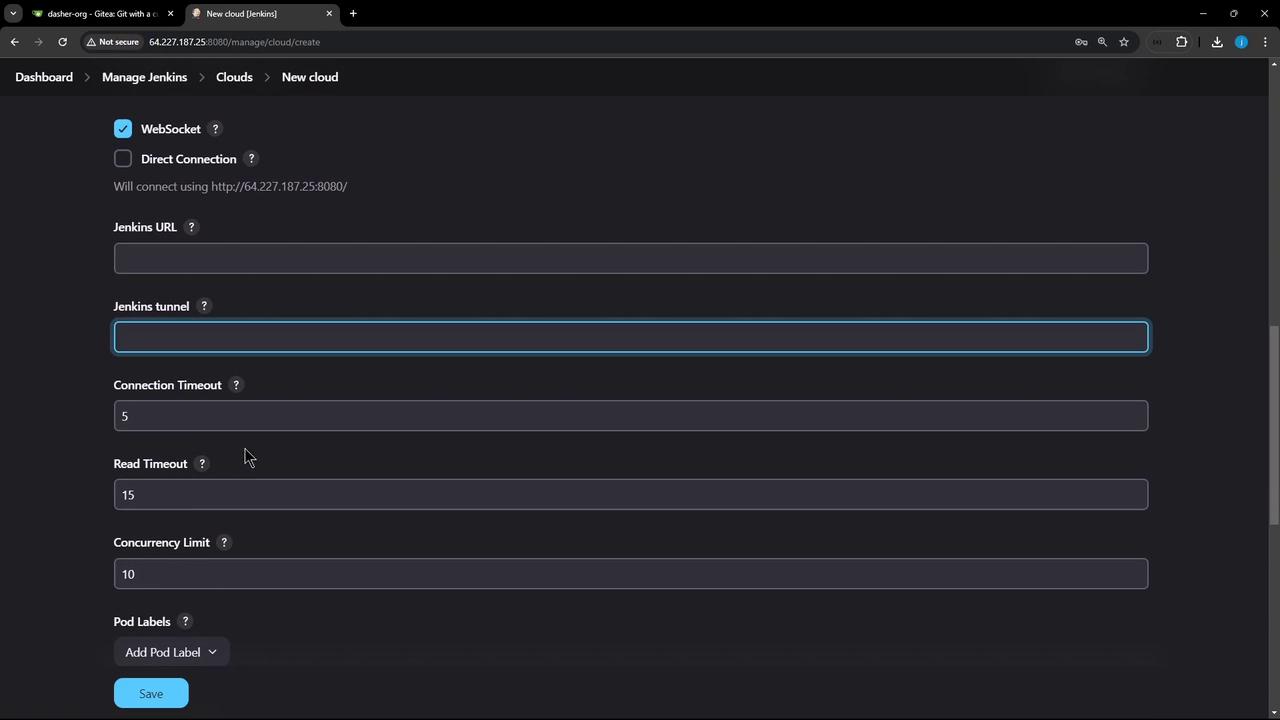
Click **Save**. Jenkins will now provision build agents dynamically in your Kubernetes cluster!
***
## References
* [Jenkins Configuration as Code](https://www.jenkins.io/doc/book/managing/configuration-as-code/)
* [Kubernetes Credentials Plugin](https://plugins.jenkins.io/kubernetes-credentials/)
* [Kubernetes RBAC Overview](https://kubernetes.io/docs/reference/access-authn-authz/rbac/)