> ## Documentation Index
> Fetch the complete documentation index at: https://notes.kodekloud.com/llms.txt
> Use this file to discover all available pages before exploring further.
# Demo Create and Configure Node
> This tutorial demonstrates how to create and configure a Jenkins node to enhance build execution scalability and performance.
This tutorial shows how to offload build execution from your Jenkins controller to a dedicated agent (node), improving scalability and performance. We’ll provision an Ubuntu VM (`ubuntu-docker-jdk17-node20`) and connect it as a Jenkins agent using JNLP.
## Prerequisites
* A running Jenkins controller ([installation guide](https://www.jenkins.io/doc/))
* A VM with a matching JDK installed
* Network connectivity between controller and agent
## 1. Add a New Node in Jenkins
1. On the Jenkins controller, go to **Manage Jenkins** → **Manage Nodes and Clouds**.
2. Click **New Node**, enter a name (e.g., `Ubuntu-Agent`), select **Permanent Agent**, and **OK**.
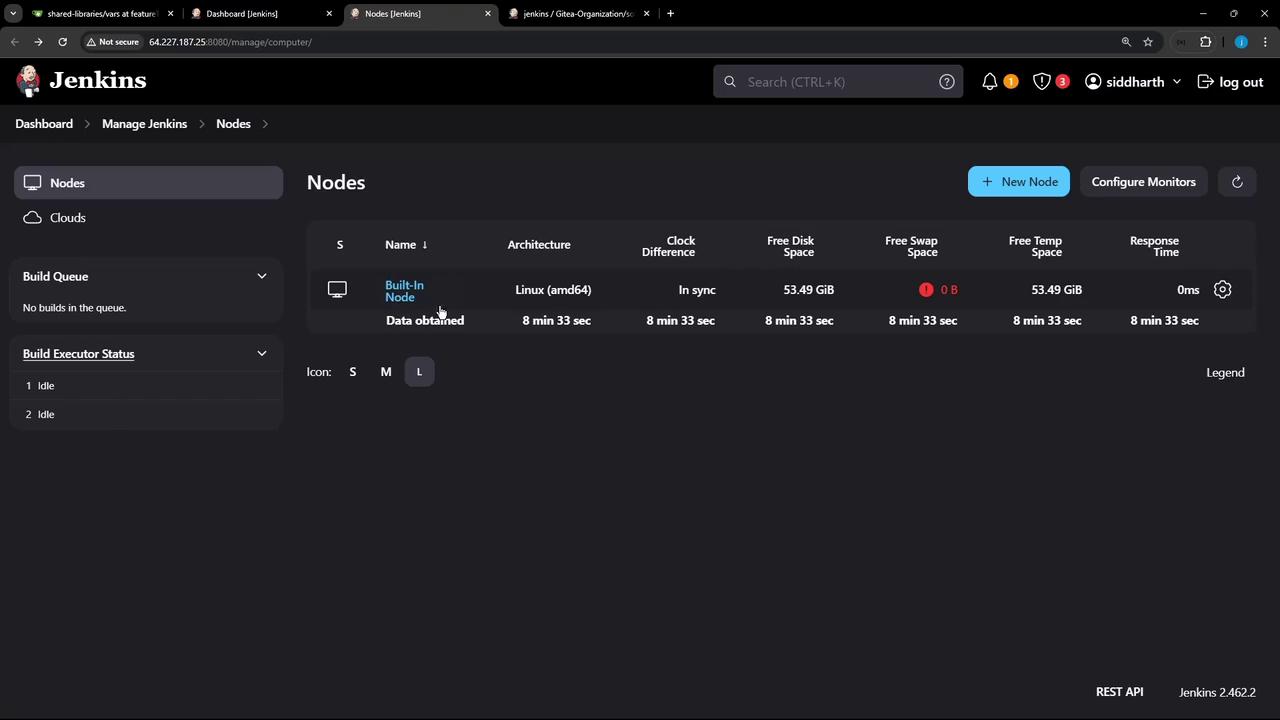
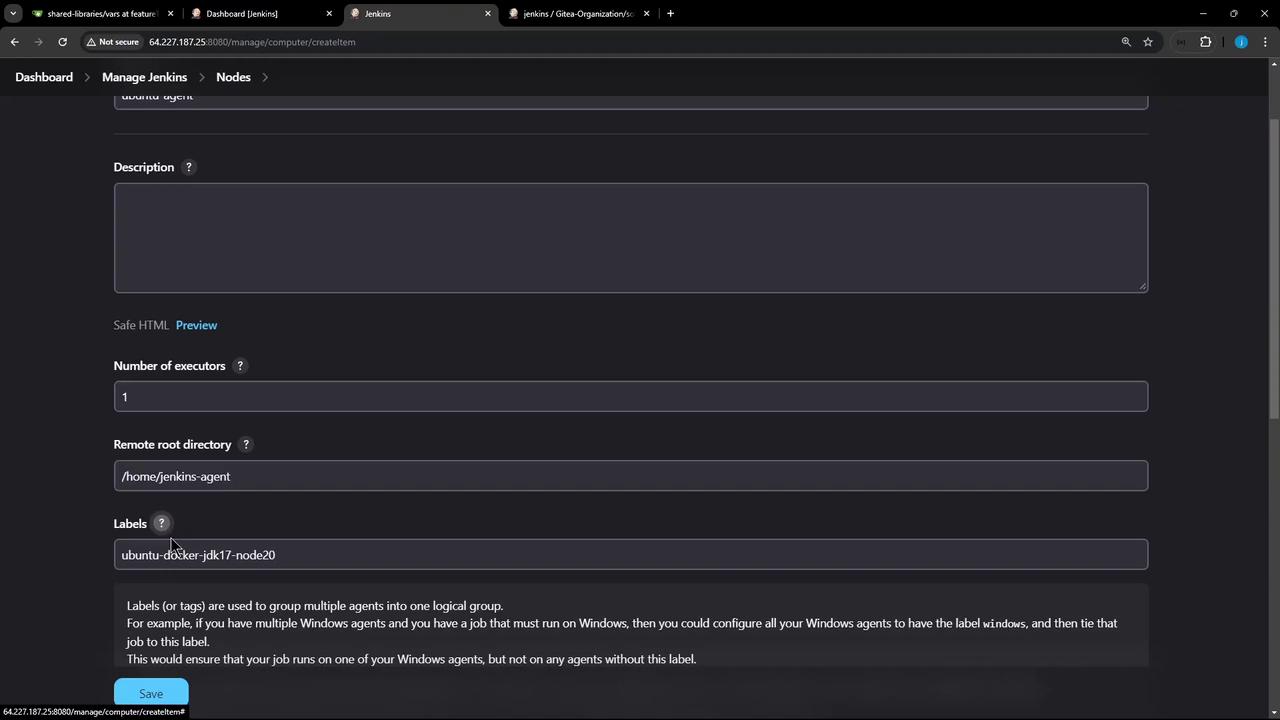
3. Fill in the node configuration:
| Field | Purpose | Example |
| --------------------- | ---------------------------------------------------------- | ----------------------------------------------------------- |
| Description | Brief summary of this agent’s role | `Ubuntu build executor` |
| # of Executors | Max concurrent builds this agent can run | `2` |
| Remote Root Directory | Directory on the agent for workspaces, logs, and artifacts | `/home/jenkins-agent` |
| Labels | Tags for targeting in jobs or pipelines | `docker jdk17 ubuntu` |
| Usage | Restrict builds to labels matching this node | `Only build jobs with label expressions matching this node` |
| Launch method | How the agent connects (e.g., JNLP) | `Launch agent by connecting from the controller` |
| Availability | Agent online policy | `Keep this agent online as much as possible` |
Under **Node Properties**, you can add environment variables or enable disk space monitoring to maintain agent health.
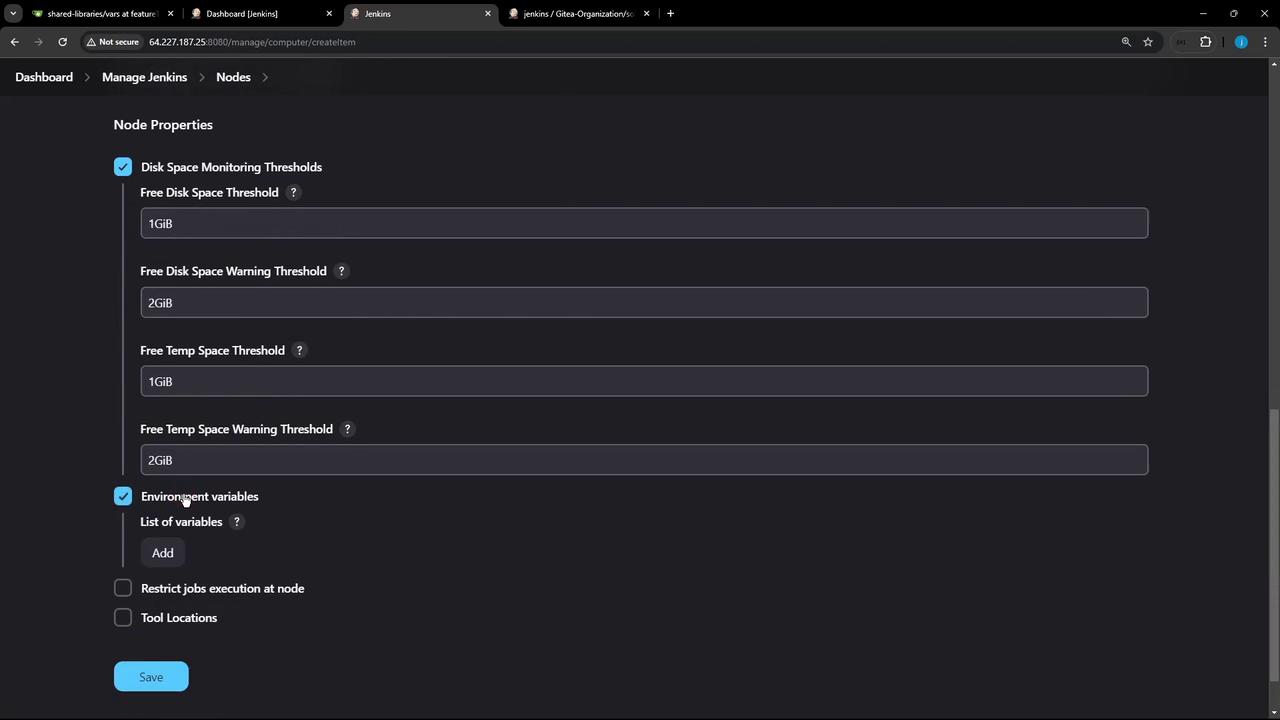
4. Click **Save**. The agent remains **offline** until it connects to the controller.
## 2. Enable TCP Inbound Agent Port
1. Navigate to **Manage Jenkins** → **Configure Global Security**.
2. Under **Agents** → **TCP port for inbound agents**, select **Fixed** or **Random**.
3. Click **Save**.
## 3. Connect the Agent from the Command Line
On the agent VM (`ubuntu-docker-jdk17-node20`):
```shell theme={null}
# Go to a working directory
cd /home
# Download the Jenkins agent JAR
curl -sO http://:8080/jnlpJars/agent.jar
# (Optional) Store the agent secret securely
echo > secret-file
chmod 600 secret-file
# Launch the agent with JNLP
java -jar agent.jar \
-url http://:8080/ \
-secret @secret-file \
-name "ubuntu-agent" \
-workDir "/home/jenkins-agent"
```
Keep the `secret-file` secure. Exposing the JNLP secret allows unauthorized agents to connect.
A successful connection shows:
```text theme={null}
INFO: Connected
Inbound agent connected from 165.233.191.207:55522
This is a Unix agent
Agent successfully connected and online
```
## 4. Verify the Agent in Jenkins
Return to **Manage Nodes and Clouds** and confirm `Ubuntu-Agent` is **online**:
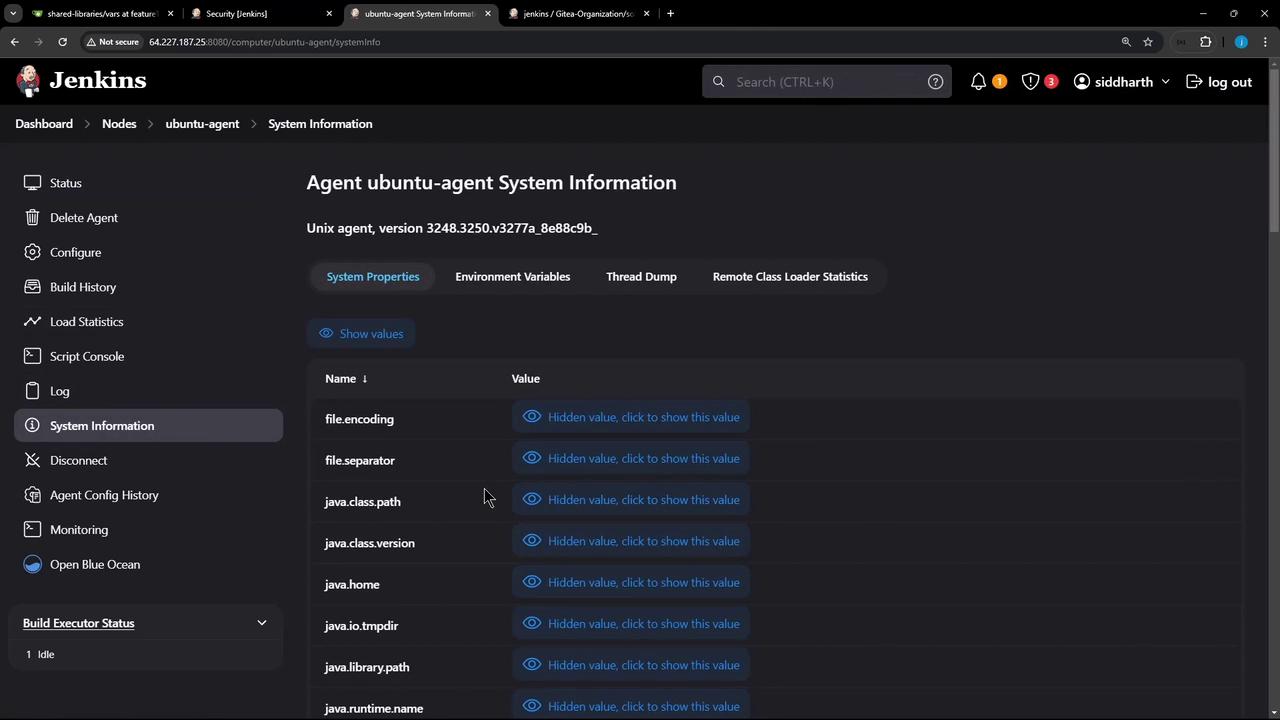
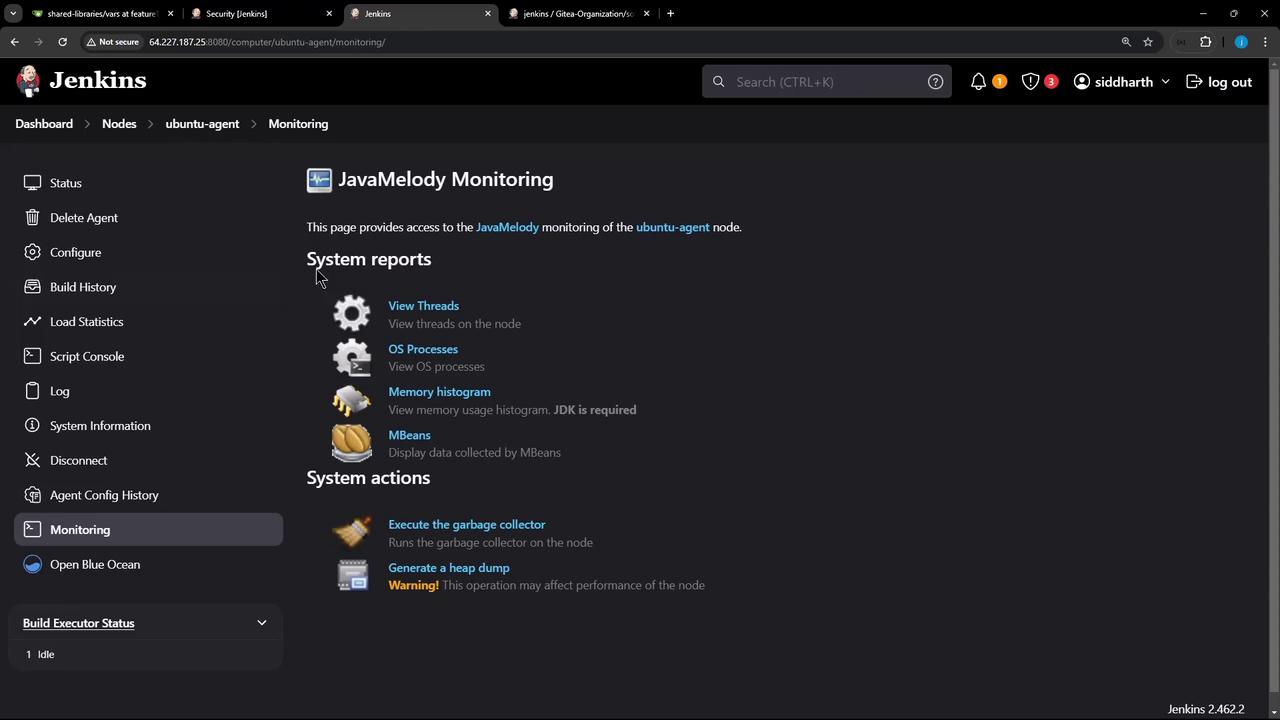
Use [JavaMelody Monitoring](https://javamelody.github.io/) for system reports:
## 5. Inspect the Agent Workspace
On the agent VM:
```shell theme={null}
root@ubuntu-docker-jdk17-node20:/home# ls
agent.jar jenkins-agent
root@ubuntu-docker-jdk17-node20:/home# cd jenkins-agent
root@ubuntu-docker-jdk17-node20:/home/jenkins-agent# ls
remoting
```
As builds run, Jenkins creates `workspaces`, `logs`, and `artifacts` directories under `/home/jenkins-agent`.
Next, we’ll run a sample job on this agent to demonstrate distributed execution.
## Links and References
* [Jenkins Documentation](https://www.jenkins.io/doc/)
* [Jenkins JNLP Agents](https://www.jenkins.io/doc/book/using/remote-agents/)
* [JavaMelody](https://javamelody.github.io/)
* [Jenkins CLI & Remoting](https://www.jenkins.io/doc/book/managing/cli/)