> ## Documentation Index
> Fetch the complete documentation index at: https://notes.kodekloud.com/llms.txt
> Use this file to discover all available pages before exploring further.
# Demo Utilize Kubernetes Pod as Agent
> Learn to configure Jenkins Declarative Pipeline to use Kubernetes Pods as dynamic build agents.
In this guide, you will learn how to configure a Jenkins Declarative Pipeline to dynamically spin up Kubernetes Pods as build agents. By the end, you can:
* Define Pod templates inline or via YAML files
* Use a default container or target specific containers per stage
* Inspect Pod definitions and events on your cluster
## 1. Create a New Pipeline Job
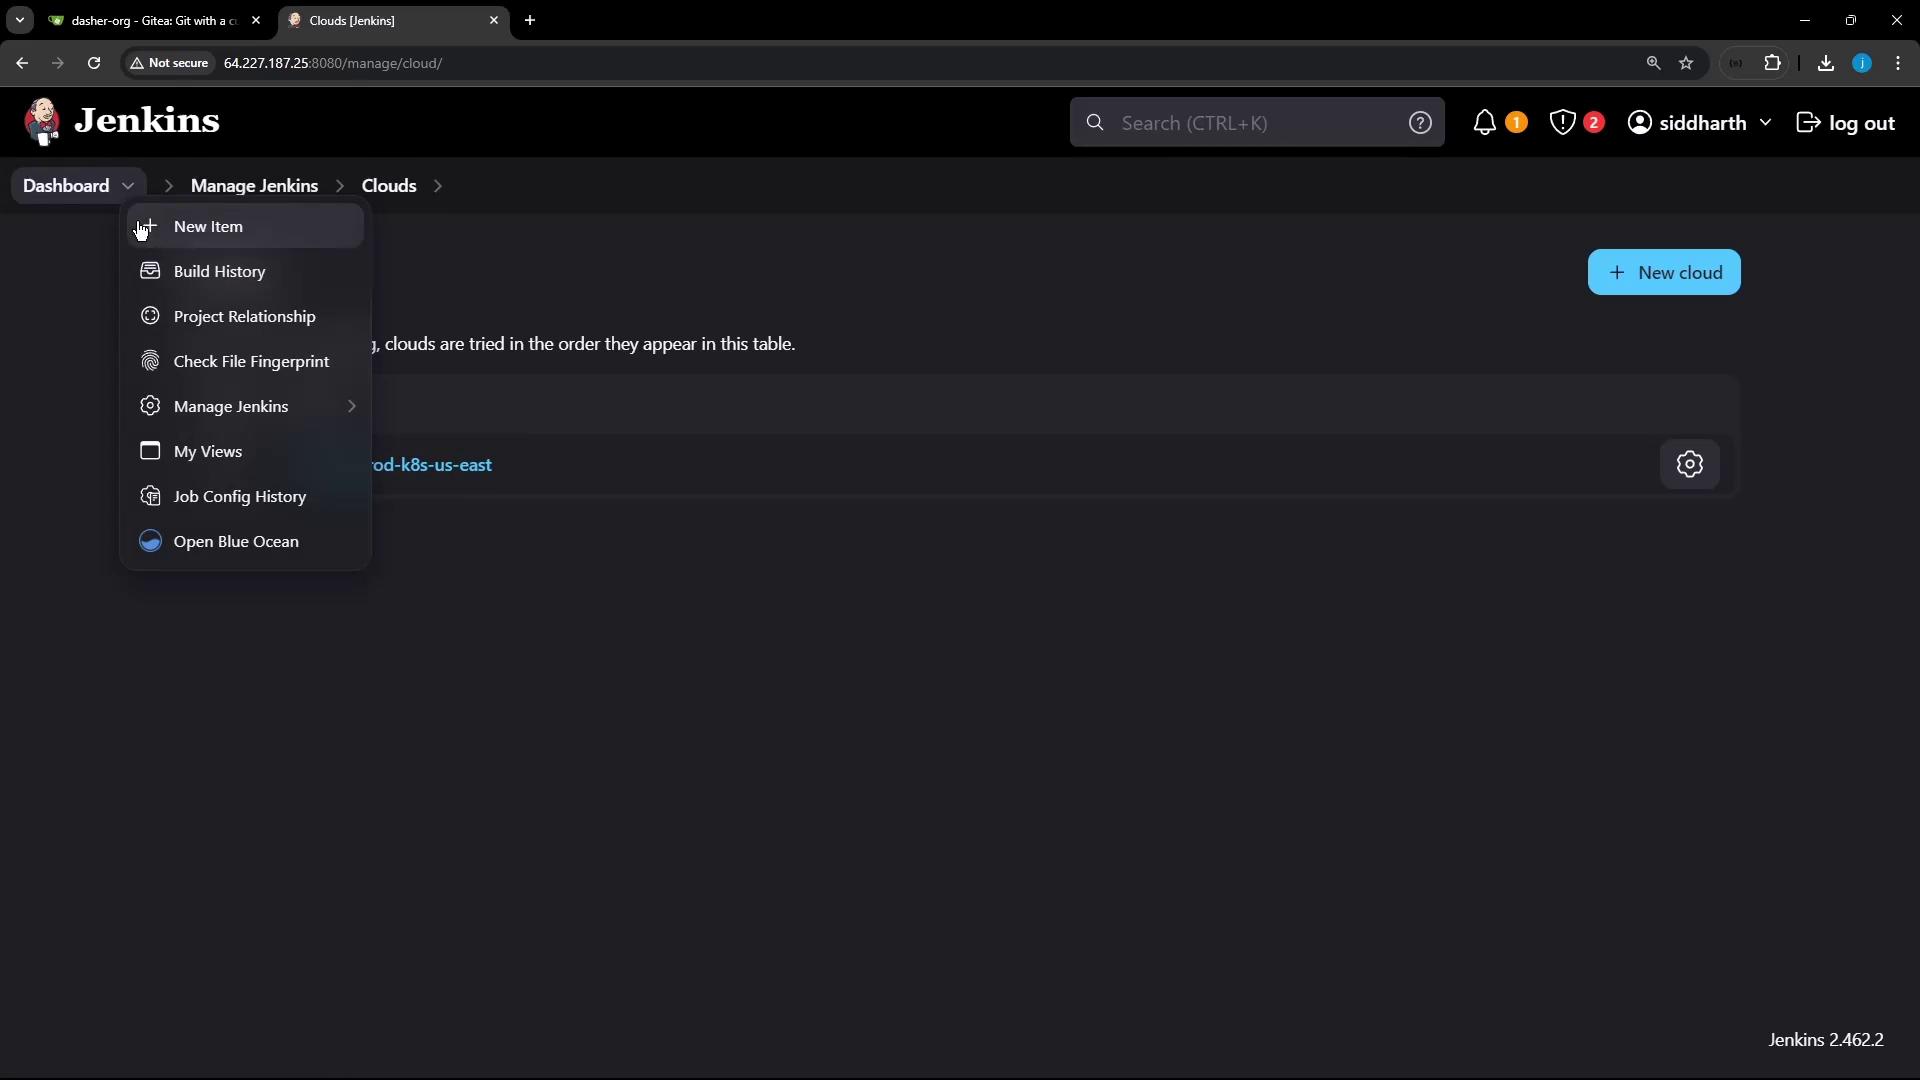
1. From the Jenkins dashboard, click **New Item**.
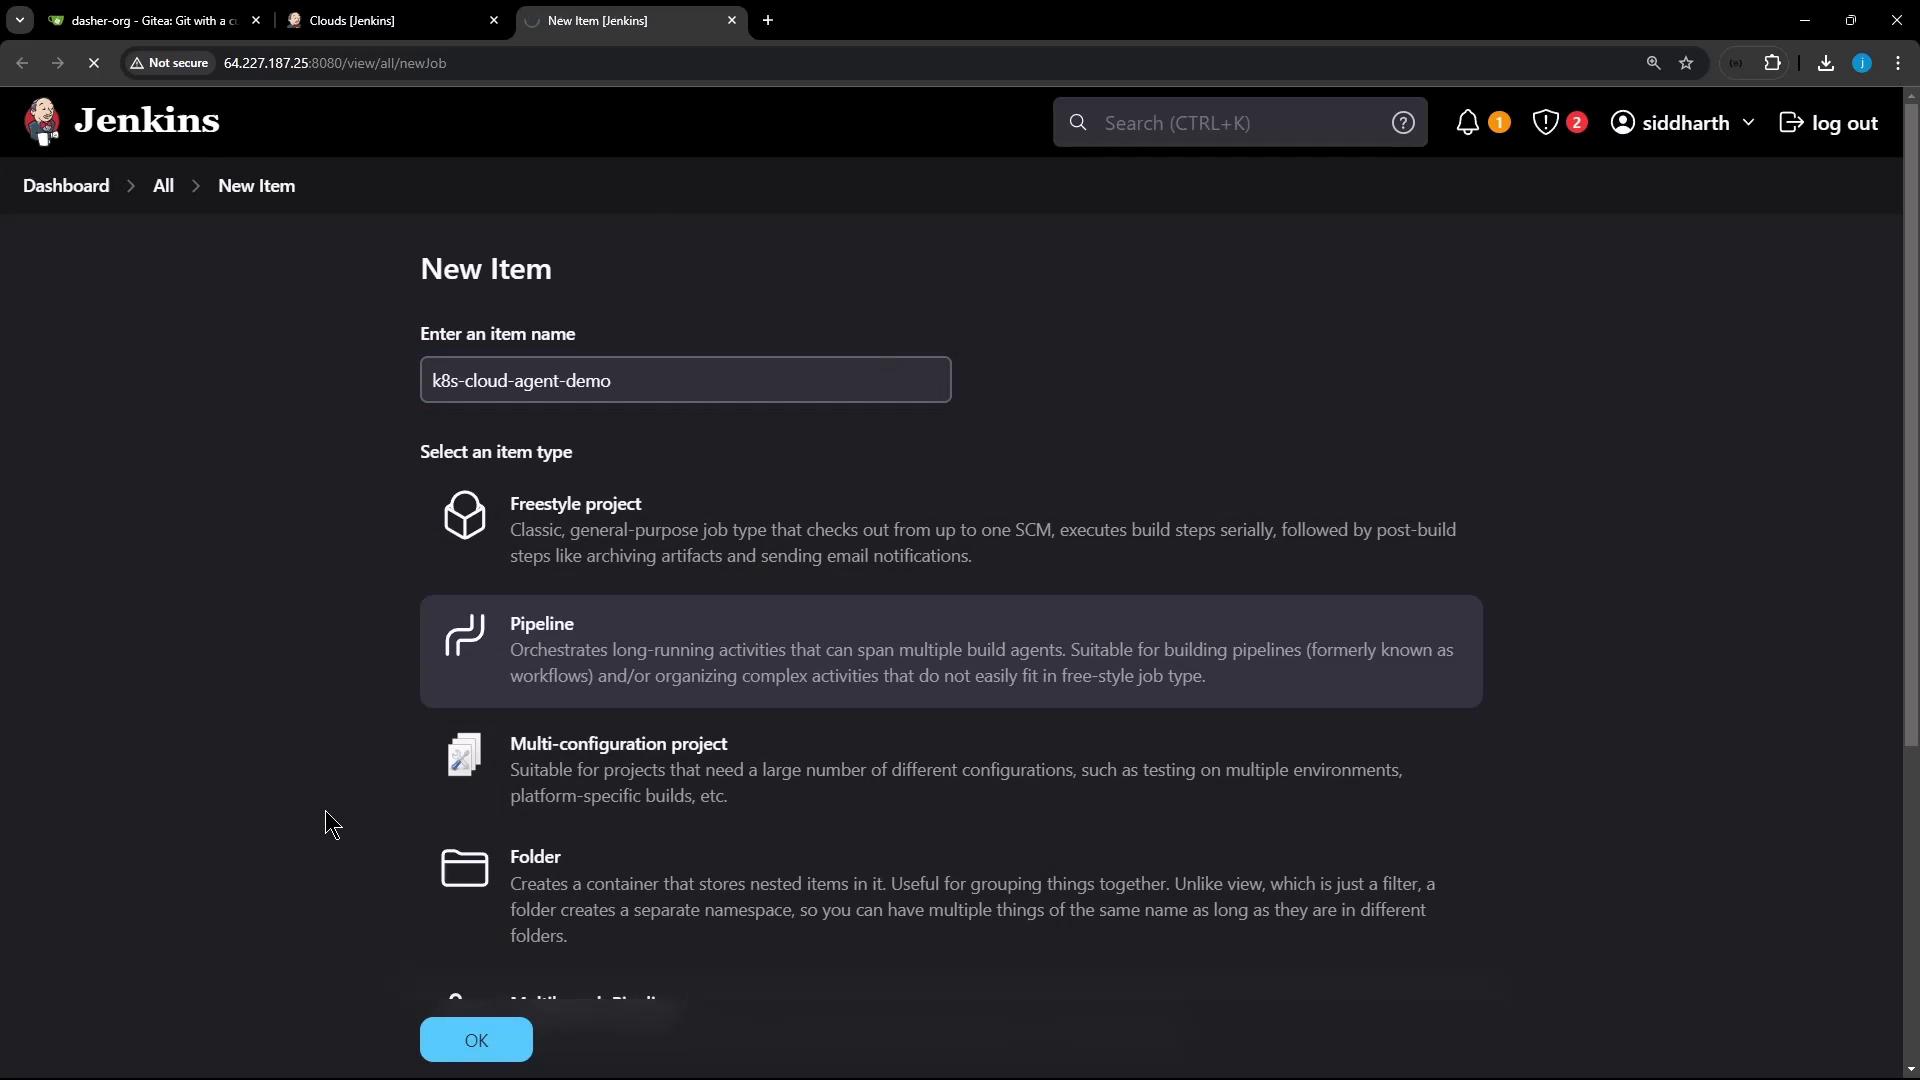
2. Enter the job name (**k8s-cloud-agent-demo** or your preferred name) and select **Pipeline**.
3. Scroll to the **Pipeline** section, choose **Pipeline script**, and prepare to paste your Declarative Pipeline.
## 2. Basic Declarative Pipeline with Kubernetes Agent
Start with a minimal pipeline that runs one stage inside a Kubernetes Pod defined inline:
```groovy theme={null}
pipeline {
agent {
kubernetes {
yaml '''
apiVersion: v1
kind: Pod
spec:
containers:
- name: ubuntu-container
image: ubuntu
command: ["sleep"]
args: ["infinity"]
securityContext:
runAsUser: 1000
'''
}
}
stages {
stage('Print Hostname') {
steps {
sh 'hostname'
sh 'sleep 120s' // Keep Pod alive for inspection
}
}
}
}
```
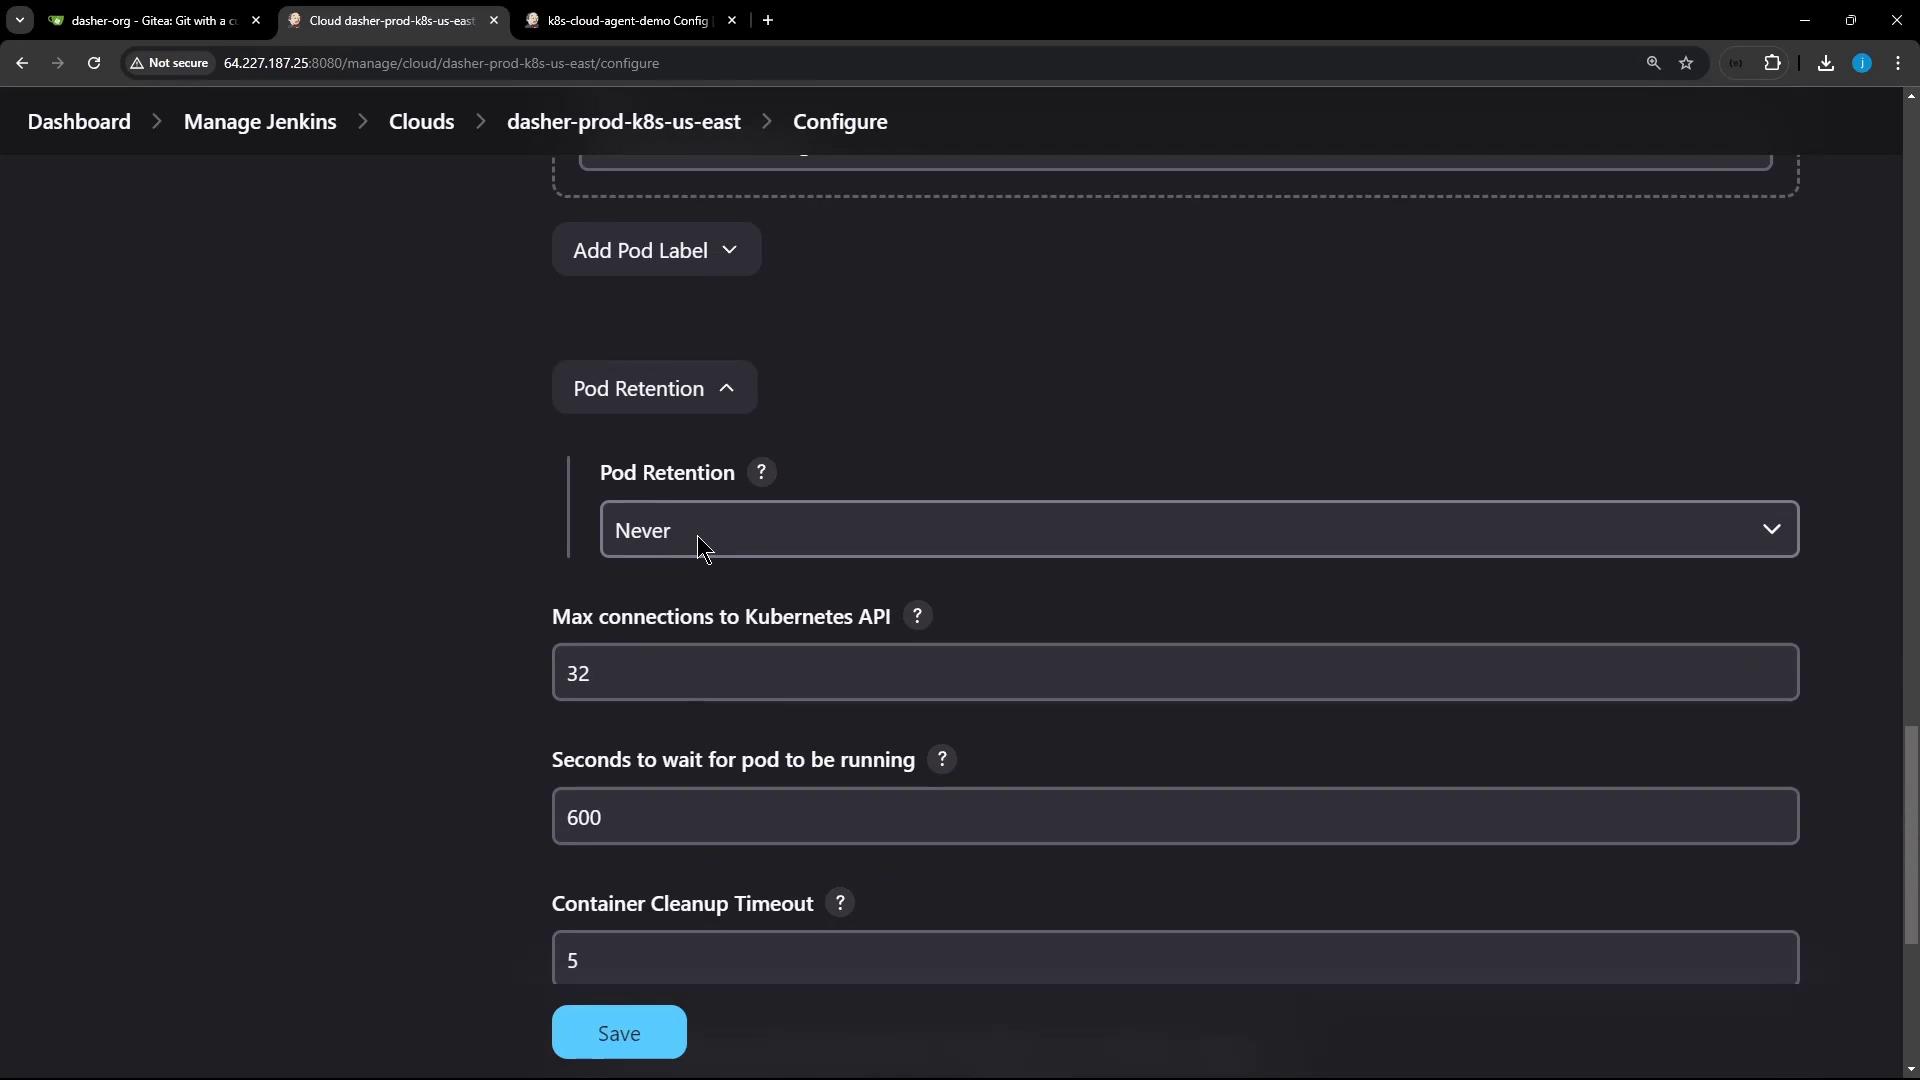
In the Kubernetes Cloud settings, **Pod Retention** is set to **Never**, so Pods are deleted after each build.\
## 3. Run the Build and Inspect the Pod
1. Click **Build Now** on your Pipeline job.
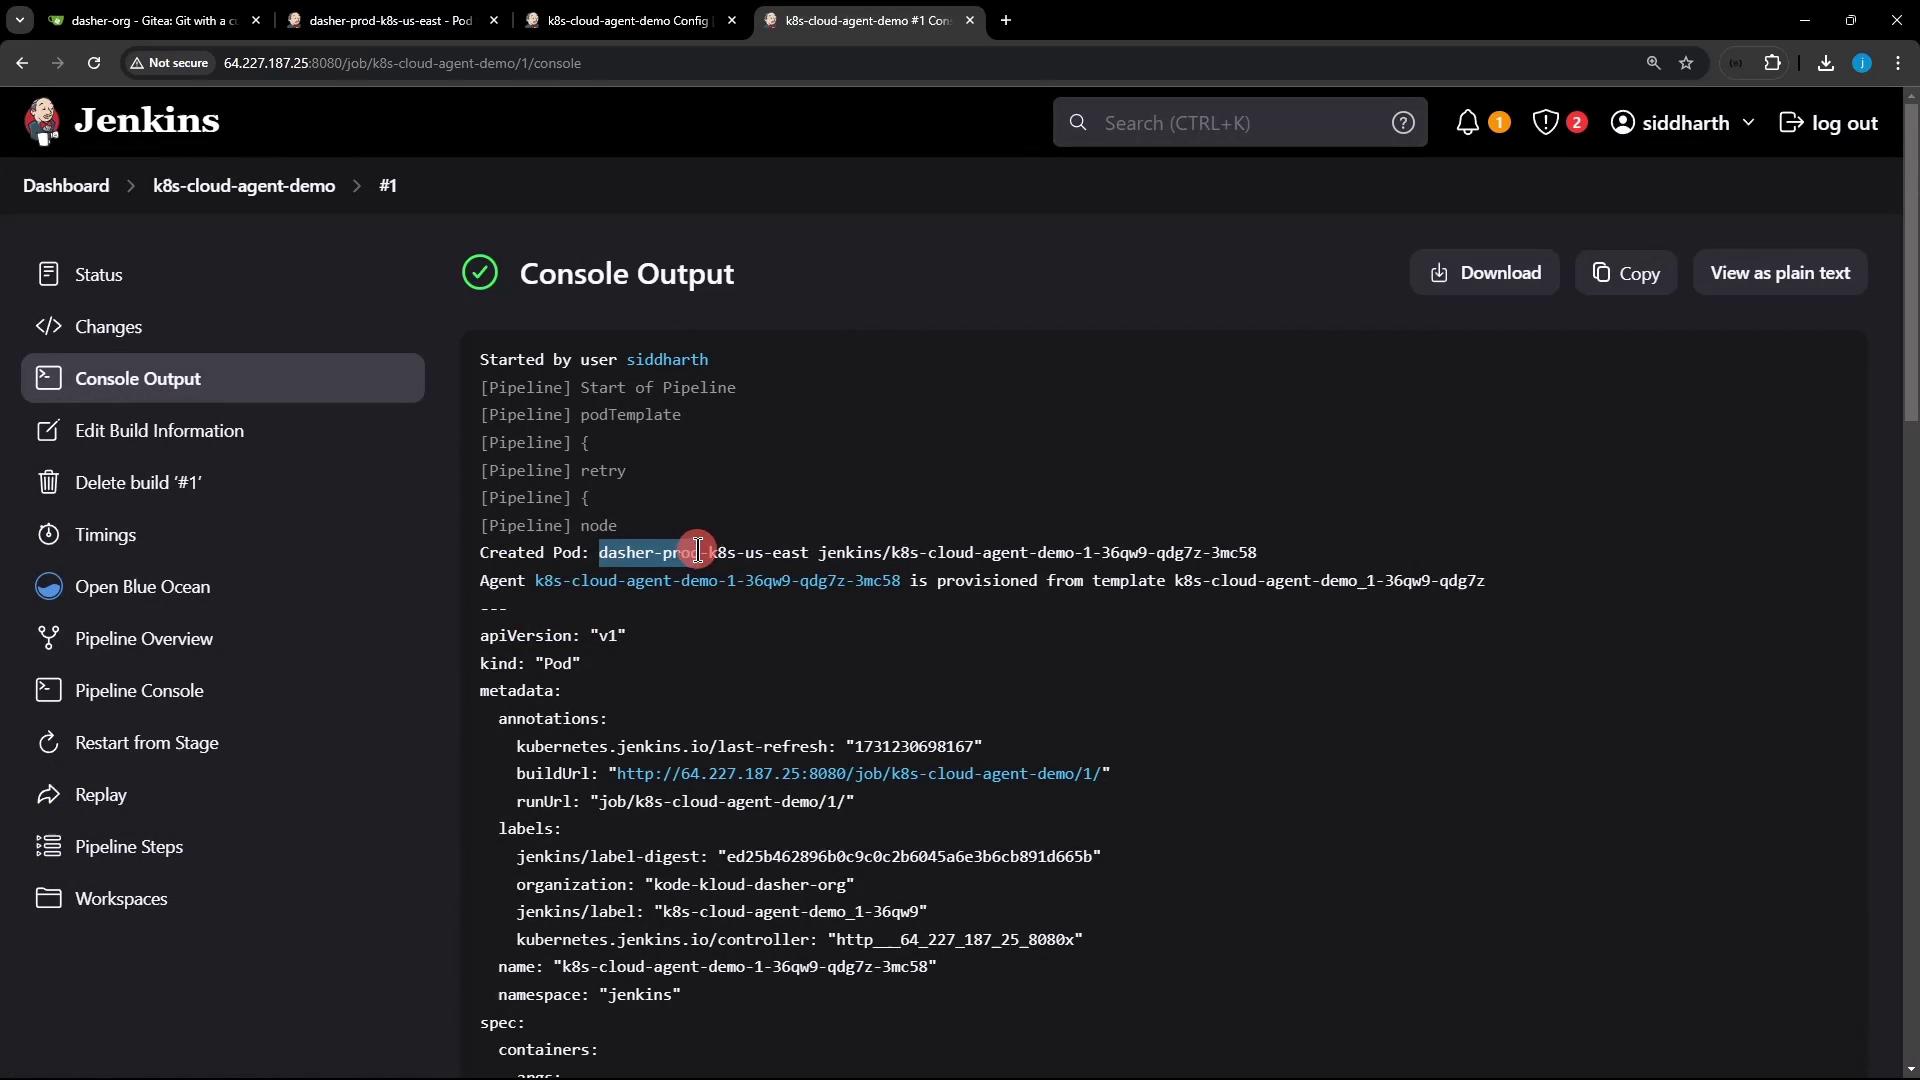
2. Open **Console Output** to see the steps:
```text theme={null}
[Pipeline] sh
+ hostname
k8s-cloud-agent-demo-1-36qw9-qdg7z-3mc58
[Pipeline] sh
+ sleep 120s
```
3. Jenkins also prints the full Pod spec it created:
```yaml theme={null}
---
apiVersion: "v1"
kind: "Pod"
metadata:
name: "k8s-cloud-agent-demo-1-36qw9-qdg7z-3mc58"
namespace: "jenkins"
labels:
jenkins/label: "k8s-cloud-agent-1-36qw9"
spec:
containers:
- name: ubuntu-container
image: ubuntu
command: ["sleep"]
args: ["infinity"]
```
4. On your Kubernetes cluster, verify the Pod:
```bash theme={null}
kubectl -n jenkins get pod
kubectl -n jenkins describe pod k8s-cloud-agent-demo-1-36qw9-qdg7z-3mc58
```
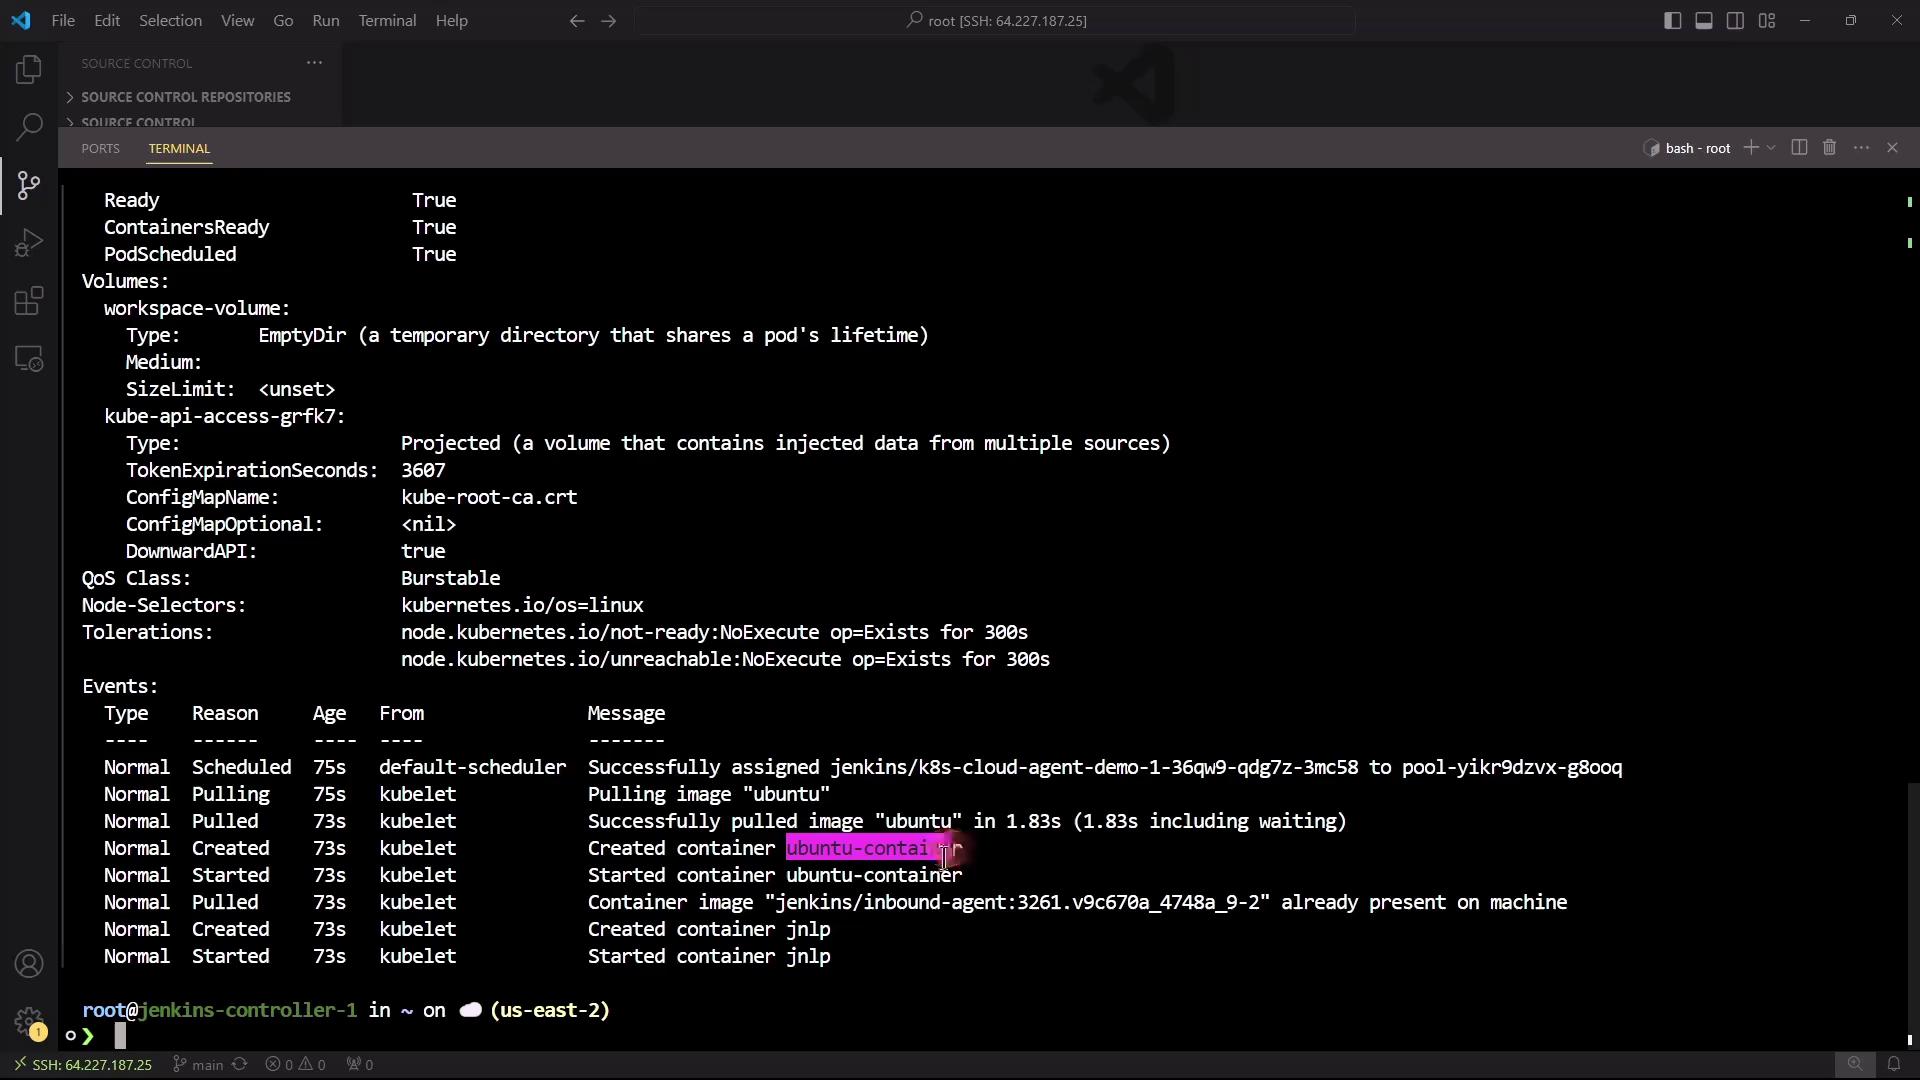
5. You will notice two containers:
* **ubuntu-container** (your build environment)
* **jnlp** (inbound Jenkins agent for communication)
```yaml theme={null}
containers:
- name: ubuntu-container
image: ubuntu
command: [sleep]
args: [infinity]
- name: jnlp
image: jenkins/inbound-agent:latest
# ...additional fields...
```
6. After 120 seconds, the Pod is removed due to **Pod Retention: Never**.
## 4. Viewing Pod Events
To review lifecycle events of recently terminated Pods:
```bash theme={null}
kubectl -n jenkins get events --sort-by='.lastTimestamp'
```
You’ll see events such as `Scheduled`, `Pulling`, `Started`, and `Killing`.
## 5. Using Multiple Containers
Demonstrate how to define and select containers per stage.
### 5.1 Define Two Containers with a Default
```groovy theme={null}
pipeline {
agent {
kubernetes {
yaml '''
apiVersion: v1
kind: Pod
spec:
containers:
- name: ubuntu-container
image: ubuntu
command: ["sleep"]
args: ["infinity"]
- name: node-container
image: node:18-alpine
command: ["cat"]
tty: true
'''
defaultContainer 'ubuntu-container'
}
}
stages {
stage('Print Hostname') {
steps {
sh 'hostname'
}
}
stage('Print Node Version') {
steps {
// This will run in ubuntu-container and fail
sh 'node -v'
sh 'npm -v'
}
}
}
}
```
The **Print Node Version** stage will fail because it runs in the Ubuntu container, which lacks Node.js.
### 5.2 Select the Node Container for a Specific Stage
Wrap Node.js commands in a `container('node-container')` block:
```groovy theme={null}
pipeline {
agent {
kubernetes {
yaml '''
apiVersion: v1
kind: Pod
spec:
containers:
- name: ubuntu-container
image: ubuntu
command: ["sleep"]
args: ["infinity"]
- name: node-container
image: node:18-alpine
command: ["cat"]
tty: true
'''
}
}
stages {
stage('Print Hostname') {
steps {
sh 'hostname'
}
}
stage('Print Node Version') {
steps {
container('node-container') {
sh 'node -v'
sh 'npm -v'
}
}
}
}
}
```
Run again and check the console:
```text theme={null}
[Pipeline] sh
+ hostname
k8s-cloud-agent-demo-4-lhzbb-ss3rk-sp3q6
...
[Pipeline] container
[Pipeline] sh
+ node -v
v18.20.4
[Pipeline] sh
+ npm -v
10.7.0
```
## 6. Advanced Options
| Feature | Description | Example |
| -------------------------- | --------------------------------------------------- | ------------------------------------------- |
| Select Cloud | Choose a specific Kubernetes cloud configuration | `cloud 'dasher-prod-k8s-us-east'` |
| External YAML Definition | Use a YAML file instead of inline `yaml` block | `yamlFile 'jenkins-pod.yaml'` |
| Resource Requests & Limits | Define CPU/memory requests and limits per container | Add `resources { requests { cpu '100m' } }` |
| Node Selectors | Target specific nodes in your cluster | `nodeSelector 'disktype': 'ssd'` |
| Retry Logic | Configure retry behavior on failure | `retries 3` |
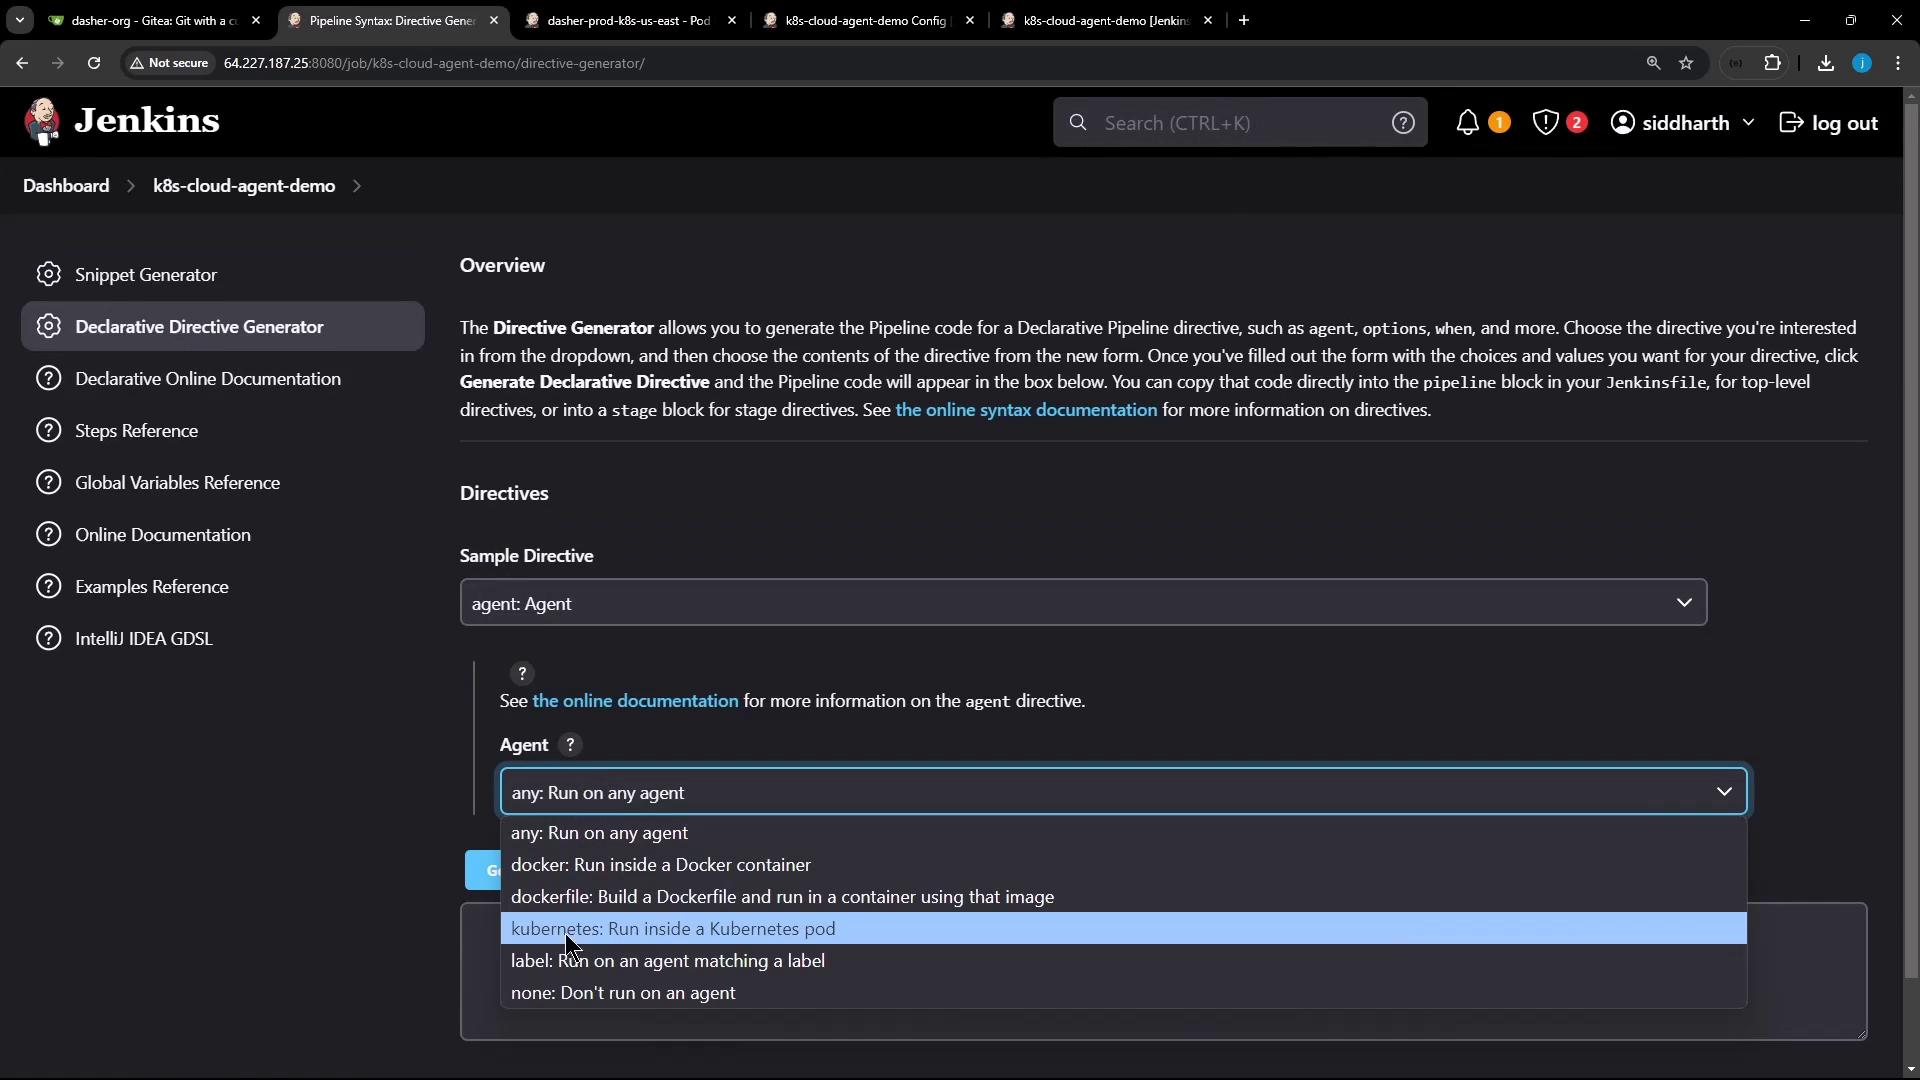
Explore more options with the [Declarative Directive Generator](https://www.jenkins.io/doc/book/pipeline/syntax/#declarative-directive-generator).
***
## Links and References
* [Jenkins Pipeline Syntax](https://www.jenkins.io/doc/book/pipeline/syntax/)
* [Kubernetes Concepts](https://kubernetes.io/docs/concepts/overview/what-is-kubernetes/)
* [Jenkins Kubernetes Plugin](https://plugins.jenkins.io/kubernetes/)
* [Docker Hub](https://hub.docker.com/)