> ## Documentation Index
> Fetch the complete documentation index at: https://notes.kodekloud.com/llms.txt
> Use this file to discover all available pages before exploring further.
# Demo Email Extention Notification Pipeline
> Learn to use the Email Extension Plugin for sending customizable email notifications from a Jenkins Declarative Pipeline.
Learn how to leverage the [Email Extension Plugin](https://plugins.jenkins.io/email-ext/) to send customizable email notifications from a Jenkins Declarative Pipeline.
## Overview
In this guide, you'll:
* Create a Jenkins Pipeline job
* Generate an `emailext` snippet with the Pipeline Syntax Generator
* Configure default email variables
* Build a complete Declarative Pipeline with post-build email steps
* Send both plain-text and HTML-formatted notifications
## Prerequisites
* Jenkins (2.x or later) with Pipeline and Email Extension Plugin installed
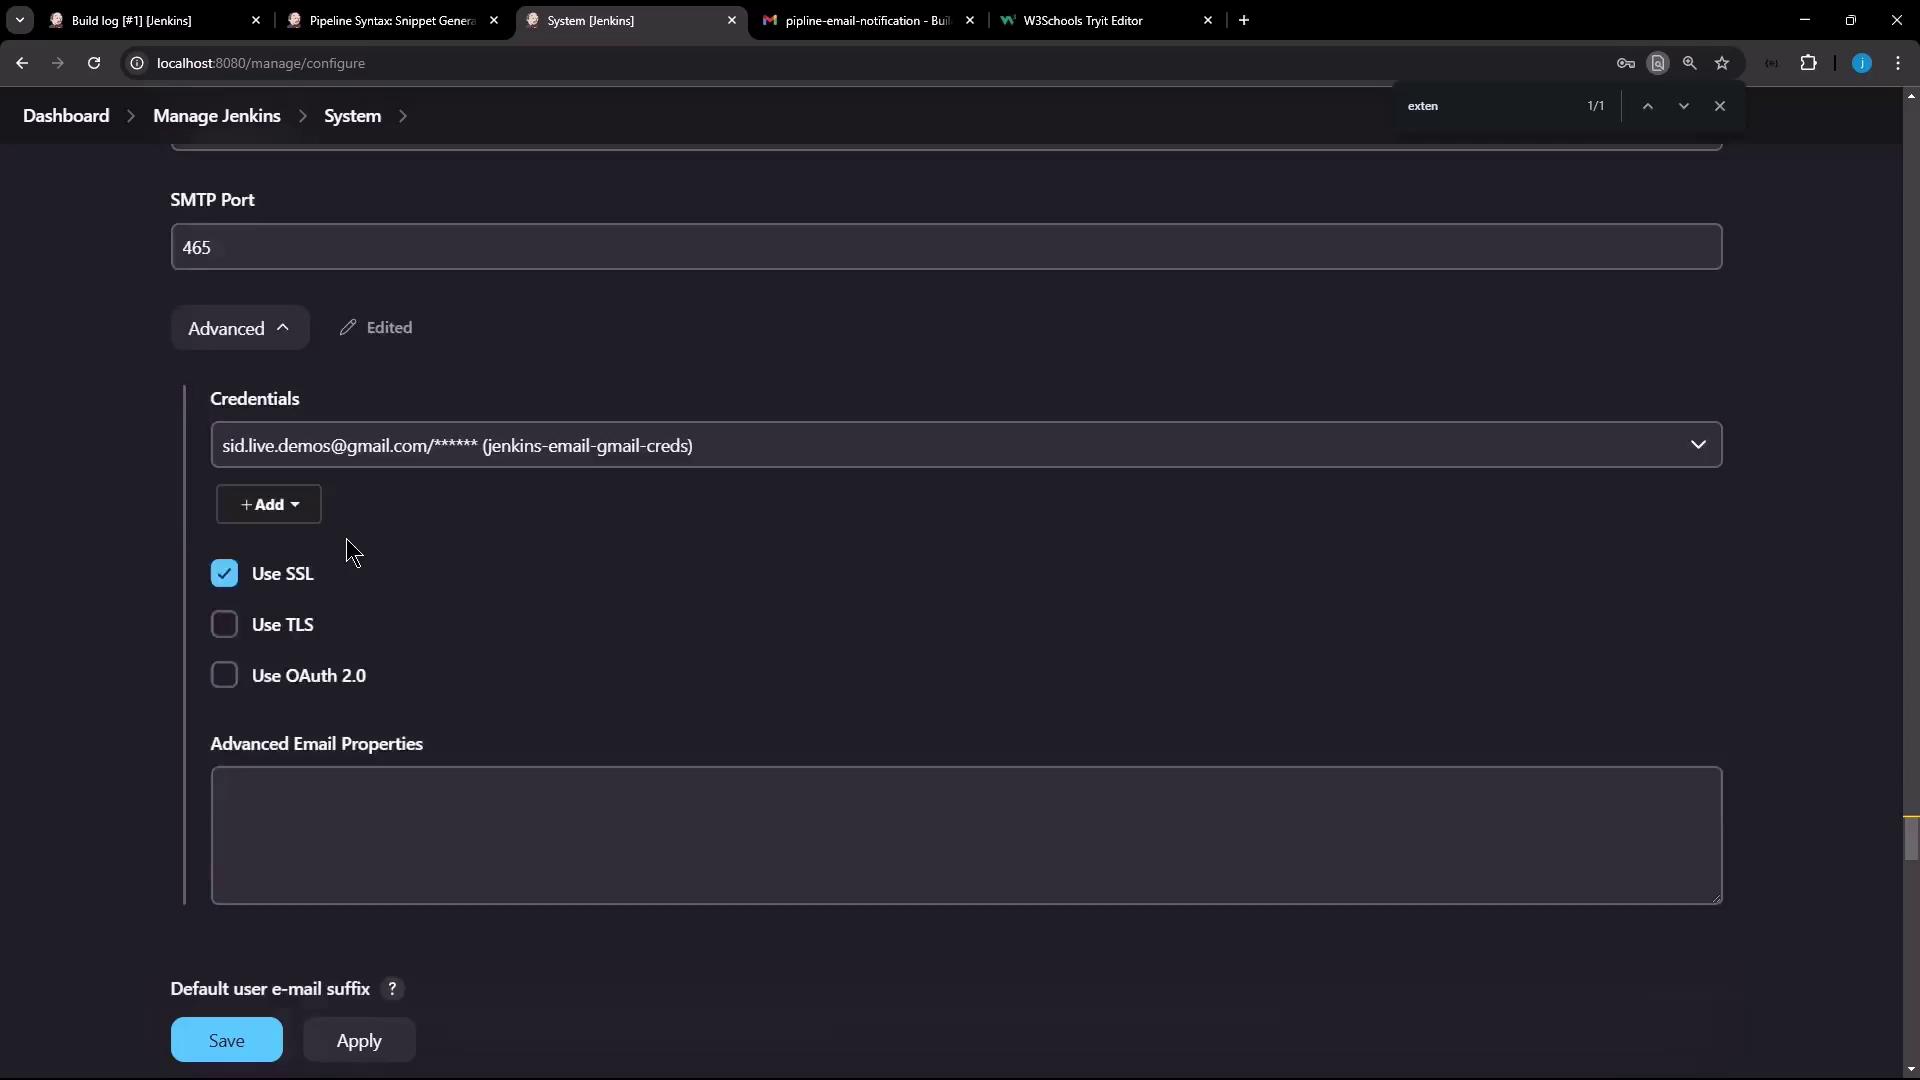
* SMTP server credentials configured under **Manage Jenkins > Configure System**
Ensure the **Email Extension Plugin** is installed and up to date. Without it, the `emailext` step won’t be available in your pipeline.
***
## 1. Create the Pipeline Job
1. In Jenkins, click **New Item**.
2. Enter a job name (e.g., `pipeline-email-notification`).
3. Select **Pipeline** and click **OK**.
4. Scroll to the **Pipeline** section and choose **Declarative Pipeline** as the definition.
***
## 2. Generate the `emailext` Snippet
1. Within the job configuration, click **Pipeline Syntax** (the Declarative Pipeline Generator).
2. Choose **Declarative: Pipeline Generator**.
3. In **Steps**, filter for `emailext`.
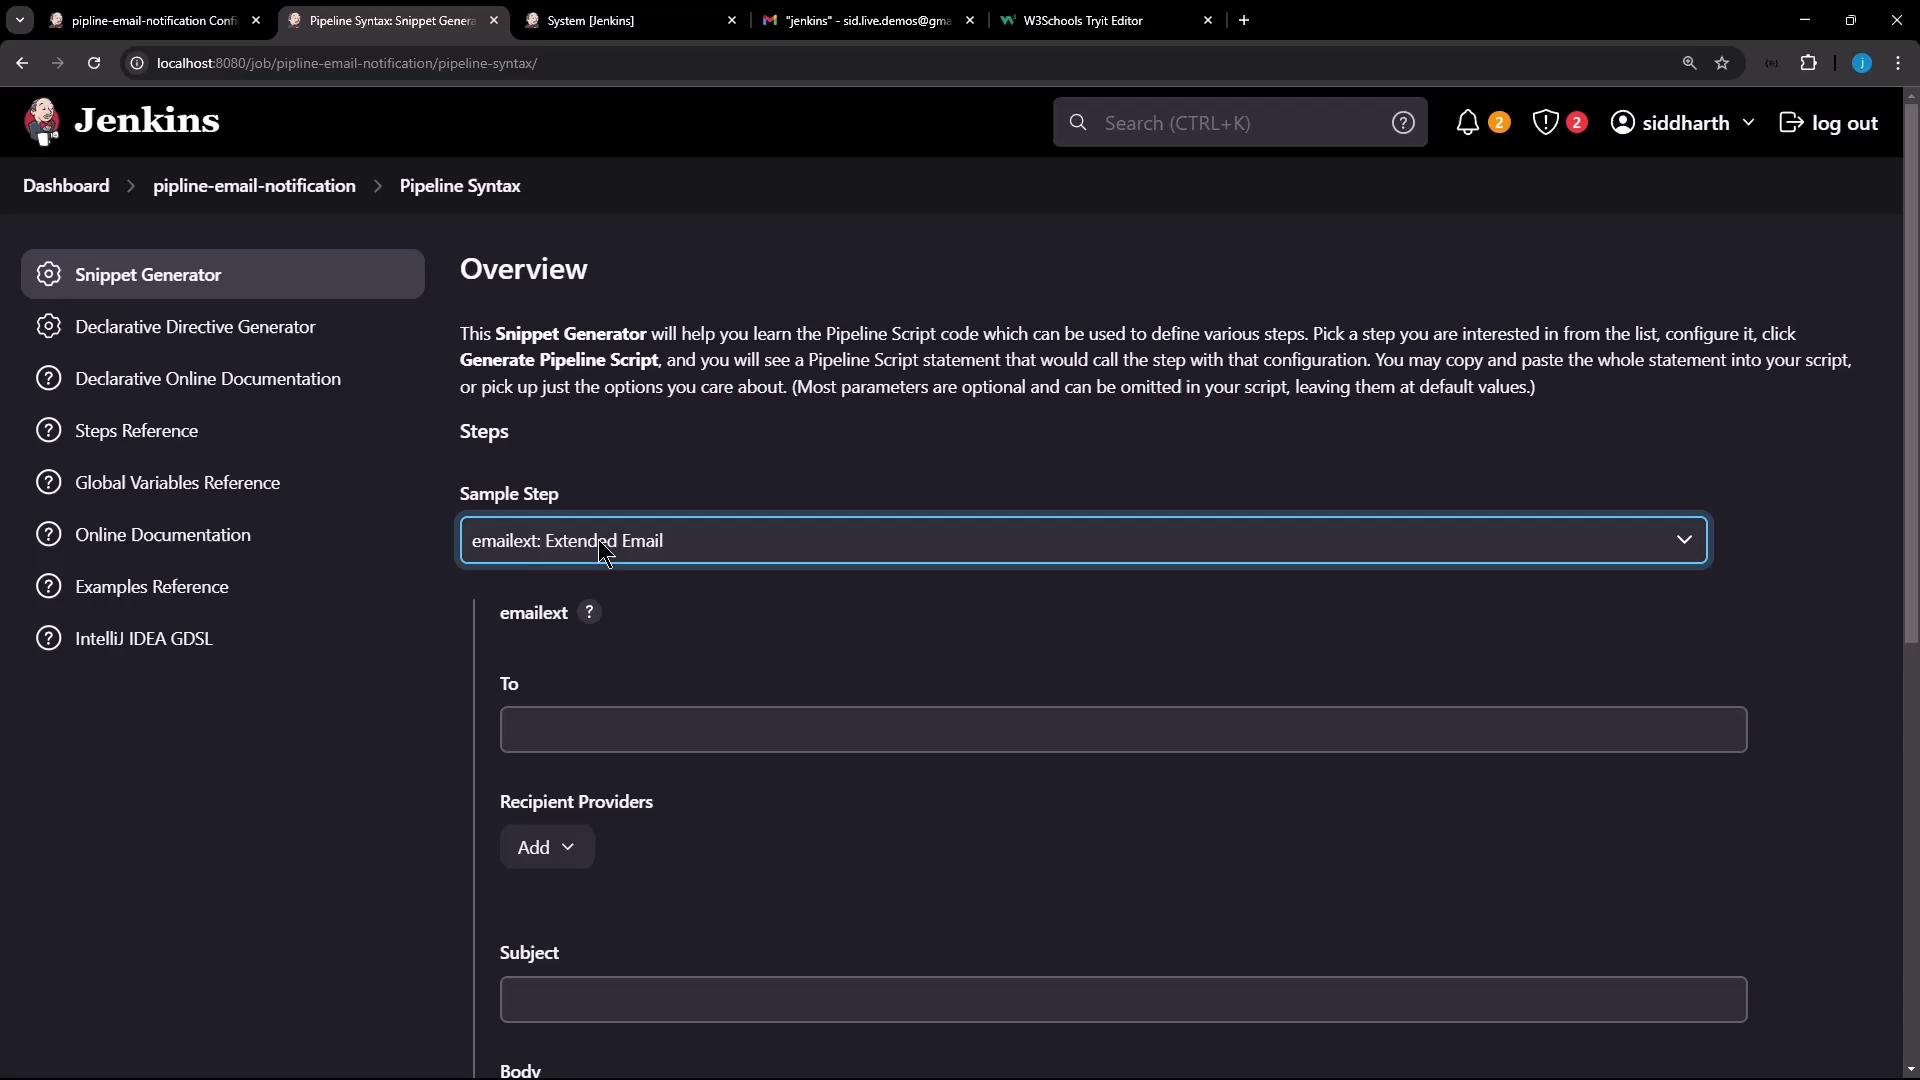
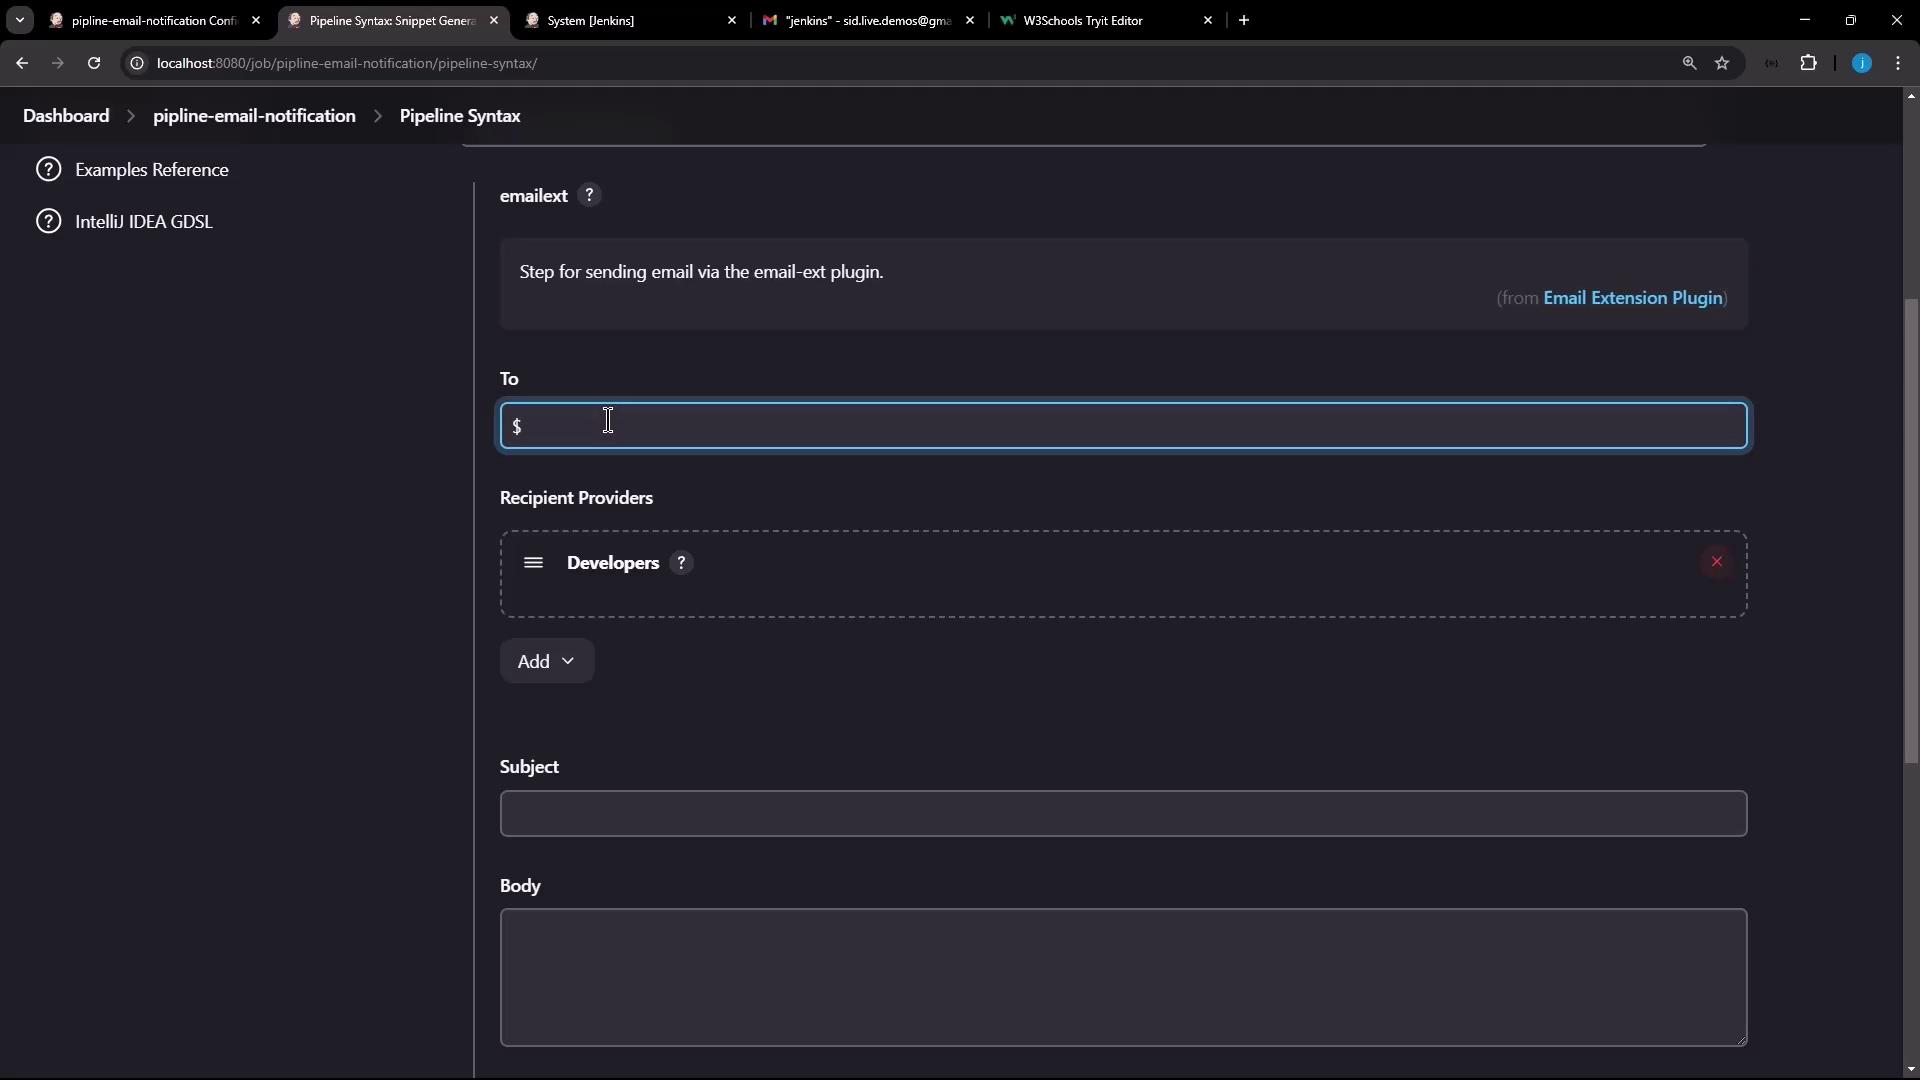
4. Fill in **To**, **Subject**, **Body**, etc., then click **Generate Pipeline Script**:
```groovy theme={null}
emailext body: '', recipientProviders: [developers()], subject: ''
```
***
## 3. Configure Default Placeholders
The plugin provides built-in variables you can reference:
| Placeholder | Description |
| --------------------- | ---------------------------------------- |
| `$DEFAULT_RECIPIENTS` | Recipients defined in **Manage Jenkins** |
| `$DEFAULT_SUBJECT` | Default subject line |
| `$DEFAULT_CONTENT` | Default email body content |
You can also attach logs or artifacts. For example:
```groovy theme={null}
emailext attachLog: true,
body: '$DEFAULT_CONTENT',
subject: '$DEFAULT_SUBJECT',
to: '$DEFAULT_RECIPIENTS'
```
***
## 4. Full Declarative Pipeline Example
This pipeline runs a **Hello** stage, generates `testFile.txt`, and always sends an email with the build log and `testFile.*` attachments:
```groovy theme={null}
pipeline {
agent any
stages {
stage('Hello') {
steps {
sh "echo 'Testing pipeline-email-notification' > testFile.txt"
}
}
}
post {
always {
emailext attachLog: true,
body: '$DEFAULT_CONTENT',
subject: '$DEFAULT_SUBJECT',
to: '$DEFAULT_RECIPIENTS',
attachmentsPattern: 'testFile.*'
}
}
}
```
To only send emails on failures, place `emailext` under `post { failure { ... } }` instead of `always`.
***
## 5. Execute the Pipeline
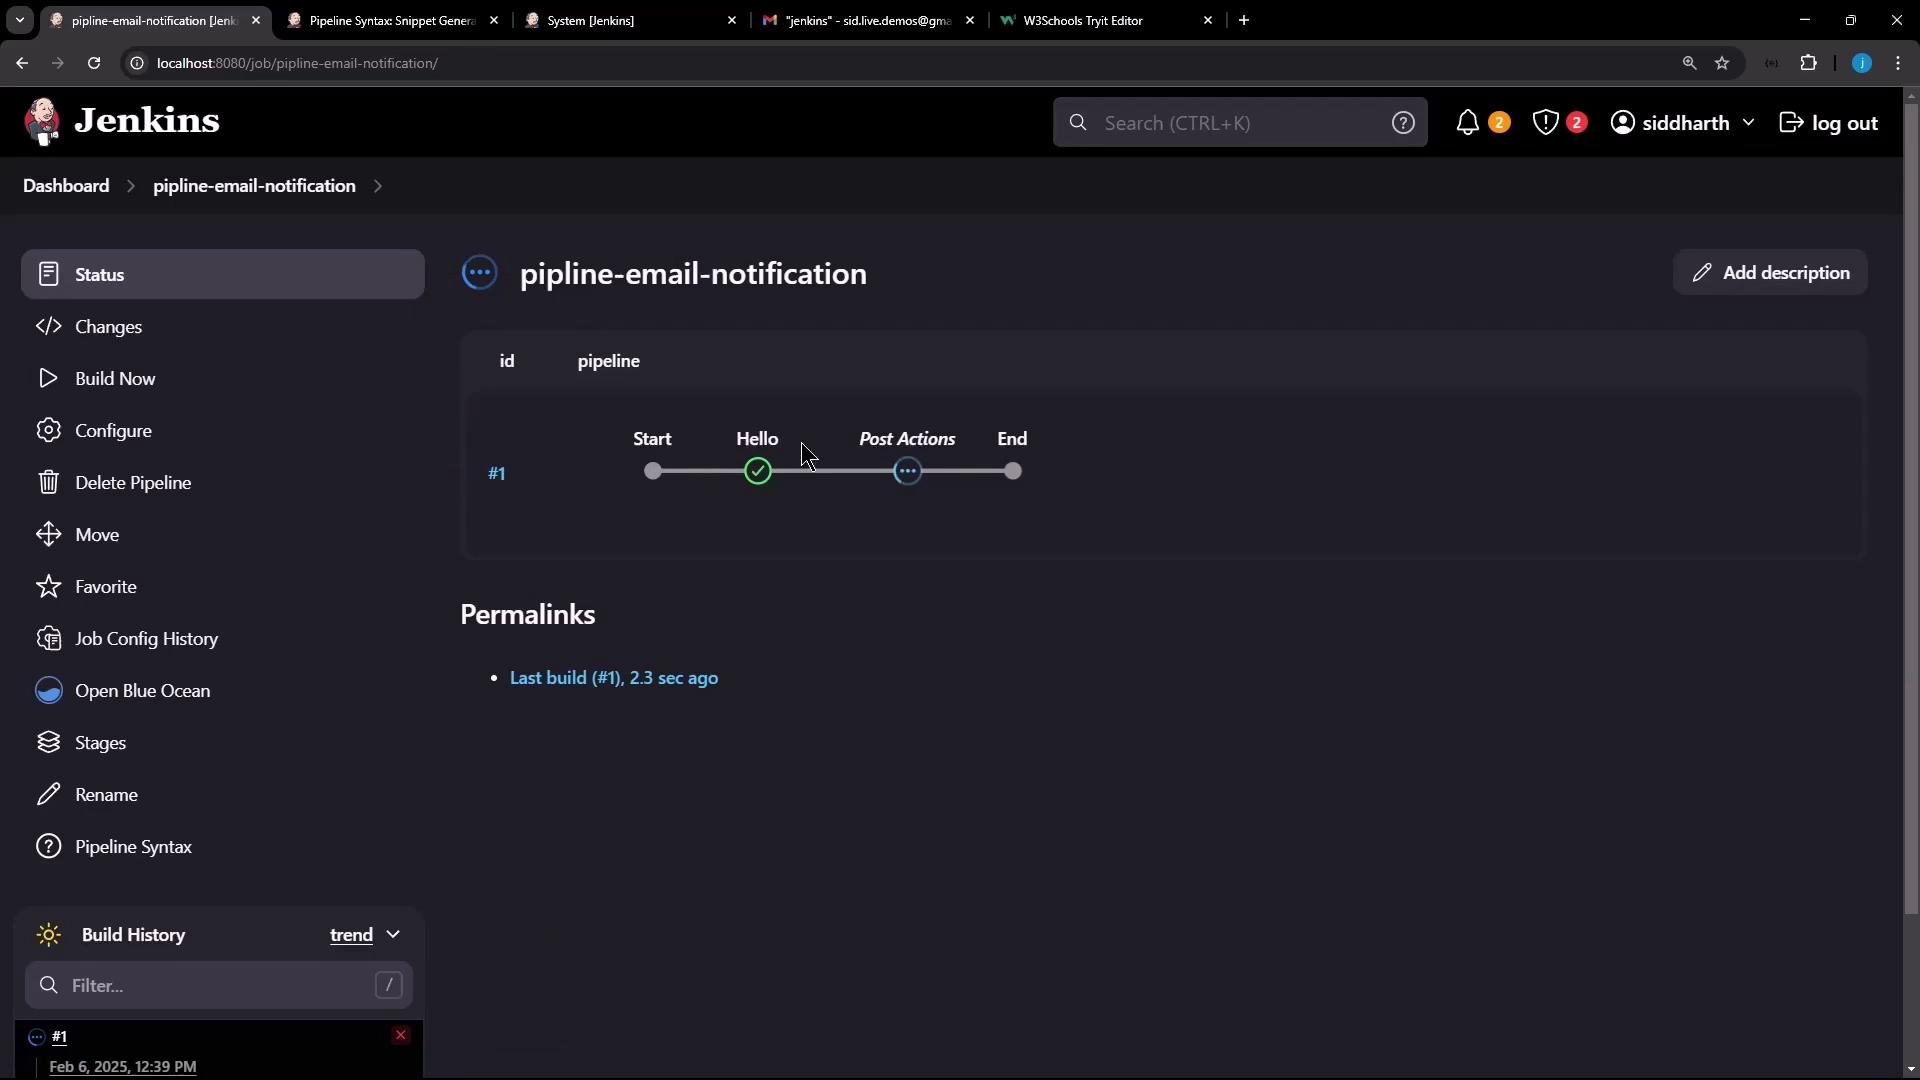
1. Save your job and click **Build Now**.
2. Observe the **Hello** stage run and the post-build action trigger.
***
## 6. Verify the Email Delivery
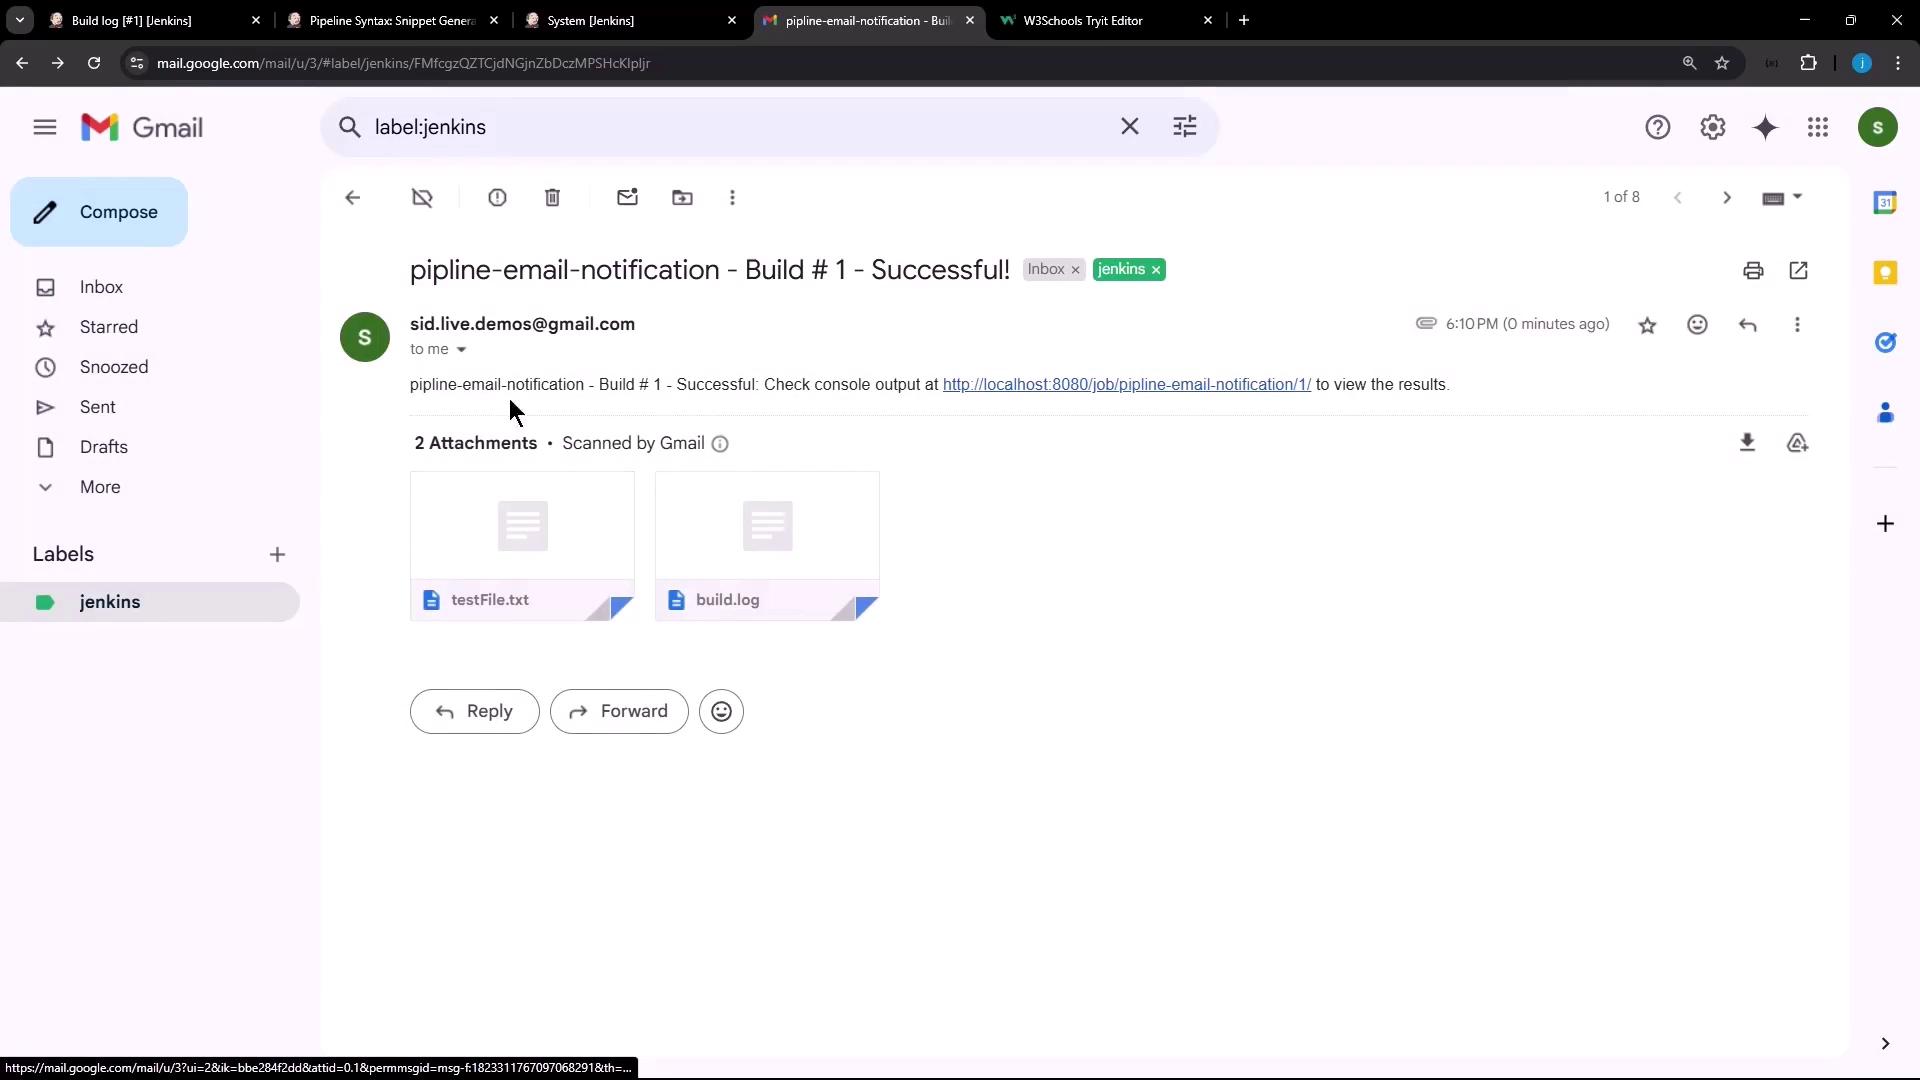
Check your inbox for a new message. You should see:
* An attached **build.log**
* The `testFile.txt` generated by the **Hello** stage
Sample console output:
```text theme={null}
Started by user siddharth
[Pipeline] Start of Pipeline
[Pipeline] node
Running on Jenkins in /var/lib/jenkins/workspace/pipeline-email-notification
[Pipeline] {
[Pipeline] stage
[Pipeline] { (Hello)
[Pipeline] sh
+ echo Testing pipeline-email-notification
[Pipeline] }
[Pipeline] // stage
[Pipeline] stage
[Pipeline] { (Declarative: Post Actions)
[Pipeline] emailext
Sending email to: sid.live.demos@gmail.com
```
***
## 7. Sending HTML-Formatted Emails
To use rich HTML templates, create an HTML file (e.g., `email-template.html`):
```html theme={null}
Jenkins Build Status
Jenkins Build Status Notification
Hi team,
Latest build of ${JOB_NAME}:
| Build # |
Status |
Details |
| ${BUILD_NUMBER} |
${BUILD_STATUS} |
View Log |
Regards,
Your Jenkins Bot
```
1. Go to **Manage Jenkins > Configure System**.
2. Under **Extended E-mail Notification**, set **Default Content** to your HTML and **Content Type** to `text/html`.
Re-run the pipeline to see your styled, HTML-based email in action.
***
## References
* [Email Extension Plugin — Official](https://plugins.jenkins.io/email-ext/)
* [Jenkins Pipeline Syntax](https://www.jenkins.io/doc/book/pipeline/syntax/)
* [Jenkins System Configuration](https://www.jenkins.io/doc/book/managing/system-configuration/)