> ## Documentation Index
> Fetch the complete documentation index at: https://notes.kodekloud.com/llms.txt
> Use this file to discover all available pages before exploring further.
# Demo Backing upRestoring Jenkins
> This tutorial explains how to install, configure, and use the Thin Backup plugin for backing up and restoring Jenkins settings and job configurations.
In this tutorial, you’ll learn how to install, configure, and use the **Thin Backup** plugin to back up and restore Jenkins global settings, job configurations, and optionally build artifacts.
***
## 1. What Is the Thin Backup Plugin?
The Thin Backup plugin provides lightweight, configurable backups of Jenkins home content:
* Global configuration (`config.xml`, credentials).
* Job-specific configurations.
* Plugin definitions (optional).
* Build results and artifacts (optional).
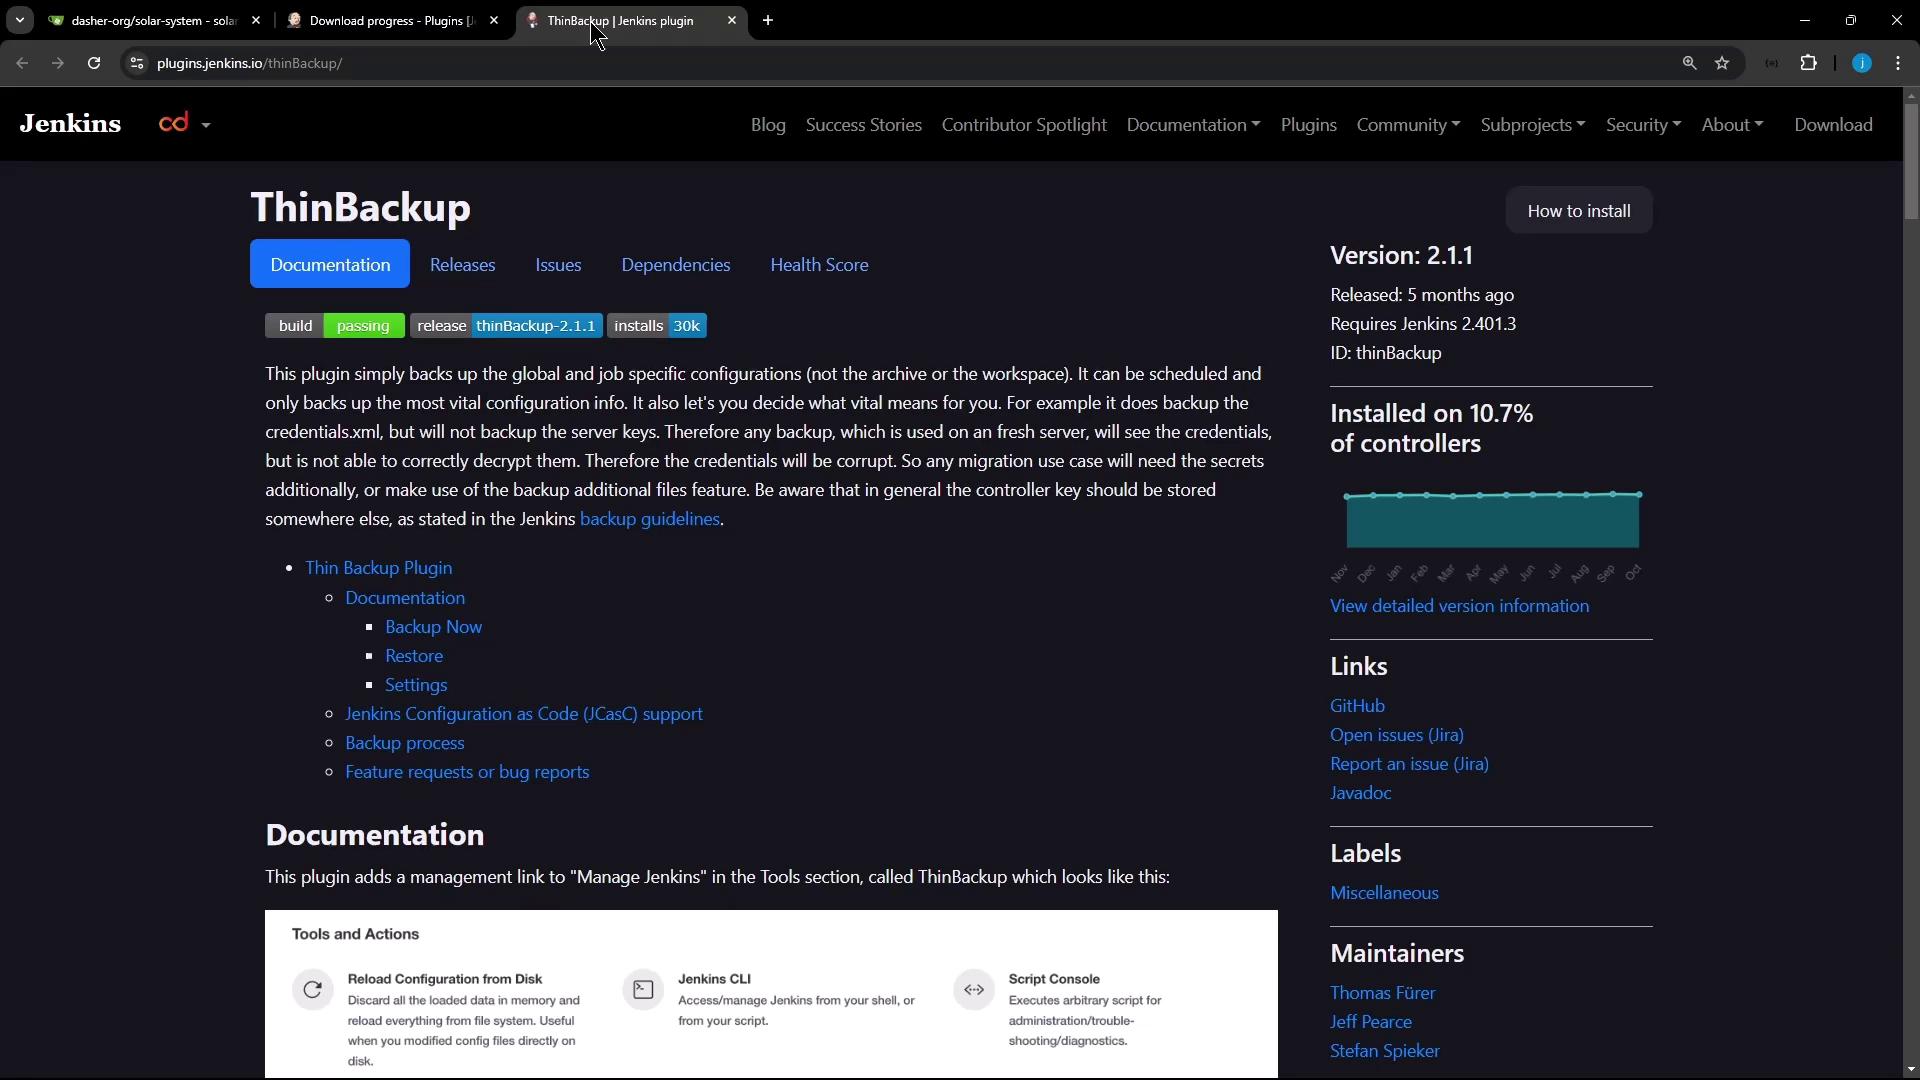
Thin Backup only stores essential configuration files by default. Use the optional settings to include plugins, artifacts, and zip archives.
***
## 2. Installing the Thin Backup Plugin
1. Navigate to **Manage Jenkins** → **Manage Plugins** → **Available**.
2. Search for **Thin Backup**.
3. Select and click **Install without restart** (or **Download now and install after restart**).
***
## 3. Configuring the Backup
1. Go to **Manage Jenkins** → **Configure System**.
2. Scroll to the **Thin Backup** section.
3. Set the **Backup Directory** to a path on disk, for example:
```bash theme={null}
/var/lib/jenkins/Jenkins_backup
```
4. Configure scheduling and retention:
| Option | Description | Default |
| ------------------------- | ----------------------------------------------- | -------- |
| Schedule | Cron expression for automated backups | (none) |
| Differential backups | Store only changed files since last full backup | Disabled |
| Max number of backup sets | Retain N backup sets | 10 |
| Exclude files | Regex patterns to exclude specific files | (none) |
5. Choose additional settings:
* Archive plugin files
* Zip backup folders
* Include build results and artifacts
Backing up build results and artifacts can consume significant disk space. Monitor storage usage if you enable this option.
6. Click **Apply** then **Save**.
***
## 4. Triggering a Manual Backup
1. Go to **Manage Jenkins**.
2. Under **Tools and Actions**, click **Backup Now**.
This initiates an on-demand backup using your current configuration.
***
## 5. Monitoring Backup Logs
View progress and any issues in **Manage Jenkins** → **System Log** → **All Jenkins Logs**. Look for entries like:
```text theme={null}
INFO ThinBackupMgmtLink Starting manual backup.
INFO HudsonBackup No previous full backup found, creating one.
INFO HudsonBackup Found 16 jobs to back up.
INFO HudsonBackup Backup process finished successfully.
```
***
## 6. Verifying Backup Files on Disk
On the Jenkins server shell:
```bash theme={null}
cd /var/lib/jenkins/Jenkins_backup
ls
cd FULL-$(date +%Y-%m-%d)_$(date +%H-%M)/
ls
```
You should see directories for:
* `config.xml`
* `jobs/`
* `plugins/`
* `builds/` (if enabled)
***
## 7. Deleting and Restoring a Job
1. In the Jenkins UI, delete a sample job (e.g., **Monitor-Jenkins**).
2. Navigate to **Manage Jenkins** → **Thin Backup** → **Restore Configuration**.
3. Select the desired backup date and click **Restore**.
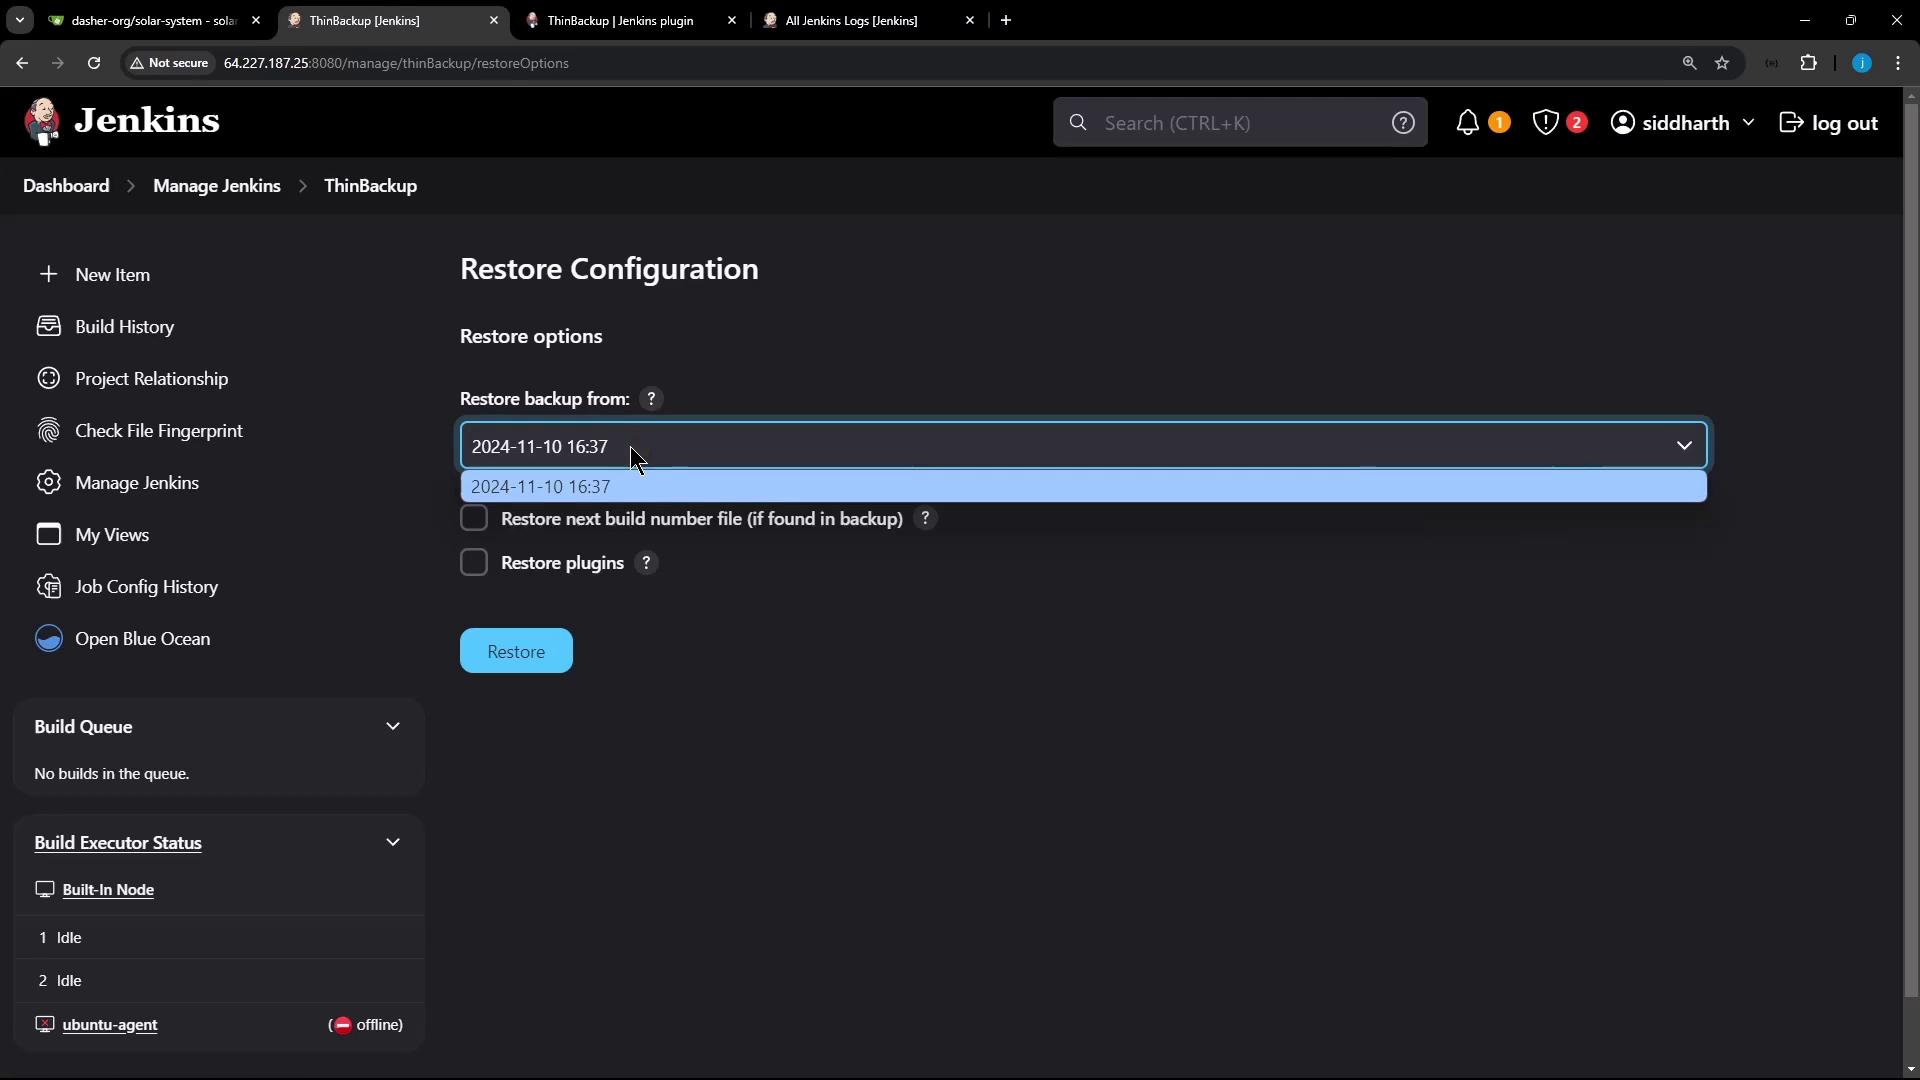
4. Restart Jenkins for the restored items to appear.
5. Log back in and confirm the deleted job is restored with its build history.
***
## 8. Optional: Backing Up Build Results
To include build logs and artifacts in your backups:
1. Open **Manage Jenkins** → **Configure System**.
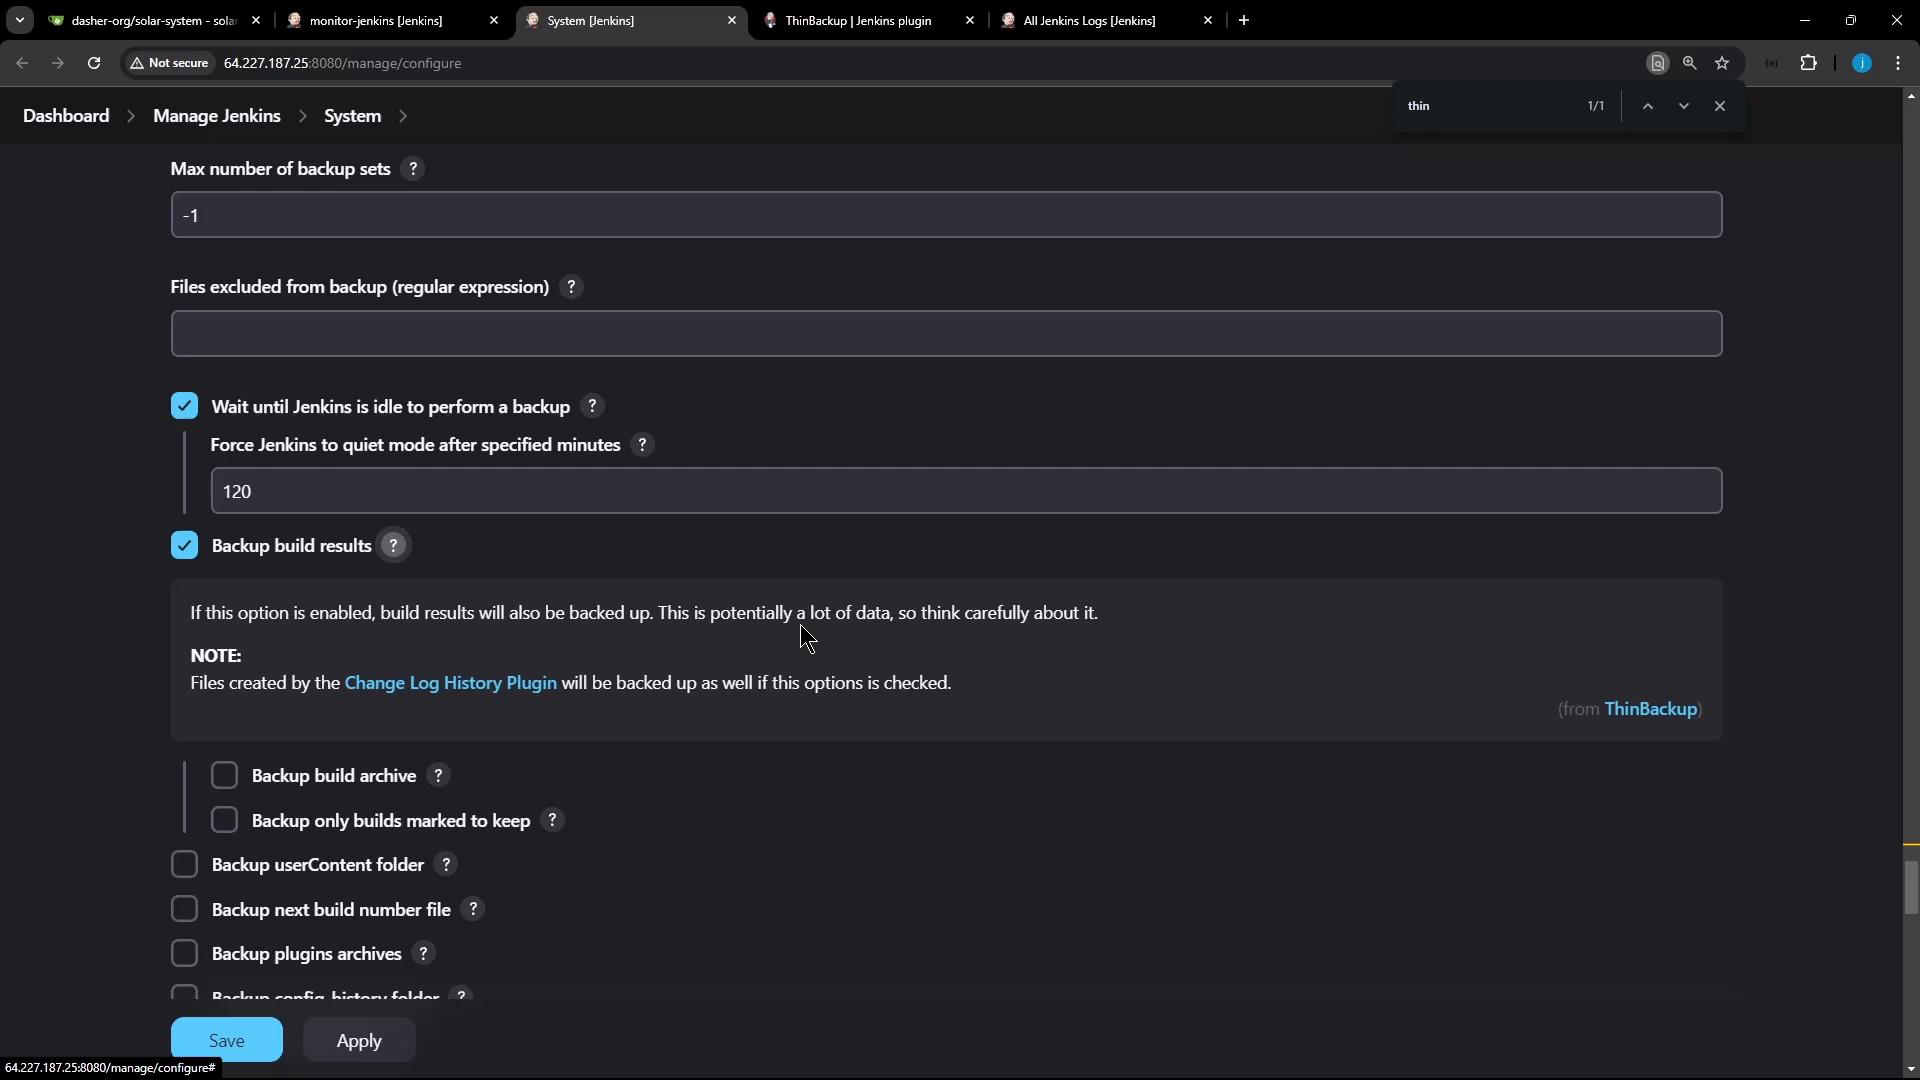
2. Under **Thin Backup**, enable **Backup build results and artifacts**.
3. Save changes and run a manual backup to capture builds.
***
## 9. Summary
You’ve now:
* Installed the Thin Backup plugin.
* Configured backup paths, schedules, and retention.
* Performed manual backups and monitored logs.
* Restored deleted jobs and configurations.
* Enabled optional build-data backups.
For advanced usage, explore differential backups, custom exclusion patterns, and integration with external storage.
## Links and References
* [Jenkins Thin Backup Plugin](https://plugins.jenkins.io/thinbackup/)
* [Jenkins Configuration as Code](https://www.jenkins.io/projects/jcasc/)
* [Managing Jenkins](https://www.jenkins.io/doc/book/managing/)