> ## Documentation Index
> Fetch the complete documentation index at: https://notes.kodekloud.com/llms.txt
> Use this file to discover all available pages before exploring further.
# Demo Access Control for Builds
> This guide covers configuring access control for Jenkins builds using the Authorize Project plugin to enforce least-privilege principles.
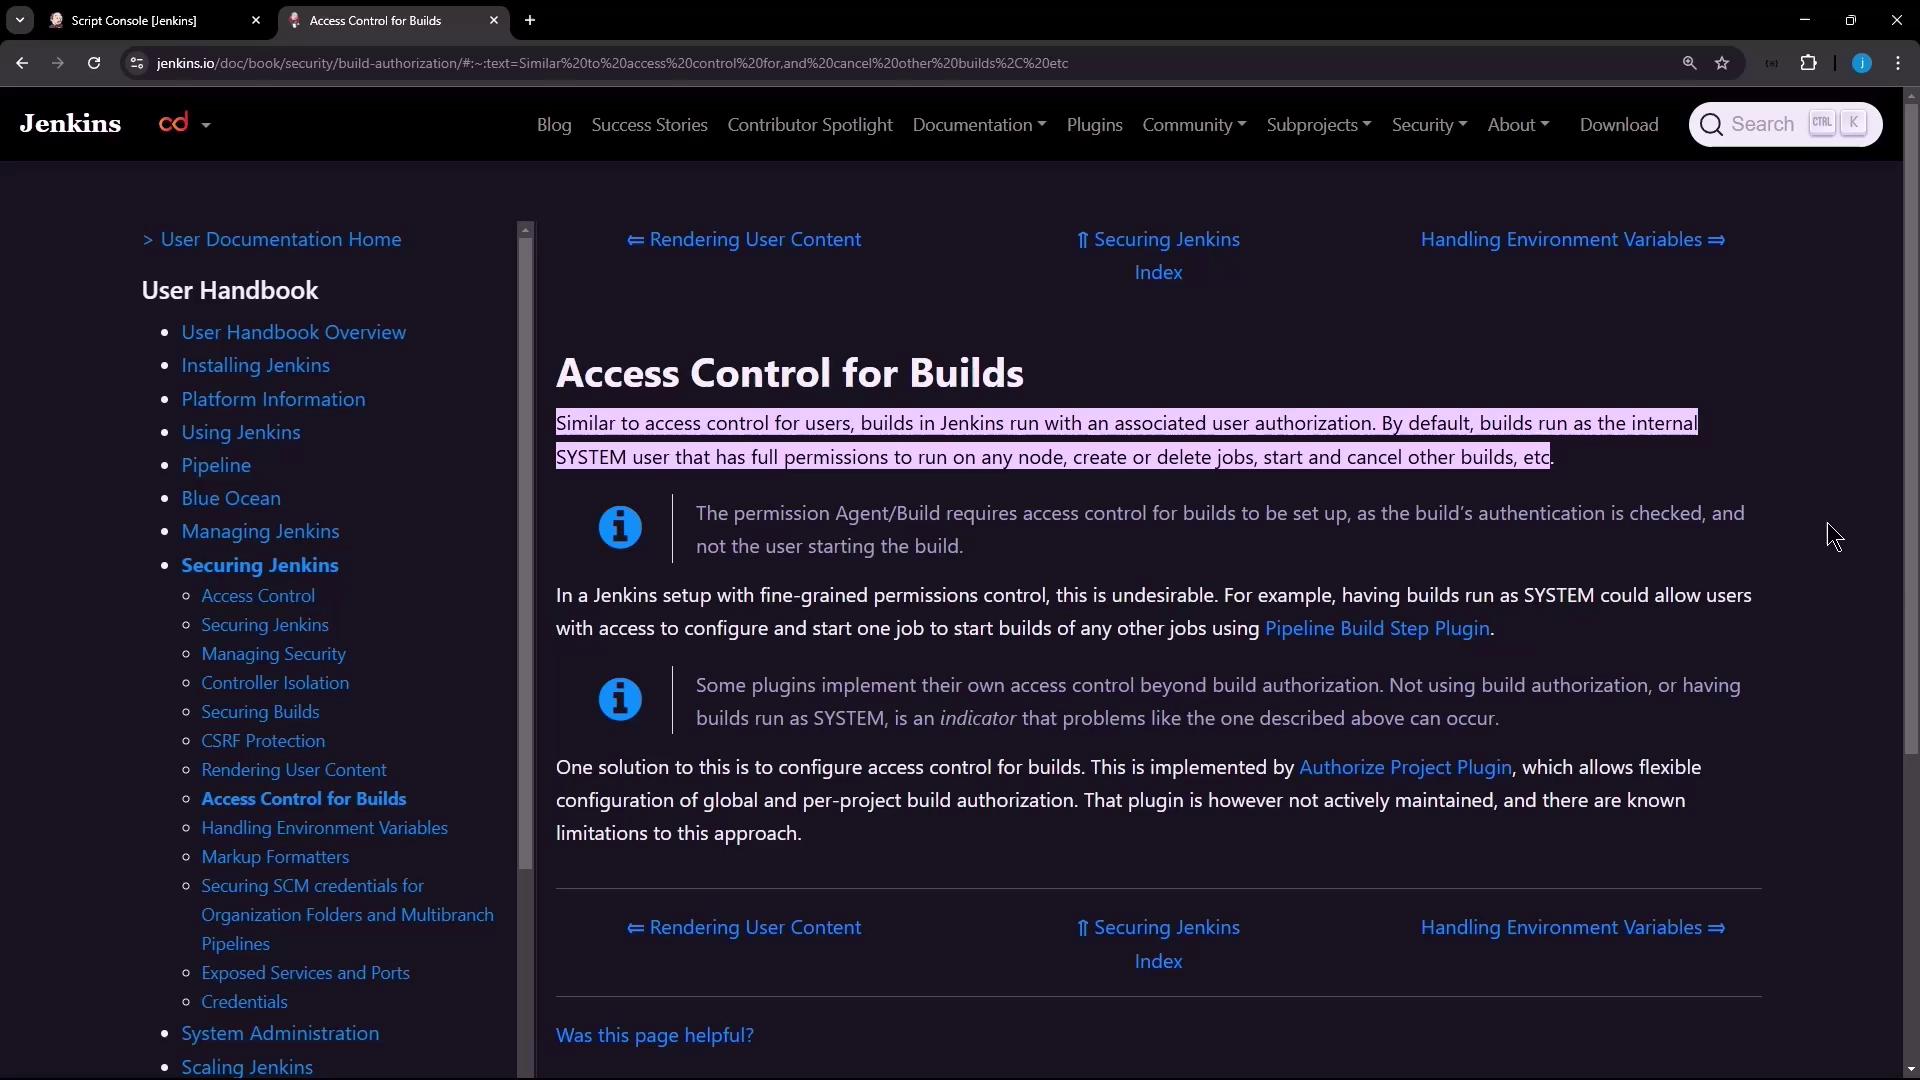
In this guide, we’ll dive into configuring access control for Jenkins builds. By default, every build runs as the internal `SYSTEM` user, granting it full rights across all nodes and jobs. Using the [Authorize Project plugin](https://plugins.jenkins.io/authorize-project/), you can enforce least-privilege principles by specifying which user context a build should run under.
## 1. Installing the Authorize Project Plugin
The **Authorize Project** plugin enables builds to inherit an authenticated user’s permissions. You can install it globally to apply default strategies or enable it per job.
1. Navigate to **Manage Jenkins** → **Manage Plugins**.
2. In the **Available** tab, search for **Authorize Project**.
3. Select and install the plugin.
4. Restart Jenkins if prompted.
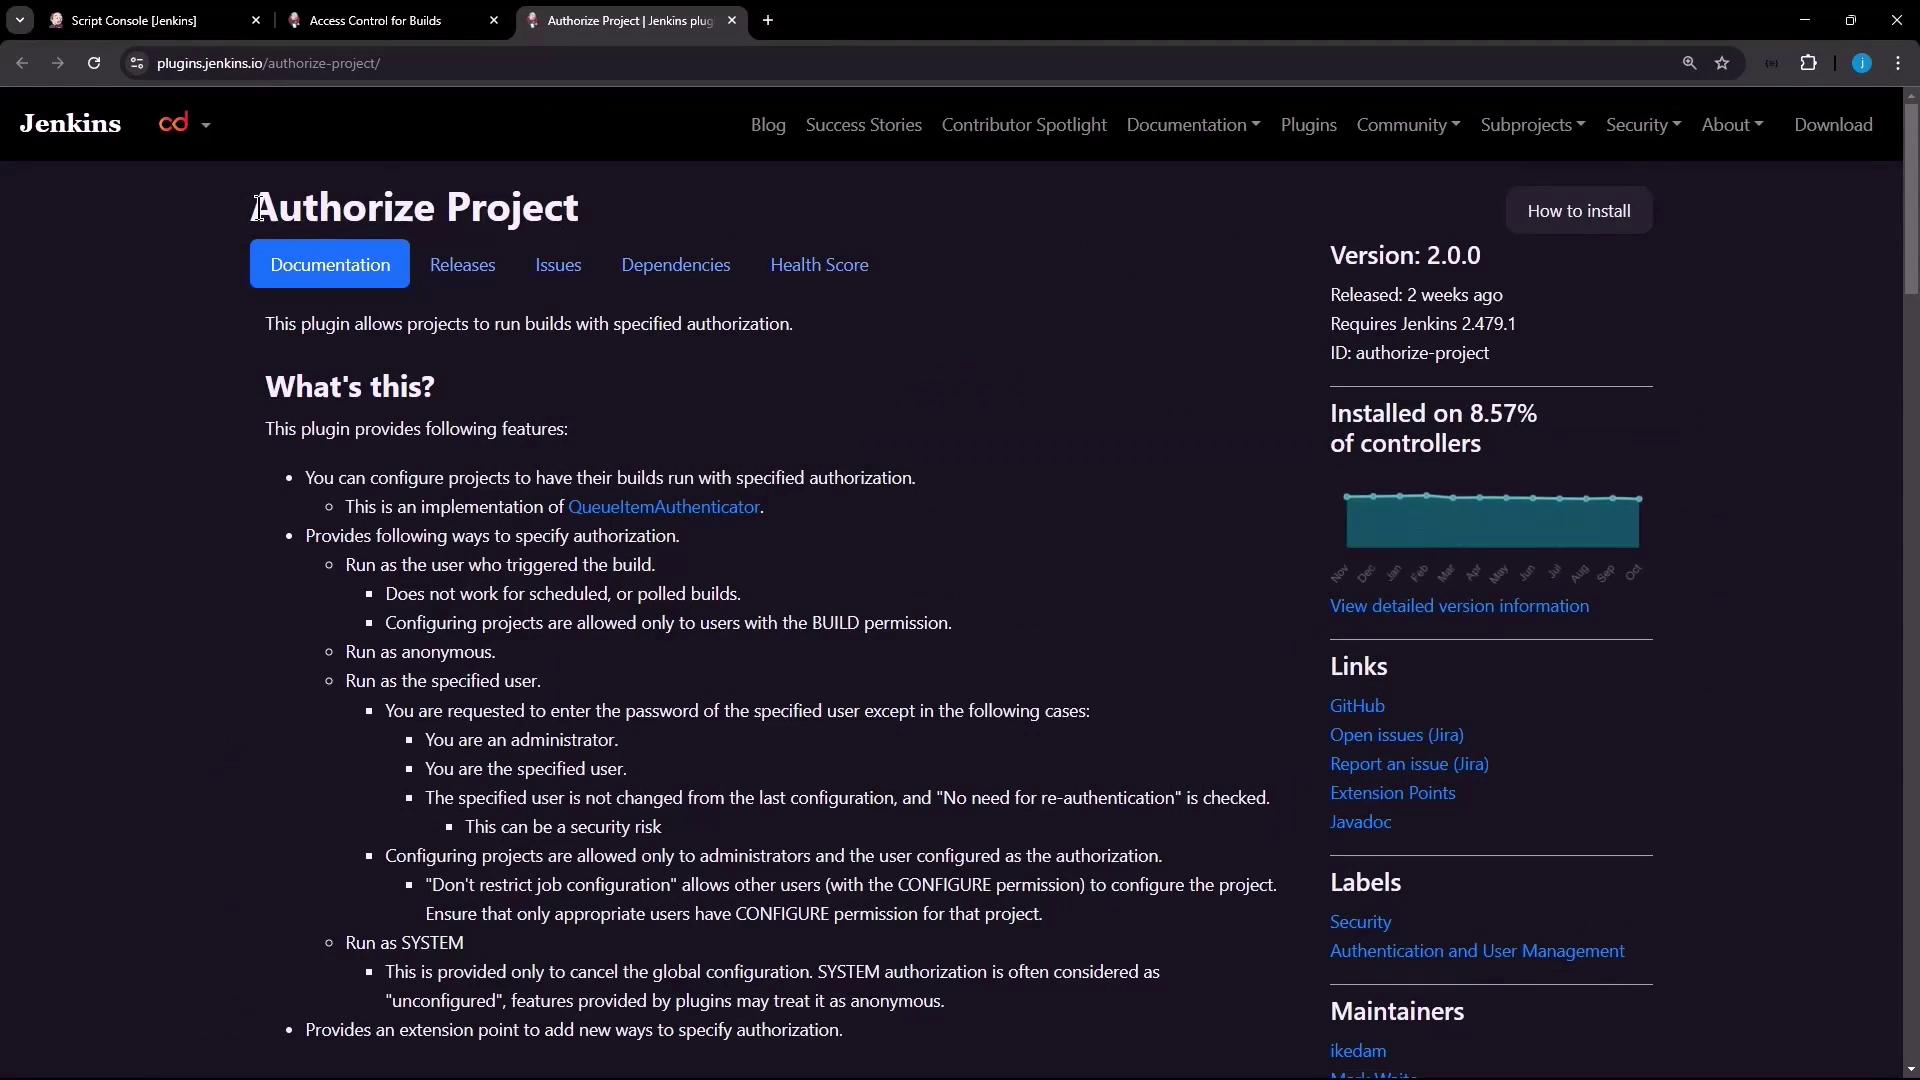
After installation, verify compatibility with your Jenkins LTS version under **Manage Plugins** → **Installed**.
## 2. Verifying Default Behavior
Create a freestyle job named `npm-version-test` with a shell build step:
```bash theme={null}
echo "Updating job config using Jenkins CLI"
node -v
npm -v
exit 1
```
Run the job without any authorization configuration. Your console output will show:
```bash theme={null}
Started by user siddharth
Running as SYSTEM
Building on the built-in node in workspace /var/lib/jenkins/workspace/npm-version-test
...
+ node -v
v22.0.6
+ npm -v
10.8.2
...
Finished: FAILURE
```
The line **Running as SYSTEM** indicates the build is executed with system-level privileges.
## 3. Configuring Global Build Authorization
You can define a default authorization strategy for all jobs in Jenkins’ global security settings.
1. Go to **Manage Jenkins** → **Configure Global Security**.
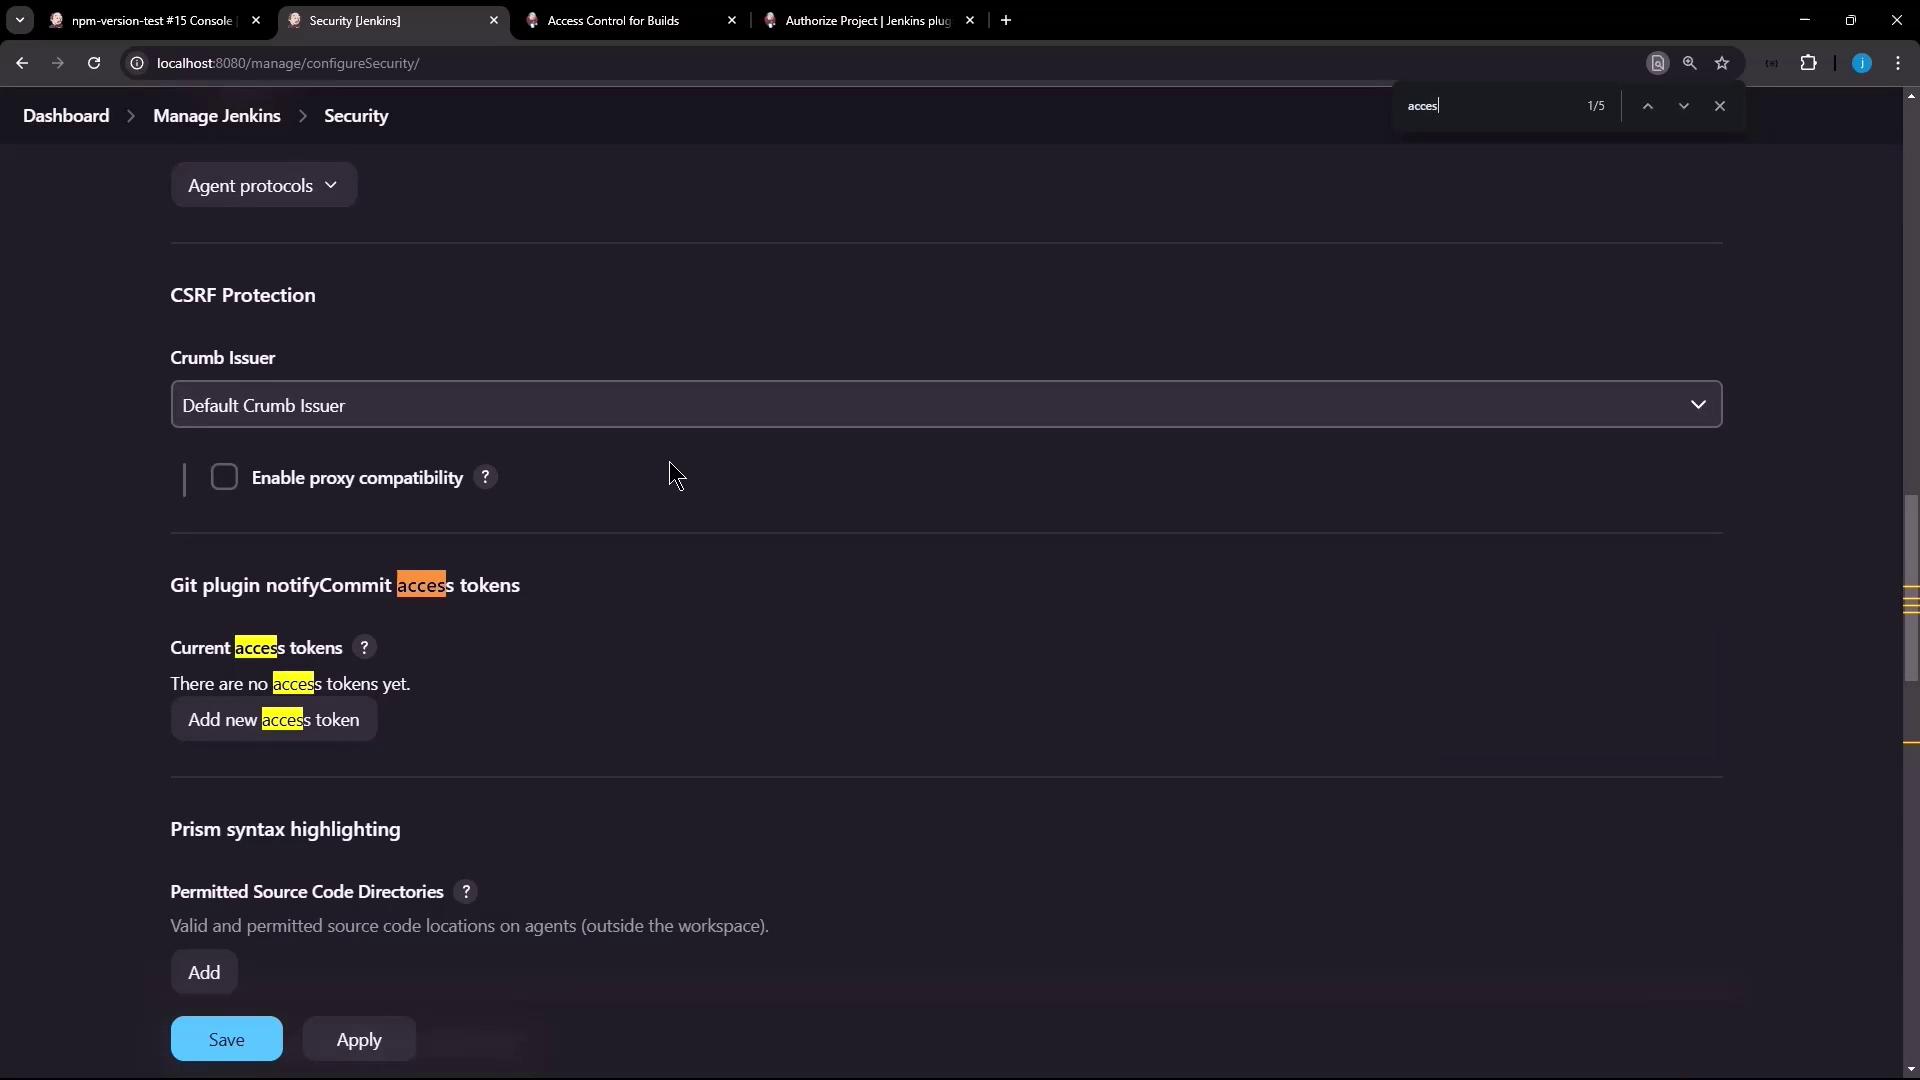
2. Scroll to **Access Control for Builds** and click **Add**.
3. Select **Project Default Build Authorization**.
4. Choose a default strategy (e.g., **Run as Anonymous**).
5. Click **Apply** and **Save**.
Trigger the `npm-version-test` job again:
```bash theme={null}
Started by user siddharth
Running as SYSTEM
Building on the built-in node in workspace /var/lib/jenkins/workspace/npm-version-test
...
Finished: FAILURE
```
Even with **Run as Anonymous**, the build still runs as `SYSTEM`. To change this, configure the project itself.
## 4. Configuring Project-Level Authorization
Enabling project-based settings lets you override the global default per job.
1. Open the `npm-version-test` job and click **Configure**.
2. Under **Authorize Project**, check **Enable project-based security**.
3. In **Build Authorization**, select **Project Configurable Build Authorization**.
4. Choose from allowed strategies (e.g., **Run as User who Triggered Build**, **Run as Specific User**).
5. Save your changes.
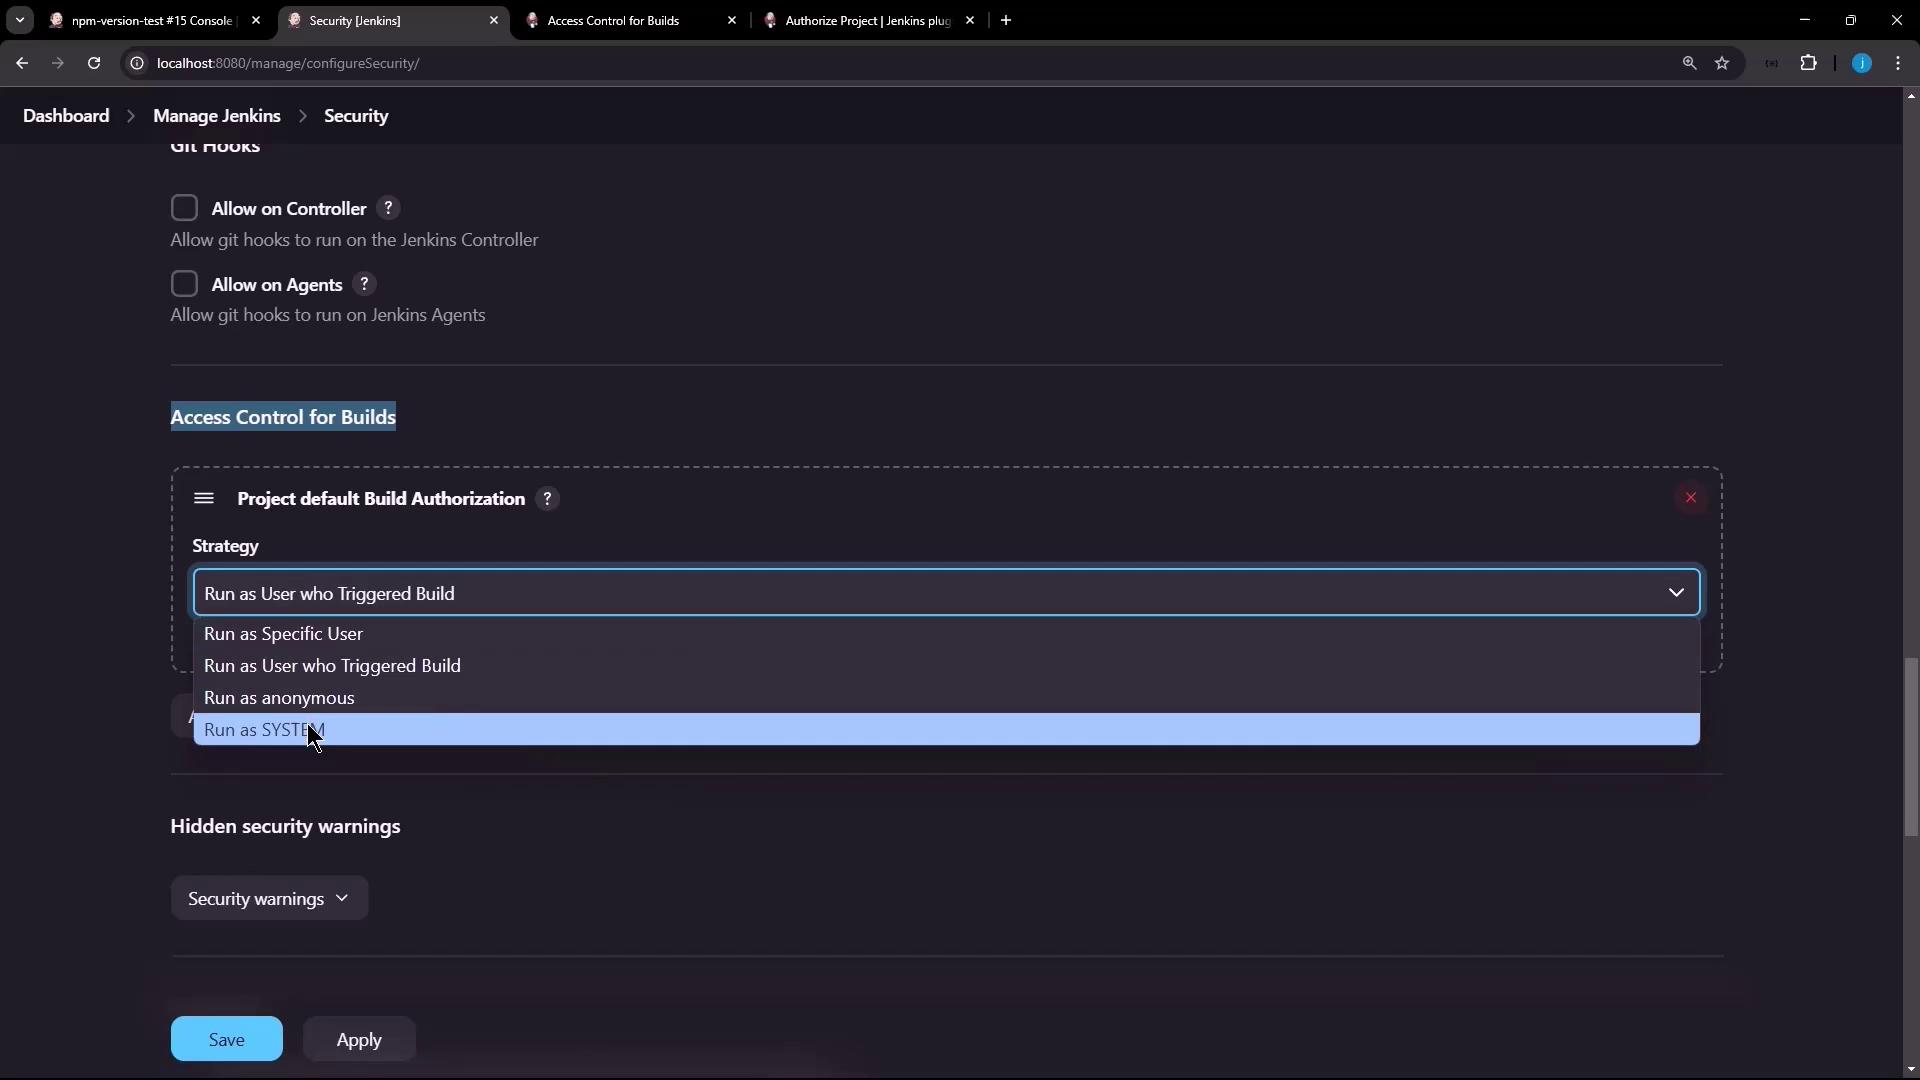
After saving, the **Authorization** dropdown appears in the job configuration:
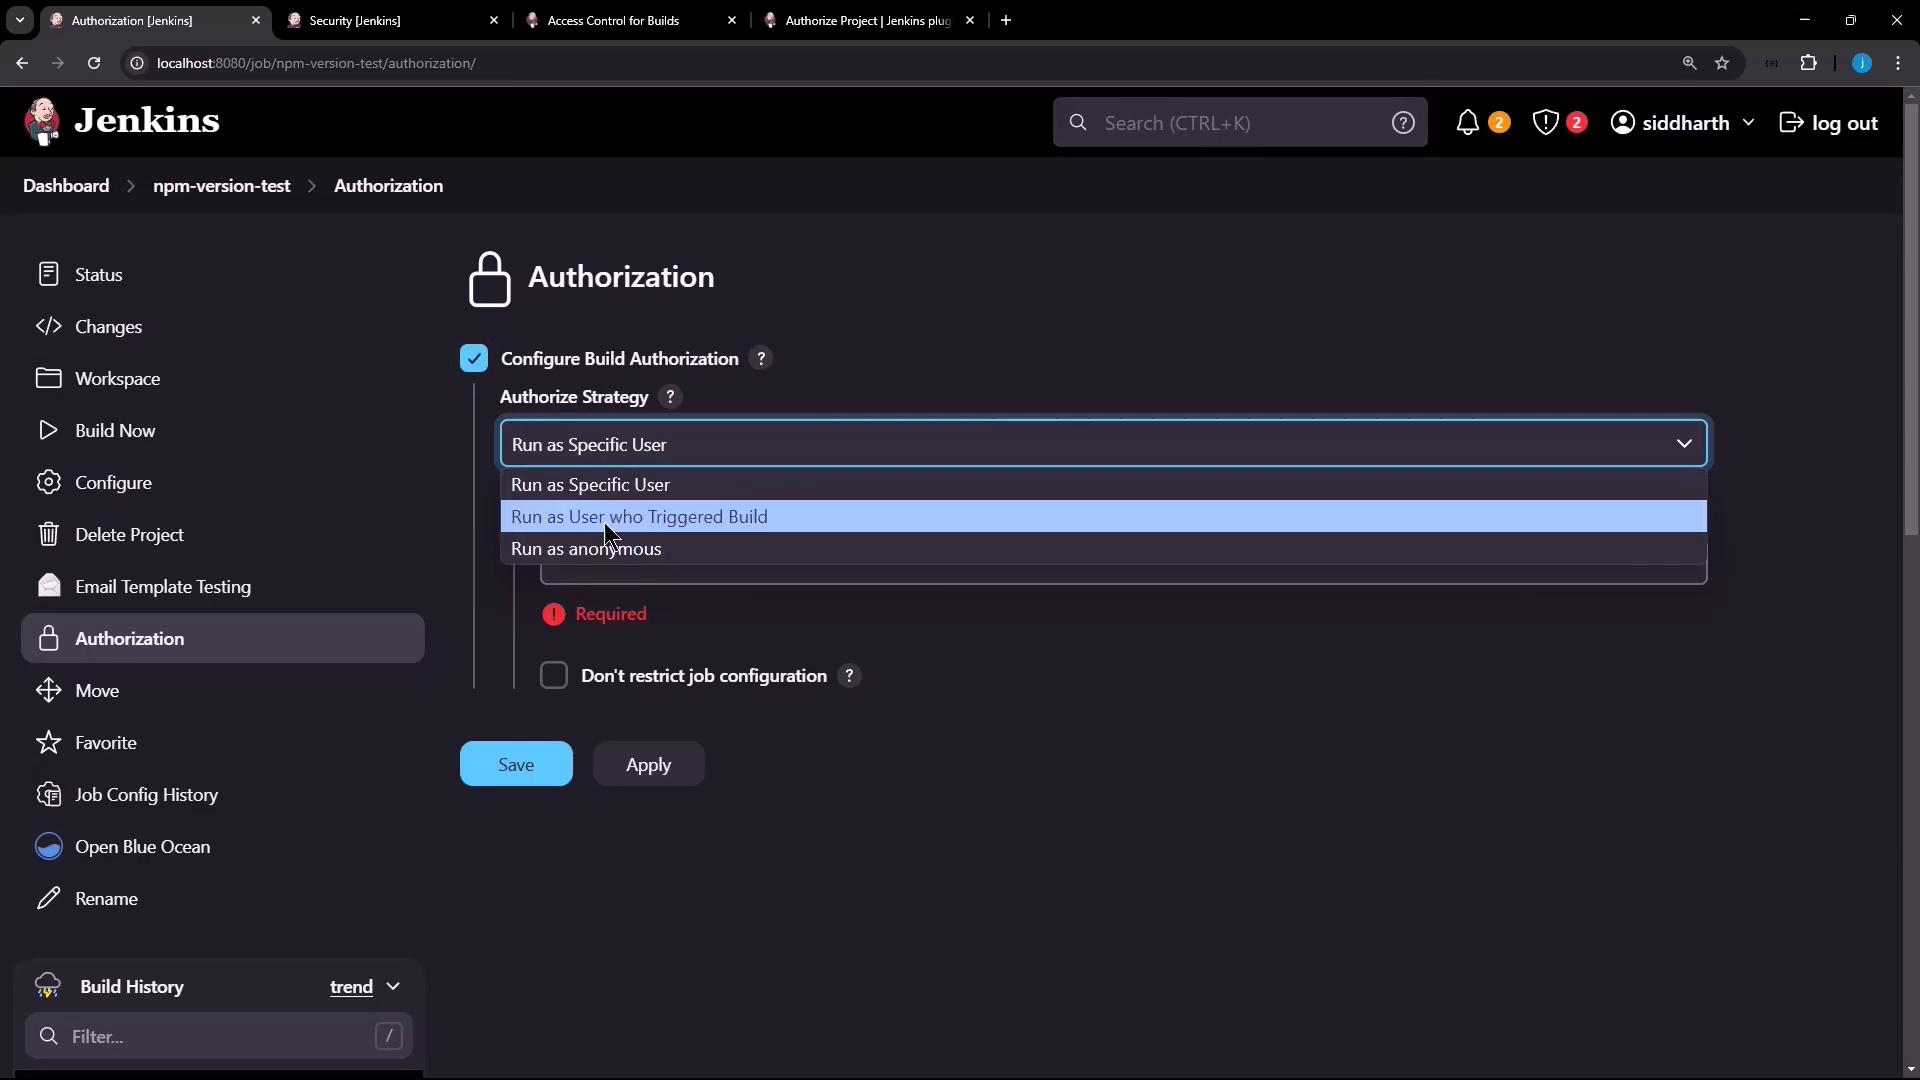
Ensure the triggering user has `Build` and `Read` permissions on the job; otherwise the build will fail due to insufficient rights.
### Authorization Strategies
| Strategy | Description |
| ------------------------------- | ------------------------------------------------------ |
| Run as SYSTEM | Default Jenkins system user with full permissions |
| Run as User who Triggered Build | Inherits permissions of the user who started the job |
| Run as Specific User | Executes under a fixed, specified Jenkins user account |
| Run as Anonymous | Executes with minimal read-only permissions |
#### Verifying Project-Level Setting
Trigger the job again. The console should now display:
```bash theme={null}
Started by user siddharth
Running as siddharth
Building on the built-in node in workspace /var/lib/jenkins/workspace/npm-version-test
...
Finished: FAILURE
```
Now **Running as siddharth** confirms the build runs under the correct user context.
***
By leveraging the [Authorize Project plugin](https://plugins.jenkins.io/authorize-project/), you can enforce granular build permissions at both global and project levels, aligning Jenkins security with your organization’s access control policies.
## Links and References
* [Authorize Project Plugin](https://plugins.jenkins.io/authorize-project/)
* [Jenkins Security Configuration](https://www.jenkins.io/doc/book/system-administration/security/)
* [Jenkins CLI Documentation](https://www.jenkins.io/doc/book/managing/cli/)