> ## Documentation Index
> Fetch the complete documentation index at: https://notes.kodekloud.com/llms.txt
> Use this file to discover all available pages before exploring further.
# Demo Simple Pipeline Job
> This guide explains setting up a basic Jenkins Pipeline to print Hello World and run Maven commands.
In this guide, you’ll learn how to set up a basic Jenkins Pipeline that prints “Hello World” and then extends to run Maven commands. We’ll cover:
* Creating a Pipeline project
* Configuring the pipeline script
* Running a Hello World job
* Viewing build output and timing
* Adding automatic Maven installation
Whether you’re new to Jenkins or looking for a refresher, this step-by-step tutorial will get you up and running quickly.
## 1. Create a Pipeline Project
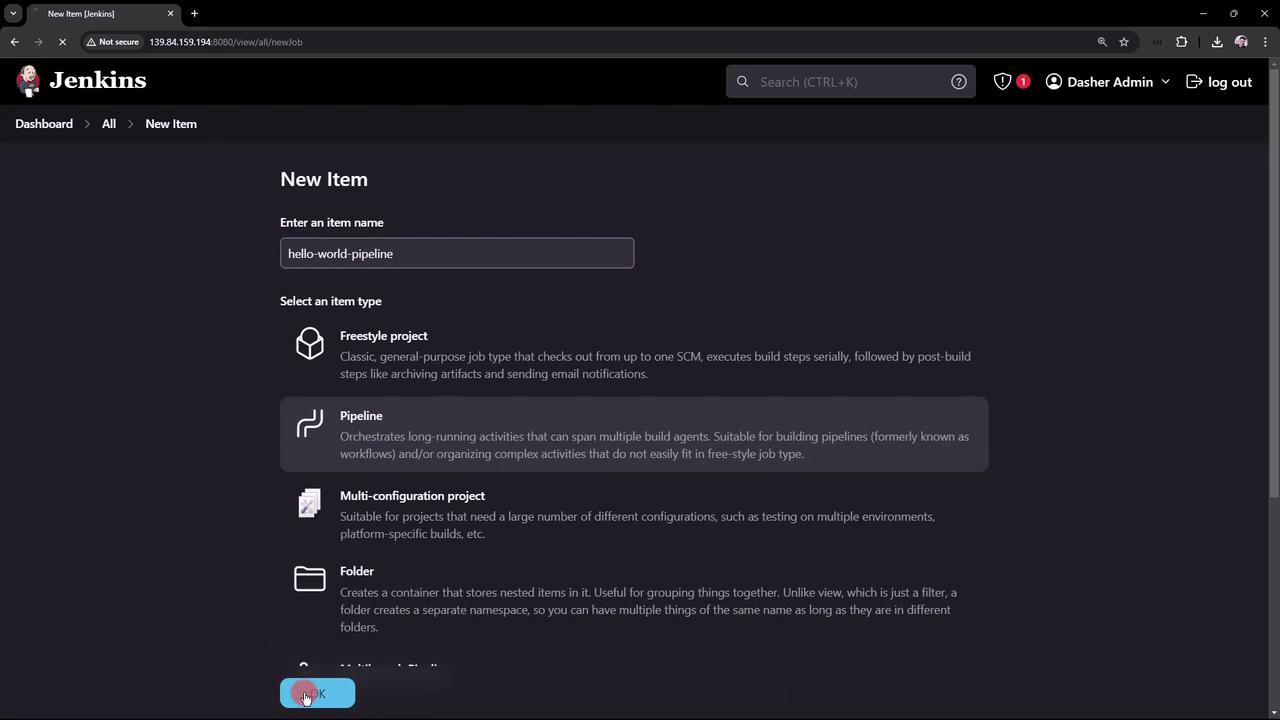
1. In the Jenkins UI, click **New Item**.
2. Enter **hello-world-pipeline** as the name.
3. Select **Pipeline** and click **OK**.
You now have a fresh Pipeline project ready to configure.
## 2. Configure the Pipeline
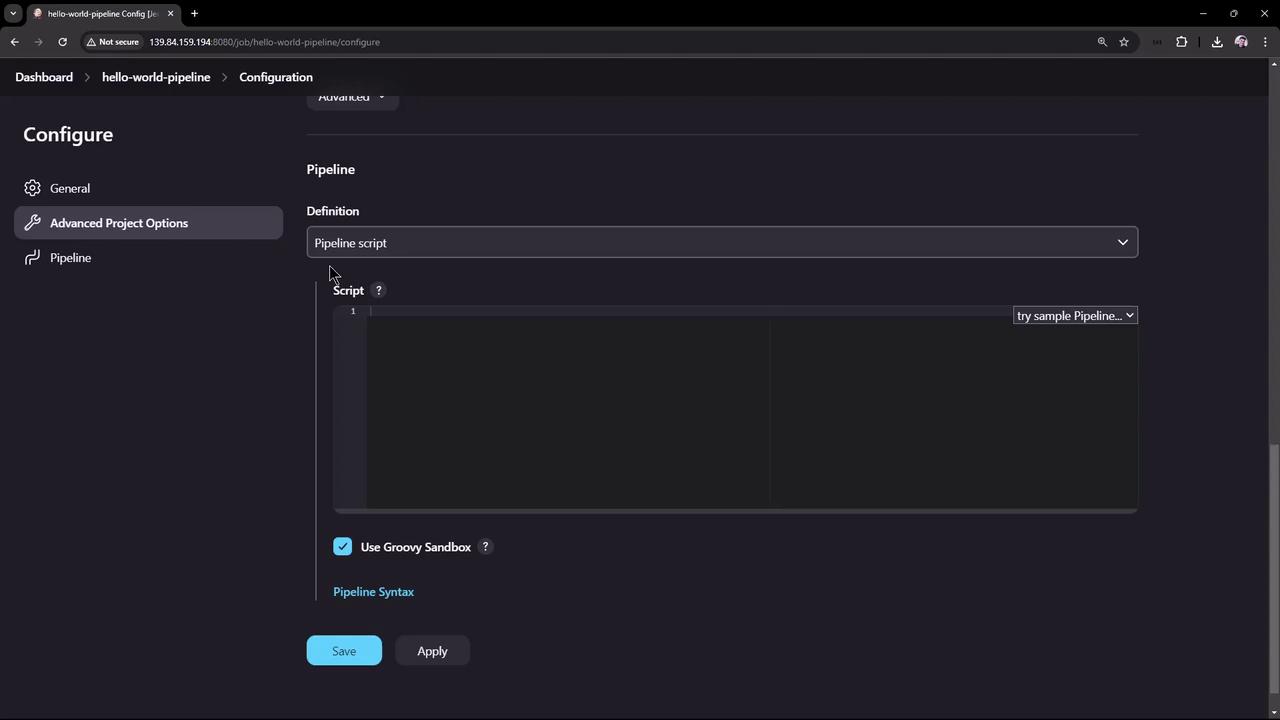
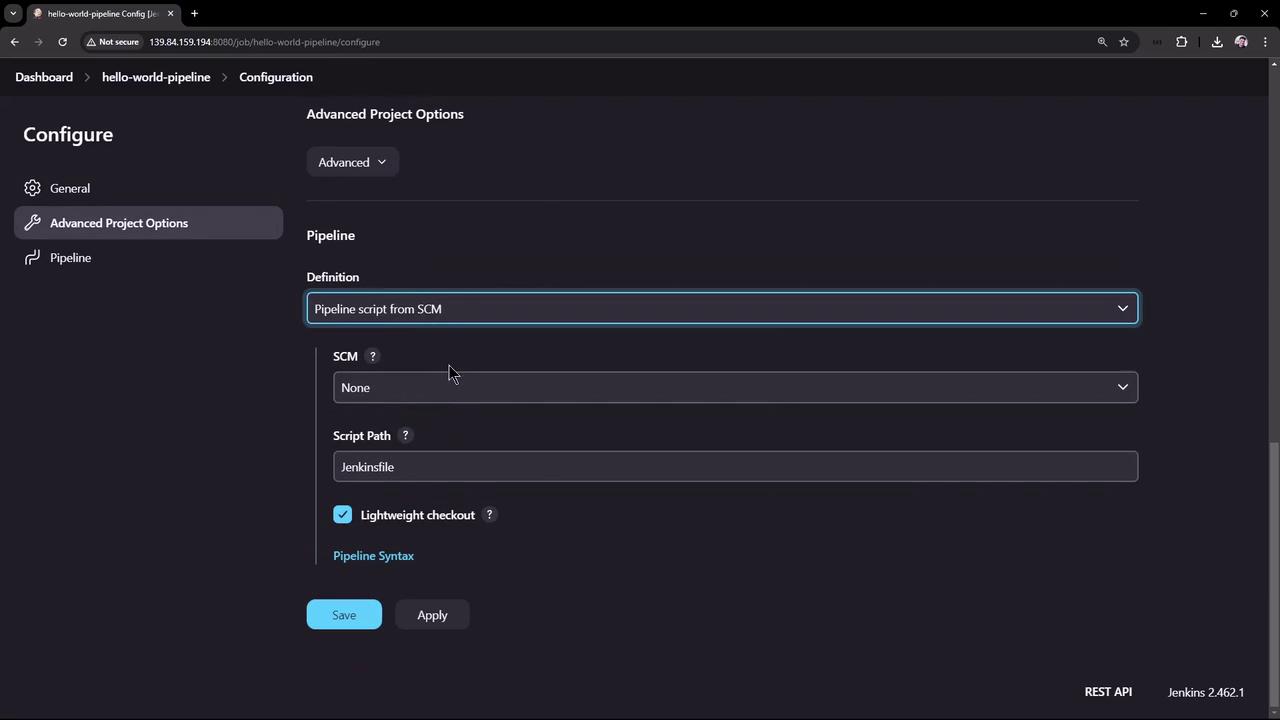
Open your new project’s configuration to see sections like **General**, **Build Triggers**, and **Pipeline**. You can:
| Option | Description |
| ---------------------------- | ------------------------------------------------------------- |
| **Description** | Add context about the job’s purpose. |
| **Build Triggers** | Schedule with cron or poll SCM. |
| **Pipeline script** | Paste your Declarative Pipeline directly in Jenkins. |
| **Pipeline script from SCM** | Store your `Jenkinsfile` in a repository for version control. |
1. Under **Pipeline**, choose **Pipeline script**.
2. (Optional) Enable **Use Groovy Sandbox** to restrict script permissions.
## 3. Hello World Pipeline
Paste this Declarative Pipeline into the script box:
```groovy theme={null}
pipeline {
agent any
stages {
stage('Hello') {
steps {
echo 'Hello World'
}
}
}
}
```
* **agent any** runs on any available node.
* **stage('Hello')** contains an `echo 'Hello World'` step.
Enabling the Groovy Sandbox is recommended if you’re running untrusted scripts. It prevents unauthorized method calls.
Click **Apply**, **Save**, then **Build Now**.
## 4. View the Results
After triggering the job, the dashboard shows build status, history, and links to console output.
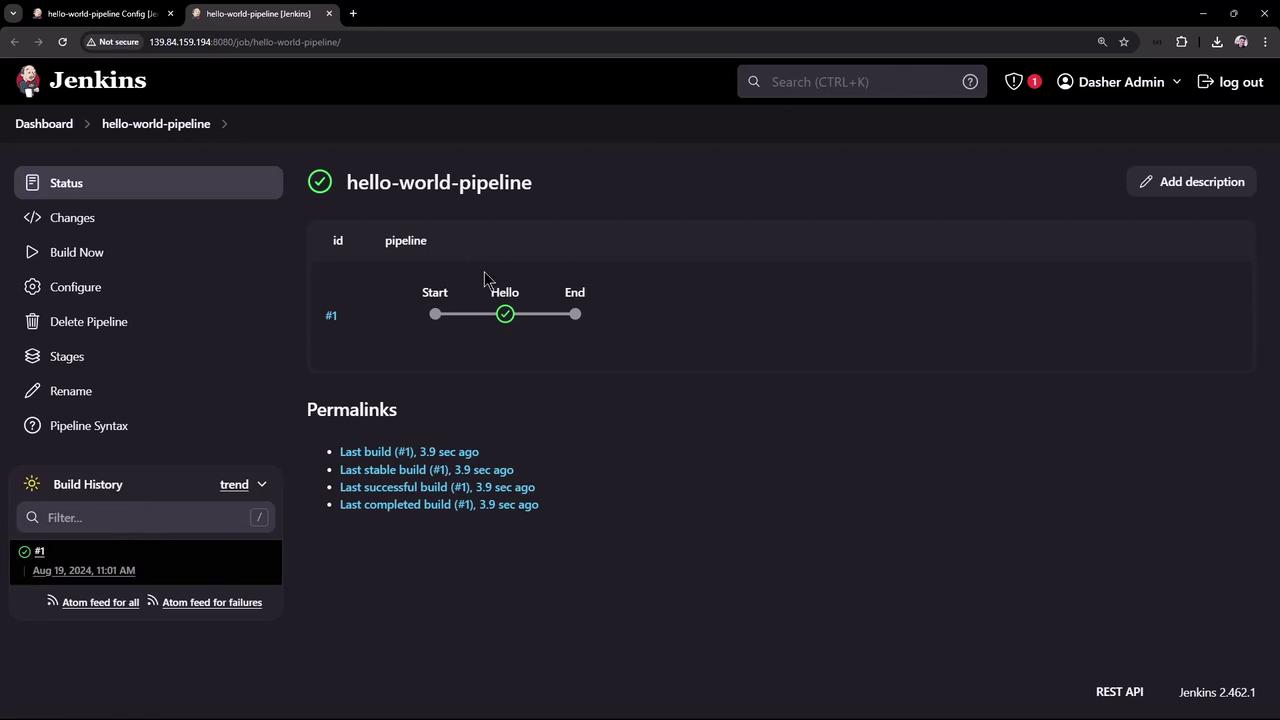
Click the build number or stage name to open the console log:
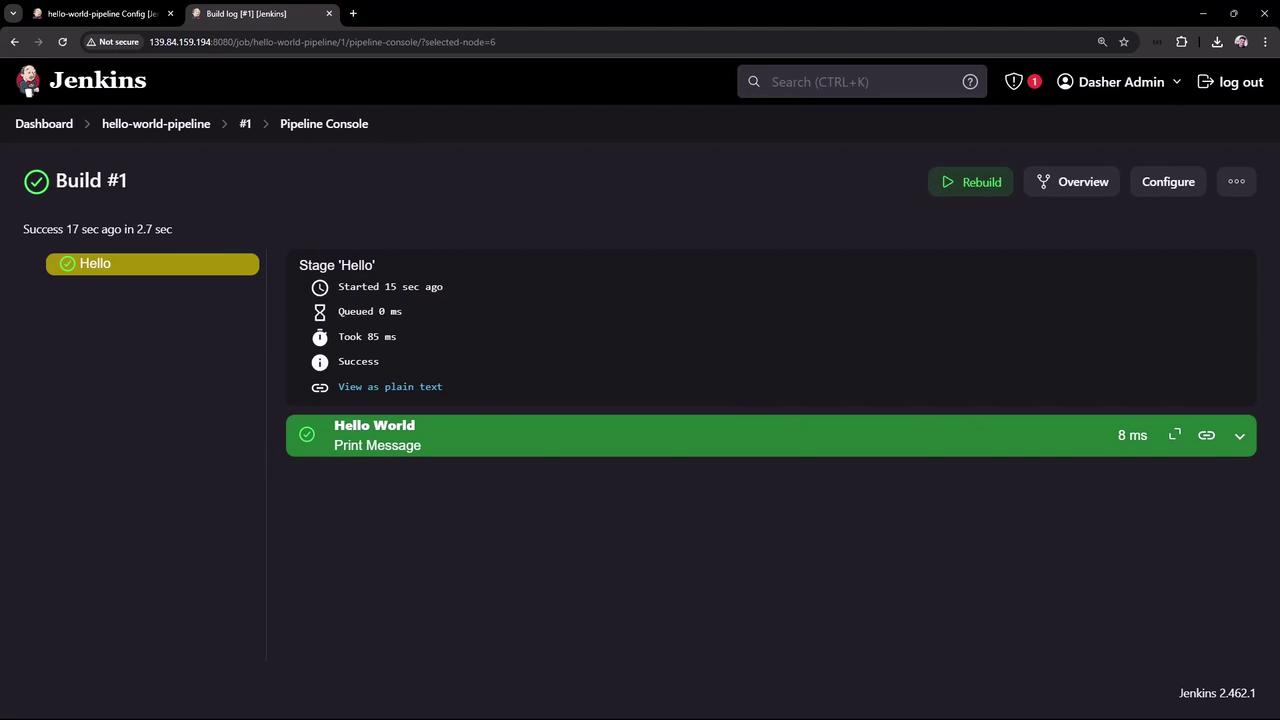
**Raw console output:**
```text theme={null}
Started by user admin
[Pipeline] Start of Pipeline
[Pipeline] node
Running on Jenkins in /var/lib/jenkins/workspace/hello-world-pipeline
[Pipeline] {
[Pipeline] stage (Hello)
[Pipeline] { (Hello)
[Pipeline] echo
Hello World
[Pipeline] } // stage
[Pipeline] } // node
[Pipeline] End of Pipeline
Finished: SUCCESS
```
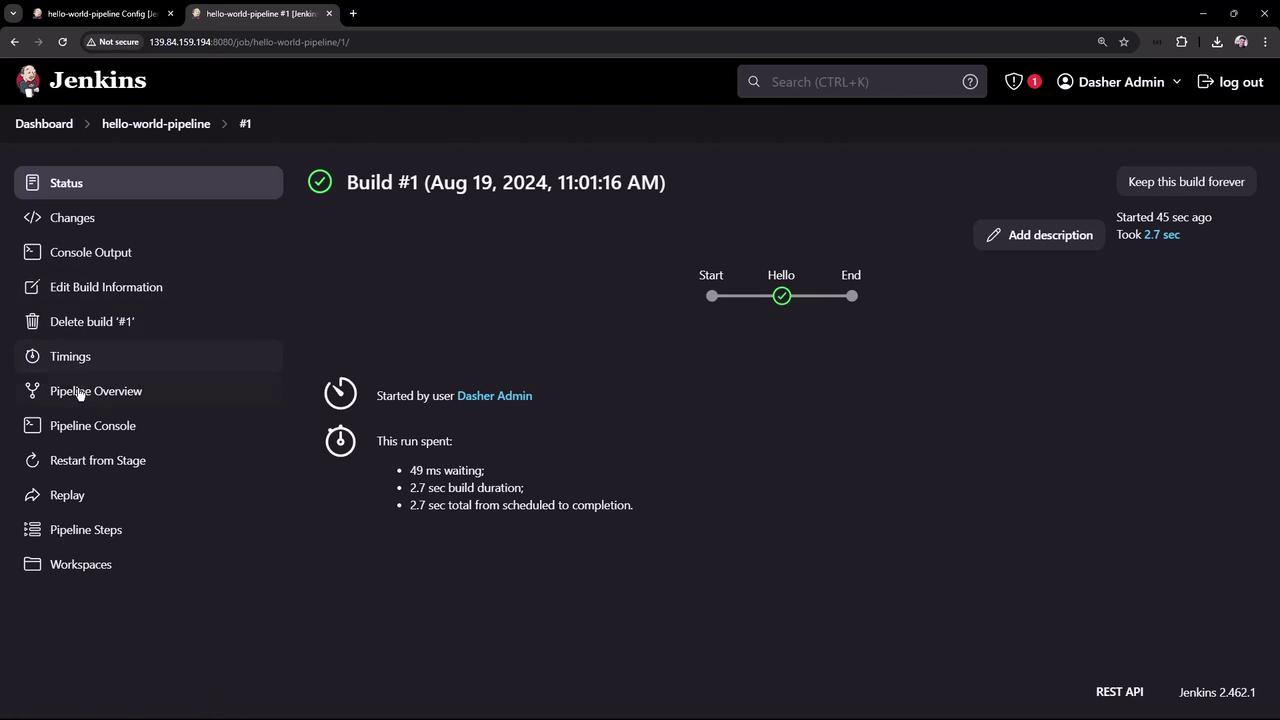
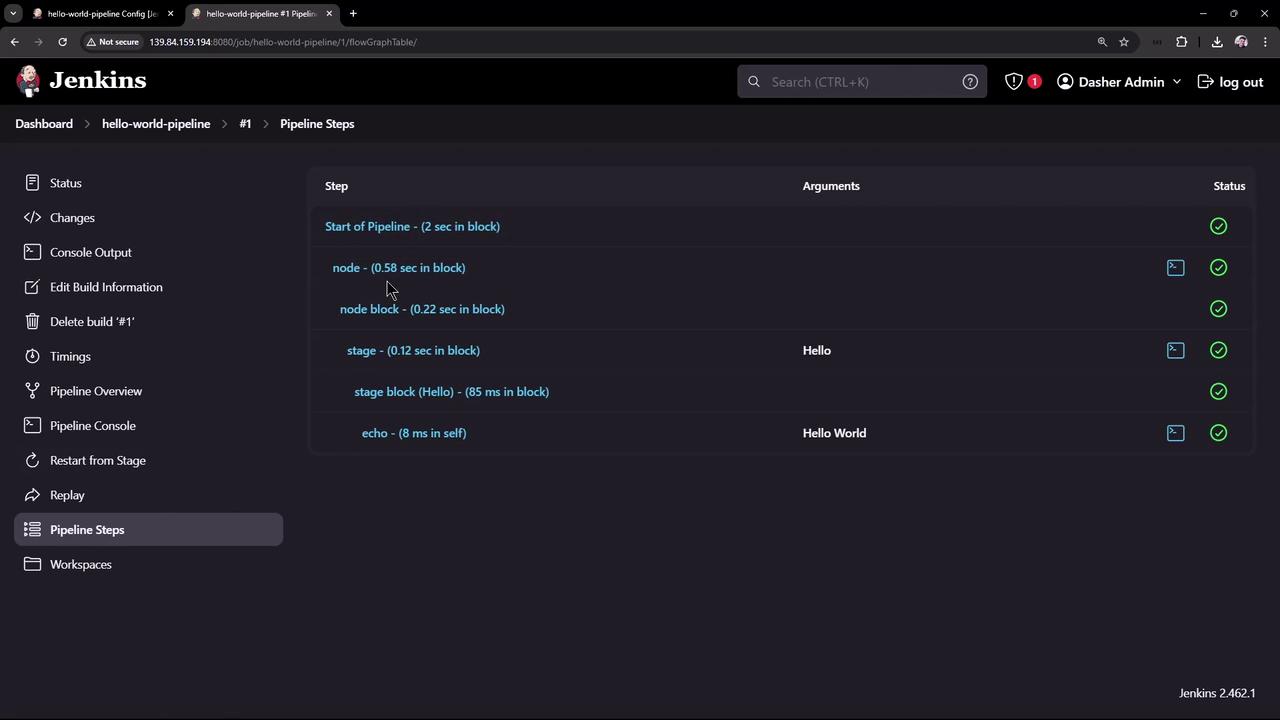
Switch to **Pipeline Steps** or **Timing** to see per-step durations:
## 5. Extending with Maven
Let’s enhance the pipeline to print the Maven version. Add a `tools` block:
```groovy theme={null}
pipeline {
agent any
tools {
// Install the Maven version configured as "M3"
maven "M3"
}
stages {
stage('Echo Version') {
steps {
sh 'echo Print Maven Version'
sh 'mvn -version'
}
}
}
}
```
If you run this now, you’ll get a compilation error because the tool name **M3** isn’t defined in Jenkins yet.
```text theme={null}
WorkflowScript: 6: Tool type "maven" does not have an install of "M3" configured - did you mean "null"? @ line 6, column 15.
maven "M3"
^
1 error
Finished: FAILURE
```
## 6. Configure Maven in Jenkins
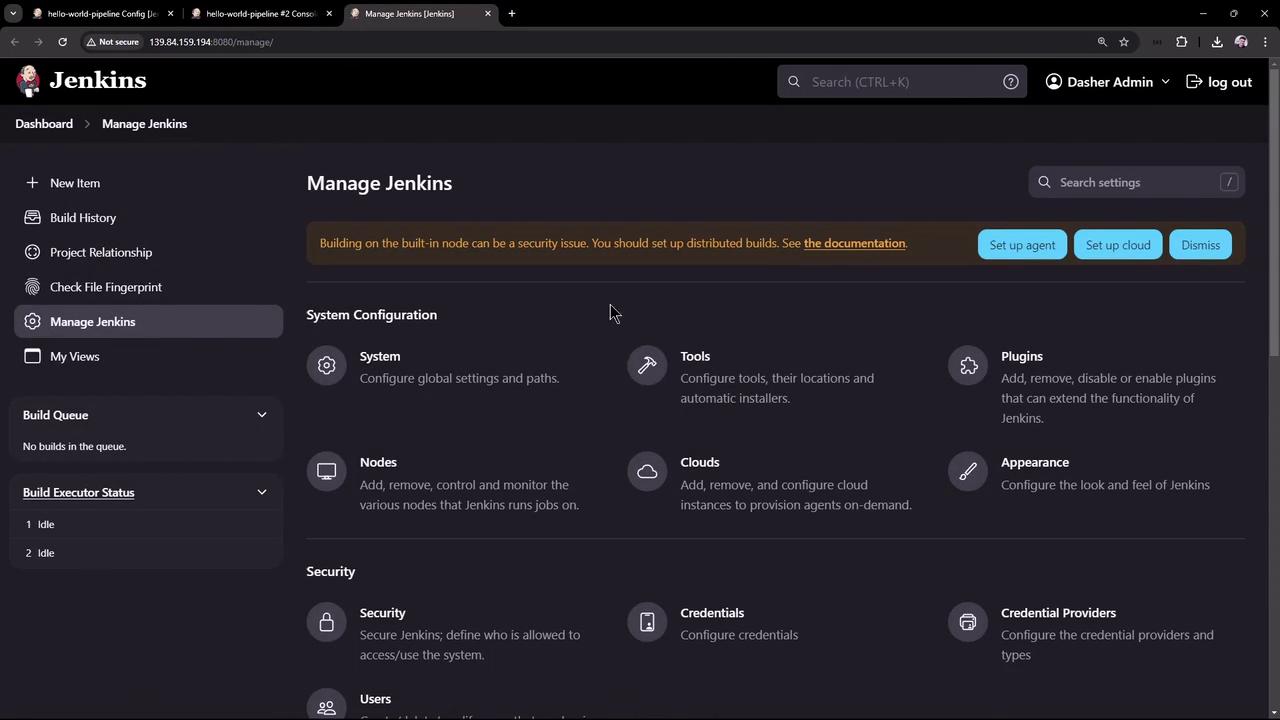
1. Navigate to **Manage Jenkins** > **Global Tool Configuration**.
2. Under **Maven installations**, click **Add Maven**.
3. Name it **M398**, enable **Install automatically**, and choose version **3.9.8**.
4. Save your changes.
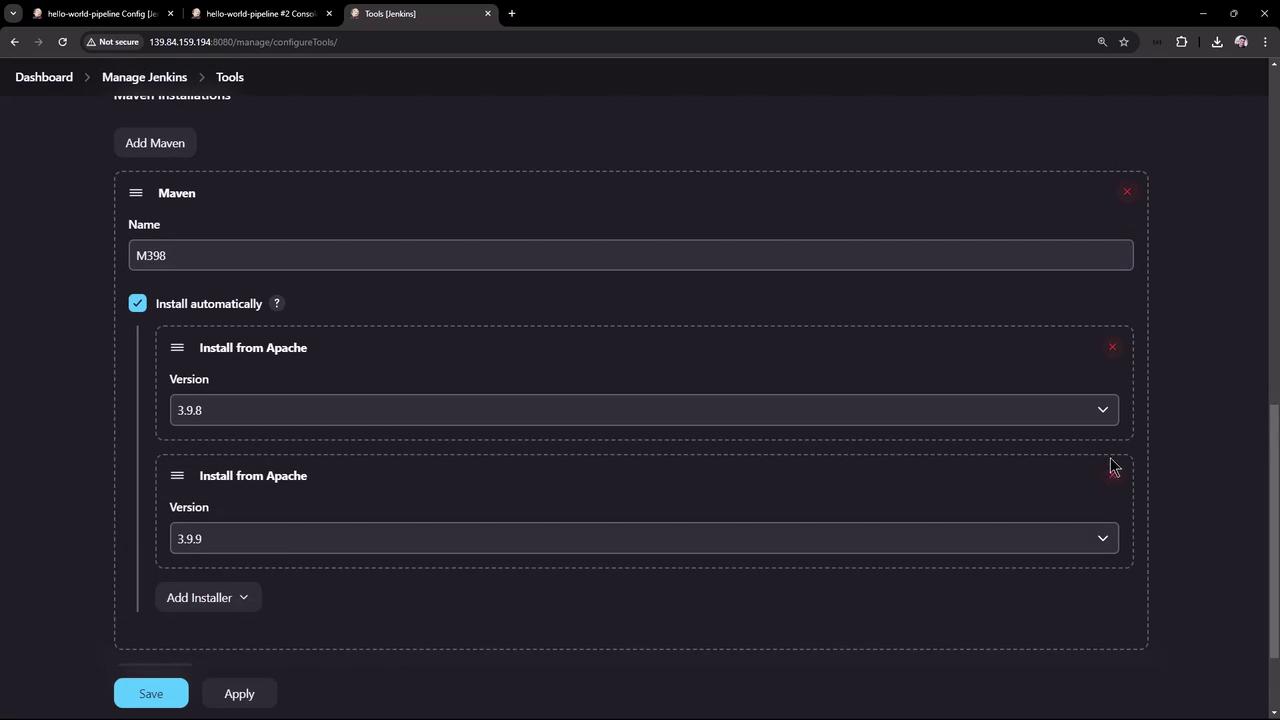
Now update your Pipeline to use **M398**:
```groovy theme={null}
pipeline {
agent any
tools {
maven "M398"
}
stages {
stage('Echo Version') {
steps {
sh 'echo Print Maven Version'
sh 'mvn -version'
}
}
}
}
```
## 7. Build and Verify
Click **Build Now** again. You’ll see **Tool Installation** followed by **Echo Version**.
**Console snippet:**
```text theme={null}
+ echo Print Maven Version
Print Maven Version
+ mvn -version
Apache Maven 3.9.8 (36645f6c9b57998e5a5009217e36f2cff343256)
Maven home: /var/lib/jenkins/tools/hudson.tasks.Maven_MavenInstallation/M398
Java version: 17.0.12, vendor: Ubuntu, runtime: /usr/lib/jvm/java-17-openjdk-amd64
Default locale: en_US, platform encoding: UTF-8
OS name: "linux", version: "6.8.0-39-generic", arch: "amd64", family: "unix"
Finished: SUCCESS
```
## Conclusion
You’ve now:
* Created a Jenkins Pipeline project
* Written and executed a “Hello World” pipeline
* Viewed build logs and timing
* Configured Jenkins to install Maven automatically
Next steps: integrate SCM checkout, add test and deploy stages, and configure post-build notifications.
## Links and References
* [Jenkins Pipeline Documentation](https://www.jenkins.io/doc/book/pipeline/)
* [Jenkins Global Tool Configuration](https://www.jenkins.io/doc/book/managing/tools/)
* [Maven Plugin for Jenkins](https://plugins.jenkins.io/maven-plugin/)