> ## Documentation Index
> Fetch the complete documentation index at: https://notes.kodekloud.com/llms.txt
> Use this file to discover all available pages before exploring further.

# Demo Add Jenkinsfile to Solar System Repo

> This tutorial explains how to set up a Jenkins pipeline for the Solar System repository by adding a Jenkinsfile.

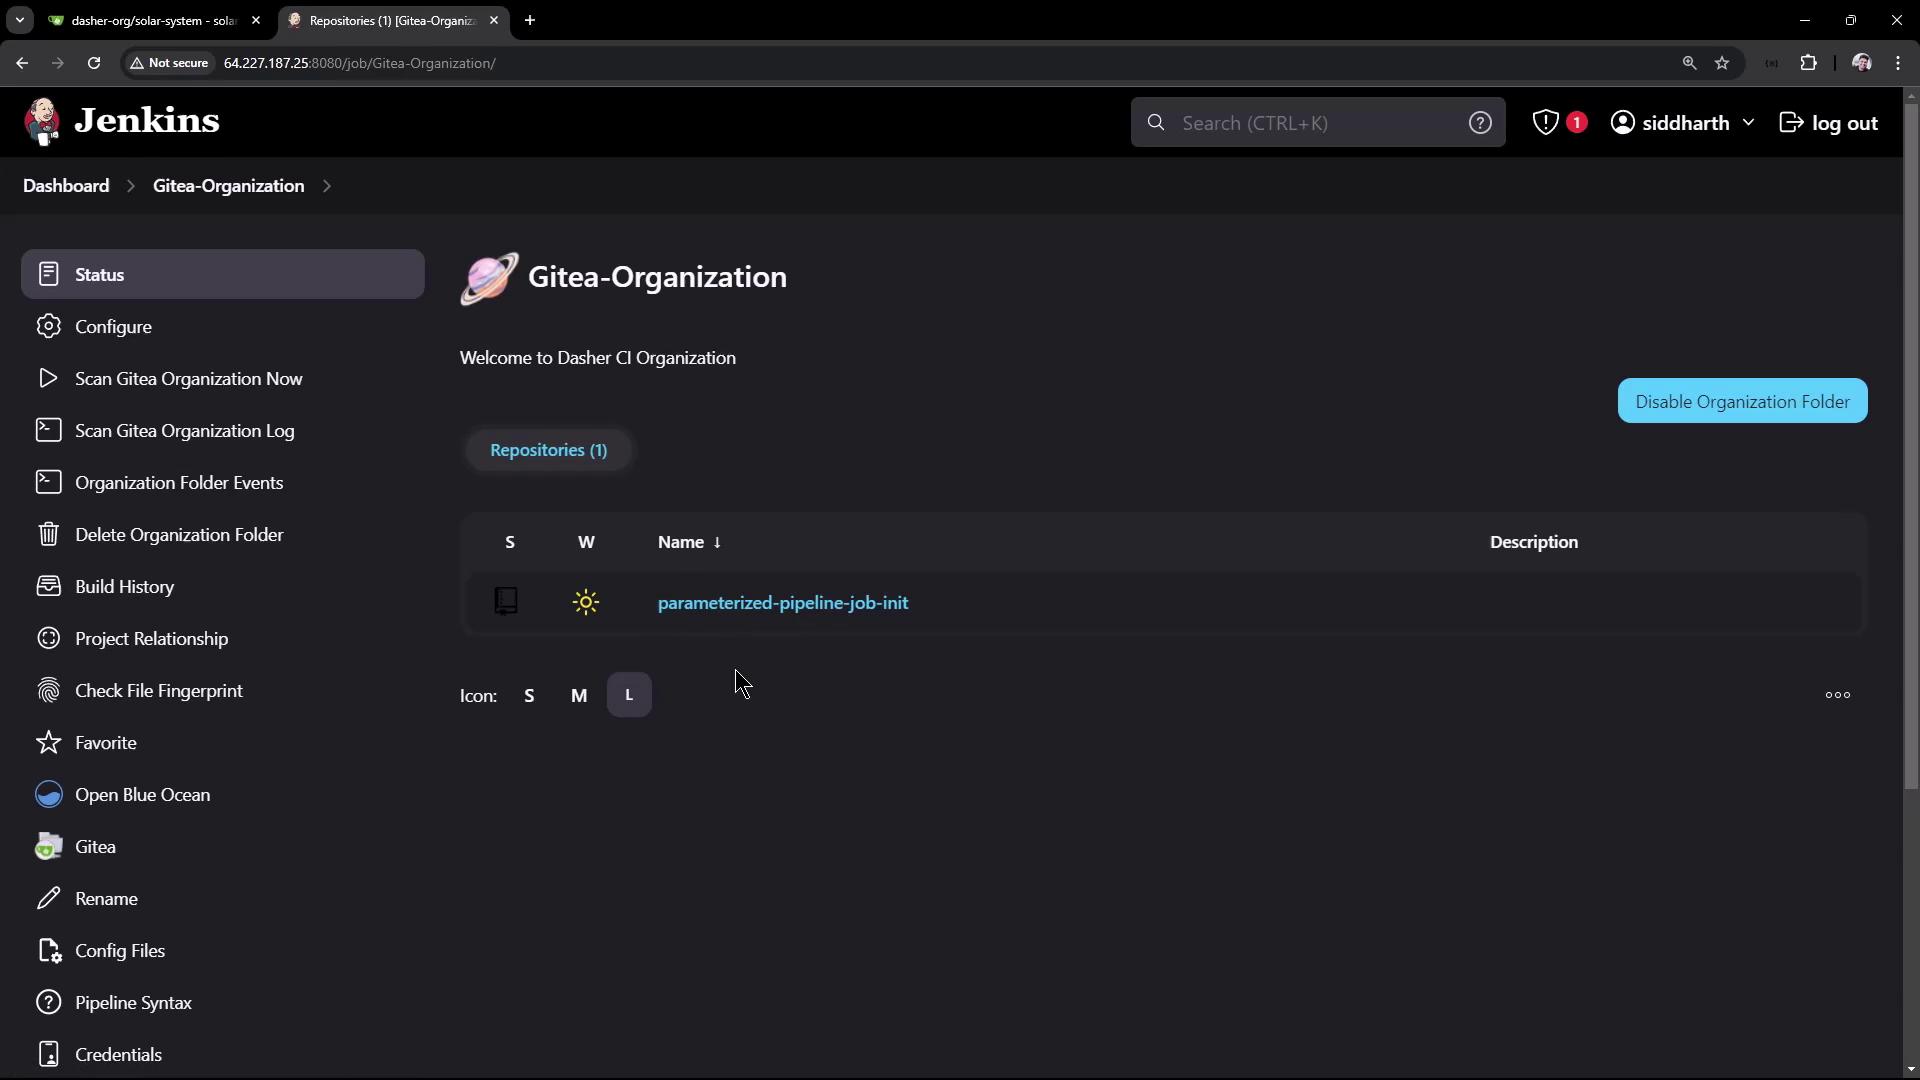
In this tutorial, you’ll learn how to set up a basic Jenkins pipeline for the **Solar System** repository. We’ll add a `Jenkinsfile` at the repo root, push it in a feature branch, and let Jenkins automatically detect and run the pipeline via webhooks.
<Frame>
  ![The image shows a Jenkins dashboard for a Gitea organization, displaying options like configuring, scanning, and managing repositories. A specific repository named "parameterized-pipeline-job-init" is listed.](https://kodekloud.com/kk-media/image/upload/v1752871013/notes-assets/images/Certified-Jenkins-Engineer-Demo-Add-Jenkinsfile-to-Solar-System-Repo/jenkins-dashboard-gitea-repo.jpg)
</Frame>

<Callout icon="lightbulb" color="#1CB2FE">
  * A running Jenkins instance with the [Gitea plugin installed](https://plugins.jenkins.io/gitea/).
  * A Gitea organization folder configured in Jenkins.
  * Access to your Gitea server and the **Solar System** repository.
</Callout>

***

## Why the Solar System Repo Isn’t Yet in Jenkins

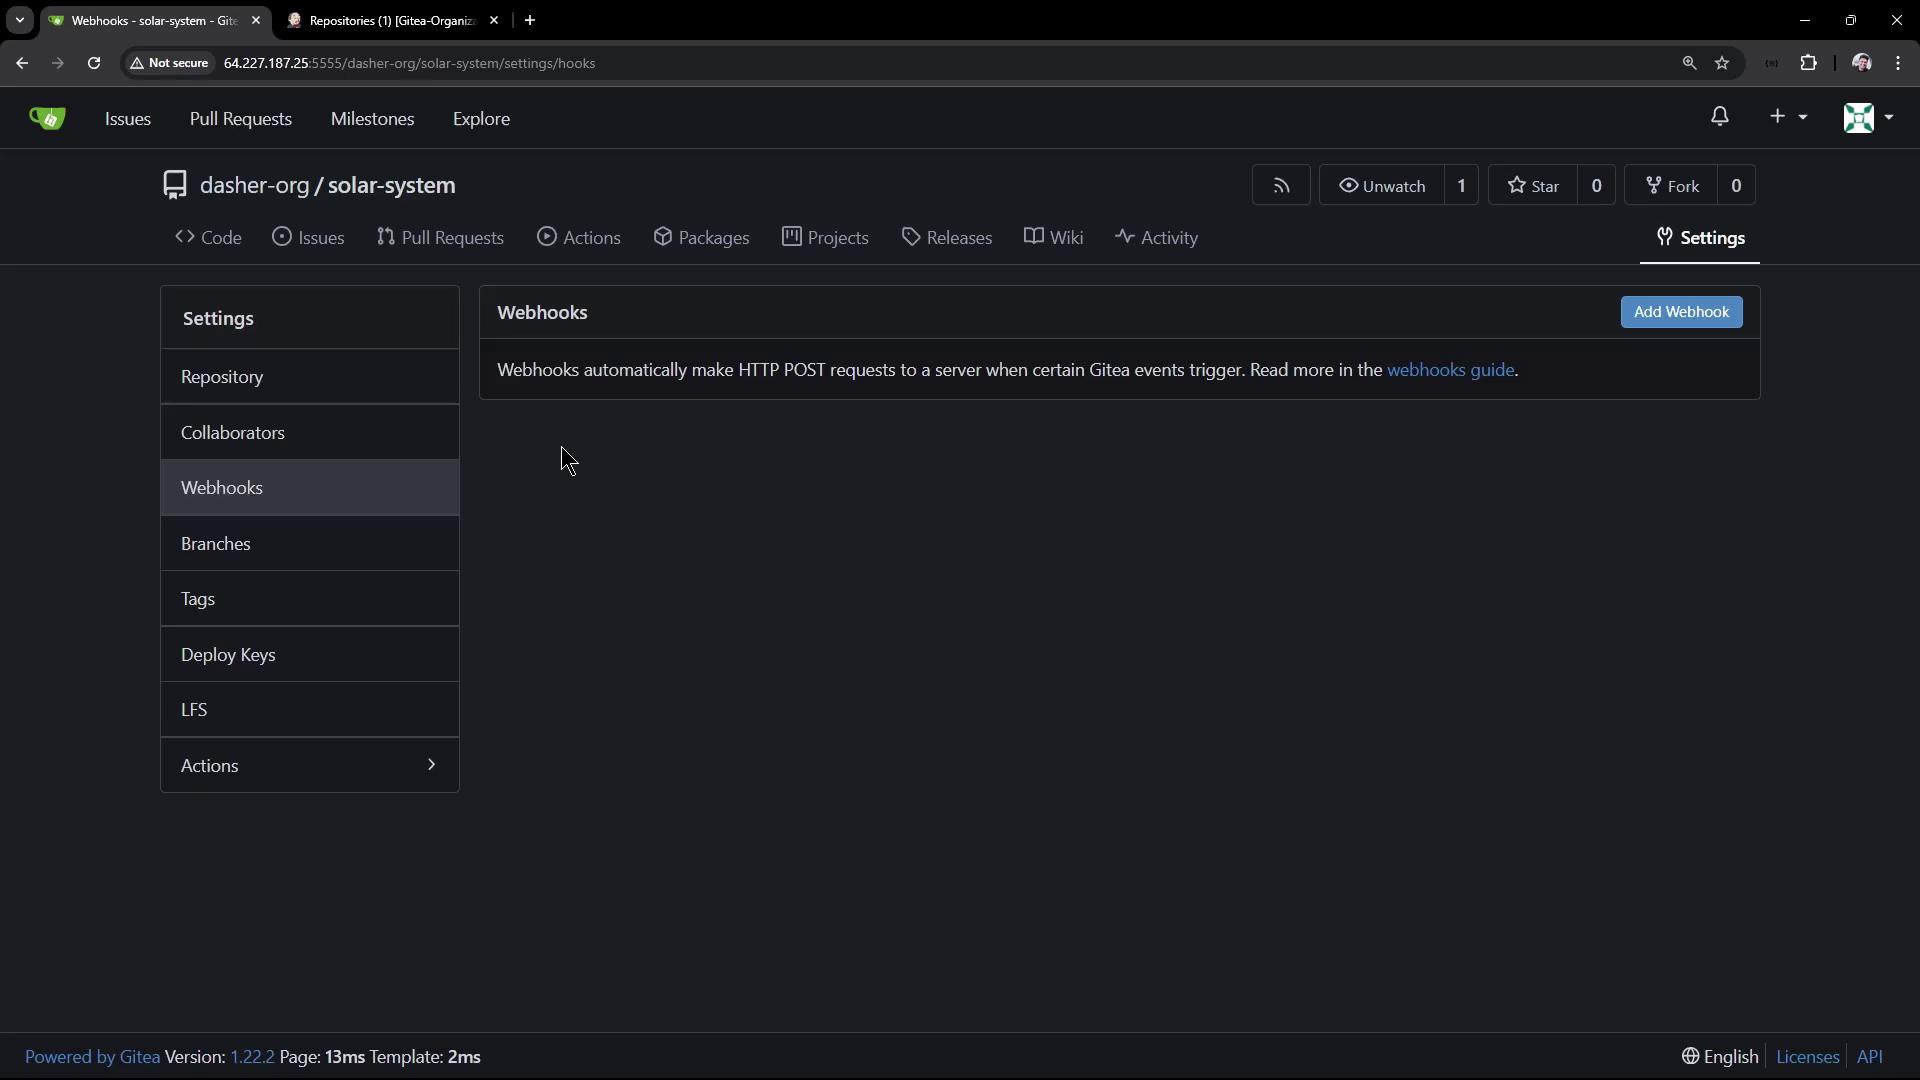
By default, Jenkins scans your Gitea organization folder for repositories containing a `Jenkinsfile`. Since **Solar System** has no pipeline file or webhooks configured, it won’t appear in Jenkins:
<Frame>
  ![The image shows a Gitea web interface focused on the "Webhooks" settings page for a repository named "solar-system." It includes options for adding webhooks and a sidebar with various repository settings.](https://kodekloud.com/kk-media/image/upload/v1752871015/notes-assets/images/Certified-Jenkins-Engineer-Demo-Add-Jenkinsfile-to-Solar-System-Repo/gitea-webhooks-settings-solar-system.jpg)
</Frame>

***

## 1. Clone and Create a Feature Branch

Start by cloning the repo and creating a branch for CI/CD:

```bash theme={null}
git clone <YOUR_SPRINGBOARD_GITEA_URL>/your-org/solar-system.git
cd solar-system
git checkout -b feature/enabling-cicd
```

***

## 2. Add a Basic `Jenkinsfile`

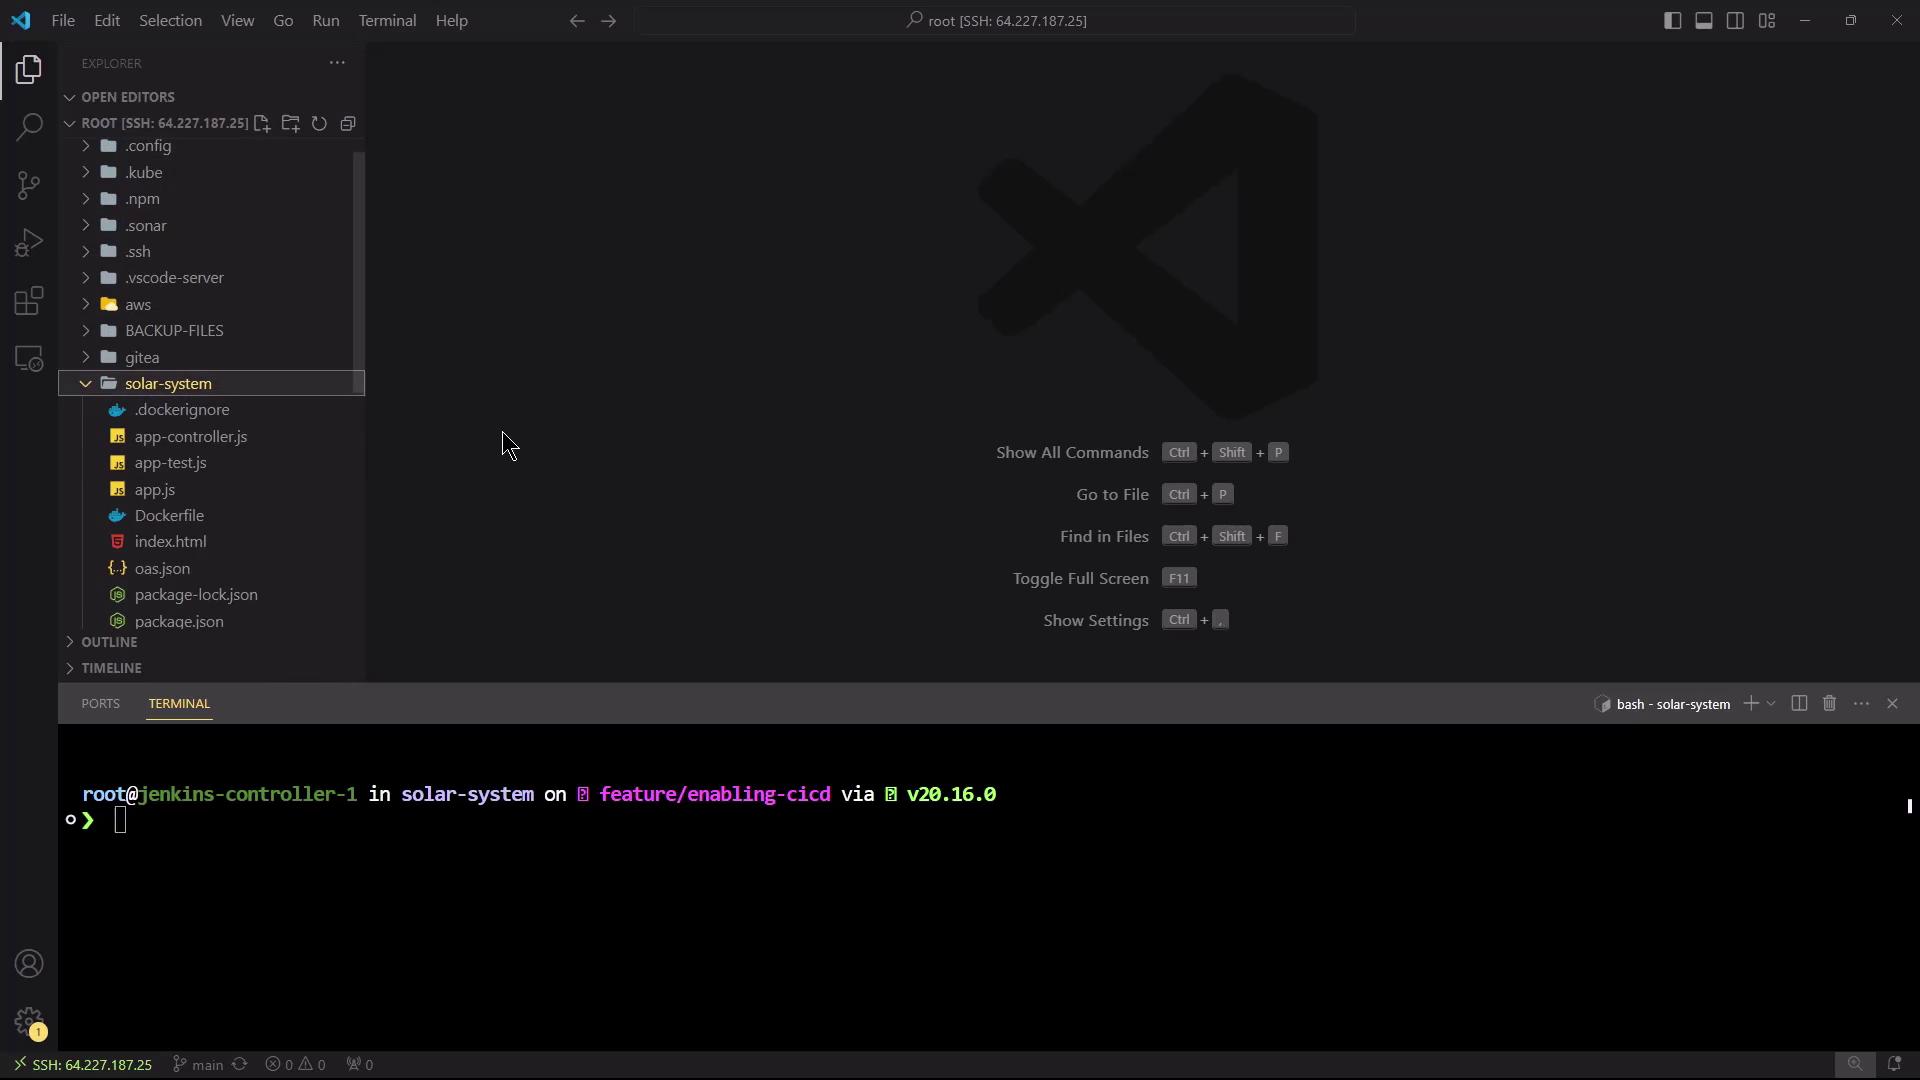
Open the project in your editor:
<Frame>
  ![The image shows a Visual Studio Code interface with a file explorer on the left, displaying a project directory named "solar-system," and a terminal at the bottom with a command prompt.](https://kodekloud.com/kk-media/image/upload/v1752871016/notes-assets/images/Certified-Jenkins-Engineer-Demo-Add-Jenkinsfile-to-Solar-System-Repo/visual-studio-code-solar-system.jpg)
</Frame>

Create a file named `Jenkinsfile` in the repository root:

```groovy theme={null}
pipeline {
  agent any

  stages {
    stage('VM Node Version') {
      steps {
        sh '''
          node -v
          npm -v
        '''
      }
    }
  }
}
```

This declarative pipeline runs on any agent and has one stage that prints the Node.js and npm versions.

Commit and push:

```bash theme={null}
git add Jenkinsfile
git commit -m "Add Jenkinsfile for basic pipeline"
git push --set-upstream origin feature/enabling-cicd
```

***

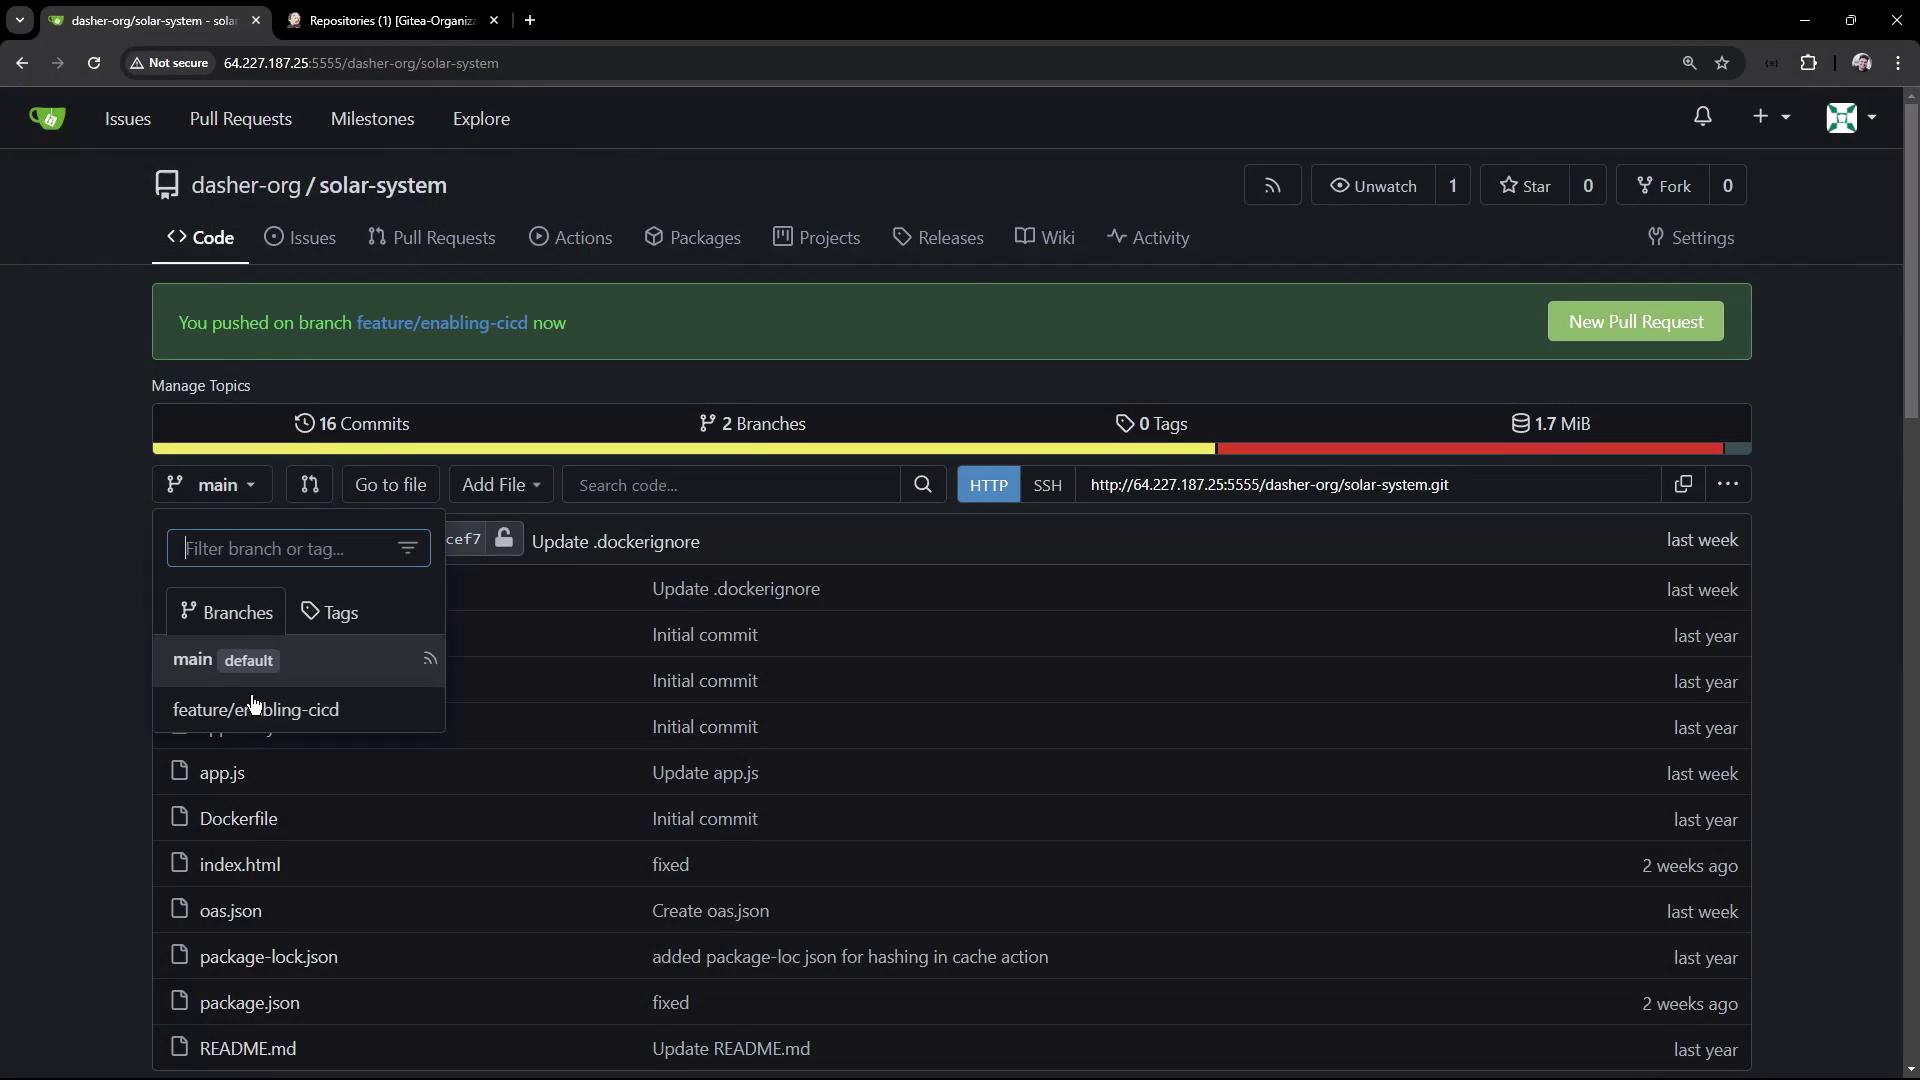
## 3. Confirm Branch and Webhooks in Gitea

After pushing, head to Gitea to verify your branch and watch Jenkins webhooks auto-generate:
<Frame>
  ![The image shows a Git repository interface with branches and commit history displayed. The "feature/enabling-cicd" branch is currently selected, and there are options to switch branches or view commit details.](https://kodekloud.com/kk-media/image/upload/v1752871017/notes-assets/images/Certified-Jenkins-Engineer-Demo-Add-Jenkinsfile-to-Solar-System-Repo/git-repository-branches-commit-history.jpg)
</Frame>

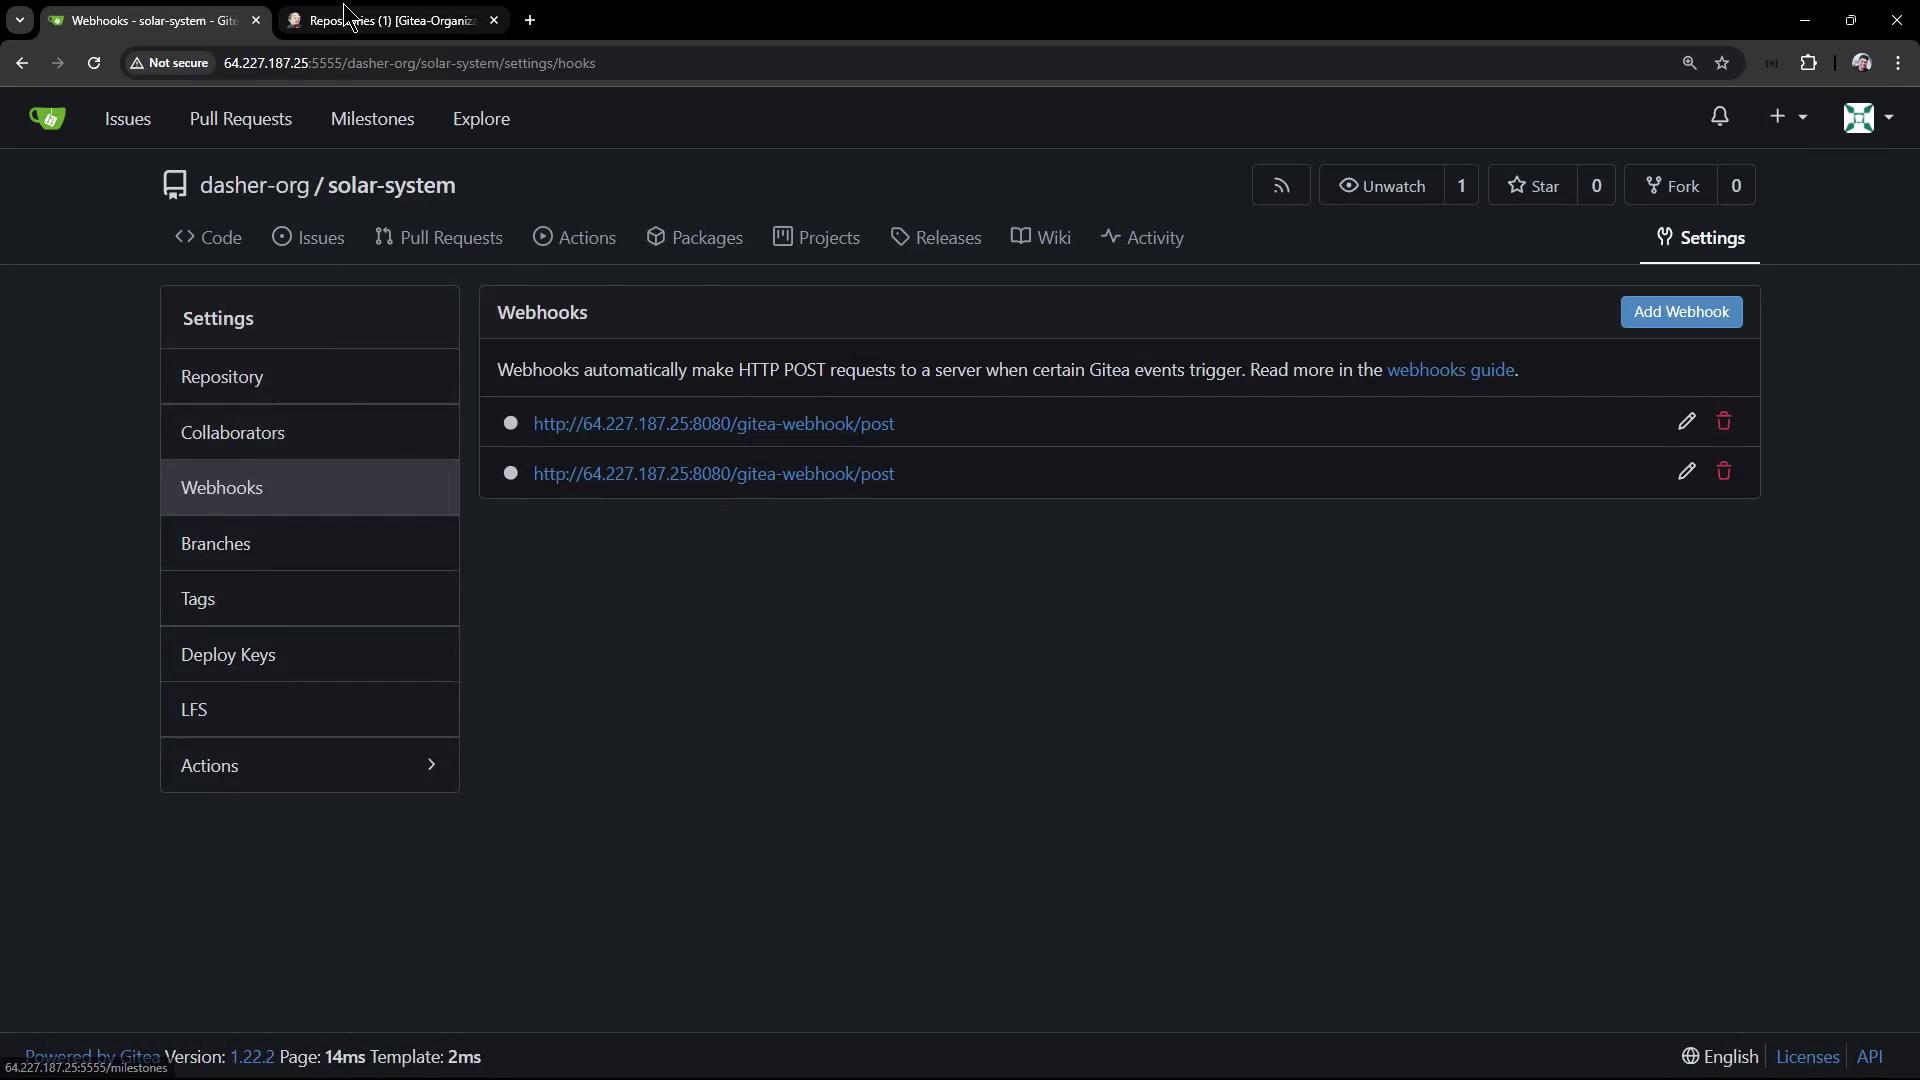
You should see two new webhooks for Jenkins delivery:
<Frame>
  ![The image shows a Gitea repository settings page focused on webhooks, with two webhook URLs listed. The interface includes options for adding, editing, and deleting webhooks.](https://kodekloud.com/kk-media/image/upload/v1752871018/notes-assets/images/Certified-Jenkins-Engineer-Demo-Add-Jenkinsfile-to-Solar-System-Repo/gitea-repository-webhooks-settings.jpg)
</Frame>

***

## 4. Trigger a Jenkins Scan

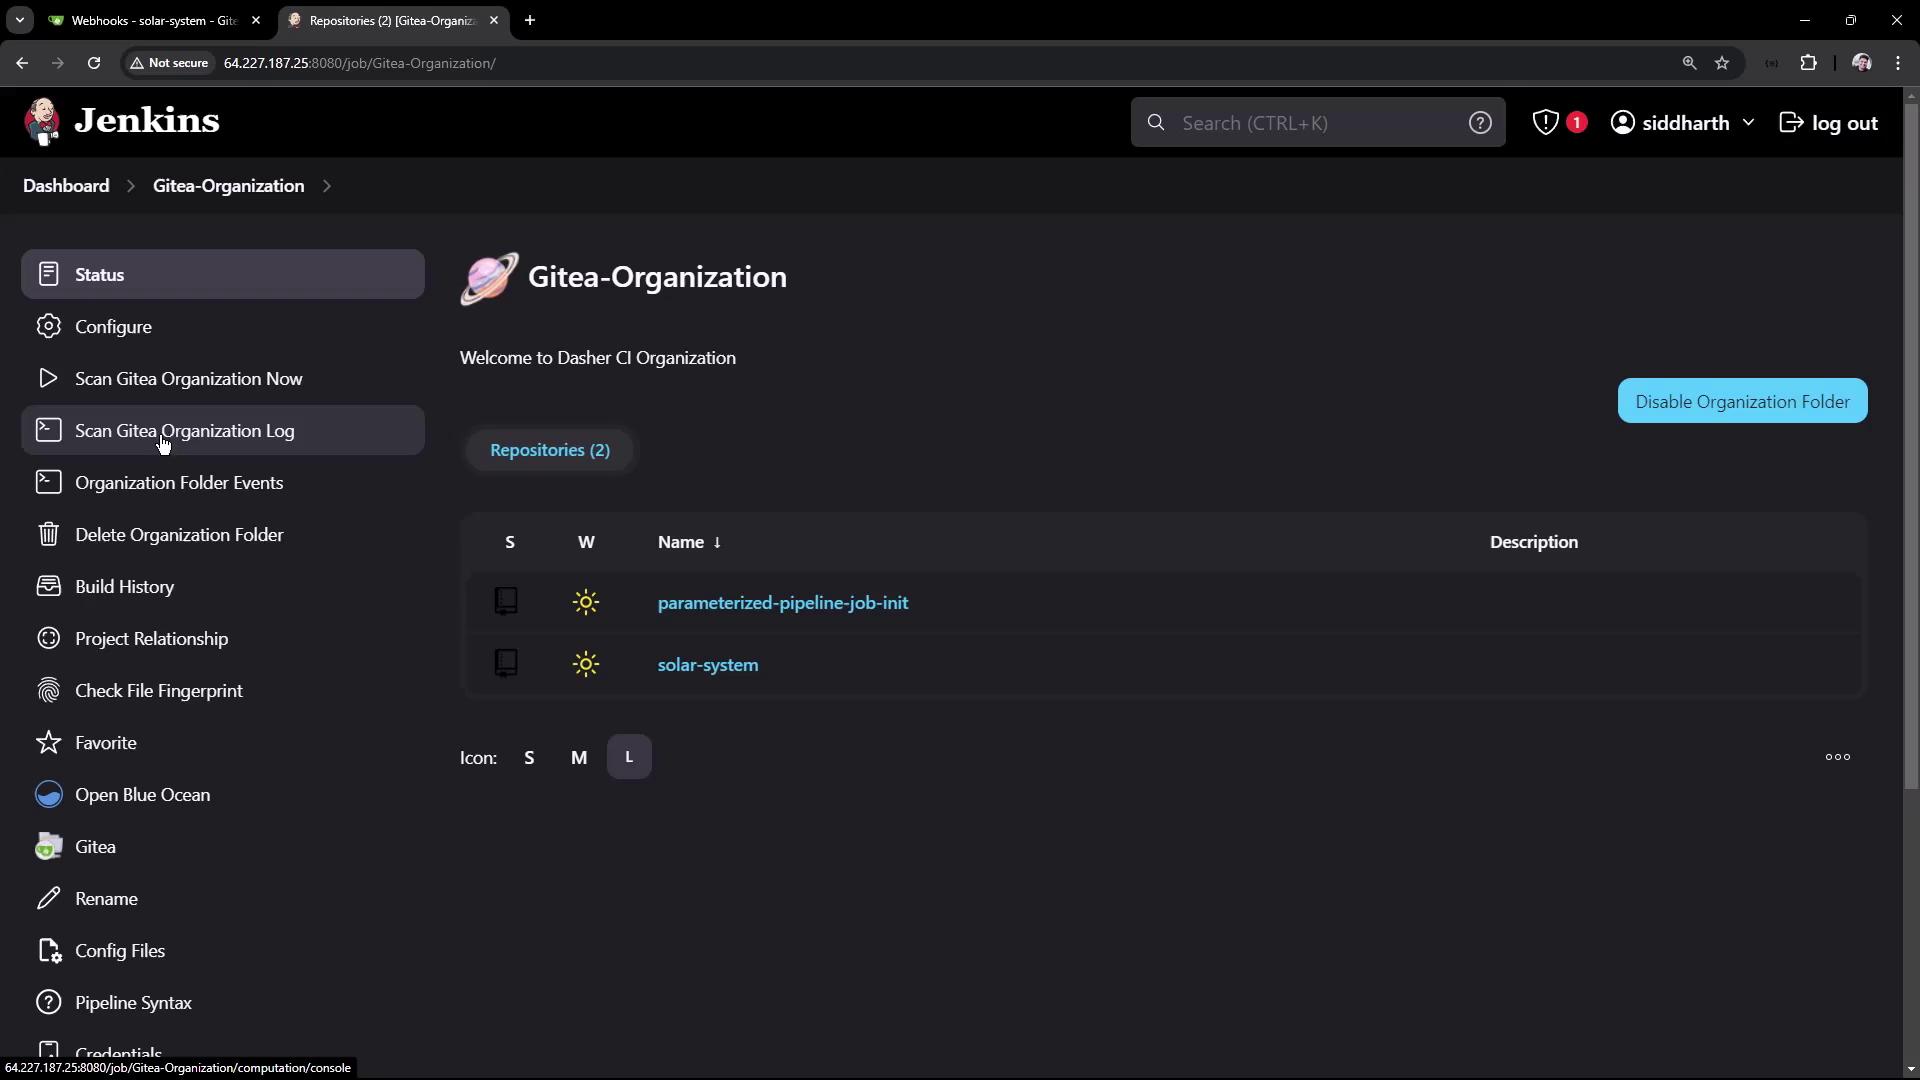
Jenkins periodically scans the organization folder for new repositories or branches. You can also kick off a manual scan:
<Frame>
  ![The image shows a Jenkins dashboard for a Gitea organization, displaying options like "Scan Gitea Organization Log" and listing repositories such as "parameterized-pipeline-job-init" and "solar-system."](https://kodekloud.com/kk-media/image/upload/v1752871019/notes-assets/images/Certified-Jenkins-Engineer-Demo-Add-Jenkinsfile-to-Solar-System-Repo/jenkins-dashboard-gitea-organization.jpg)
</Frame>

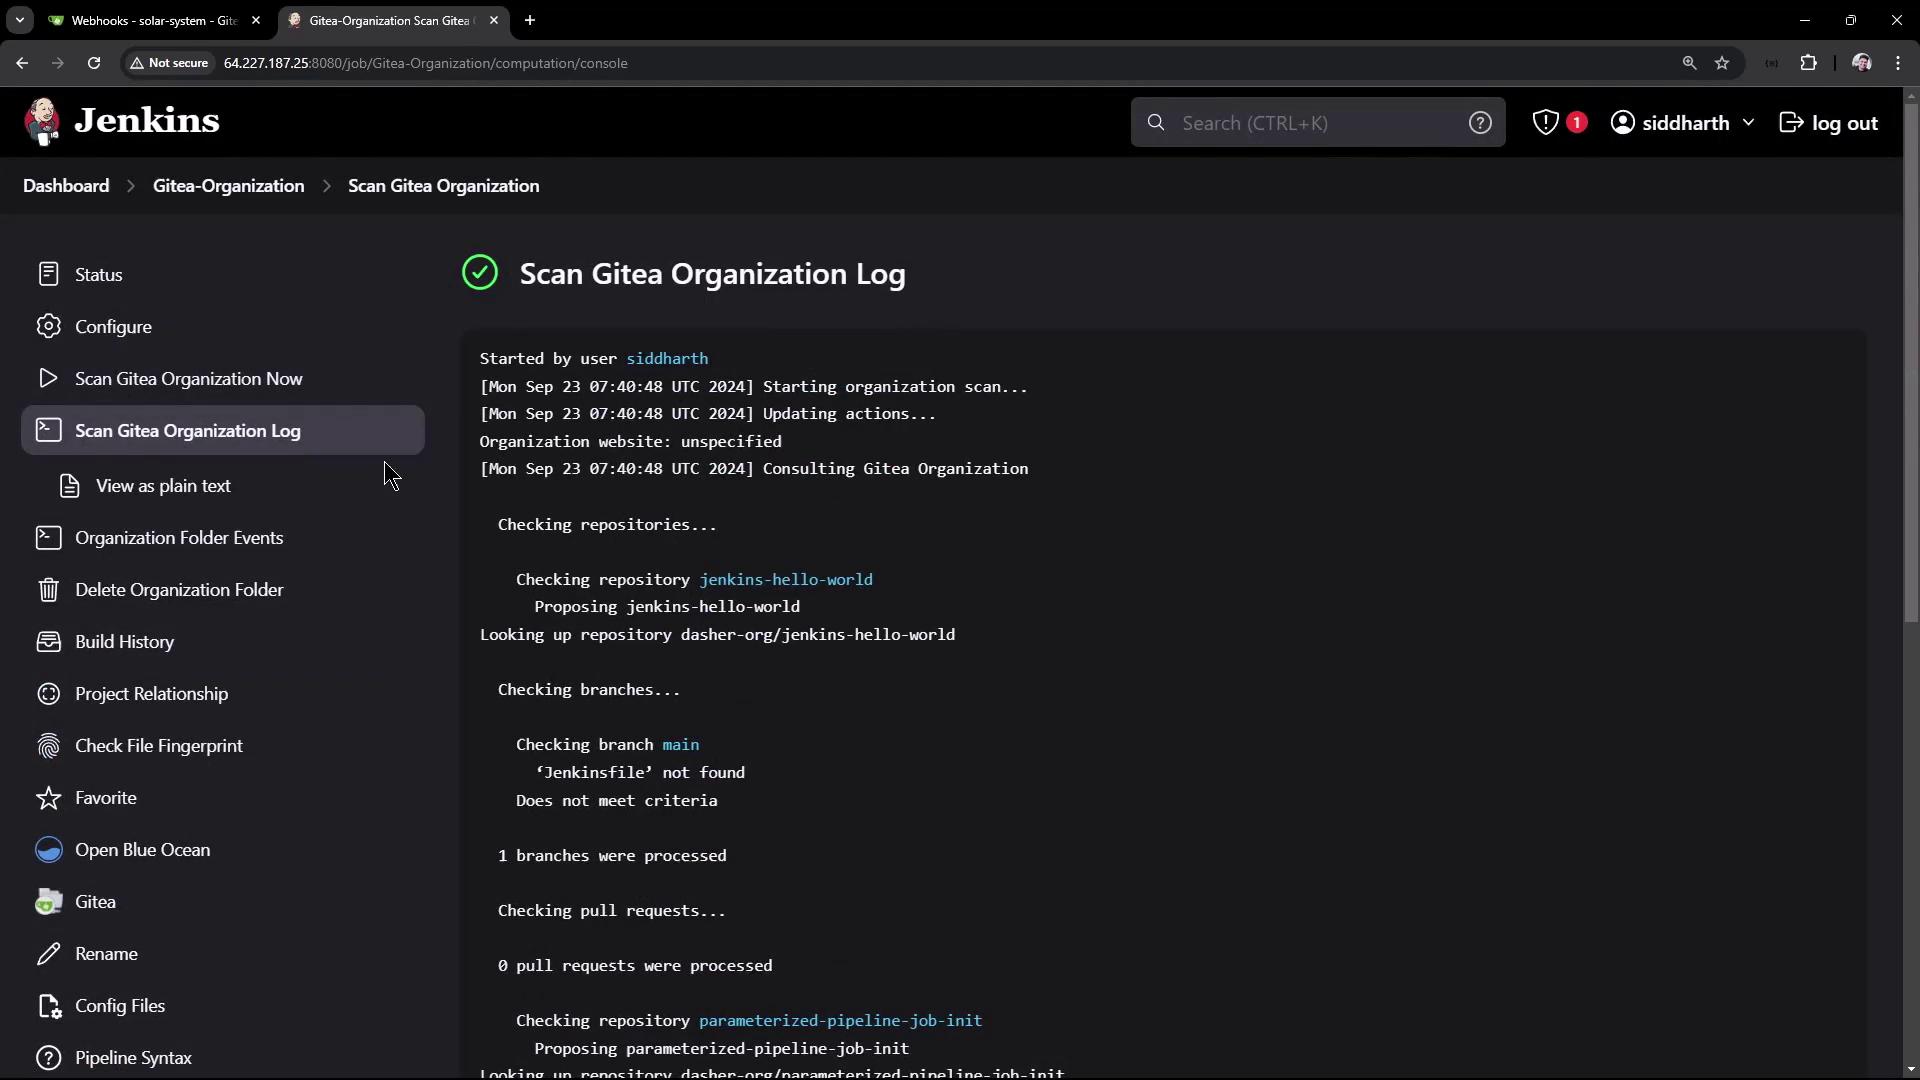
Once scanned, you’ll see the `feature/enabling-cicd` branch:
<Frame>
  ![The image shows a Jenkins interface displaying a log for scanning a Gitea organization, detailing repository and branch checks.](https://kodekloud.com/kk-media/image/upload/v1752871020/notes-assets/images/Certified-Jenkins-Engineer-Demo-Add-Jenkinsfile-to-Solar-System-Repo/jenkins-gitea-log-scanning-interface.jpg)
</Frame>

***

## 5. View the Multibranch Pipeline

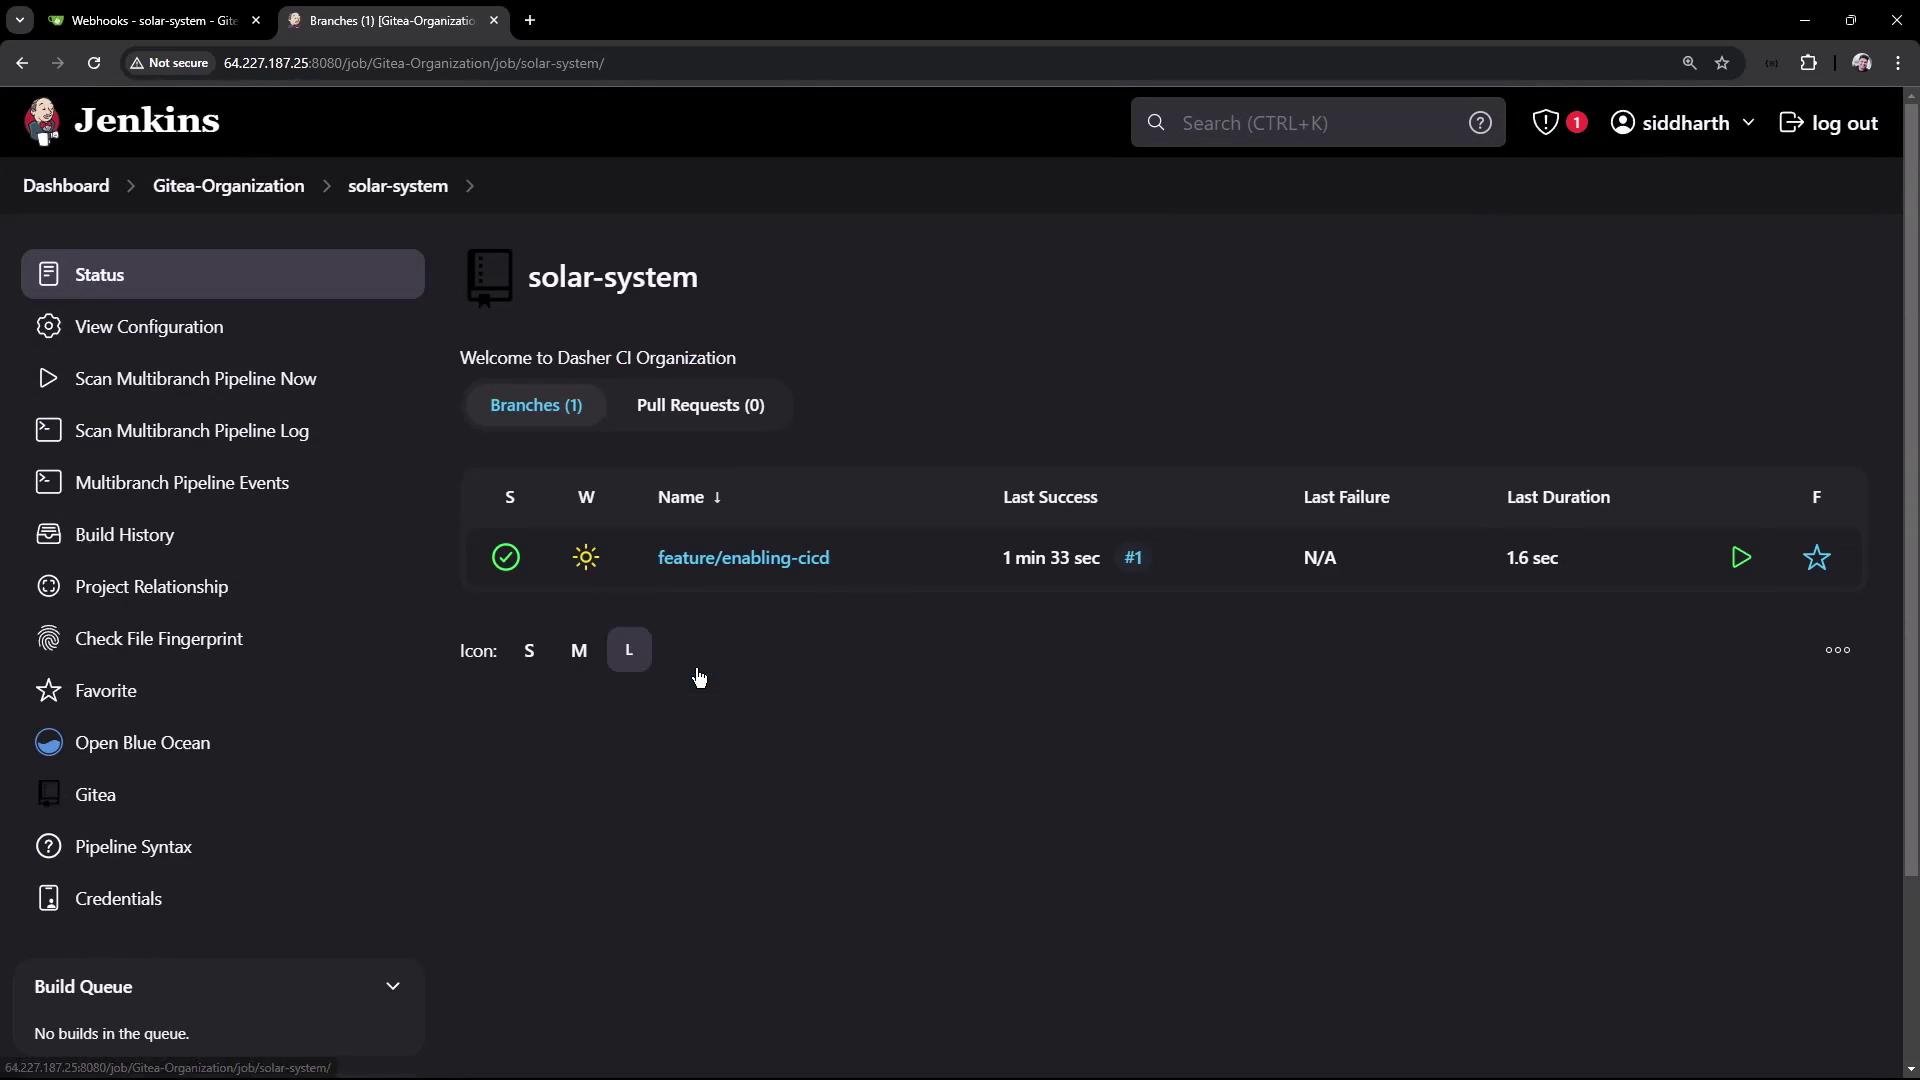
Jenkins creates a multibranch job for **solar-system**:
<Frame>
  ![The image shows a Jenkins dashboard for a project named "solar-system," displaying the status of a branch called "feature/enabling-cicd" with details about the last successful build.](https://kodekloud.com/kk-media/image/upload/v1752871021/notes-assets/images/Certified-Jenkins-Engineer-Demo-Add-Jenkinsfile-to-Solar-System-Repo/jenkins-dashboard-solar-system-feature-cicd.jpg)
</Frame>

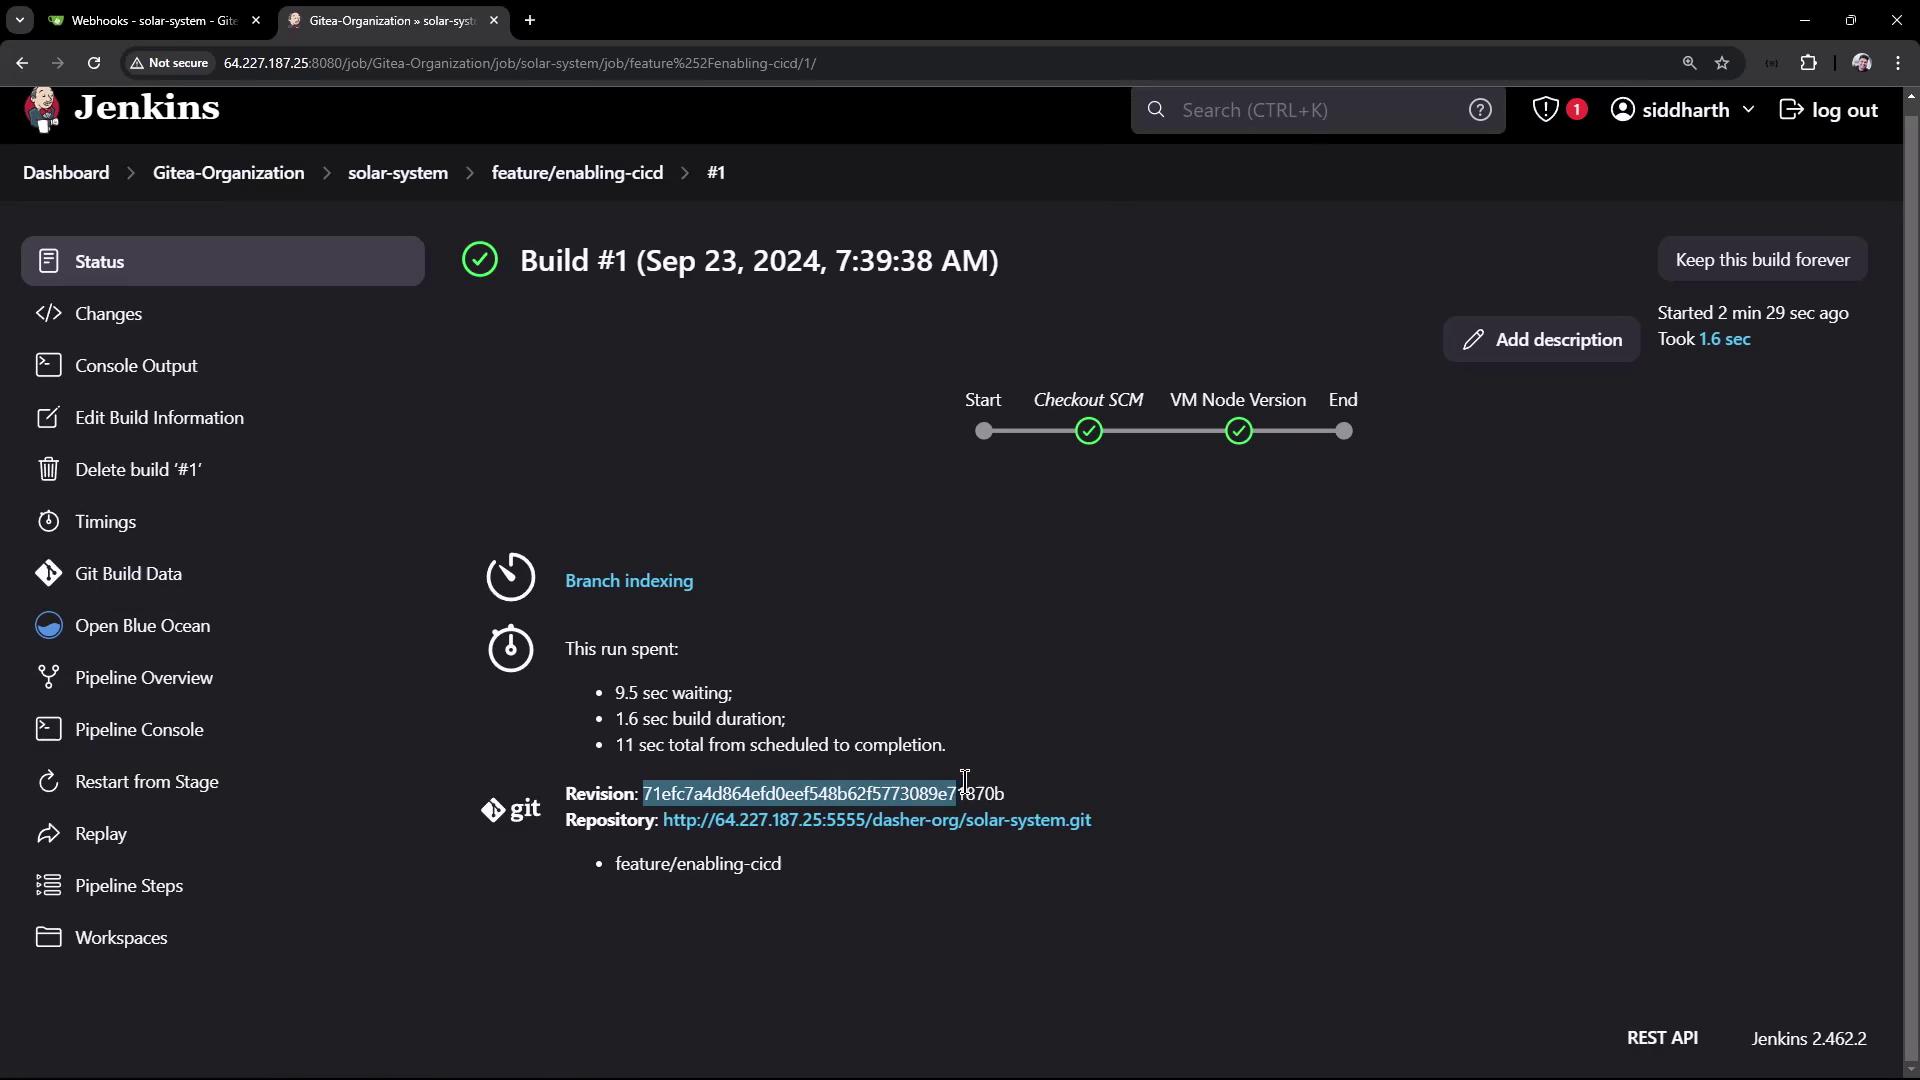
Click on the build to inspect stages:
<Frame>
  ![The image shows a Jenkins build interface for "Build #1" with details about the build process, including timing and repository information. The build is marked as successful with a green checkmark.](https://kodekloud.com/kk-media/image/upload/v1752871023/notes-assets/images/Certified-Jenkins-Engineer-Demo-Add-Jenkinsfile-to-Solar-System-Repo/jenkins-build-interface-successful.jpg)
</Frame>

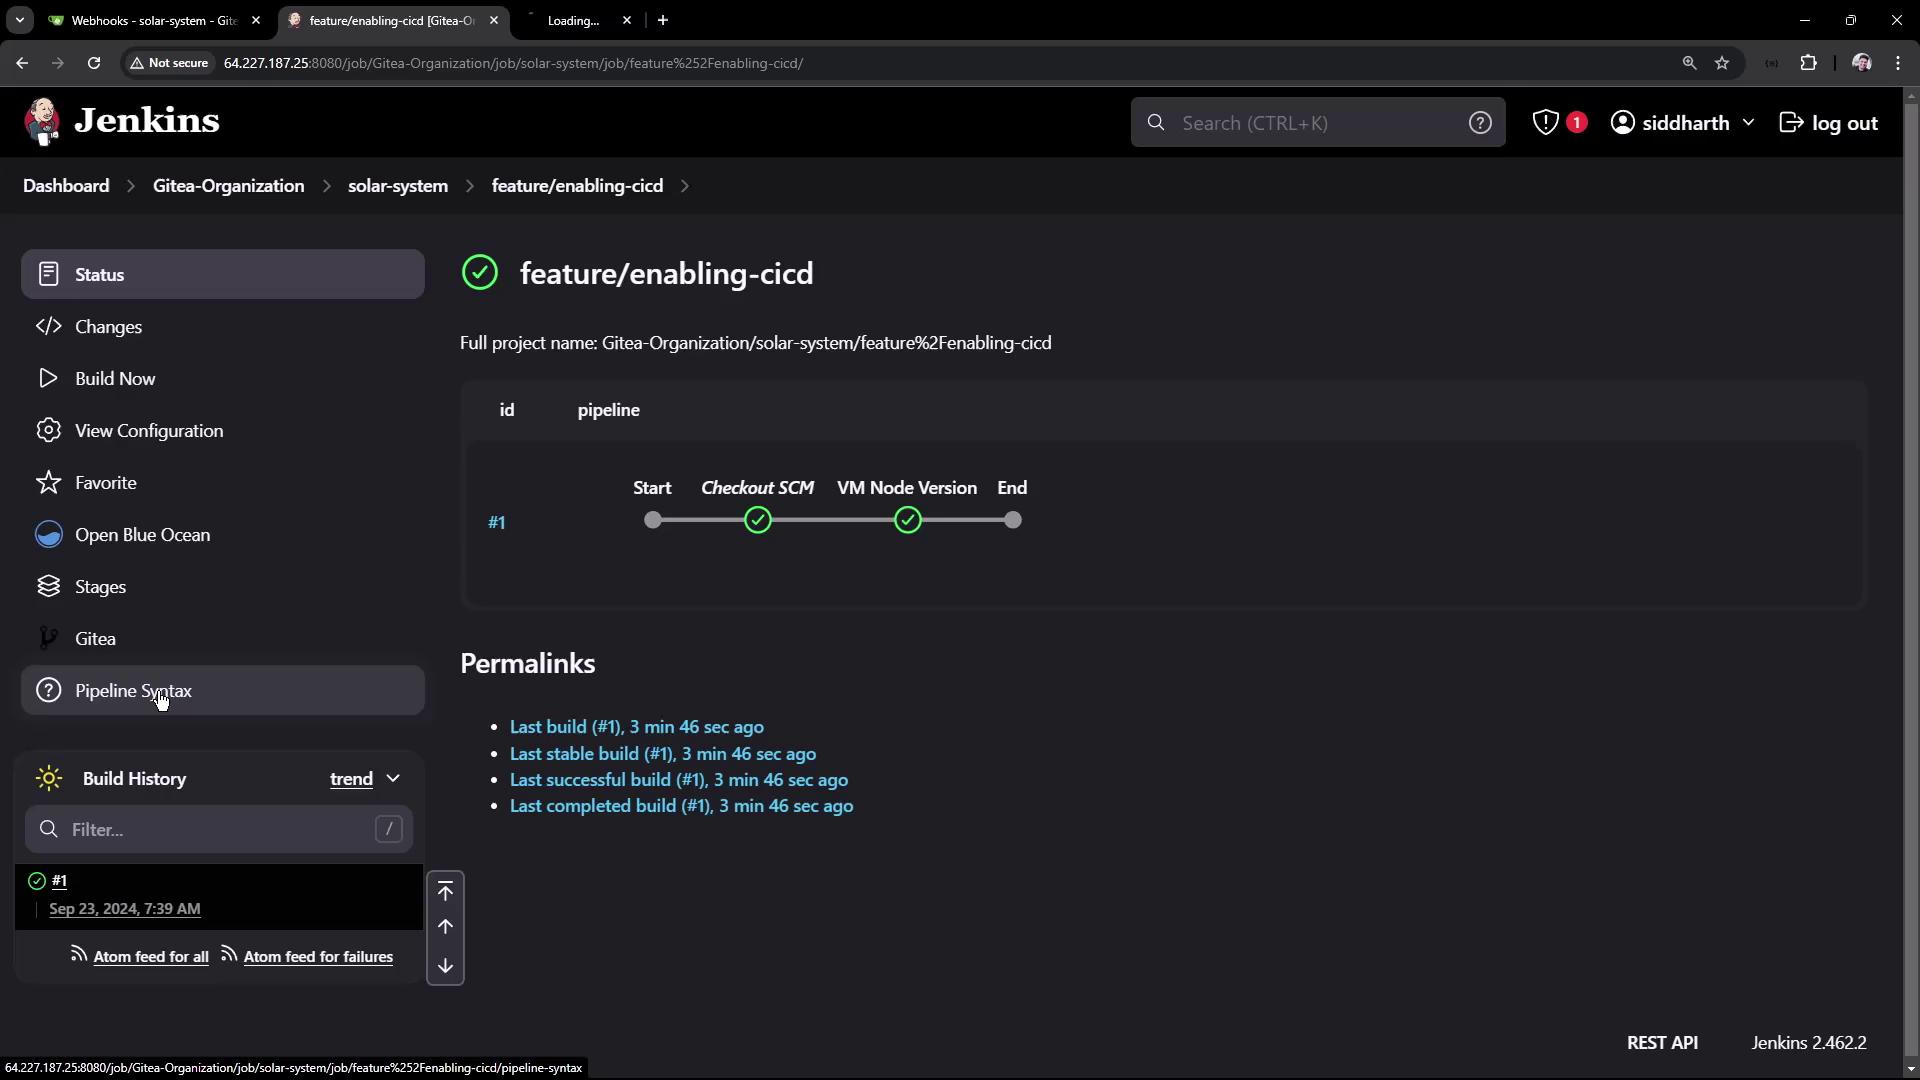
You can also view the pipeline overview:
<Frame>
  ![The image shows a Jenkins dashboard displaying the status of a CI/CD pipeline for a project named "feature/enablingcicd," with stages like "Checkout SCM" and "VM Node Version" marked as completed.](https://kodekloud.com/kk-media/image/upload/v1752871024/notes-assets/images/Certified-Jenkins-Engineer-Demo-Add-Jenkinsfile-to-Solar-System-Repo/jenkins-dashboard-cicd-pipeline-status.jpg)
</Frame>

### Pipeline Stages Overview

| Stage Name      | Purpose                          | Script                  |
| --------------- | -------------------------------- | ----------------------- |
| Checkout SCM    | Clone the repository             | Implicit in Declarative |
| VM Node Version | Display Node.js and npm versions | `node -v`<br />`npm -v` |

***

## 6. Use a Jenkins-Managed Node.js Tool

By default, the pipeline uses the host’s Node.js. To leverage a managed tool:

1. In Jenkins, go to **Pipeline Syntax** → **Declarative Directive Generator**.
2. Select **tools** and pick your Node.js installation (e.g., `nodejs-22-6-0`).
3. Copy the snippet and update your `Jenkinsfile`:

```groovy theme={null}
pipeline {
  agent any

  tools {
    nodejs 'nodejs-22-6-0'
  }

  stages {
    stage('VM Node Version') {
      steps {
        sh '''
          node -v
          npm -v
        '''
      }
    }
  }
}
```

Commit and push the change:

```bash theme={null}
git add Jenkinsfile
git commit -m "Use Jenkins-managed Node.js tool"
git push
```

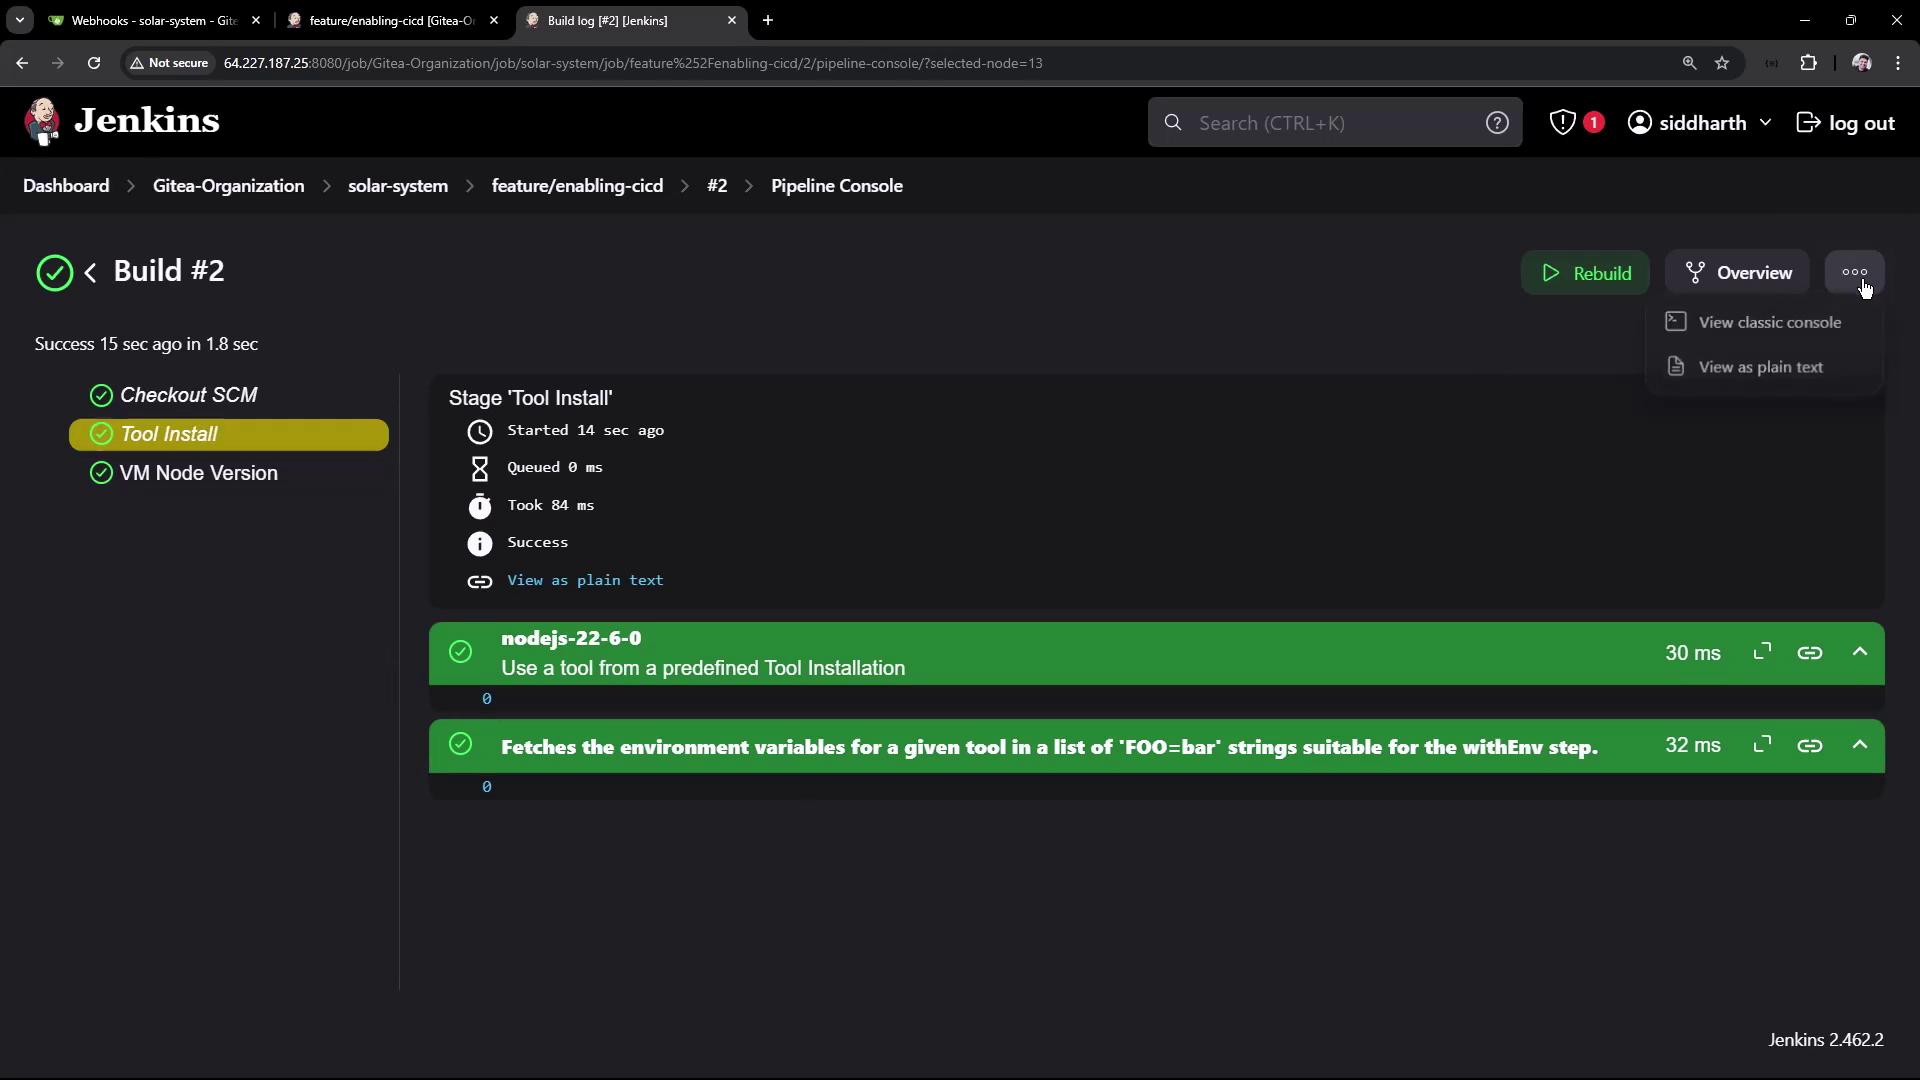
Jenkins will automatically run a new build with the managed Node.js:
<Frame>
  ![The image shows a Jenkins build interface displaying the successful completion of a build process with stages like "Checkout SCM," "Tool Install," and "VM Node Version." The "Tool Install" stage details the installation of Node.js and fetching environment variables.](https://kodekloud.com/kk-media/image/upload/v1752871025/notes-assets/images/Certified-Jenkins-Engineer-Demo-Add-Jenkinsfile-to-Solar-System-Repo/jenkins-build-success-tool-install.jpg)
</Frame>

```bash theme={null}
+ node -v
v22.6.0
+ npm -v
10.8.2
```

***

## Conclusion

You’ve now:

* Added a `Jenkinsfile` to the **Solar System** repo
* Created webhooks in Gitea
* Triggered Jenkins to scan and build your feature branch
* Configured Jenkins to use a managed Node.js tool

Next, you can extend this pipeline with dependency installation, unit tests, and deployment stages.

***

## Links and References

* [Jenkins Gitea Plugin](https://plugins.jenkins.io/gitea/)
* [Declarative Pipeline Syntax](https://www.jenkins.io/doc/book/pipeline/syntax/)
* [Using Tools in Pipeline](https://www.jenkins.io/doc/book/pipeline/syntax/#tools)

<CardGroup>
  <Card title="Watch Video" icon="video" cta="Learn more" href="https://learn.kodekloud.com/user/courses/certified-jenkins-engineer/module/73d0066f-a01f-4d13-a00c-c9baf9aae603/lesson/b52d0e5f-a727-4bb8-9f6d-16519419213b" />
</CardGroup>
