> ## Documentation Index
> Fetch the complete documentation index at: https://notes.kodekloud.com/llms.txt
> Use this file to discover all available pages before exploring further.
# Deploy with Kubeadm Provision VMs with Vagrant
> This guide explains how to provision virtual machines for a Kubernetes cluster using Vagrant and VirtualBox.
In this guide, you'll learn how to provision virtual machines for a Kubernetes cluster using Vagrant and VirtualBox. The Kubernetes environment will include one master node and two worker nodes. We use two essential tools:
1. **VirtualBox** – a hypervisor for running the VMs.
2. **Vagrant** – an automation tool that spins up multiple VMs from a single configuration file.
Before you begin, ensure that both VirtualBox and Vagrant are installed on your system.
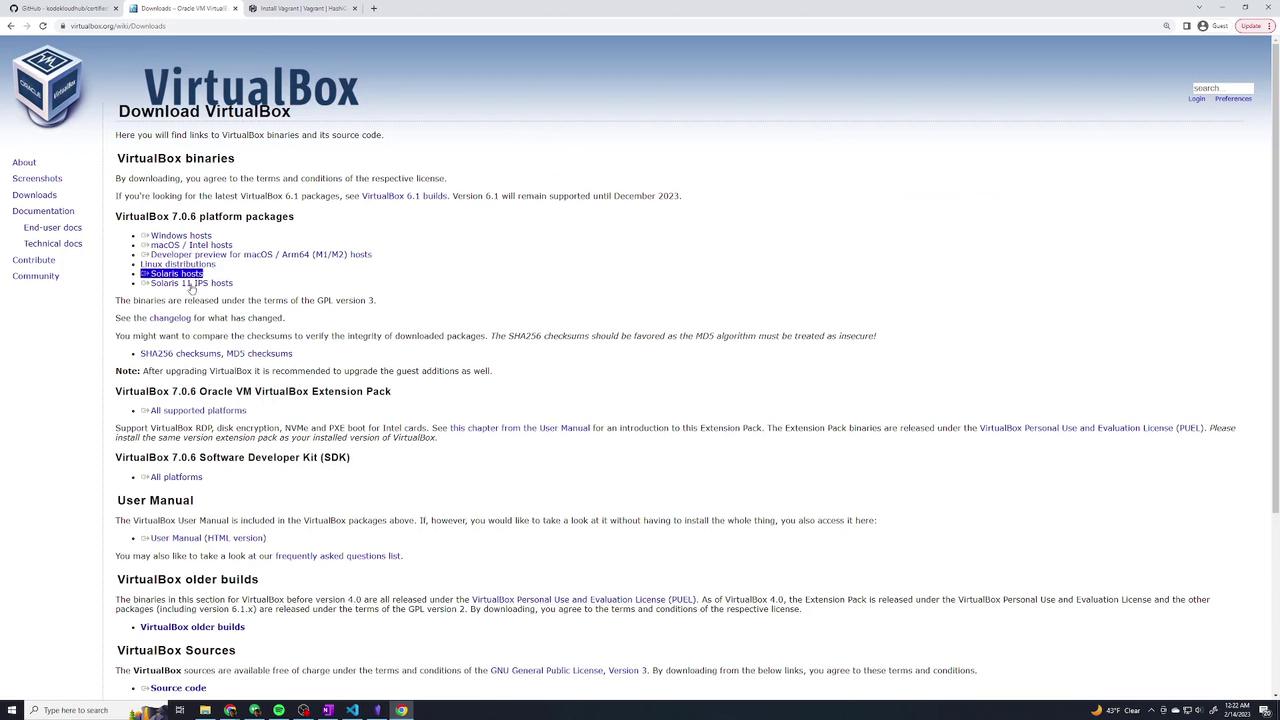
* For VirtualBox, download the installer from [virtualbox.org](https://virtualbox.org).
* For Vagrant, refer to the [Vagrant documentation](https://www.vagrantup.com/docs) for installation instructions.
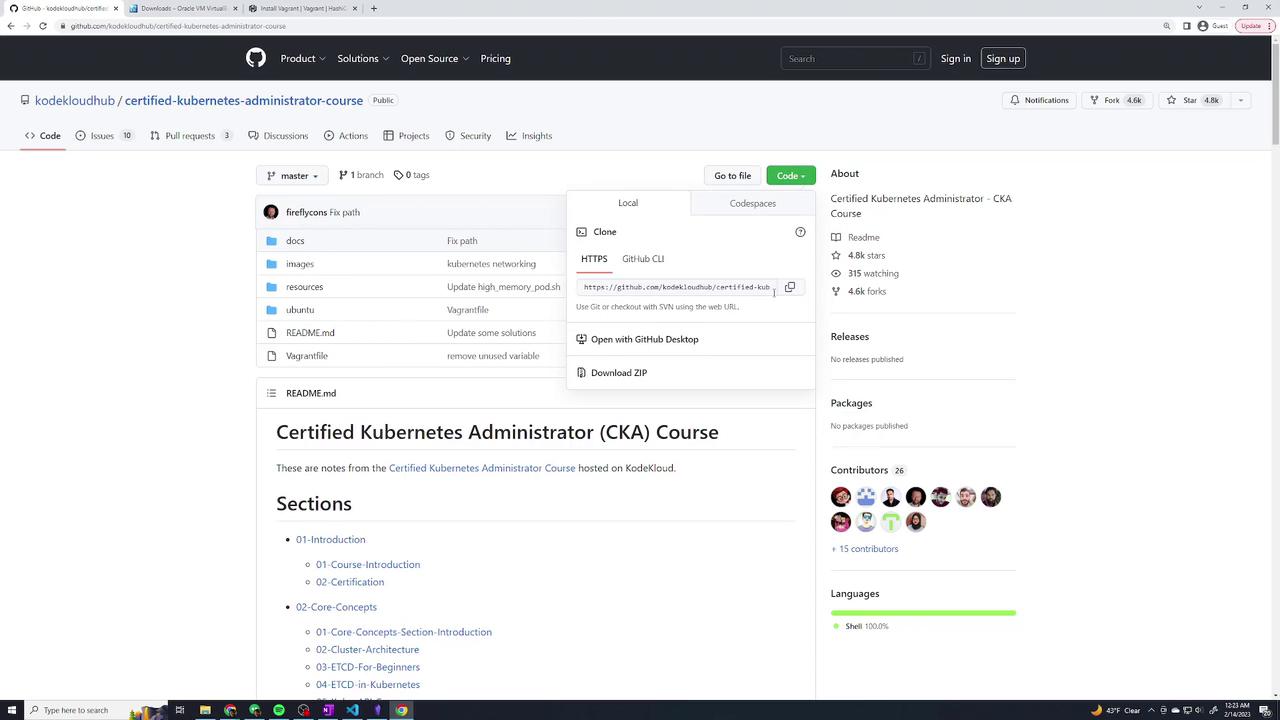
A preconfigured Vagrantfile is provided in the course repository. This file contains all the configuration details necessary to spin up the VMs. To get started, follow these steps:
1. Copy the repository URL from the code dropdown.
2. Open a terminal and execute the command below to clone the repository:
```bash theme={null}
git clone
```
After cloning the repository, change into the directory:
```bash theme={null}
cd certified-kubernetes-administrator-course/
```
List the directory contents using `ls` and verify that the Vagrantfile is present. Open the Vagrantfile to review its configuration.
***
## Vagrantfile Configuration
The provided Vagrantfile is set up to provision one master node and two worker nodes. It assigns specific IP addresses within the 192.168.56.x network, although Kubernetes configuration will be added later. Below is an excerpt from the Vagrantfile demonstrating the basic configuration:
```ruby theme={null}
# -*- mode: ruby -*-
# Define the number of master and worker nodes
# If this number is changed, remember to update setup-hosts.sh script with the new host IP details in /etc/hosts of each VM.
NUM_MASTER_NODE = 1
NUM_WORKER_NODE = 2
IP_NW = "192.168.56."
MASTER_IP_START = 1
NODE_IP_START = 2
# All Vagrant configuration is done below. The "2" in Vagrant.configure
# configures the configuration version (we support older styles for
# backwards compatibility). Please don't change it unless you know what
# you're doing.
Vagrant.configure("2") do |config|
# Every Vagrant development environment requires a box.
# For a complete reference, please see the online documentation at
# https://docs.vagrantup.com.
config.vm.box = "base"
config.vm.box = "ubuntu/bionic64"
config.vm.box.check_update = false
# Create a public network (usually mapped to a bridged network).
config.vm.network "public_network"
```
The Vagrantfile further defines the provisioning of the master node as follows:
```ruby theme={null}
# Provision Master Nodes
(1..NUM_MASTER_NODE).each do |i|
config.vm.define "kubemaster" do |node|
# Name shown in the VirtualBox GUI
node.vm.provider "virtualbox" do |vb|
vb.name = "kubemaster"
vb.memory = 2048
vb.cpus = 2
end
node.vm.hostname = "kubemaster"
node.vm.network "private_network", ip: IP_NW + "#{MASTER_IP_START + i}"
node.vm.network "forwarded_port", guest: 22, host: "#{270 + i}"
node.vm.provision "setup-hosts", type: "shell", path: "ubuntu/vagrant/setup-hosts.sh" do |s|
s.args = ["enp0s8"]
end
node.vm.provision "setup-dns", type: "shell", path: "ubuntu/update-dns.sh"
end
end
```
This configuration creates the master node with necessary provisioning scripts to update host files and DNS settings.
***
## Checking Vagrant Status
Before creating the VMs, you can verify their current state. Since the VMs have not yet been created, running the command below will show that all nodes are in the "not created" state:
```bash theme={null}
vagrant status
```
The output will list the VMs (e.g., kubemaster, kubenode01, and kubenode02) as “not created.”
***
## Bringing Up the VMs
To provision all VMs, run the following command:
```bash theme={null}
vagrant up
```
This command instructs Vagrant to pull the Ubuntu Bionic 64 base image and provision each machine according to the Vagrantfile configuration. The process might take some time as VirtualBox imports the box and deploys the VMs. You will see log messages that detail tasks such as:
* Importing the base box.
* Configuring network interfaces.
* Executing provisioning shell scripts.
* Replacing the default insecure SSH key.
Monitor the logs for progress messages like booting of the master node followed by the worker nodes.
Once the provisioning is complete, check the status again:
```bash theme={null}
vagrant status
```
The output will now list all three nodes (kubemaster, kubenode01, kubenode02) as “running.”
***
## Accessing the VMs
You can access any VM using the `vagrant ssh` command followed by the VM's name. For example, to connect to the master node, run:
```bash theme={null}
vagrant ssh kubemaster
```
After connecting, verify your directory contents using:
```bash theme={null}
ls -la
```
This confirms that you are inside the VM. When you need to exit, type:
```bash theme={null}
logout
```
Here is a sample interaction on the master node:
```bash theme={null}
vagrant@kubemaster:~$ ls -la
total 32
drwxr-xr-x 5 vagrant vagrant 4096 Feb 14 05:28 .
drwxr-xr-x 4 root root 4096 Feb 14 05:28 ..
-rw-r--r-- 1 vagrant vagrant 220 Feb 10 16:01 .bash_logout
-rw-r--r-- 1 vagrant vagrant 3771 Feb 10 16:01 .bashrc
drwx------ 2 vagrant vagrant 4096 Feb 14 05:28 .cache
-rw-r--r-- 1 vagrant vagrant 807 Feb 10 16:01 .gnupg
-rw-r--r-- 1 vagrant vagrant 807 Feb 10 16:01 .profile
drwx------ 2 vagrant vagrant 4096 Feb 14 05:28 .ssh
vagrant@kubemaster:~$ logout
```
After logging out, you can verify that the nodes remain active by executing:
```bash theme={null}
vagrant status
```
To connect to a worker node, such as kubenode01, use:
```bash theme={null}
vagrant ssh kubenode01
```
Within the worker node, you can check the system uptime by running:
```bash theme={null}
uptime
```
A sample output might look like:
```bash theme={null}
vagrant@kubenode01:~$ uptime
05:32:04 up 3 min, 1 user, load average: 0.12, 0.11, 0.04
```
To access the remaining worker node, simply run:
```bash theme={null}
vagrant ssh kubenode02
```
After finishing work on any node, exit the SSH session by typing `logout`.
***
## Next Steps
With all VMs provisioned and accessible, the next phase is to bootstrap the Kubernetes cluster using kubeadm. This step will configure the cluster components on each node and prepare the environment for running Kubernetes workloads.
This guide demonstrated automated provisioning of a multi-node Kubernetes cluster with Vagrant and VirtualBox. By using a consistent Vagrantfile, you ensure that each learner sets up an identical environment for a smooth Kubernetes deployment experience.
Happy provisioning!