> ## Documentation Index
> Fetch the complete documentation index at: https://notes.kodekloud.com/llms.txt
> Use this file to discover all available pages before exploring further.
# Mock Exam 1 Step by Step Solutions
> This article provides step-by-step solutions for tasks in Mock Exam 1 related to Kubernetes configurations and operations.
In this article, we walk through the solutions for Mock Exam 1. Each section corresponds to a specific exam question and includes a technical diagram with its original description. Follow the steps carefully to complete each task.
***
## Question 1 – Create a Pod with Three Containers
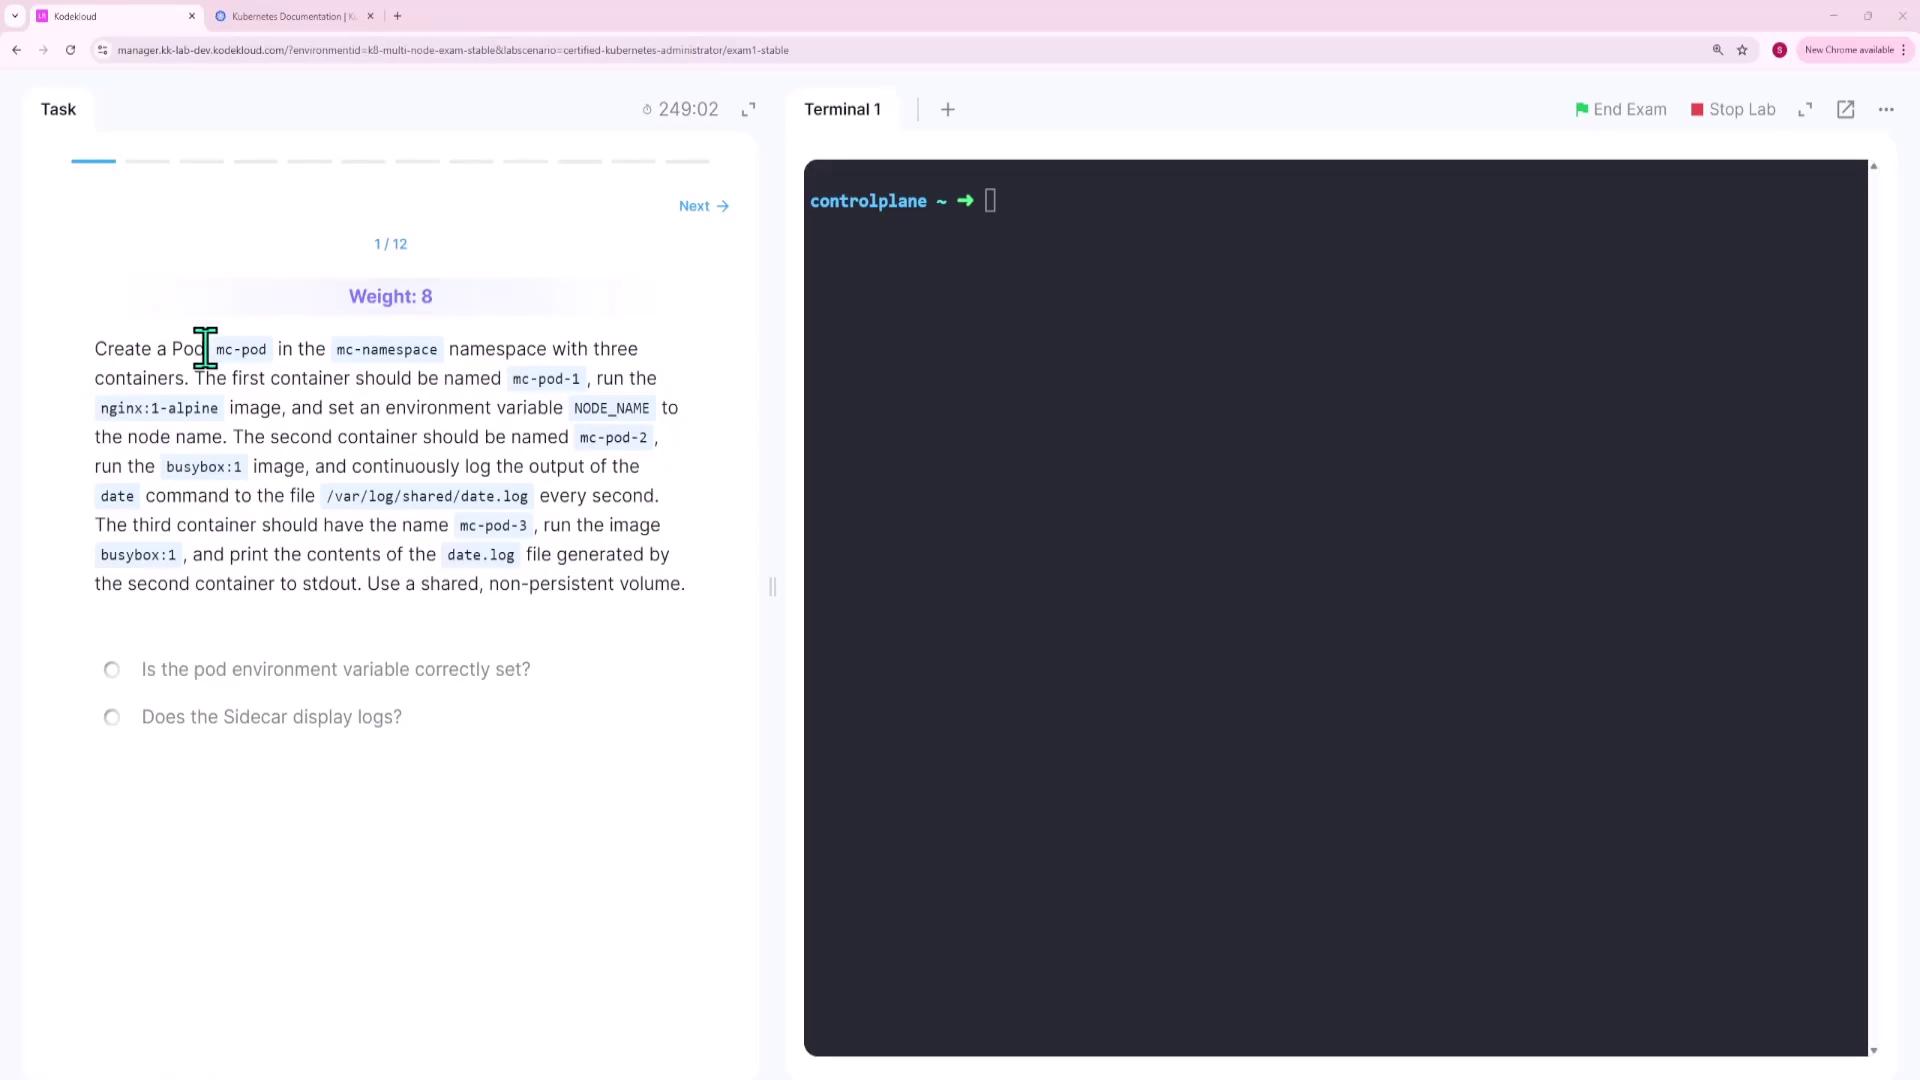
You must create a pod named **mc-pod** in the **MC** namespace that includes three containers. You can either consult the documentation for an example pod configuration or use an imperative command with `kubectl run` and then modify the generated YAML file.
Below is an example of using `kubectl run` with the `--overrides` flag to add container definitions. The `--dry-run=client` flag outputs the YAML for further editing:
```bash theme={null}
kubectl run mc-pod-1 --image=nginx:1-alpine --env=NODE_NAME=$(POD_NAME) --overrides='
{
"apiVersion": "v1",
"spec": {
"containers": [
{
"name": "mc-pod-2",
"image": "busybox:1",
"command": [
"sh",
"-c",
"while true; do date >> /var/log/shared/date.log; sleep 1; done"
]
},
{
"name": "mc-pod-3",
"image": "busybox:1",
"command": [
"sh",
"-c",
"tail -f /var/log/shared/date.log"
]
}
]
}
}'
```
Alternatively, you can generate a base YAML file:
```bash theme={null}
kubectl run mc-pod --image=nginx:1-alpine --dry-run=client -o yaml > question1.yaml
```
After generating the file, update it as follows:
1. **Rename the pod**: Change its name to **mc-pod** (and remove unnecessary labels and creation timestamps).
2. **Update the first container**: Rename it to **mc-pod-1** and inject an environment variable (`NODE_NAME`) whose value is dynamically set from the `spec.nodeName` field. The YAML snippet becomes:
```yaml theme={null}
apiVersion: v1
kind: Pod
metadata:
name: mc-pod
spec:
containers:
- image: nginx:1-alpine
name: mc-pod-1
env:
- name: NODE_NAME
valueFrom:
fieldRef:
fieldPath: spec.nodeName
resources: {}
```
3. **Define the second container**: Use the `busybox:1` image with the following command:
```yaml theme={null}
- name: mc-pod-2
image: busybox:1
command:
- "sh"
- "-c"
- "while true; do date >> /var/log/shared/date.log; sleep 1; done"
```
4. **Define the third container**: Use the `busybox:1` image to tail the shared log file:
```yaml theme={null}
- name: mc-pod-3
image: busybox:1
command:
- "sh"
- "-c"
- "tail -f /var/log/shared/date.log"
```
5. **Add a shared volume**: Since containers 2 and 3 need to share the same filesystem, add a non-persistent volume using `emptyDir` and mount it on `/var/log/shared` for both containers. The final YAML is:
```yaml theme={null}
apiVersion: v1
kind: Pod
metadata:
name: mc-pod
spec:
volumes:
- name: shared-volume
emptyDir: {}
containers:
- image: nginx:1-alpine
name: mc-pod-1
env:
- name: NODE_NAME
valueFrom:
fieldRef:
fieldPath: spec.nodeName
resources: {}
- name: mc-pod-2
image: busybox:1
command:
- "sh"
- "-c"
- "while true; do date >> /var/log/shared/date.log; sleep 1; done"
volumeMounts:
- name: shared-volume
mountPath: /var/log/shared
- name: mc-pod-3
image: busybox:1
command:
- "sh"
- "-c"
- "tail -f /var/log/shared/date.log"
volumeMounts:
- name: shared-volume
mountPath: /var/log/shared
dnsPolicy: ClusterFirst
restartPolicy: Always
```
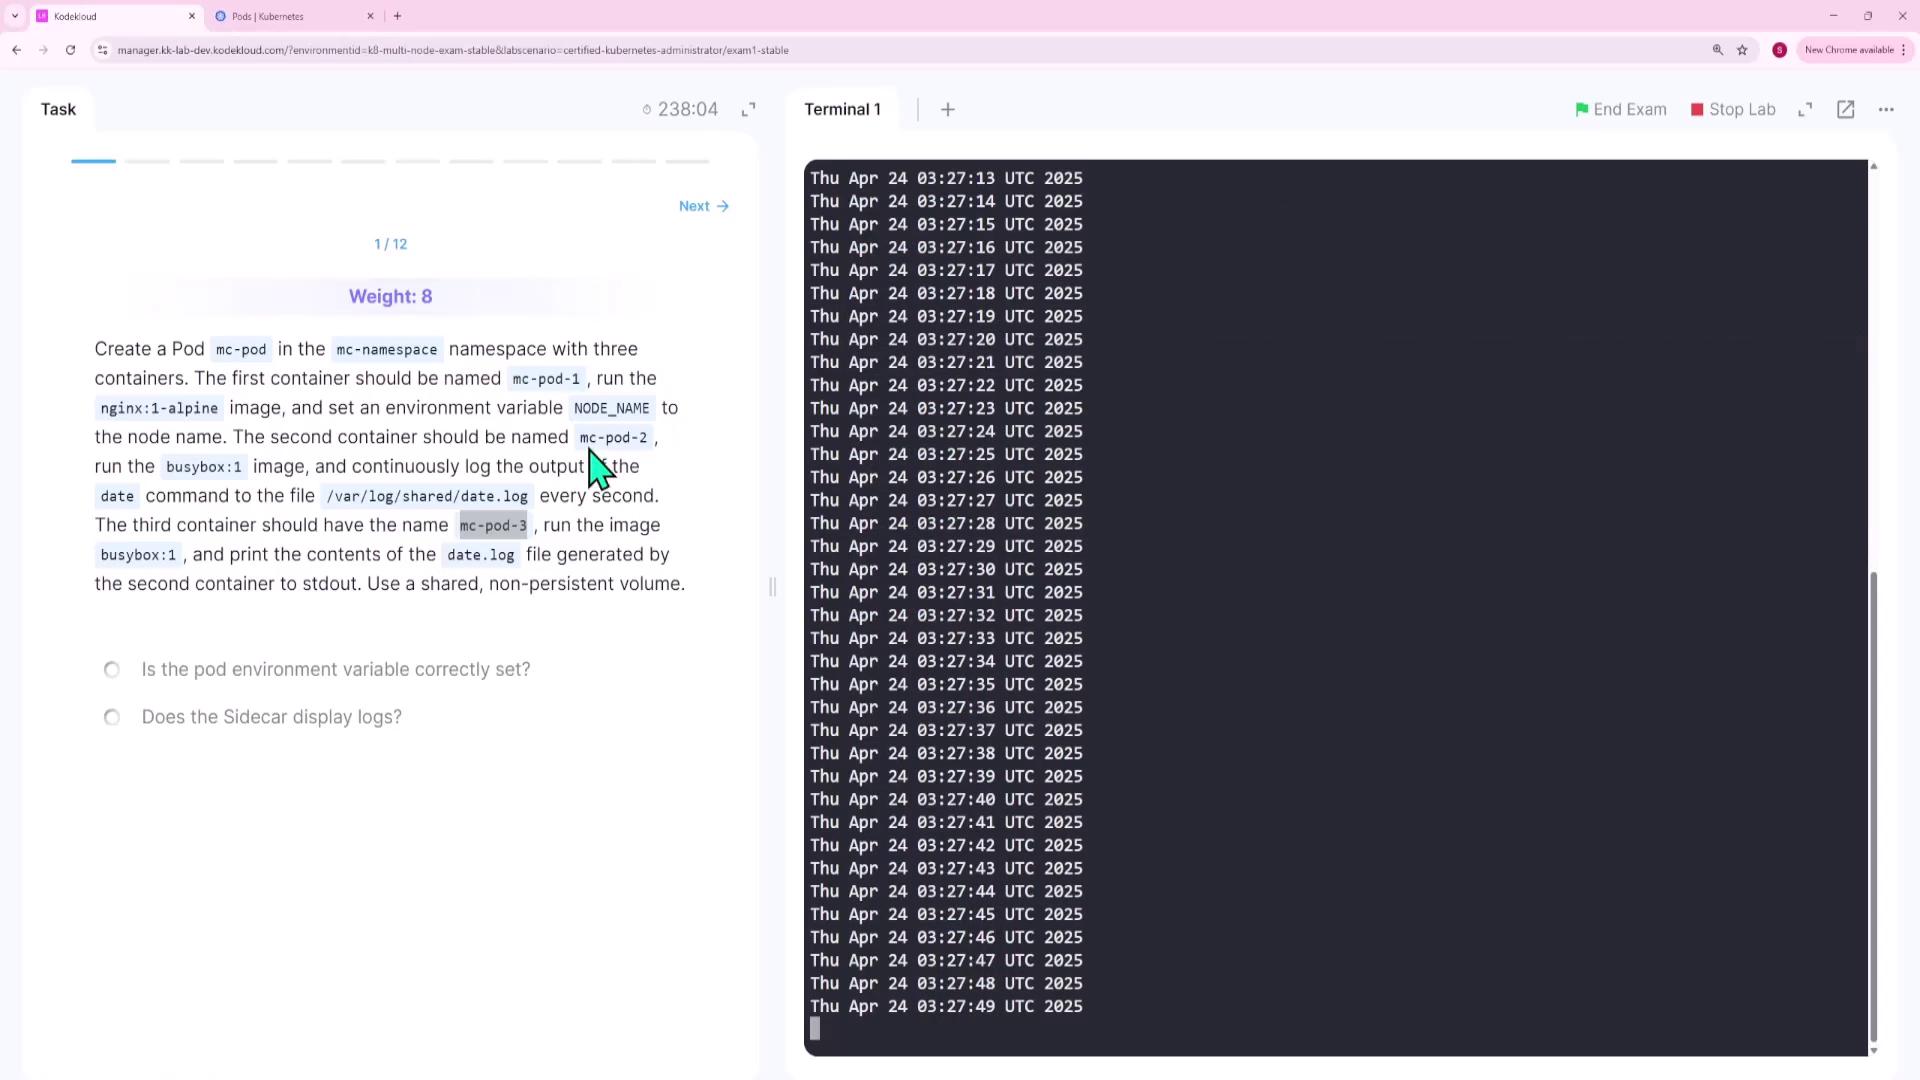
After saving and applying this configuration, verify the pod’s status and check the logs of container **mc-pod-3**. Its output should display the continuously appended date entries from container **mc-pod-2**.
***
## Question 2 – Prepare Node One for Kubernetes
For this task, you will perform several actions on node one.
1. **SSH into node one** using the provided credentials:
```bash theme={null}
ssh node01
# Accept the host key and provide the password when prompted.
```
2. **Switch to the root user** (if necessary):
```bash theme={null}
sudo su
```
3. **Navigate to the `/root` directory** and locate the CRI Docker package (e.g., `cri-docker_0.3.16.3-0.debian.deb`).
4. **Install the CRI Docker package**:
```bash theme={null}
dpkg -i ./cri-docker_0.3.16.3-0.debian.deb
```
5. **Start the CRI Docker service**:
```bash theme={null}
systemctl start cri-docker
```
6. **Verify the service status**:
```bash theme={null}
systemctl status cri-docker
```
7. **Enable the service to start on boot**:
```bash theme={null}
systemctl enable cri-docker
```
Ensure that the service is active (running) and enabled.
If you encounter any issues with the service, recheck the installation and confirm your package file's integrity.
***
## Question 3 – Save Vertical Pod Autoscaler CRDs
On the control plane node, list all Custom Resource Definitions (CRDs) related to the Vertical Pod Autoscaler and save their names to **/root/vpa-crds.txt**.
1. **Retrieve all CRDs and filter for “vertical”**:
```bash theme={null}
kubectl get crd | grep -i vertical
```
Expected output:
```text theme={null}
verticalpodautoscalercheckpoints.autoscaling.k8s.io 2025-04-24T03:13:05Z
verticalpodautoscalers.autoscaling.k8s.io 2025-04-24T03:13:05Z
```
2. **Save the CRD names** to a file named **/root/vpa-crds.txt**. The file should include:
```text theme={null}
verticalpodautoscalercheckpoints.autoscaling.k8s.io
verticalpodautoscalers.autoscaling.k8s.io
```
No further modifications are required.
***
## Question 4 – Create a Service for the Messaging Application
Expose the messaging application by creating a service named **messaging-service** on port **6379** within the cluster.
1. **Verify that the messaging pod is running**:
```bash theme={null}
kubectl get pod
```
2. **Expose the messaging pod**:
```bash theme={null}
kubectl expose pod messaging --port=6379 --name=messaging-service
```
3. **Confirm the service creation** by describing it:
```bash theme={null}
kubectl describe service messaging-service
```
The output should list the service as a ClusterIP service on port **6379** with endpoints matching the messaging pod’s IP.
***
## Question 5 – Create a Deployment for the HR Web Application
Create a deployment named **hr-web-app** using the image `kodekloud/webapp-color` with two replicas.
1. **Run the following command**:
```bash theme={null}
kubectl create deployment hr-web-app --image=kodekloud/webapp-color --replicas=2
```
2. **Verify the deployment status**:
```bash theme={null}
kubectl get deployment hr-web-app
```
Ensure that both replicas become available.
***
## Question 6 – Fix the Faulty Init Container in the Orange Pod
The pod named **orange** is failing because its init container is crashing with exit code 127 due to a typo in the command (`sleeep` instead of `sleep`).
1. **Inspect the pod logs** to identify the error:
```bash theme={null}
kubectl logs orange -c init-myservice
```
Expected error output:
```text theme={null}
sh: sleeep: not found
```
2. **Retrieve the pod configuration** and save it to a file:
```bash theme={null}
kubectl get pod orange -o yaml > question6.yaml
```
3. **Edit the file `question6.yaml`** to correct the command in the init container. Modify the snippet to:
```yaml theme={null}
initContainers:
- name: init-mysvc
image: busybox
command:
- "sh"
- "-c"
- "sleep 2"
```
4. **Force update the pod** with the corrected configuration:
```bash theme={null}
kubectl replace -f question6.yaml --force
```
5. **Verify the pod status** to ensure it transitions to a running state and the init container completes successfully.
***
## Question 7 – Expose HR Web App via a NodePort Service
Expose the **hr-web-app** deployment as a service named **hr-web-app-service** to make it accessible on port **30082** from the nodes. Note that the web application listens internally on port **8080**.
1. **Generate a NodePort service configuration with dry-run**:
```bash theme={null}
kubectl expose deployment hr-web-app --type=NodePort --port=8080 --name=hr-web-app-service --dry-run=client -o yaml > question7.yaml
```
2. **Edit `question7.yaml`** to include the `nodePort: 30082` under the ports section as shown below:
```yaml theme={null}
apiVersion: v1
kind: Service
metadata:
name: hr-web-app-service
labels:
app: hr-web-app
spec:
type: NodePort
selector:
app: hr-web-app
ports:
- port: 8080
targetPort: 8080
nodePort: 30082
```
3. **Apply the updated service configuration**:
```bash theme={null}
kubectl apply -f question7.yaml
```
4. **Verify the service details**:
```bash theme={null}
kubectl describe service hr-web-app-service
```
***
## Question 8 – Create a Persistent Volume
Create a persistent volume named **pv-analytics** with the following specifications:
* **Capacity:** 100Mi
* **Access Mode:** ReadWriteMany
* **Type:** hostPath using the directory `/pv/data-analytics`
1. **Create a YAML file (e.g., `question8.yaml`)** with the following content:
```yaml theme={null}
apiVersion: v1
kind: PersistentVolume
metadata:
name: pv-analytics
spec:
capacity:
storage: 100Mi
volumeMode: Filesystem
accessModes:
- ReadWriteMany
hostPath:
path: /pv/data-analytics
```
2. **Apply the configuration**:
```bash theme={null}
kubectl apply -f question8.yaml
```
3. **Verify that the persistent volume is available**:
```bash theme={null}
kubectl get pv
```
***
## Question 9 – Create a Horizontal Pod Autoscaler (HPA)
Create an HPA for the deployment **kkapp-deploy** in the default namespace with the following configuration:
* **CPU Utilization:** Maintain an average of 50%
* **Replicas:** Scale between 2 and 10 pods
* **Stabilization Window:** 300 seconds when scaling down
1. **Prepare a YAML file (e.g., `webapp-hpa.yaml`)** with this content:
```yaml theme={null}
apiVersion: autoscaling/v2
kind: HorizontalPodAutoscaler
metadata:
name: webapp-hpa
namespace: default
spec:
scaleTargetRef:
apiVersion: apps/v1
kind: Deployment
name: kkapp-deploy
minReplicas: 2
maxReplicas: 10
metrics:
- type: Resource
resource:
name: cpu
target:
type: Utilization
averageUtilization: 50
behavior:
scaleDown:
stabilizationWindowSeconds: 300
```
2. **Apply the HPA configuration**:
```bash theme={null}
kubectl apply -f webapp-hpa.yaml
```
3. **Check the HPA status**:
```bash theme={null}
kubectl get hpa
```
***
## Question 10 – Create a Vertical Pod Autoscaler (VPA)
Create a Vertical Pod Autoscaler that automatically adjusts CPU and memory requests for the deployment **analytics-deployment** in the default namespace. The VPA should run in auto mode.
1. **Create a YAML file (e.g., `question10.yaml`)** with the following content:
```yaml theme={null}
apiVersion: autoscaling.k8s.io/v1
kind: VerticalPodAutoscaler
metadata:
name: analytics-vpa
namespace: default
spec:
targetRef:
apiVersion: apps/v1
kind: Deployment
name: analytics-deployment
updatePolicy:
updateMode: "Auto"
```
2. **Apply the VPA configuration**:
```bash theme={null}
kubectl apply -f question10.yaml
```
3. **Verify that the VPA has been created**:
```bash theme={null}
kubectl get vpa
```
***
## Question 11 – Create a Kubernetes Gateway Resource
Create a Gateway resource for the web application.
1. **Create a YAML file (e.g., `question11.yaml`)** with the following content:
```yaml theme={null}
apiVersion: gateway.networking.k8s.io/v1
kind: Gateway
metadata:
name: web-gateway
namespace: nginx-gateway
spec:
gatewayClassName: nginx
listeners:
- name: http
protocol: HTTP
port: 80
```
2. **Apply the gateway configuration**:
```bash theme={null}
kubectl apply -f question11.yaml
```
3. **Verify that the Gateway resource is available in the `nginx-gateway` namespace**:
```bash theme={null}
kubectl get gateway -n nginx-gateway
```
***
## Question 12 – Update a Helm Chart Deployment
A coworker deployed an NGINX Helm chart called **kk-dash-mock-one** in the **kk-dash-ns** namespace. An update to the chart is available, and you need to update the Helm repository and upgrade the release to version **18.1.15**.
1. **List the current Helm releases** in the concerned namespace:
```bash theme={null}
helm list -n kk-ns
```
2. **Check your chart repositories**:
```bash theme={null}
helm repo list
```
3. **Update all repositories** to fetch the latest chart versions:
```bash theme={null}
helm repo update
```
4. **Search the repository for available versions of the NGINX chart**:
```bash theme={null}
helm search repo nginx --versions
```
5. **Upgrade the release** with the specified chart version:
```bash theme={null}
helm upgrade kk-mock1 kk-mock1/nginx --version 18.1.5 -n kk-ns
```
6. **Verify the upgrade** by listing the release again:
```bash theme={null}
helm list -n kk-ns
```
***
By following these detailed steps and verifying each component with the respective `kubectl` and `helm` commands, you will successfully complete all the tasks for Mock Exam 1.