> ## Documentation Index
> Fetch the complete documentation index at: https://notes.kodekloud.com/llms.txt
> Use this file to discover all available pages before exploring further.
# Mock Exam 3 Step by Step Solutions
> This lesson provides detailed solutions for each question in Mock Exam Three, focusing on specific Kubernetes tasks with clear instructions and code examples.
This lesson presents detailed solutions for each question in Mock Exam Three. Each solution focuses on a specific Kubernetes task and provides clear instructions, configuration code blocks, and diagram references. All image links and descriptions remain exactly as provided.
***
## Question 1 – Adjusting Network Parameters for Kubernetes
To deploy a Kubernetes cluster using kubeadm, you must enable IPv4 packet forwarding and ensure the settings persist across reboots. Refer to the kubeadm documentation for guidance when provisioning a new cluster.
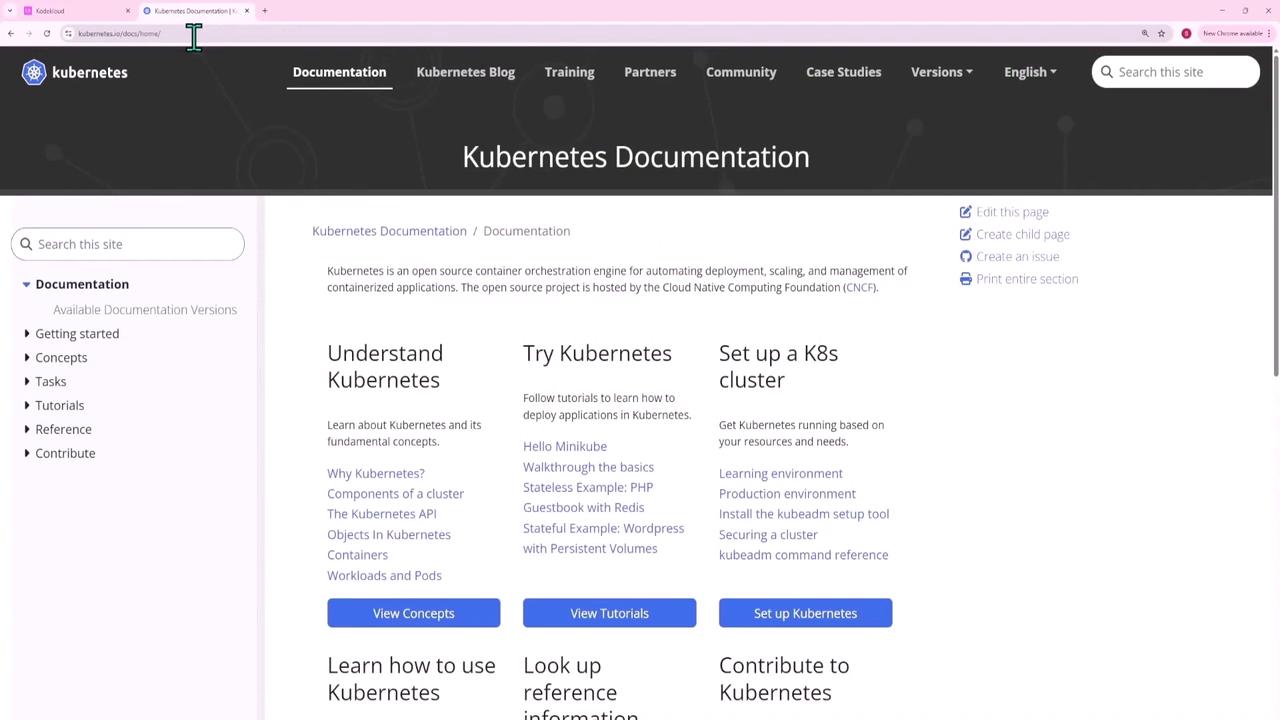
Searching for “kubeadm” in the docs will help you locate the bootstrapping guide.
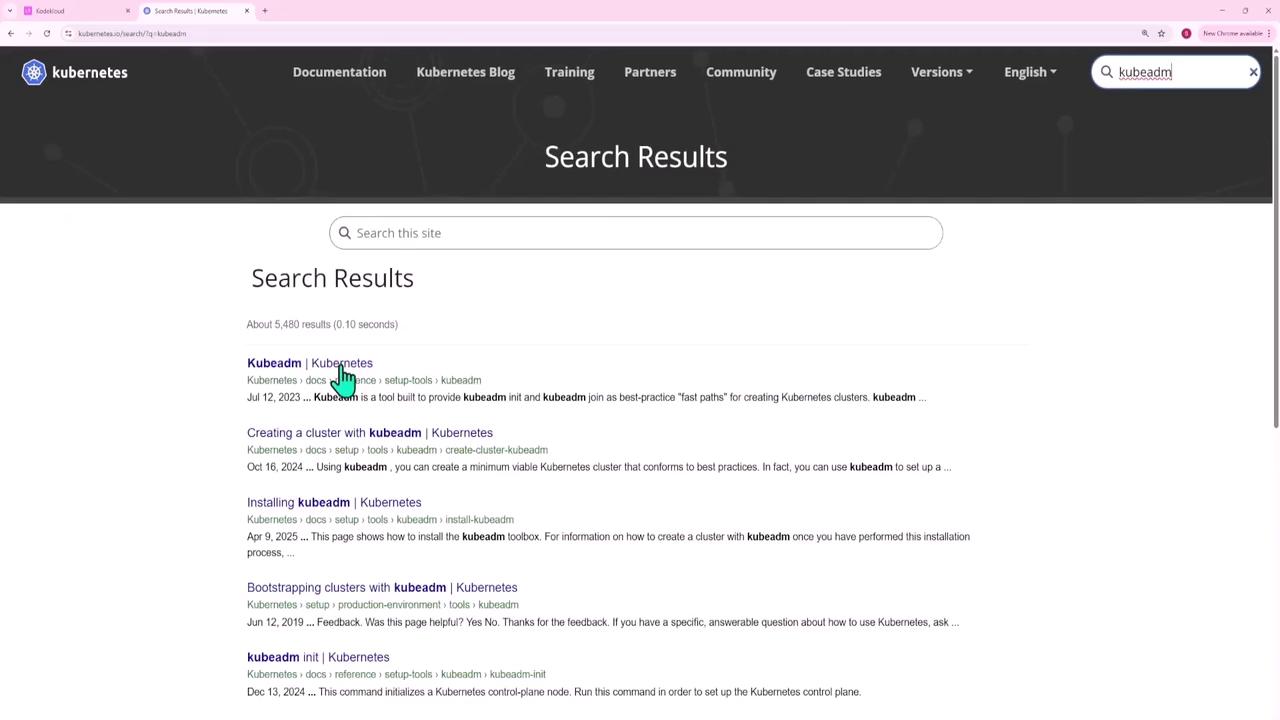
Navigate through the following path:
Production Environment → Installing Kubernetes Deployment Tools → Bootstrapping a Cluster → Creating a Cluster with kubeadm.
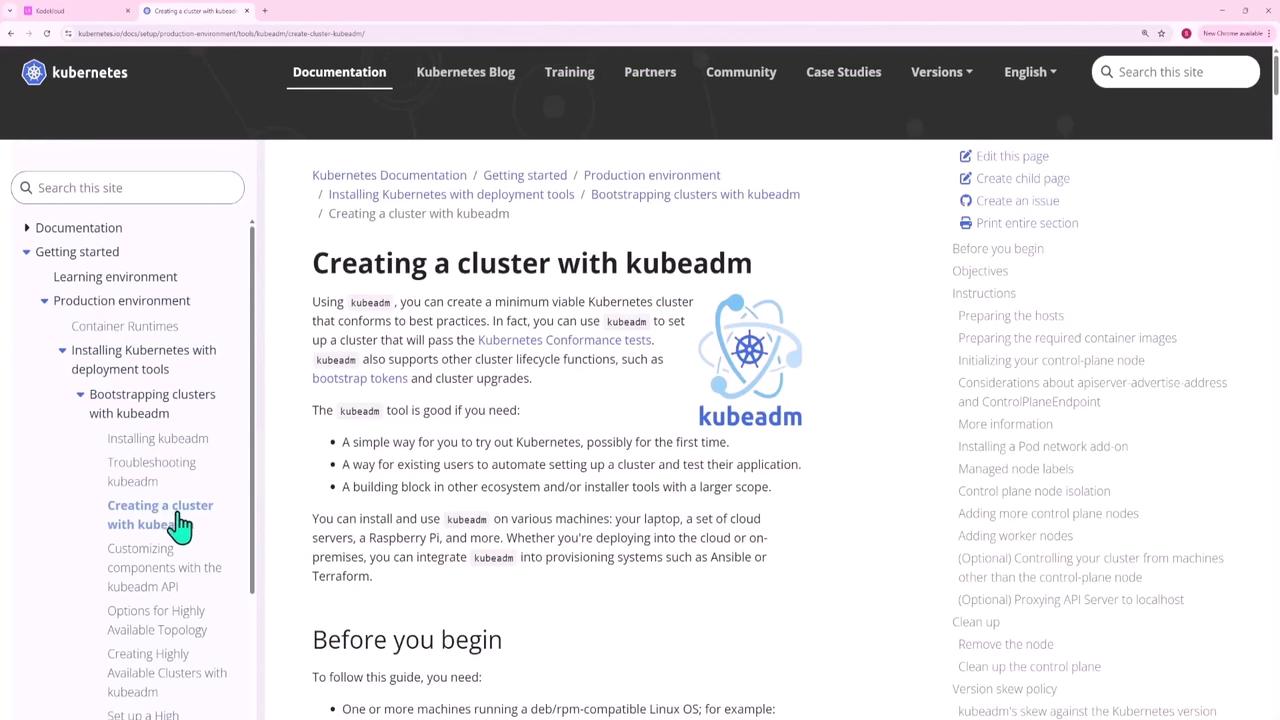
The first step is to set up a container runtime and enable IPv4 packet forwarding using these commands:
```bash theme={null}
cat <
Always copy the exact command names from the exam instructions to avoid errors.
This completes Question 1.
***
## Question 2 – Creating a Service Account and Granting PVC Listing Permissions
In this question you will:
1. Create a service account named **pvviewer**.
2. Create a cluster role (**pvviewer-role**) that grants permission to list persistent volumes.
3. Bind the role to the service account with a cluster role binding (**pvviewer-role-binding**).
4. Launch a pod (**pvviewer**) using the Redis image in the default namespace.
### Step 1: Create the Service Account
```bash theme={null}
kubectl create serviceaccount pvviewer
kubectl get sa
```
*Expected output:*
```plaintext theme={null}
NAME SECRETS AGE
default 0 6m55s
pvviewer 0 5s
```
### Step 2: Create the Cluster Role
Create the role with the required permission:
```bash theme={null}
kubectl create clusterrole pvviewer-role --resource=persistentvolumes --verb=list
```
Verify with:
```bash theme={null}
kubectl describe clusterrole pvviewer-role
```
*Expected output snippet:*
```plaintext theme={null}
Name: pvviewer-role
Labels:
Annotations:
PolicyRules:
Resource Non-Resource URLs Resource Names Verbs
------------------ ----------------- -------------- -----
persistentvolumes [] [] [list]
```
### Step 3: Bind the Role to the Service Account
```bash theme={null}
kubectl create clusterrolebinding pvviewer-role-binding --clusterrole=pvviewer-role --serviceaccount=default:pvviewer
```
### Step 4: Launch the Pod
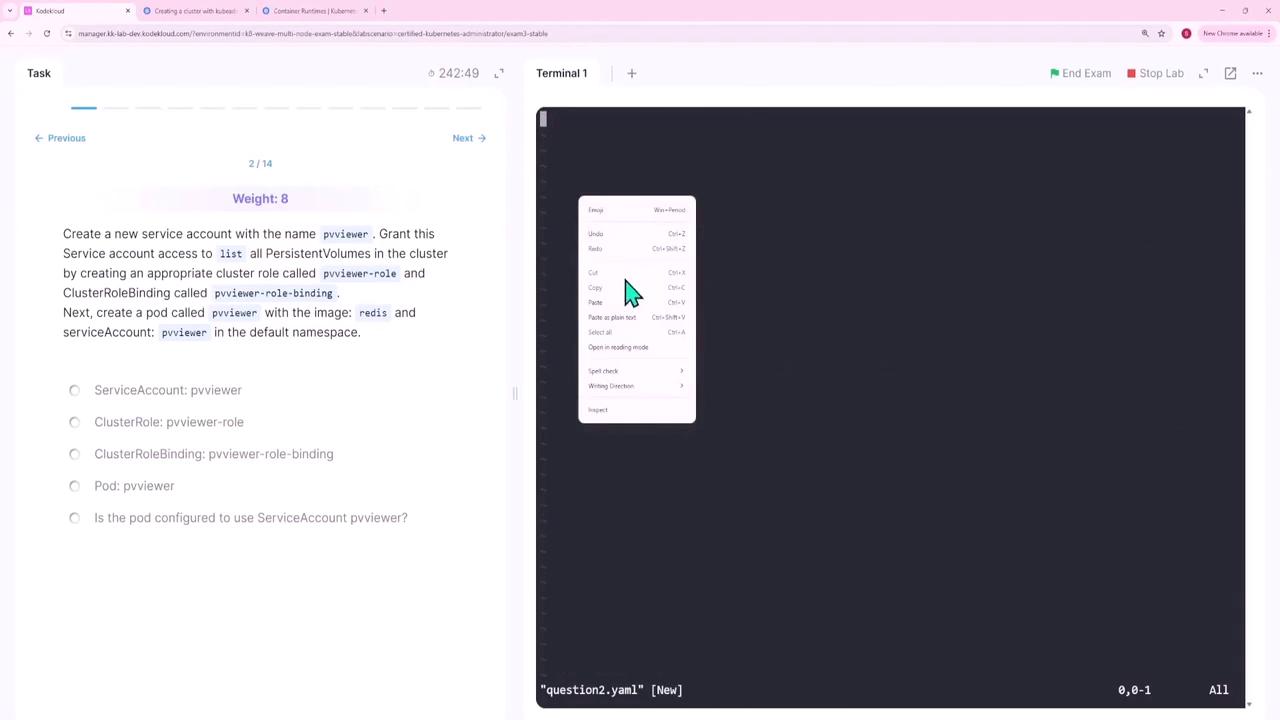
Create a pod manifest (e.g., `question2.yaml`):
```yaml theme={null}
apiVersion: v1
kind: Pod
metadata:
name: pvviewer
spec:
serviceAccountName: pvviewer
containers:
- name: pvviewer
image: redis
```
Apply the manifest:
```bash theme={null}
kubectl apply -f question2.yaml
```
Verify the pod and its service account:
```bash theme={null}
kubectl get pod
kubectl describe pod pvviewer
```
This completes Question 2.
***
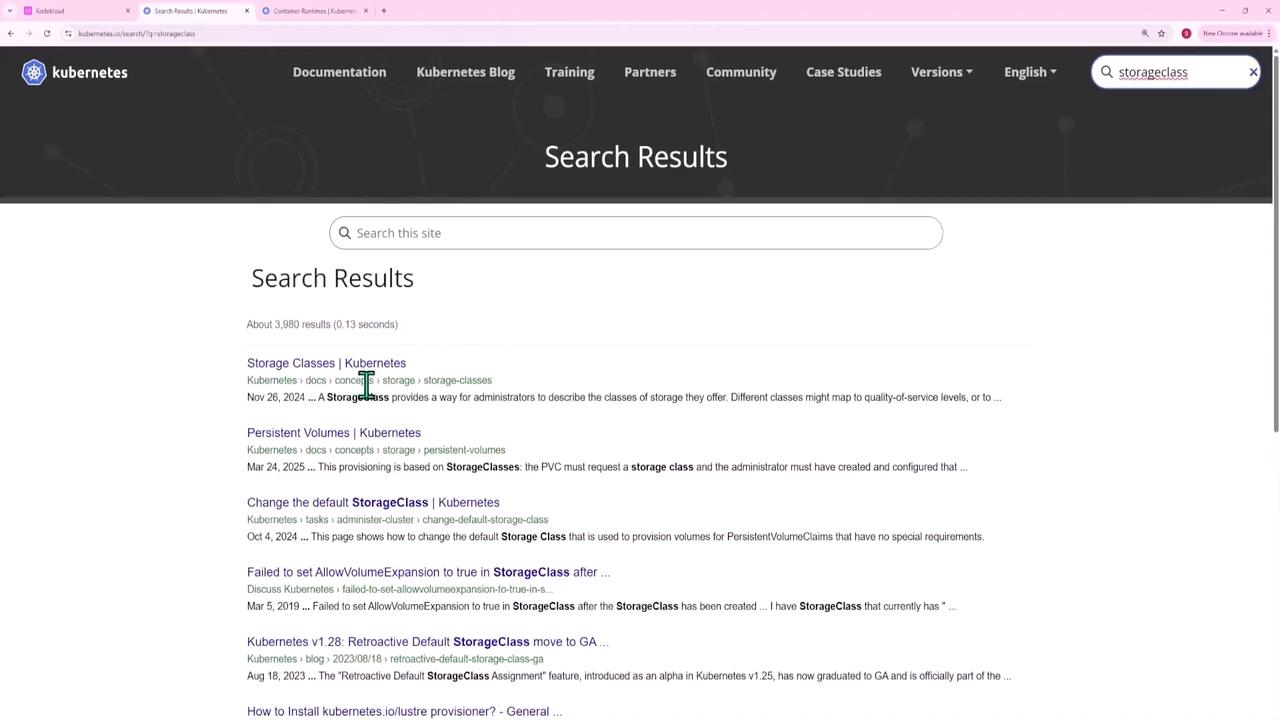
## Question 3 – Creating a Storage Class
Create a storage class called **rancher-sc** with these settings:
* Provisioner: `rancher.io/local-path`
* Allow volume expansion: `true`
* Volume binding mode: `WaitForFirstConsumer`
Example manifest (`question3.yaml`):
```yaml theme={null}
apiVersion: storage.k8s.io/v1
kind: StorageClass
metadata:
name: rancher-sc
provisioner: rancher.io/local-path
allowVolumeExpansion: true
volumeBindingMode: WaitForFirstConsumer
```
Apply the storage class:
```bash theme={null}
kubectl apply -f question3.yaml
```
This completes Question 3.
***
## Question 4 – Configuring a ConfigMap and Updating a Deployment
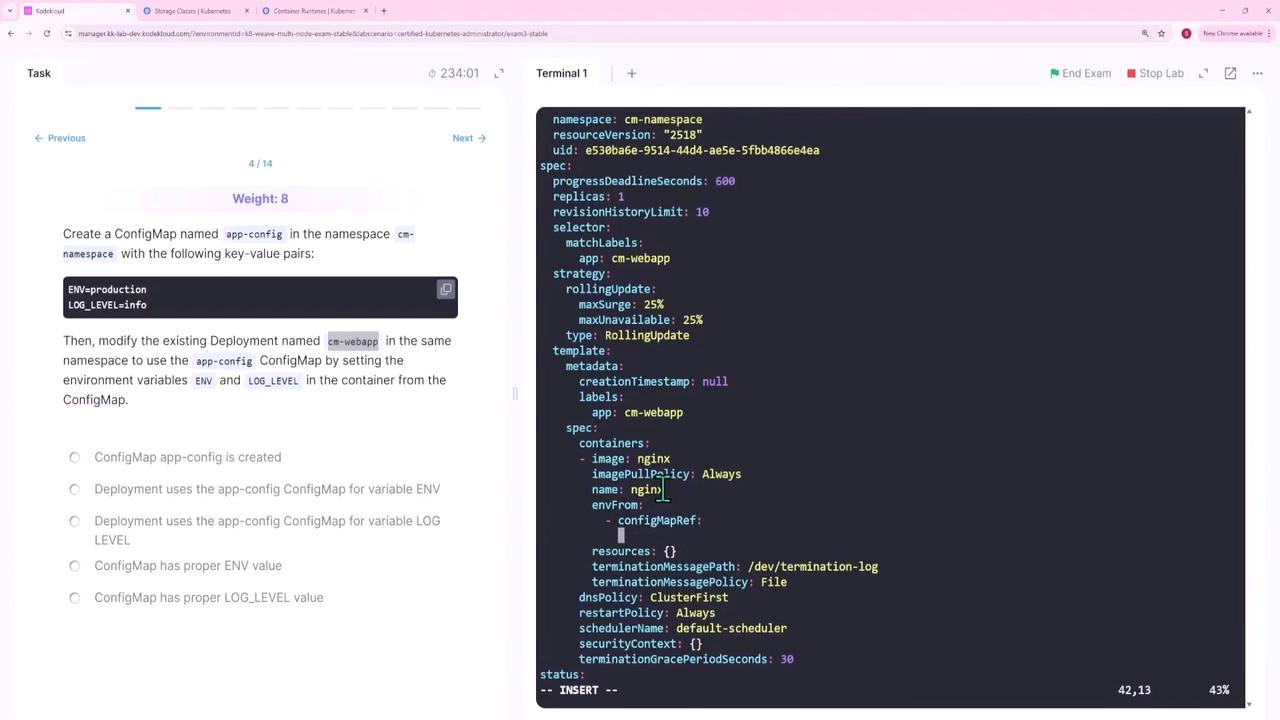
In the **cm-namespace**, perform these tasks:
1. Create a ConfigMap **app-config** containing key-value pairs such as `ENV=production` and `LOG_LEVEL=info`.
2. Update the existing deployment **cm-web-app** to source environment variables from the ConfigMap.
### Step 1: Create the ConfigMap
```bash theme={null}
kubectl create configmap app-config -n cm-namespace --from-literal=ENV=production --from-literal=LOG_LEVEL=info
```
Verify with:
```bash theme={null}
kubectl describe cm app-config -n cm-namespace
```
### Step 2: Update the Deployment
Edit the deployment to include the ConfigMap:
```bash theme={null}
kubectl edit deployment cm-webapp -n cm-namespace
```
*Add the following under the container section:*
```yaml theme={null}
envFrom:
- configMapRef:
name: app-config
```
After saving, verify that new pods include the environment variables from **app-config**.
This completes Question 4.
***
## Question 5 – Configuring Priority Classes and Pod Priority
For this task, you need to:
1. Create a PriorityClass **low-priority** with a value of 50,000.
2. Modify the existing pod **lp-pod** (in the **low-priority** namespace) to reference this PriorityClass.
3. Recreate the pod so that it picks up the new priority without manually setting a numeric value.
### Step 1: Create the PriorityClass
Create a manifest (e.g., `question5.yaml`):
```yaml theme={null}
apiVersion: scheduling.k8s.io/v1
kind: PriorityClass
metadata:
name: low-priority
value: 50000
globalDefault: false
description: "This is a low priority class"
```
Apply it:
```bash theme={null}
kubectl apply -f question5.yaml
```
### Step 2: Update the Pod Manifest
Create or edit the pod manifest (e.g., `question5-pod.yaml`) to include only the PriorityClass name:
```yaml theme={null}
apiVersion: v1
kind: Pod
metadata:
name: lp-pod
namespace: low-priority
labels:
run: lp-pod
spec:
priorityClassName: low-priority
containers:
- name: lp-pod
image: nginx
imagePullPolicy: Always
resources: {}
terminationMessagePath: /dev/termination-log
terminationMessagePolicy: File
dnsPolicy: ClusterFirst
restartPolicy: Always
```
*Do not include a numeric `priority` field.*
Replace the pod if needed:
```bash theme={null}
kubectl replace -f question5-pod.yaml --force
# If an error appears about a numeric priority, remove any "priority: 0" specification and apply again:
kubectl apply -f question5-pod.yaml
```
Finally, verify the pod:
```bash theme={null}
kubectl get pod -n low-priority
```
This completes Question 5.
***
## Question 6 – Fixing Incoming Connection Issues with a Network Policy
A pod (**np-test-1**) and its service (**np-test-service**) are not receiving incoming traffic on port 80. Create a NetworkPolicy named **test-network-policy** to allow TCP traffic on port 80.
First, confirm the pod’s labels:
```bash theme={null}
kubectl get pod --show-labels
```
Then, create a manifest (e.g., `question6.yaml`):
```yaml theme={null}
apiVersion: networking.k8s.io/v1
kind: NetworkPolicy
metadata:
name: test-network-policy
namespace: default
spec:
podSelector:
matchLabels:
run: np-test-1
policyTypes:
- Ingress
ingress:
- ports:
- protocol: TCP
port: 80
```
Apply the policy:
```bash theme={null}
kubectl apply -f question6.yaml
```
This policy permits incoming TCP traffic on port 80 for pods labeled `run=np-test-1`.
***
## Question 7 – Tainting a Node and Creating Pods with Tolerations
In this question, you will:
1. Taint a worker node (**node01**) with `env_type=production:NoSchedule`.
2. Create a pod (**dev-redis**) without tolerations so it avoids node01.
3. Create another pod (**prod-redis**) with a toleration to allow scheduling on node01.
### Step 1: Taint the Node
```bash theme={null}
kubectl taint node node01 env_type=production:NoSchedule
```
Verify the taint:
```bash theme={null}
kubectl describe node node01 | grep -i taint
```
### Step 2: Create the Non-Tolerant Pod
Using an imperative command:
```bash theme={null}
kubectl run dev-redis --image=redis:alpine
```
### Step 3: Create the Tolerant Pod
Create a manifest (e.g., `question7.yaml`):
```yaml theme={null}
apiVersion: v1
kind: Pod
metadata:
name: prod-redis
spec:
containers:
- name: prod-redis
image: redis:alpine
tolerations:
- key: "env_type"
operator: "Equal"
value: "production"
effect: "NoSchedule"
```
Apply it:
```bash theme={null}
kubectl apply -f question7.yaml
```
Finally, check that **prod-redis** is scheduled on **node01** while **dev-redis** is not:
```bash theme={null}
kubectl get pod -o wide
```
***
## Question 8 – Binding a PVC to a PV by Matching Access Modes
A PersistentVolumeClaim (**app-pvc**) in the **storage-ns** namespace is not binding with the PersistentVolume (**app-pv**) because the PVC requests **ReadWriteMany** and the PV provides **ReadWriteOnce**. Update the PVC to request `["ReadWriteOnce"]` as the access mode.
After modifying the PVC manifest, remove the old PVC and apply the corrected file:
```bash theme={null}
kubectl delete pvc app-pvc -n storage-ns
kubectl apply -f
```
Verify the binding:
```bash theme={null}
kubectl get pvc -n storage-ns
```
The PVC should now be **Bound** to the PV.
***
## Question 9 – Troubleshooting a Faulty Kubeconfig File
The kubeconfig file **super.kubeconfig** (located at `/root/CKA/super.kubeconfig`) is returning a “connection refused” error. The issue is found in the cluster section where the server is set to:
```text theme={null}
https://controlplane:9999
```
Since the kube-apiserver listens on port **6443**, update the kubeconfig file as follows:
```yaml theme={null}
clusters:
- cluster:
certificate-authority-data:
server: https://controlplane:6443
name: kubernetes
```
After saving the changes, test the connection:
```bash theme={null}
kubectl get node --kubeconfig=/root/CKA/super.kubeconfig
```
The connection should now work without errors.
***
## Question 10 – Scaling a Deployment
The **nginx-deploy** deployment currently has 1 replica. To scale it to 3 replicas:
1. Check the current status:
```bash theme={null}
kubectl get deployment nginx-deploy
```
2. Scale the deployment:
```bash theme={null}
kubectl scale deployment nginx-deploy --replicas=3
```
3. Verify the change:
```bash theme={null}
kubectl get deployment nginx-deploy
```
If the deployment still shows one available replica, review the deployment events:
```bash theme={null}
kubectl describe deployment nginx-deploy
```
Troubleshoot any issues such as ReplicaSet misconfigurations or control plane component errors (for example, verify the kube-controller-manager manifest at `/etc/kubernetes/manifests/kube-controller-manager.yaml`).
This completes Question 10.
***
## Question 11 – Creating a Horizontal Pod Autoscaler (HPA) with Custom Metric
For the **api-deployment** in the **api** namespace, create an HPA that scales based on a custom pod metric (`requests_per_second`), targeting an average value of 1000 with a range of 1 to 20 pods.
Create a manifest (e.g., `question11.yaml`):
```yaml theme={null}
apiVersion: autoscaling/v2
kind: HorizontalPodAutoscaler
metadata:
name: api-hpa
namespace: api
spec:
scaleTargetRef:
apiVersion: apps/v1
kind: Deployment
name: api-deployment
minReplicas: 1
maxReplicas: 20
metrics:
- type: Pods
pods:
metric:
name: requests_per_second
target:
type: AverageValue
averageValue: "1000"
```
Apply the HPA:
```bash theme={null}
kubectl apply -f question11.yaml
```
Verify its configuration:
```bash theme={null}
kubectl describe hpa -n api
```
This completes Question 11.
***
## Question 12 – Configuring an HTTPRoute to Split Traffic
To distribute incoming web traffic, configure an HTTP route to split between **web-service** (80%) and **web-service-v2** (20%). The associated web gateway and services already exist.
Create an HTTPRoute manifest (e.g., `question12.yaml`):
```yaml theme={null}
apiVersion: gateway.networking.k8s.io/v1
kind: HTTPRoute
metadata:
name: web-route
namespace: default
spec:
parentRefs:
- name: web-gateway
namespace: default
rules:
- matches:
- path:
type: PathPrefix
value: /
backendRefs:
- name: web-service
port: 80
weight: 80
- name: web-service-v2
port: 80
weight: 20
```
Apply the route:
```bash theme={null}
kubectl apply -f question12.yaml
```
This successfully routes 80% of traffic to **web-service** and 20% to **web-service-v2**.
***
## Question 13 – Upgrading an Application Using Helm
You need to upgrade an application using a Helm chart from the directory `/root/new-version`. Follow these steps:
1. **Validate the Chart:**
```bash theme={null}
helm lint /root/new-version
```
*Expected message:*
```plaintext theme={null}
==> Linting /root/new-version
[INFO] Chart.yaml: icon is recommended
1 chart(s) linted, 0 chart(s) failed
```
2. **Install the Chart:**
Use an auto-generated name:
```bash theme={null}
helm install --generate-name /root/new-version
```
List the releases:
```bash theme={null}
helm list
```
3. **Uninstall the Old Version:**
Replace `` with the actual release name:
```bash theme={null}
helm uninstall
```
Verify the installation:
```bash theme={null}
helm list
```
This completes Question 13.
***
## Question 14 – Outputting the Pod CIDR Network
To determine the pod CIDR network of the cluster and save it to `/root/pod-cidr.txt`, extract the podCIDR from one of the nodes:
```bash theme={null}
kubectl get node -o jsonpath='{.items[0].spec.podCIDR}' > /root/pod-cidr.txt
```
Verify the file content:
```bash theme={null}
cat /root/pod-cidr.txt
```
*Expected output (example):*
```plaintext theme={null}
172.17.0.0/24
```
This completes Question 14 and wraps up the mock exam solutions.
***
End of Lesson.