> ## Documentation Index
> Fetch the complete documentation index at: https://notes.kodekloud.com/llms.txt
> Use this file to discover all available pages before exploring further.
# Labels and Selectors
> This article explores labels, selectors, and annotations in Kubernetes for effective resource management and organization.
Welcome to this comprehensive guide on labels, selectors, and annotations in Kubernetes. In this article, we will explore how labels and selectors help group and filter items effectively, and we will also discuss how annotations are used to store additional metadata. By the end, you'll understand how these key concepts are applied to manage resources in a Kubernetes environment.
## Introduction to Labels and Selectors
Labels and selectors offer a systematic approach to categorizing items. Think of a scenario where you have various species of animals, and you need to filter them based on attributes such as class, kind, or color. For example, you might want to filter for all green animals or just the green birds. By attaching labels like class, kind, and color to each animal, you can later use selectors to efficiently filter and display the items that meet your criteria.

In everyday applications, labels and selectors are ubiquitous. They function similarly to keywords in YouTube videos or blog posts, aiding users in finding relevant content. In online stores, labels empower customers to filter products based on various characteristics.
## Labels and Selectors in Kubernetes
In Kubernetes, labels and selectors are instrumental in managing an array of objects such as Pods, Services, ReplicaSets, and Deployments. As the number of objects in a cluster grows, these tools become essential for grouping and selecting objects by application, functionality, or type.
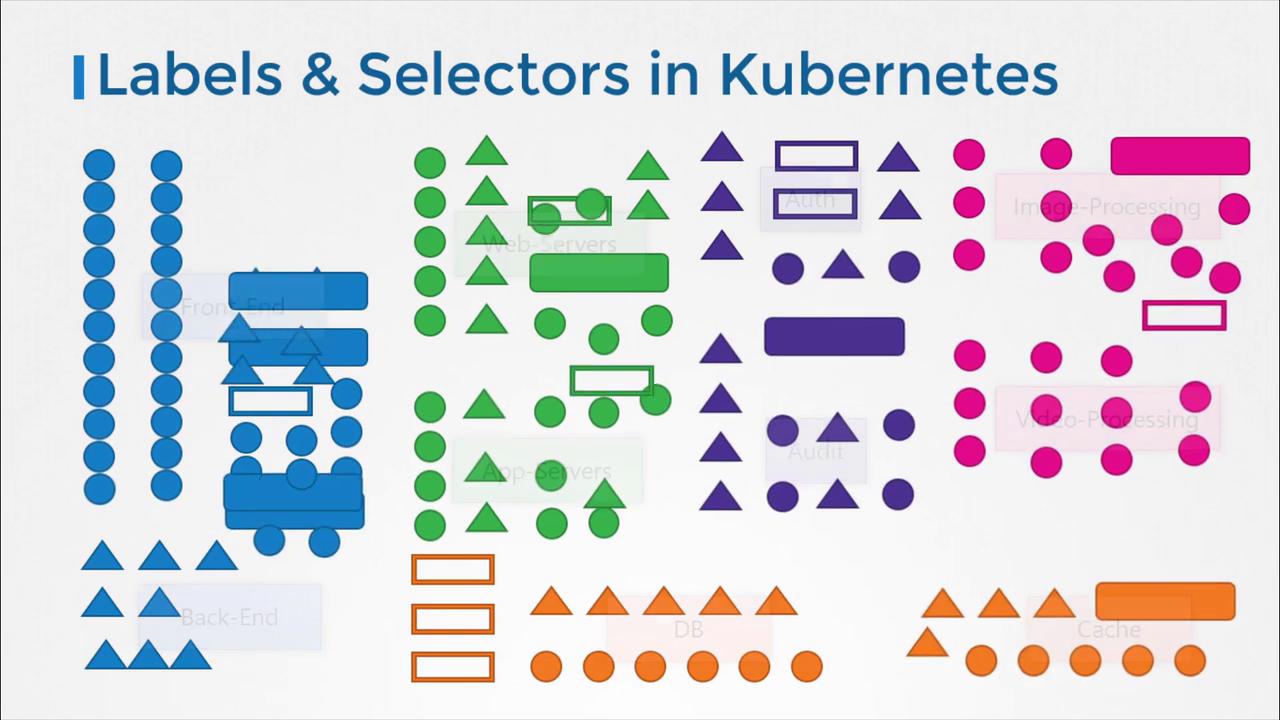
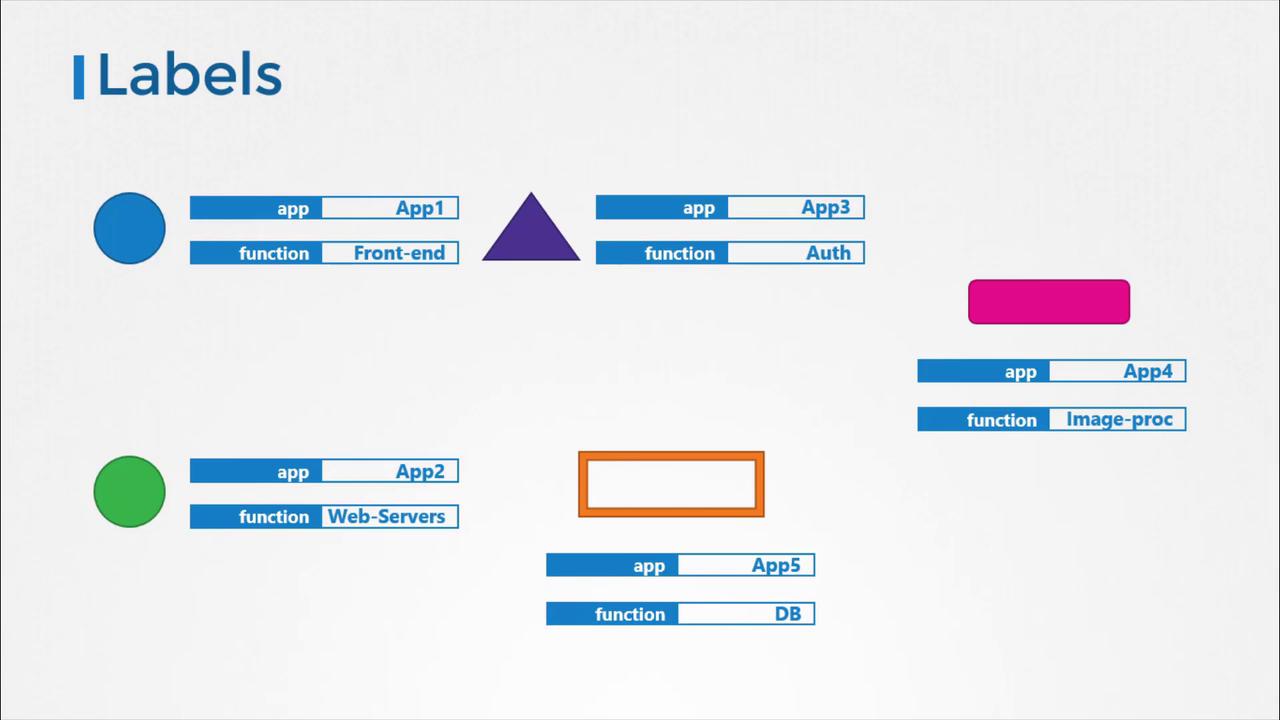
For instance, you might attach labels like "app" or "function" to your Kubernetes objects and later use selectors to filter objects based on specific conditions (e.g., app equals "App1").
## Specifying Labels in Kubernetes
To apply labels to a Kubernetes object such as a Pod, include a `labels` section under the `metadata` field in its definition file. Consider the following Pod definition example:
```yaml theme={null}
apiVersion: v1
kind: Pod
metadata:
name: simple-webapp
labels:
app: App1
function: Front-end
spec:
containers:
- name: simple-webapp
image: simple-webapp
ports:
- containerPort: 8080
```
After creating the Pod, you can retrieve it using the `kubectl get pods` command with a selector. For example:
```bash theme={null}
kubectl get pods --selector app=App1
NAME READY STATUS RESTARTS AGE
simple-webapp 0/1 Completed 0 1d
```
Using selectors with `kubectl` commands helps you filter and manage resources in large clusters with ease.
## Using Labels and Selectors with ReplicaSets
In Kubernetes, internal mechanisms utilize labels and selectors to connect different objects. When creating a ReplicaSet to manage three Pods, you first label the Pod definitions and then use a selector in the ReplicaSet definition to ensure the correct Pods are grouped together.
A ReplicaSet definition includes labels in two key areas:
1. Within the ReplicaSet's metadata (allowing other objects to reference the ReplicaSet).
2. Within the `template` of the ReplicaSet's specification (applying the labels to the Pods).
By setting the `selector` field in the ReplicaSet specification to match the labels defined on the Pods, you ensure that the ReplicaSet manages the intended Pods. Below is an example configuration:
```yaml theme={null}
apiVersion: apps/v1
kind: ReplicaSet
metadata:
name: simple-webapp
labels:
app: App1
function: Front-end
spec:
replicas: 3
selector:
matchLabels:
app: App1
template:
metadata:
labels:
app: App1
function: Front-end
spec:
containers:
- name: simple-webapp
image: simple-webapp
```
If you require more granular control for selecting Pods, you can list multiple labels in the `matchLabels` section.
## Annotations
Annotations differ from labels and selectors in that they are used to store additional metadata that is not intended for selection. This metadata might include details such as tool versions, build information, or contact information. Below is an example of a ReplicaSet configuration that includes an annotation:
```yaml theme={null}
apiVersion: apps/v1
kind: ReplicaSet
metadata:
name: simple-webapp
labels:
app: App1
function: Front-end
annotations:
buildversion: "1.34"
spec:
replicas: 3
selector:
matchLabels:
app: App1
template:
metadata:
labels:
app: App1
function: Front-end
spec:
containers:
- name: simple-webapp
image: simple-webapp
```
When the ReplicaSet is created, it matches the Pods based on labels, ensuring that only the intended Pods are managed. The same mechanism is used when creating Services, where the Service's selector matches the labels set on the Pods.
## Conclusion
This article has provided an in-depth look at labels, selectors, and annotations in Kubernetes. These concepts are essential for effectively managing and grouping objects within your clusters. For further hands-on practice, navigate to the coding exercises section and start working with labels and selectors today.