> ## Documentation Index
> Fetch the complete documentation index at: https://notes.kodekloud.com/llms.txt
> Use this file to discover all available pages before exploring further.
# Solution Admission Controllers 2025 Updates
> This article covers solutions for admission controllers, including enabling and disabling specific controllers in Kubernetes.
In this lesson, we walk through the solutions for the admission controllers lab. We will cover the following topics:
• Identifying non-functional admission controllers\
• Inspecting enabled admission plugins\
• Enabling the NamespaceAutoProvision admission controller\
• Disabling the DefaultStorageClass admission controller
Let's dive into each step.
***
## Understanding Admission Controller Functions
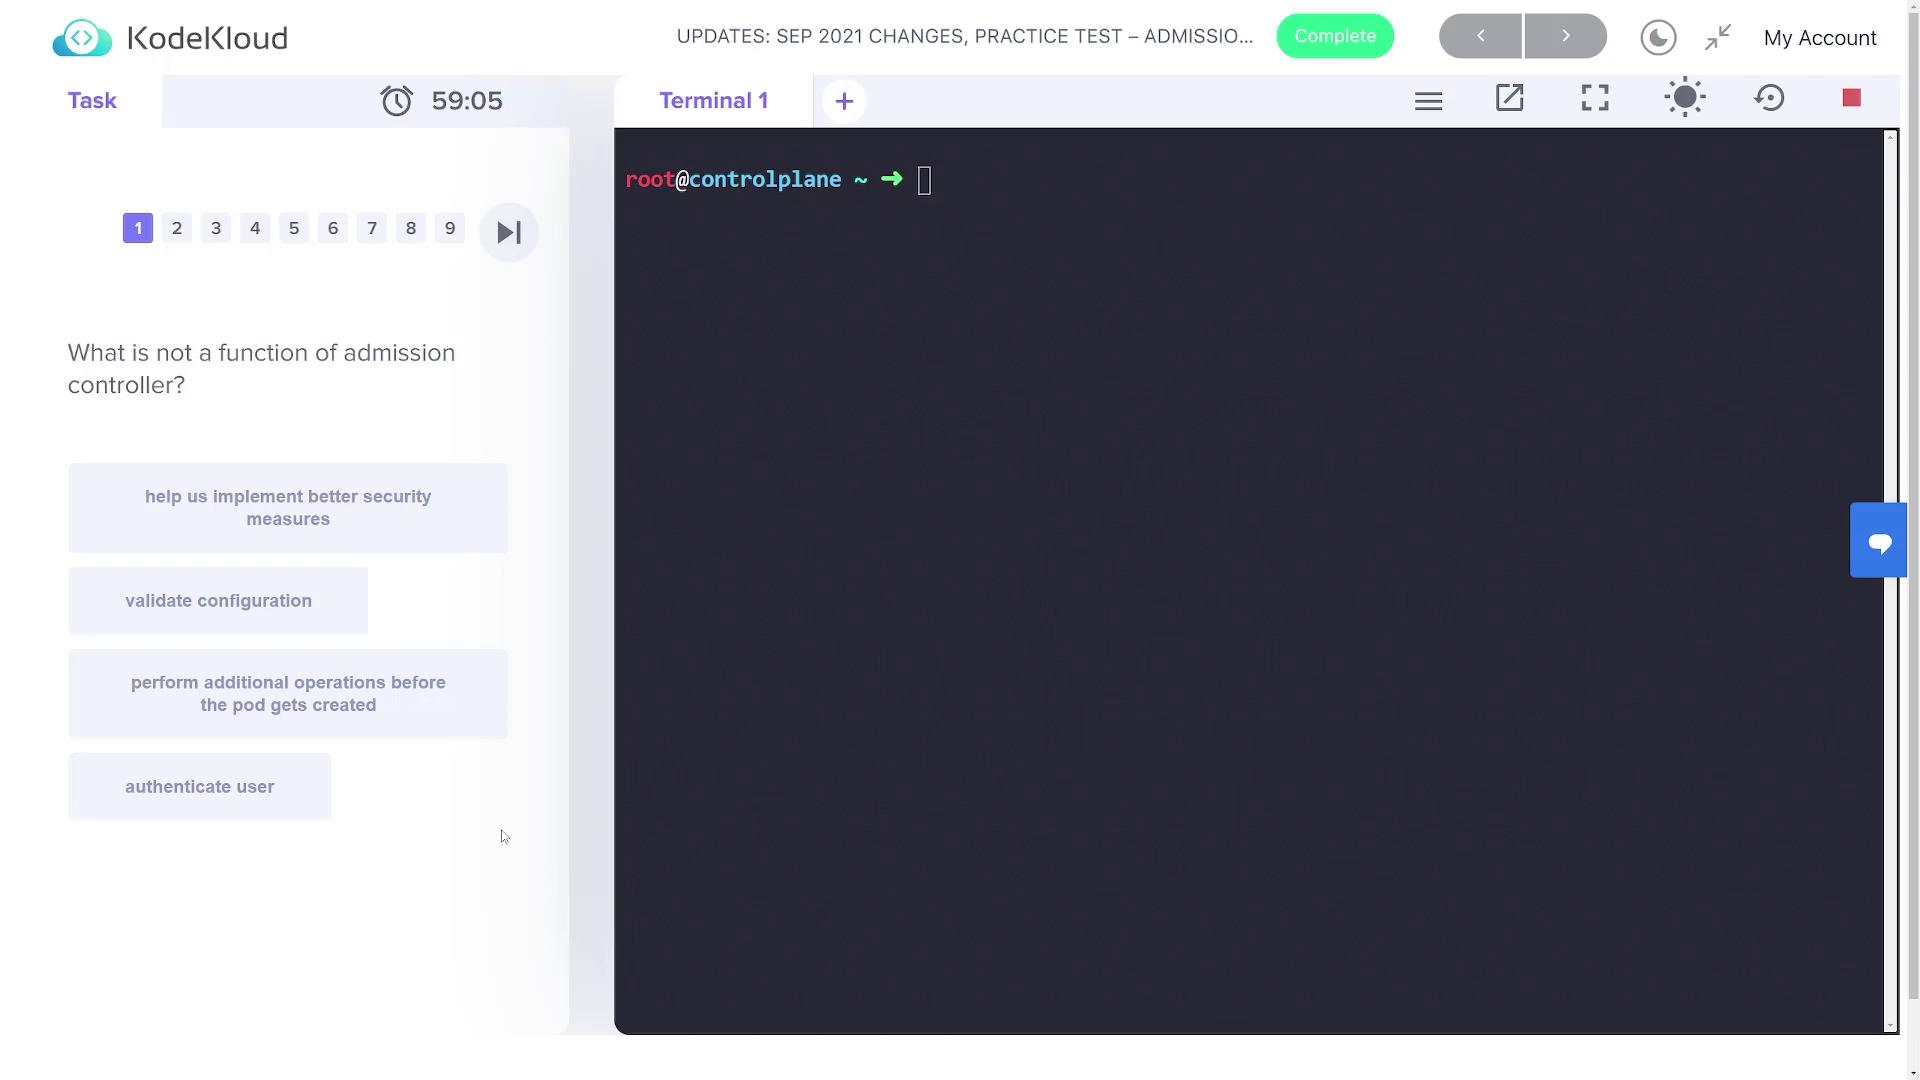
For the first question, the lab asks: "What is not a function of admission controllers?"\
The correct answer is that admission controllers do not handle user authentication; authentication occurs before admission controllers come into play.
***
## Listing Enabled Admission Plugins
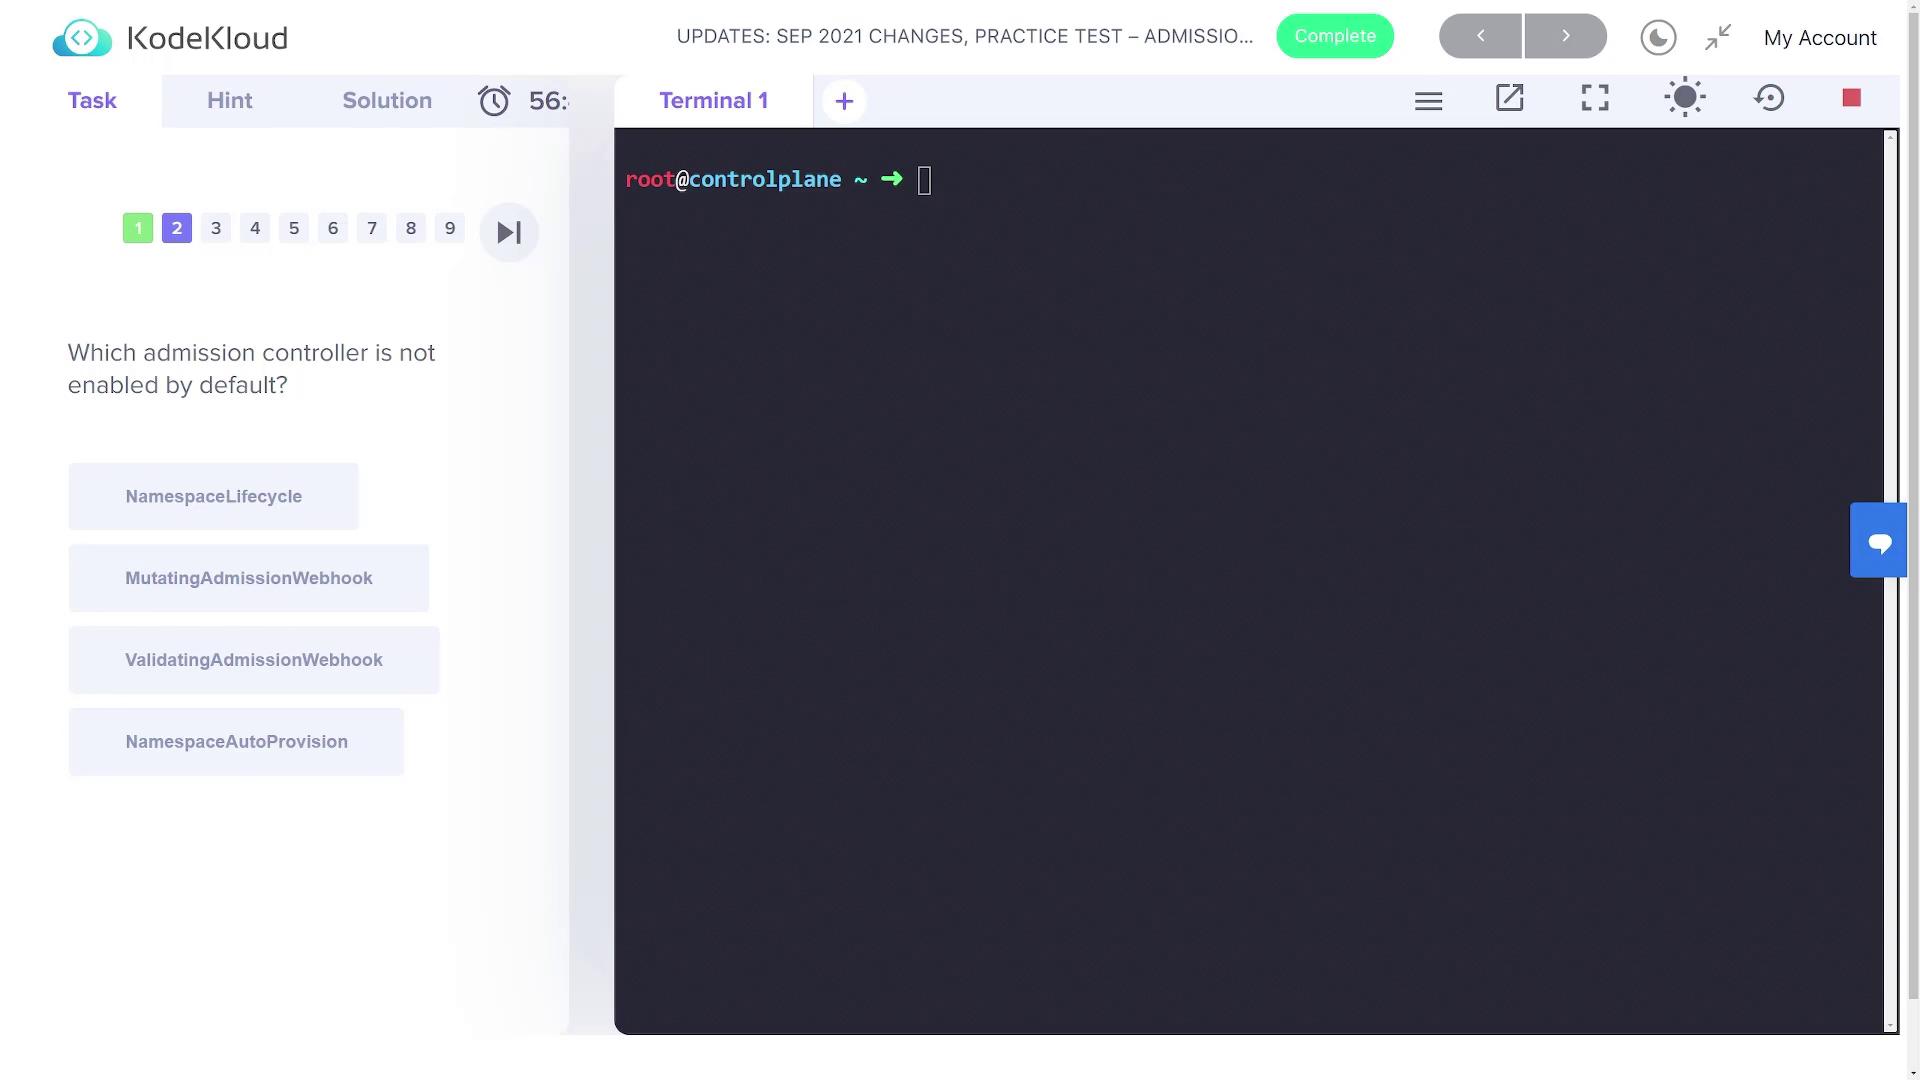
The next question asks which admission controller is not enabled by default. To determine this, inspect the enabled admission plugins using the kube-apiserver help options. Notice the diagram below:
Start by listing the pods in the kube-system namespace to locate the kube-apiserver pod:
```bash theme={null}
kubectl get pods -n kube-system
```
Then, execute the following command on the kube-apiserver pod to list the enabled admission plugins:
```bash theme={null}
kubectl exec -it kube-apiserver-controlplane -n kube-system -- kube-apiserver -h | grep 'enable-admission-plugins'
```
The output displays the default enabled plugins, such as:
• NamespaceLifecycle\
• LimitRanger\
• ServiceAccount\
• TaintNodesByCondition\
• Priority\
• DefaultTolerationSeconds\
• DefaultStorageClass\
• StorageObjectInUseProtection\
• PersistentVolumeClaimResize\
• RuntimeClass\
• CertificateApproval\
• CertificateSigning\
• CertificateSubjectRestriction\
• DefaultIngressClass\
• MutatingAdmissionWebhook\
• ValidatingAdmissionWebhook\
• ResourceQuota
For example, NamespaceLifecycle should be enabled by default. If you see both “mutating admission webhook” and “validating admission webhook” in the list, they are active. However, if "NamespaceAutoProvision" is missing, then that admission controller is not enabled by default.
***
## Verifying Explicitly Enabled Admission Controllers
The following question focuses on an admission controller that is normally disabled but is enabled in this cluster. To verify which one it is, inspect the kube-apiserver configuration file located at `/etc/kubernetes/manifests/kube-apiserver.yaml`. Search for the `--enable-admission-plugins` parameter using your editor or grep. For example:
```bash theme={null}
kubectl exec -it kube-apiserver-controlplane -n kube-system -- kube-apiserver -h | grep 'enable-admission-plugins'
```
You might see output similar to the snippet below from the manifest file:
```yaml theme={null}
apiVersion: v1
kind: Pod
metadata:
annotations:
kubeadm.kubernetes.io/kube-apiserver.advertise-address.endpoint: 10.49.219.9:6443
creationTimestamp: null
labels:
component: kube-apiserver
tier: control-plane
name: kube-apiserver
namespace: kube-system
spec:
containers:
- command:
- kube-apiserver
- --advertise-address=10.49.219.9
- --allow-privileged=true
- --authorization-mode=Node,RBAC
- --client-ca-file=/etc/kubernetes/pki/ca.crt
- --enable-admission-plugins=NodeRestriction
- --enable-bootstrap-token-auth=true
- --etcd-cafile=/etc/kubernetes/pki/etcd/ca.crt
- --etcd-certfile=/etc/kubernetes/pki/apiserver-etcd-client.crt
- --etcd-keyfile=/etc/kubernetes/pki/apiserver-etcd-client.key
- --etcd-servers=https://127.0.0.1:2379
- --insecure-port=0
- --kubelet-client-certificate=/etc/kubernetes/pki/apiserver-kubelet-client.crt
- --kubelet-client-key=/etc/kubernetes/pki/apiserver-kubelet-client.key
- --kubelet-preferred-address-types=InternalIP,ExternalIP,Hostname
- --proxy-client-cert-file=/etc/kubernetes/pki/front-proxy-client.crt
```
From this configuration, you can see that `NodeRestriction` is explicitly enabled. Since this controller is normally disabled by default, its presence indicates that it was deliberately activated.
***
## Enabling NamespaceAutoProvision
The next task instructs you to create an NGINX pod in the "blue" namespace. However, note that the lab explicitly states not to create the namespace manually. Creating the pod with the following command produces an error because the "blue" namespace does not exist:
```bash theme={null}
kubectl run nginx --image nginx -n blue
```
Expected error:
```bash theme={null}
Error from server (NotFound): namespaces "blue" not found
```
This error occurs because the Kubernetes "NamespaceExists" admission controller is rejecting requests to create pods within non-existent namespaces. To have Kubernetes automatically create the namespace for you, you need to enable the NamespaceAutoProvision admission controller.
To automatically handle namespace creation, modify the kube-apiserver manifest to include NamespaceAutoProvision in the enabled plugins list.
To enable it, modify the kube-apiserver manifest located at `/etc/kubernetes/manifests/kube-apiserver.yaml`. Locate the line with the enabled admission plugins:
```bash theme={null}
grep enable-admission-plugins /etc/kubernetes/manifests/kube-apiserver.yaml
```
Initially, you will see something like:
```yaml theme={null}
- --enable-admission-plugins=NodeRestriction
```
Edit the file to add `NamespaceAutoProvision` so that it reads:
```yaml theme={null}
- --enable-admission-plugins=NodeRestriction,NamespaceAutoProvision
```
After saving your changes, the API server pod will restart. Wait a couple of minutes for it to come back online before validating the update.
Now, try creating the NGINX pod again:
```bash theme={null}
kubectl run nginx --image nginx -n blue
```
If the admission controller is functioning correctly, Kubernetes will automatically create the "blue" namespace. Verify this by listing all namespaces:
```bash theme={null}
kubectl get ns
```
You should now see an entry for the "blue" namespace, created automatically by the admission controller. Note that NamespaceAutoProvision is deprecated in favor of the NamespaceLifecycle admission controller.
***
## Disabling the DefaultStorageClass Admission Controller
The final part of the lab requires you to disable the DefaultStorageClass admission controller. To do this, reopen the kube-apiserver manifest file:
```bash theme={null}
vi /etc/kubernetes/manifests/kube-apiserver.yaml
```
Locate the section where the admission plugins are configured. Add a parameter to disable the DefaultStorageClass admission controller so your configuration now includes:
```yaml theme={null}
apiVersion: v1
kind: Pod
metadata:
annotations:
kubeadm.kubernetes.io/kube-apiserver.advertise-address.endpoint: 10.49.219.9:6443
labels:
component: kube-apiserver
tier: control-plane
name: kube-apiserver
namespace: kube-system
spec:
containers:
- command:
- kube-apiserver
- --advertise-address=10.49.219.9
- --allow-privileged=true
- --authorization-mode=Node,RBAC
- --client-ca-file=/etc/kubernetes/pki/ca.crt
- --enable-admission-plugins=NodeRestriction,NamespaceAutoProvision
- --disable-admission-plugins=DefaultStorageClass
- --enable-bootstrap-token-auth=true
- --etcd-cafile=/etc/kubernetes/pki/etcd/ca.crt
- --etcd-certfile=/etc/kubernetes/pki/apiserver-etcd-client.crt
- --etcd-keyfile=/etc/kubernetes/pki/apiserver-etcd-client.key
- --etcd-servers=https://127.0.0.1:2379
- --insecure-port=0
- --kubelet-client-certificate=/etc/kubernetes/pki/apiserver-kubelet-client.crt
- --kubelet-client-key=/etc/kubernetes/pki/apiserver-kubelet-client.key
- --kubelet-preferred-address-types=InternalIP,ExternalIP,Hostname
- --proxy-client-cert-file=/etc/kubernetes/pki/front-proxy-client.crt
```
After saving these changes, let the API server restart. Once it’s back online, validate your cluster configuration by checking that the "blue" namespace still exists and that the nginx pod is correctly running:
```bash theme={null}
kubectl get ns
kubectl run nginx --image nginx -n blue
```
You can further confirm the changes by listing the running kube-apiserver process and reviewing the enabled and disabled plugins:
```bash theme={null}
ps -ef | grep kube-apiserver
```
***
In this lab, you learned how to:
• Identify functionalities not handled by admission controllers\
• Verify and inspect enabled admission plugins\
• Enable the NamespaceAutoProvision admission controller for automatic namespace creation\
• Disable the DefaultStorageClass admission controller via the kube-apiserver manifest\
These adjustments help tailor your Kubernetes cluster's behavior to specific requirements.
This concludes the admission controllers lab.