> ## Documentation Index
> Fetch the complete documentation index at: https://notes.kodekloud.com/llms.txt
> Use this file to discover all available pages before exploring further.
# Solution Secrets Optional
> This guide covers managing Kubernetes Secrets, including inspecting default secrets and creating a custom secret for a MySQL database connection.
In this guide, we walk you through a lab exercise that focuses on managing Kubernetes Secrets. We'll start by inspecting the default secret in the cluster, review its content, and then deploy an application that uses a custom secret for connecting to a MySQL database.
***
## Inspecting Default Secrets
Begin by checking the number of secrets within the default namespace with the following command:
```bash theme={null}
kubectl get secrets
```
You should see an output similar to this:
```bash theme={null}
NAME TYPE DATA AGE
default-token-cr4sr kubernetes.io/service-account-token 3 7m50s
```
Next, retrieve details about the default token secret:
```bash theme={null}
kubectl describe secret default-token-cr4sr
```
The output will list several key items under the **Data** section:
* `ca.crt` (570 bytes)
* `namespace` (7 bytes)
* `token` (a long encoded token)
This confirms there are three data items. Note that the secret type is `kubernetes.io/service-account-token`.
***
## Reviewing the Secret Data
When you run the following command:
```bash theme={null}
kubectl get secrets
```
the output will still be:
```bash theme={null}
NAME TYPE DATA AGE
default-token-cr4sr kubernetes.io/service-account-token 3 7m50s
```
Then, describing the secret with:
```bash theme={null}
kubectl describe secret default-token-cr4sr
```
reveals the three keys:
* `ca.crt`
* `namespace`
* `token`
Even though these keys represent secret data, the "type" field (`kubernetes.io/service-account-token`) is not classified as secret data.
***
## Reviewing the Application Architecture
The next step involves inspecting the deployed application architecture. The necessary Pods and Services are already created. However, note that there is no deployment resource in the default namespace. Check deployments using:
```bash theme={null}
kubectl get deploy
```
Output:
```bash theme={null}
No resources found in default namespace.
```
Next, verify the pods:
```bash theme={null}
kubectl get pods
```
Output:
```bash theme={null}
NAME READY STATUS RESTARTS AGE
webapp-pod 1/1 Running 0 26s
mysql 1/1 Running 0 26s
```
Two pods are present: one for the web application and another for MySQL. To inspect services, run:
```bash theme={null}
kubectl get svc
```
Output:
```bash theme={null}
NAME TYPE CLUSTER-IP EXTERNAL-IP PORT(S) AGE
kubernetes ClusterIP 10.43.0.1 443/TCP 10m
webapp-service NodePort 10.43.73.93 8080:30000/TCP 40s
sql01 ClusterIP 10.43.128.20 3306/TCP 40s
```
This verifies the presence of two services: one managing the web application and another for the SQL database (named "sql01").
The default token secret, which was reviewed earlier, is not used by the application. Instead, the web application needs a dedicated secret to connect to the MySQL database.
***
## Application Error and Creating the DB Secret
Upon examining the application, you might notice an error indicating a failure to connect to MySQL. This happens because the necessary environment variables (database host, user, and password) are not set. The error message typically includes:
* Database host is not set.
* DB user is not set.
* DB password is not set.
To fix the issue, create a new Kubernetes Secret named `db-secret` containing the required credentials. Execute the following command:
```bash theme={null}
kubectl create secret generic db-secret \
--from-literal=DB_Host=sql01 \
--from-literal=DB_User=root \
--from-literal=DB_Password=password123
```
Confirm the secret was created by running:
```bash theme={null}
kubectl get secret
```
Output:
```bash theme={null}
NAME TYPE DATA AGE
default-token-cr4sr kubernetes.io/service-account-token 3 10m
db-secret Opaque 3 6s
```
You can further inspect the secret with:
```bash theme={null}
kubectl describe secret db-secret
```
and you'll see three keys: `DB_Host`, `DB_User`, and `DB_Password`.
***
## Configuring the Web Application Pod to Use the Secret
Now, update your web application Pod so that it sources its environment variables from the newly created `db-secret`. This configuration allows the container to directly access the MySQL connection information via environment variables.
Below is a sample pod specification illustrating how to include the secret using the `envFrom` field:
```yaml theme={null}
apiVersion: v1
kind: Pod
metadata:
name: webapp-pod
namespace: default
labels:
name: webapp-pod
spec:
containers:
- name: webapp
image: kodekloud/simple-webapp-mysql
imagePullPolicy: Always
envFrom:
- secretRef:
name: db-secret
resources: {}
terminationMessagePath: /dev/termination-log
terminationMessagePolicy: File
volumes:
- name: kube-api-access-dxllf
mountPath: /var/run/secrets/kubernetes.io/serviceaccount
readOnly: true
dnsPolicy: ClusterFirst
restartPolicy: Always
schedulerName: default-scheduler
serviceAccount: default
serviceAccountName: default
```
Apply the updated configuration with:
```bash theme={null}
kubectl replace --force -f .yaml
```
Allow the Pod to restart and then verify that it has been updated successfully:
```bash theme={null}
kubectl describe pod webapp-pod
```
Within the container section, you should see a reference confirming that environment variables are loaded from `db-secret`.
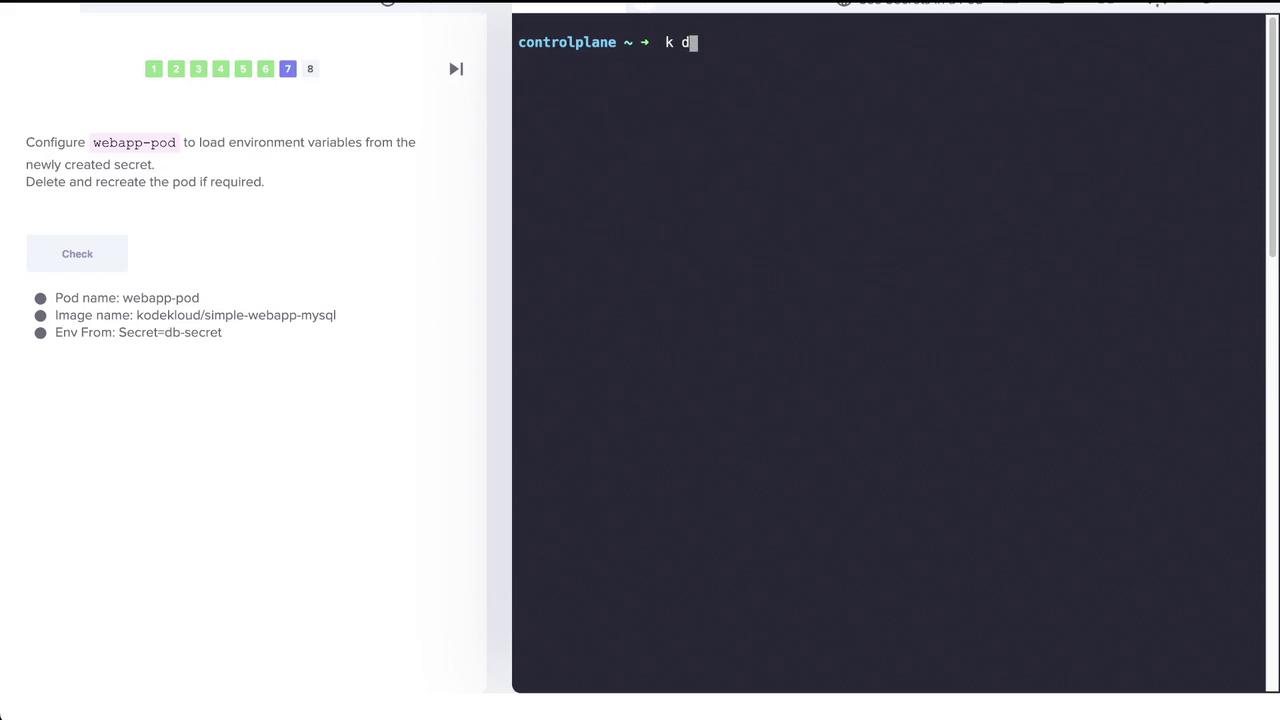
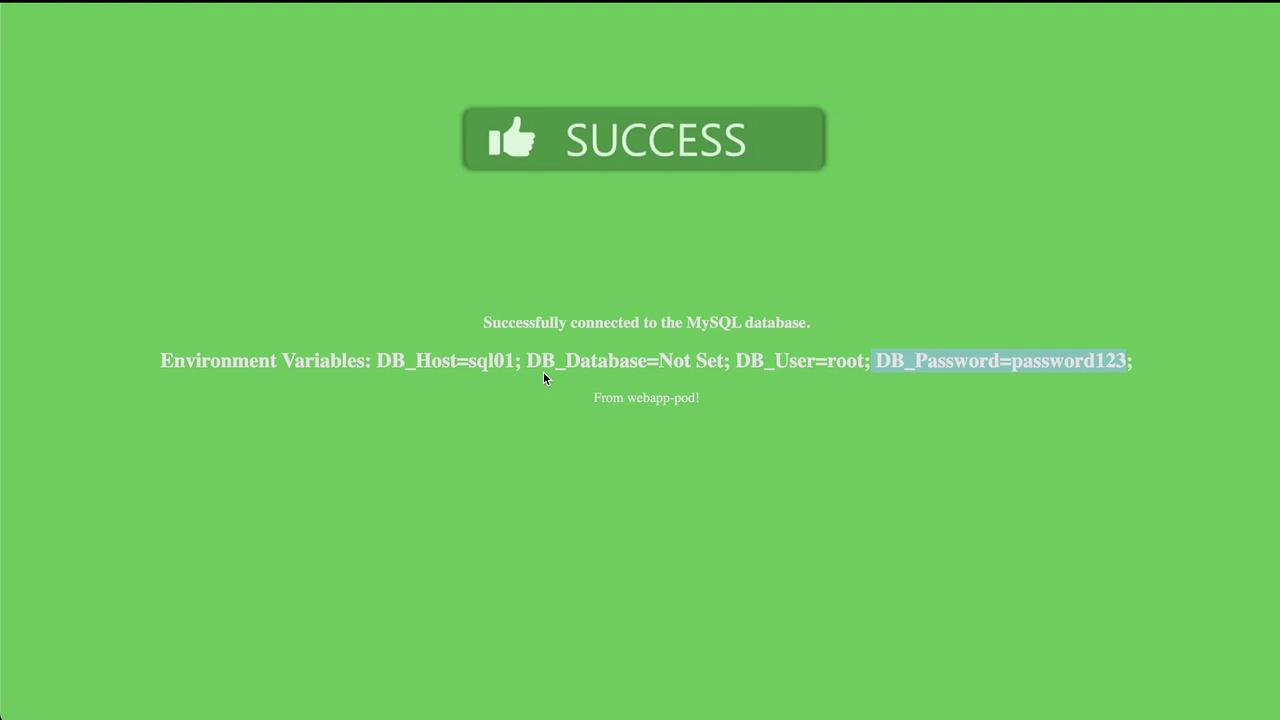
Following these changes, the application should successfully establish a connection with the MySQL database using the correct host, user, and password settings.
***
## Conclusion
After updating the pod configuration, the web application now correctly reads the required environment variables from `db-secret` and connects to the MySQL database. This lab exercise emphasizes how Kubernetes Secrets can be used to securely externalize sensitive data—like database credentials—and integrate them seamlessly into application Pods.
This completes the lab exercise.