> ## Documentation Index
> Fetch the complete documentation index at: https://notes.kodekloud.com/llms.txt
> Use this file to discover all available pages before exploring further.
# Recap Demo Creating Pods with YAML
> This article provides a guide on creating a Kubernetes pod using a YAML definition file.
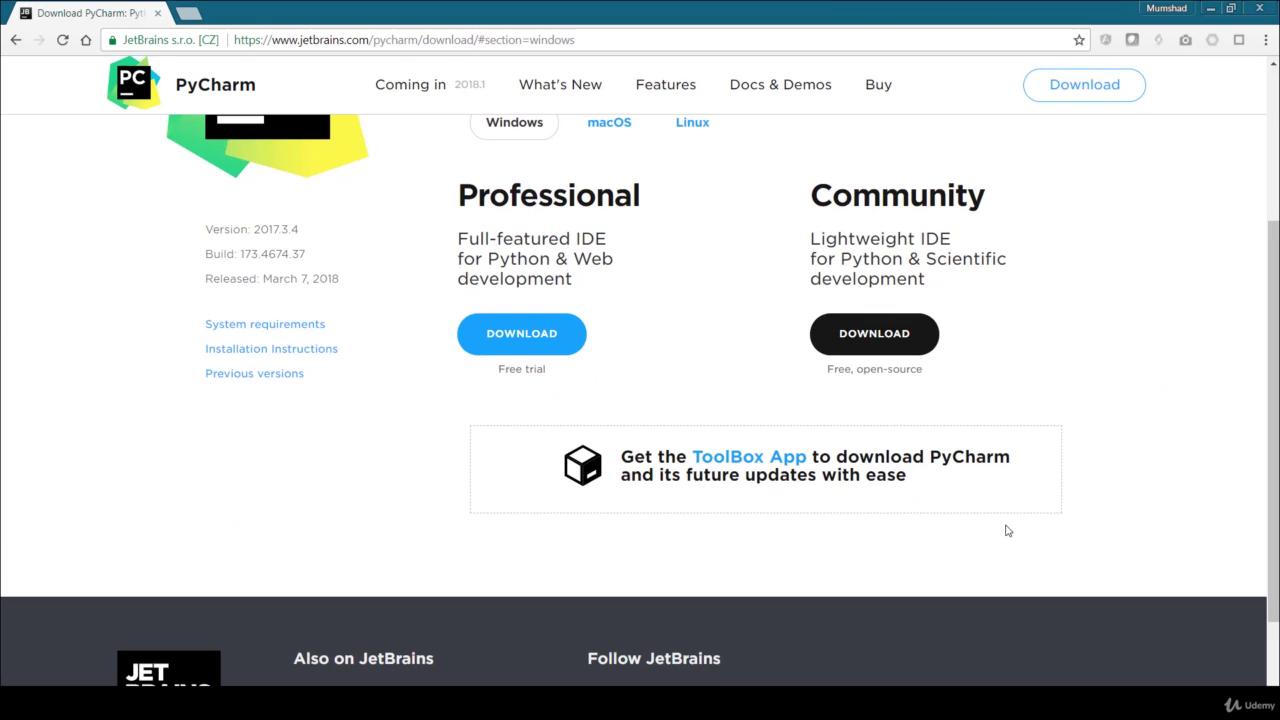
Welcome to this comprehensive guide on creating a Kubernetes pod using a YAML definition file. In this article, you will learn how to write a YAML file from scratch and deploy it into a Kubernetes cluster. You can create YAML files using any text editor, such as Notepad, Notepad++, or Atom, or even an integrated development environment (IDE) like PyCharm. I recommend PyCharm for its excellent YAML support. If you're interested, visit [PyCharm by JetBrains](https://jetbrains.com/PyCharm) to download the Professional or free Community edition.
Below is a step-by-step walkthrough to guide you in creating a pod definition file and deploying it on your Kubernetes environment.
***
## Creating the Pod Definition File
### 1. Create a New Project and File
Begin by creating a new project called `pod`. Inside this project, create a file named `pod-definition.yaml`. Every Kubernetes YAML file typically includes the following root-level properties: `apiVersion`, `kind`, `metadata`, and `spec`. For a pod, set the `apiVersion` to `v1` and `kind` to `Pod`.
### 2. Define the Metadata
In the `metadata` section, provide essential details such as the pod's `name` and associated `labels` for grouping. For instance:
```yaml theme={null}
apiVersion: v1
kind: Pod
metadata:
name: myapp-pod
labels:
app: myapp
spec:
```
When using PyCharm, you'll notice a tree-view panel that displays the YAML file structure. This visualization confirms that `apiVersion`, `kind`, `metadata`, and `spec` are at the same root level. Make sure the `name` and `labels` entries have identical indentation. Incorrect indentation might mistakenly nest `labels` under `name`, leading to errors.
### 3. Adding Optional Labels
Enhance your pod's metadata by adding extra labels, such as cost center or geographical location, to better organize your resources. Here’s an example:
```yaml theme={null}
apiVersion: v1
kind: Pod
metadata:
name: myapp-pod
labels:
app: myapp
costcenter: amer
location: NA
spec:
```
This flexible labeling approach enables more efficient management of your deployments.
### 4. Define the Pod Spec
Under the `spec` section, specify the container details. The `containers` field accepts an array; each container is introduced by a dash (`-`) followed by its configuration, such as `name` and `image`. The example below defines a pod with a single container running an Nginx image:
```yaml theme={null}
apiVersion: v1
kind: Pod
metadata:
name: myapp-pod
labels:
app: myapp
spec:
containers:
- name: nginx-container
image: nginx
```
For scenarios with multiple containers, add another item to the list. For example:
```yaml theme={null}
apiVersion: v1
kind: Pod
metadata:
name: myapp-pod
labels:
app: myapp
spec:
containers:
- name: nginx-container
image: nginx
- name: backend-container
image: redis
```
For this demonstration, we are only using one container.
***
## Deploying the Pod
After finalizing your `pod-definition.yaml`, follow these instructions to deploy it to your Kubernetes cluster.
### 1. Setup Folder Structure on the Kubernetes Master Node
Log in to your Kubernetes master node and create a directory structure for your demos:
```bash theme={null}
root@kubemaster:/home/osboxes# mkdir demos
root@kubemaster:/home/osboxes# cd demos
root@kubemaster:/home/osboxes/demos# mkdir pod
root@kubemaster:/home/osboxes/demos# cd pod
```
### 2. Create the YAML File
Paste the contents of your `pod-definition.yaml` into a new file on the master node. For instance, execute:
```bash theme={null}
root@kubemaster:/home/osboxes/demos/pod# cat > pod-definition.yml
apiVersion: v1
kind: Pod
metadata:
name: myapp-pod
labels:
app: myapp
spec:
containers:
- name: nginx-container
image: nginx
```
After creating the file, verify its contents using the `cat` command.
### 3. Clean Up Existing Pods
Before deploying your new pod, ensure there are no conflicting pods already running. If a pod was previously deployed with a command like `kubectl run`, delete it by executing:
```bash theme={null}
root@kubemaster:/home/osboxes/demos/pod# kubectl get pods
NAME READY STATUS RESTARTS AGE
nginx-8586cf59-wf5r4 1/1 Running 0 59m
root@kubemaster:/home/osboxes/demos/pod# kubectl delete deployment nginx
```
Confirm the deletion by listing pods again:
```bash theme={null}
root@kubemaster:/home/osboxes/demos/pod# kubectl get pods
No resources found.
```
### 4. Create the Pod
Now, create the pod with the following command:
```bash theme={null}
root@kubemaster:/home/osboxes/demos/pod# kubectl create -f pod-definition.yml
pod "myapp-pod" created
```
You can monitor the pod’s creation by running:
```bash theme={null}
root@kubemaster:/home/osboxes/demos/pod# kubectl get pods
NAME READY STATUS RESTARTS AGE
myapp-pod 0/1 ContainerCreating 0 8s
```
After a few moments, check the pod status again:
```bash theme={null}
root@kubemaster:/home/osboxes/demos/pod# kubectl get pods
NAME READY STATUS RESTARTS AGE
myapp-pod 1/1 Running 0 19s
```
This confirms the pod has been successfully created and is now running in your cluster.
***
That concludes our guide on creating a Kubernetes pod using a YAML file. In the next article, we’ll explore additional tips for managing YAML files in PyCharm. Happy coding and deployment!
## Additional Resources
* [Kubernetes Documentation](https://kubernetes.io/docs/)
* [Kubernetes Basics](https://kubernetes.io/docs/concepts/overview/what-is-kubernetes/)
* [Docker Hub](https://hub.docker.com/)
* [Terraform Registry](https://registry.terraform.io/)