> ## Documentation Index
> Fetch the complete documentation index at: https://notes.kodekloud.com/llms.txt
> Use this file to discover all available pages before exploring further.
# Recap Namespaces
> This article provides an overview of Kubernetes namespaces, explaining their role in organizing resources and managing policies within a cluster.
Welcome to this detailed overview of Kubernetes namespaces. In this lesson, we'll explore how namespaces help organize resources within your cluster using a simple analogy and practical examples. This guide is designed to improve your understanding and management of namespaces in various environments.
Imagine two boys named Mark. To differentiate between them, their last names—Smith and Williams—are used. Within their respective houses, family members refer to them by their first names. However, when addressing someone from a different house, the full name is used. Similarly, in Kubernetes, namespaces act like houses, each with its own set of rules and resources.
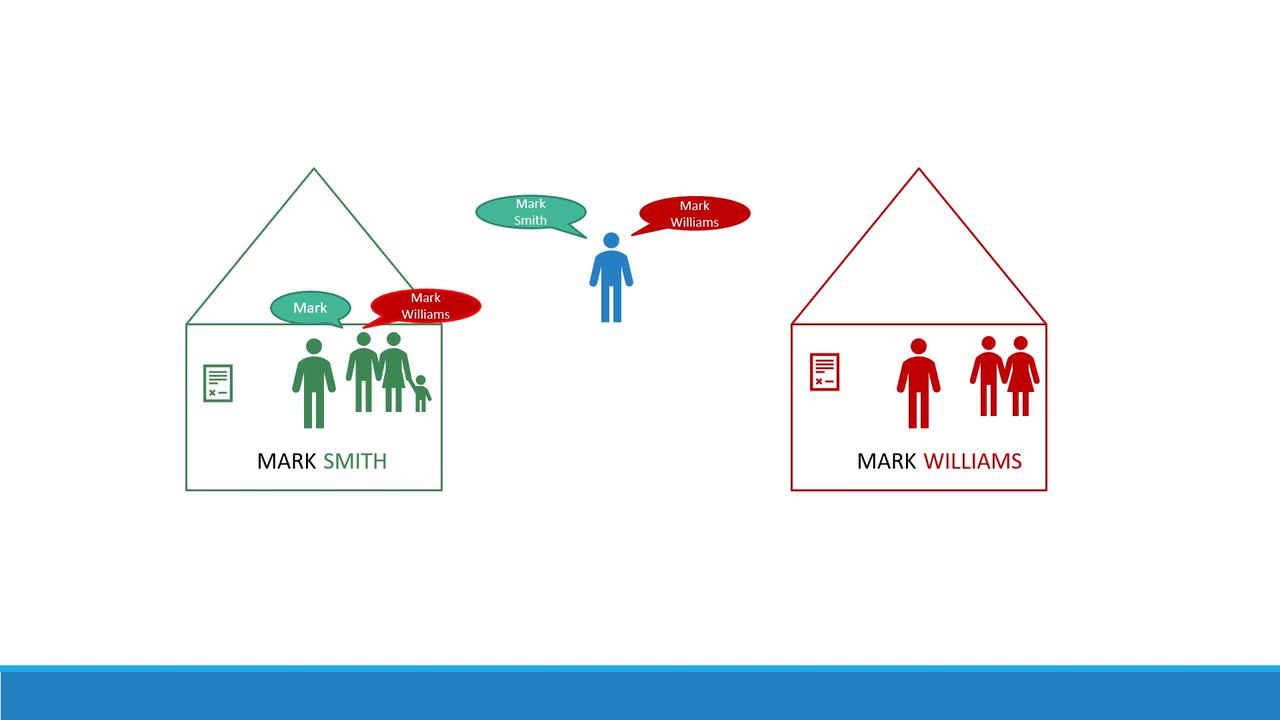
Up until now, objects such as Pods, Deployments, and Services have been created in a single namespace—the default namespace—which is automatically generated when the cluster is set up. Kubernetes also creates several internal namespaces:
* The **kube-system** namespace contains system components (e.g., networking and DNS services) and keeps them isolated from user modifications.
* The **kube-public** namespace is designed for resources that should be accessible to all users.
For small environments, learning purposes, or experimental setups, you might work exclusively in the default namespace. However, in enterprise or production settings, creating additional namespaces helps isolate resources. For instance, you can use separate namespaces for development and production to prevent accidental modifications and enforce specific policies and resource quotas.
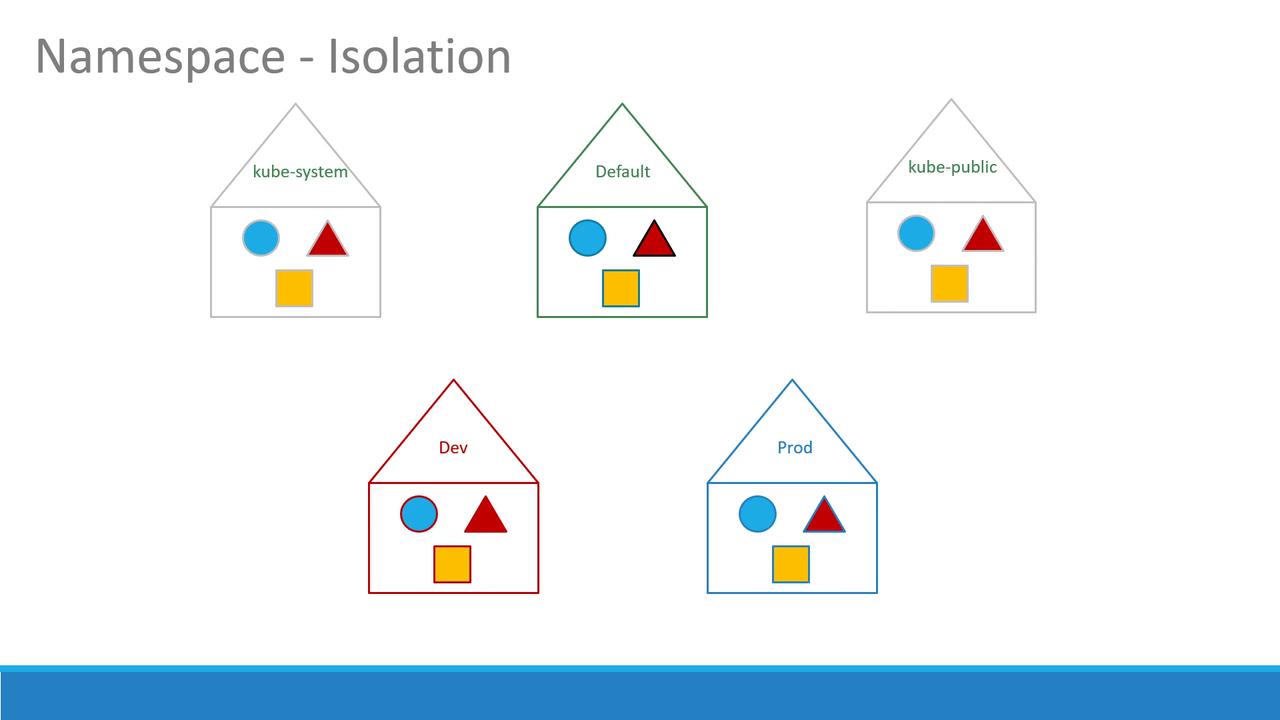
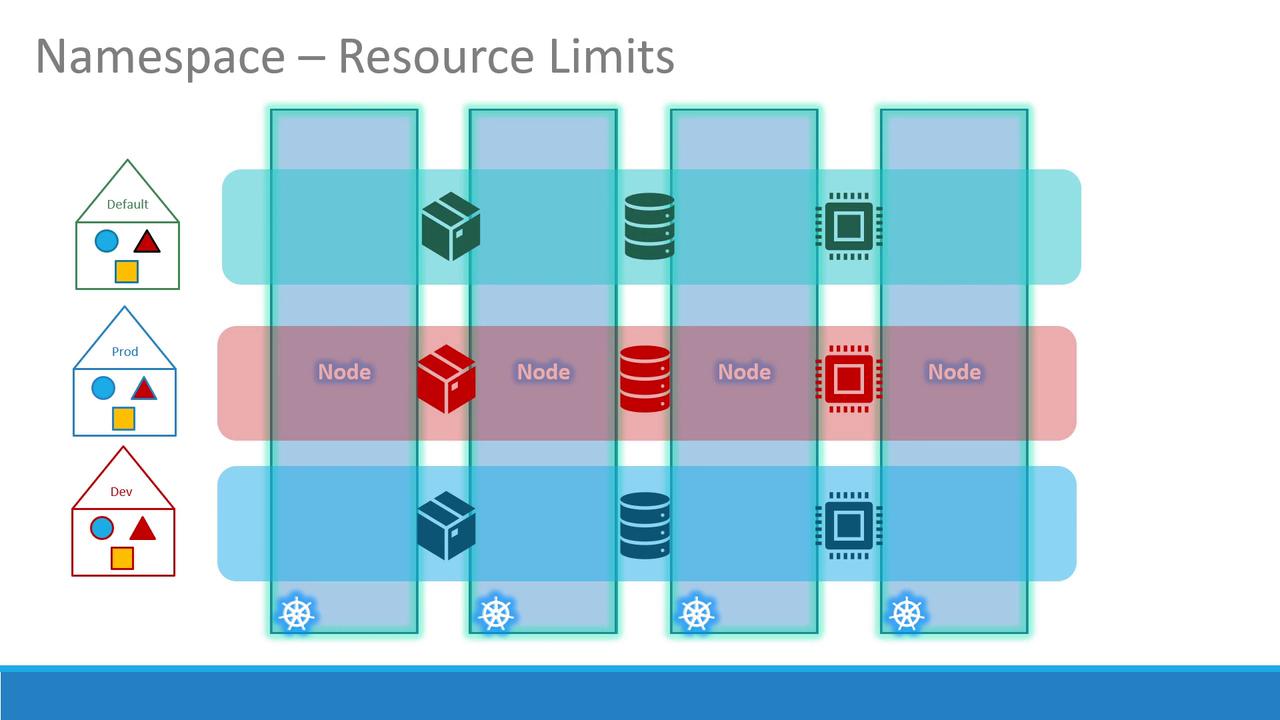
Each namespace can enforce its own set of policies and quotas. This ensures that every namespace receives a guaranteed portion of resources and remains within its limits.
Using namespaces improves security and resource management by isolating workloads. It also simplifies policy enforcement and resource tracking across different environments.
Within a namespace, resources can simply refer to one another by name—just as family members within a house use only first names. For example, a web application pod in the default namespace can access a database service using the service's hostname.
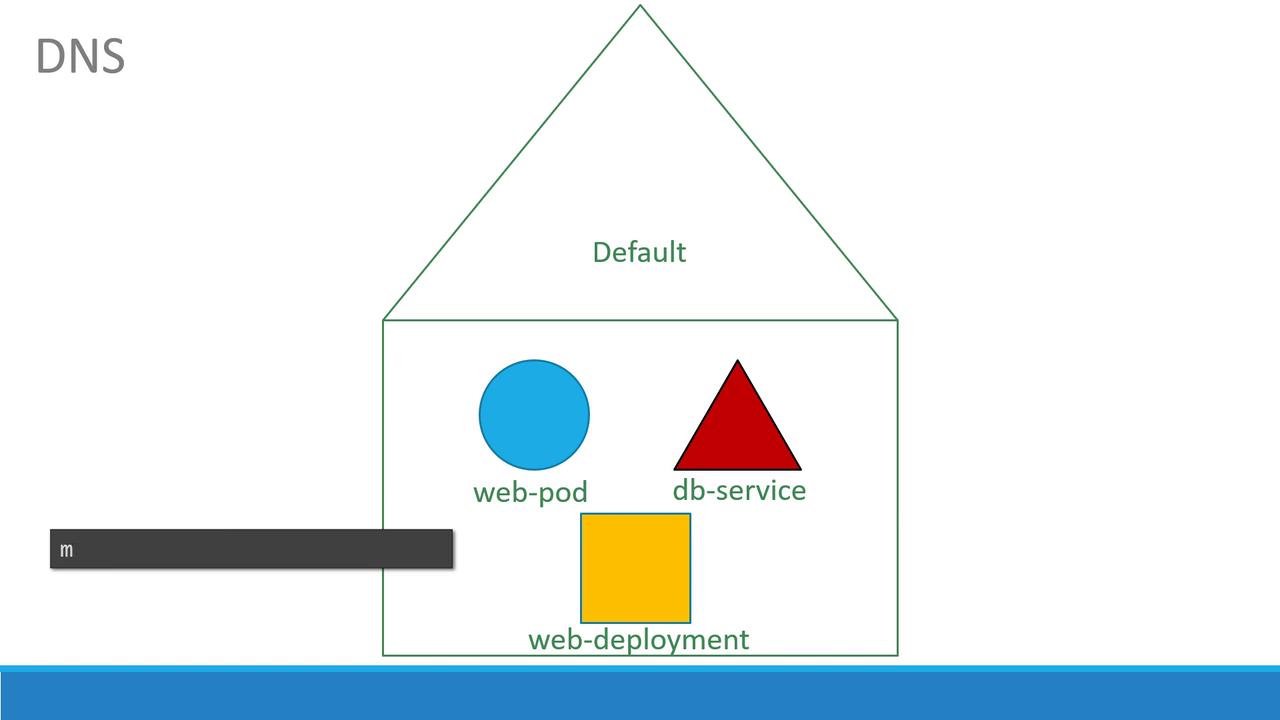
When a pod needs to access a service in another namespace, append the namespace to the service name using the following format:
```Python theme={null}
python
mysql.connect("db-service.namespace.svc.cluster.local")
```
For example, if a pod in the default namespace needs to connect to a database in the "dev" namespace:
```Python theme={null}
python
mysql.connect("db-service.dev.svc.cluster.local")
```
This works because Kubernetes automatically creates a DNS entry for each service using the format:
service-name.namespace.svc.cluster.local\
Here, "cluster.local" is the default domain name of the cluster, and "svc" is the subdomain for services.
## Operational Aspects with kubectl Commands
Below are some examples of how to work with namespaces using kubectl commands:
```Python theme={null}
bash
> kubectl get pods
> kubectl get pods --namespace=kube-system
> kubectl get pods --namespace=prod
```
### Creating and Managing Pods
Consider a pod definition file that creates a pod in the default namespace:
```yaml theme={null}
apiVersion: v1
kind: Pod
metadata:
name: myapp-pod
labels:
app: myapp
type: front-end
spec:
containers:
- name: nginx-container
image: nginx
```
To create the pod in a different namespace (e.g., "dev"), run:
```Python theme={null}
bash
> kubectl create -f pod-definition.yml --namespace=dev
```
If you want to ensure the pod is always created in the "dev" namespace, add the namespace within the pod definition file under the metadata section.
### Creating Namespaces
Creating a new namespace is as straightforward as creating other Kubernetes objects. Below is an example YAML file for a namespace:
```yaml theme={null}
apiVersion: v1
kind: Namespace
metadata:
name: dev
```
Once prepared, create the namespace using:
```Python theme={null}
bash
> kubectl create -f namespace-definition.yml
```
Alternatively, you can create a namespace via the command line:
```Python theme={null}
bash
> kubectl create namespace dev
```
### Setting the Default Namespace
If you work with multiple namespaces, setting a default namespace in your current context can streamline your workflow:
```Python theme={null}
bash
kubectl config set-context $(kubectl config current-context) --namespace=dev
```
After running this, simple commands like `kubectl get pods` will operate within the "dev" namespace. To list pods across all namespaces, use:
```Python theme={null}
bash
> kubectl get pods --all-namespaces
```
## Managing Resource Quotas
Resource quotas help control resource usage within a namespace. Use a ResourceQuota definition file to limit resources. For example, the following YAML sets resource limits for the "dev" namespace:
```yaml theme={null}
apiVersion: v1
kind: ResourceQuota
metadata:
name: compute-quota
namespace: dev
spec:
hard:
pods: "10"
requests.cpu: "4"
requests.memory: 5Gi
limits.cpu: "10"
limits.memory: 10Gi
```
Deploy this resource quota with:
```Python theme={null}
bash
> kubectl create -f compute-quota.yaml
```
Implementing resource quotas helps ensure that no single namespace overconsumes cluster resources, thereby maintaining overall cluster stability and performance.
Practice these namespace techniques to efficiently manage your Kubernetes clusters. For more details on Kubernetes concepts and best practices, visit the [Kubernetes Documentation](https://kubernetes.io/docs/).