> ## Documentation Index
> Fetch the complete documentation index at: https://notes.kodekloud.com/llms.txt
> Use this file to discover all available pages before exploring further.
# Mock Exam 2 Solution
> This guide provides step-by-step instructions for solving a Kubernetes mock exam, covering deployments, services, taints, tolerations, and more.
In this guide, we will walk you through solving a Kubernetes mock exam with step-by-step instructions on creating deployments, services, configuring taints, tolerations, node affinity, ingress resources, readiness and liveness probes, jobs, multi-container pods, and persistent volumes. Follow along to apply these configurations in your Kubernetes environment.
***
## 1. Create a Deployment and Expose It as a NodePort Service
### Creating the Deployment
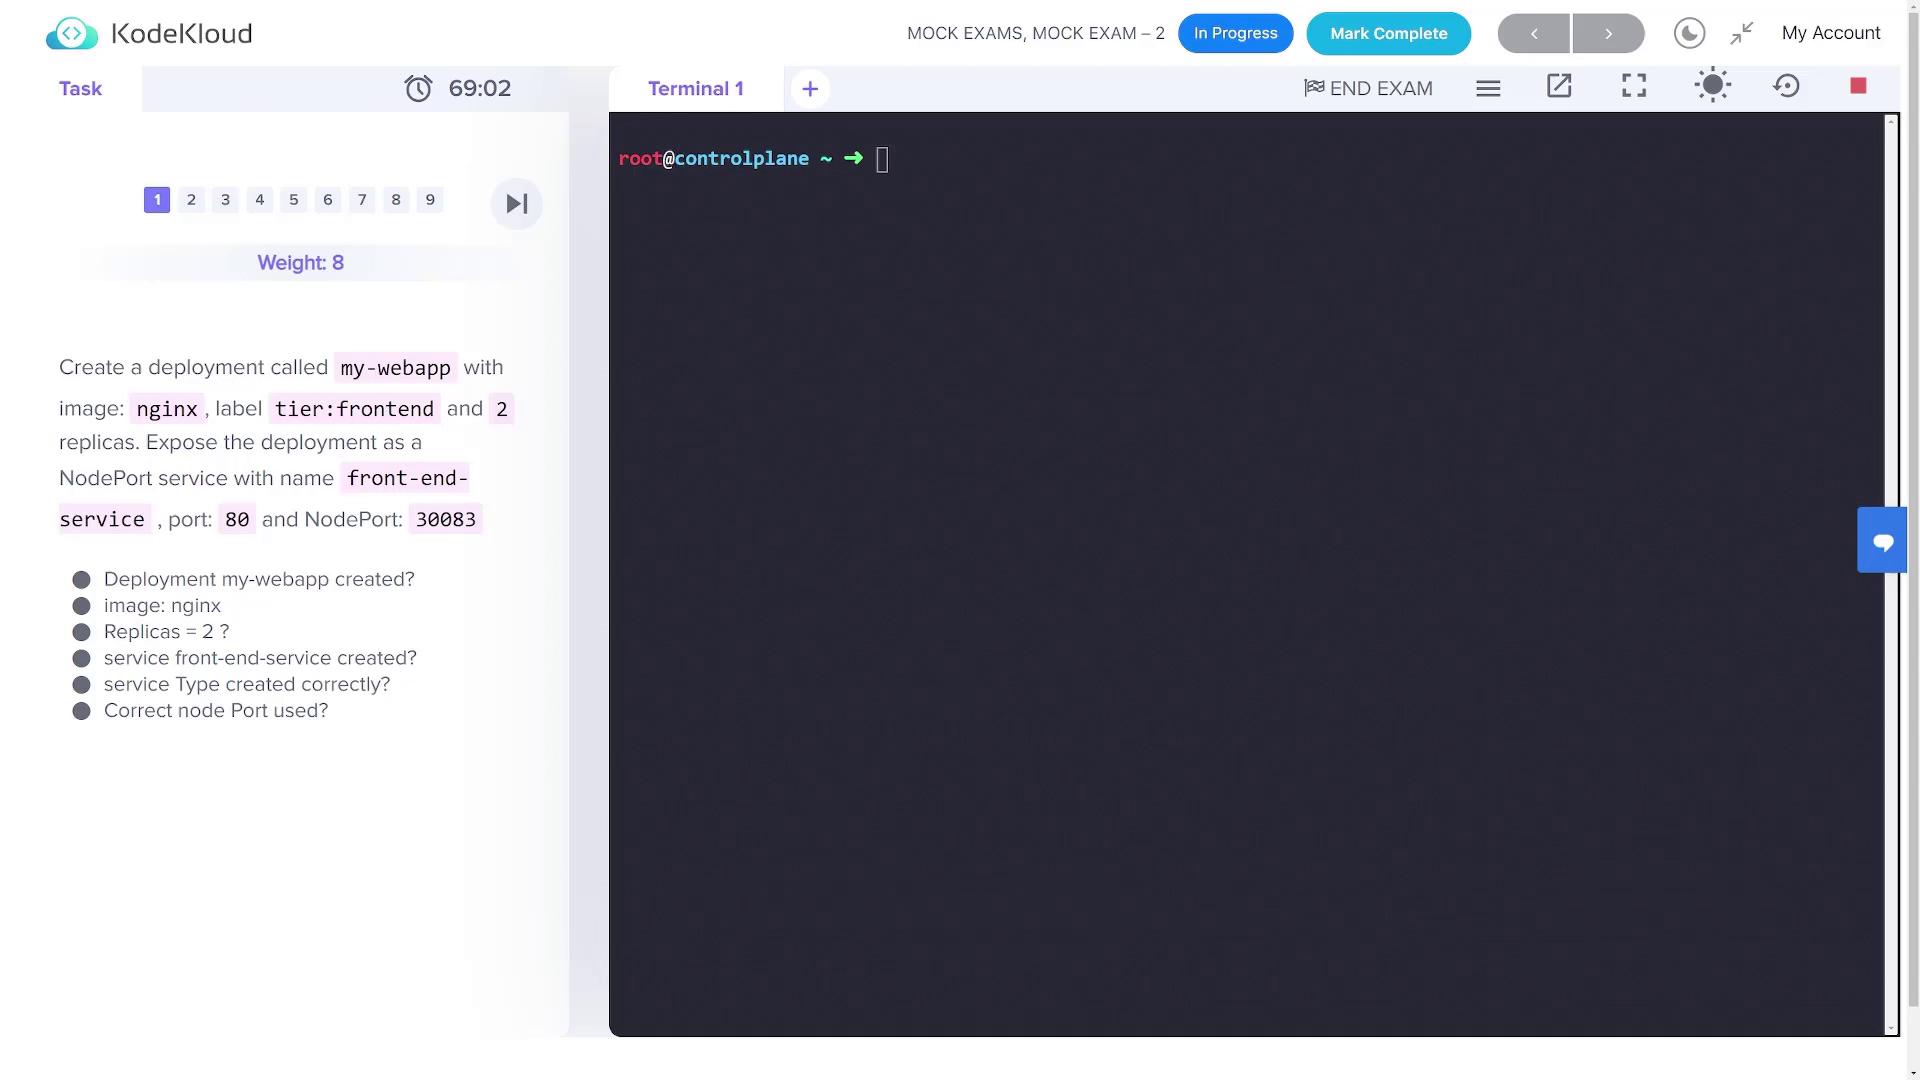
First, create a deployment named **my-webapp** with the following parameters:
* **Image:** nginx
* **Replicas:** 2
* **Label:** tier=front end (as implied)
Generate a YAML configuration using a dry run and save it to `my-webapp.yaml`:
```bash theme={null}
kubectl create deployment my-webapp --image=nginx --replicas=2 --dry-run=client -o yaml > my-webapp.yaml
```
Review the file if necessary, then apply the configuration:
```bash theme={null}
kubectl apply -f my-webapp.yaml
```
Verify the deployment:
```bash theme={null}
kubectl get deployment
```
### Exposing the Deployment as a Service
Next, expose the **my-webapp** deployment as a NodePort service with these settings:
* **Service Name:** front-end-service
* **Service Type:** NodePort
* **Port:** 80
* **Node Port:** 30083 (to be set manually in the YAML)
Generate the service configuration using a dry run:
```bash theme={null}
kubectl expose deployment my-webapp --name front-end-service --type NodePort --port 80 --dry-run=client -o yaml > front-end-service.yaml
```
Open `front-end-service.yaml` and add the node port configuration (`30083`) under the appropriate section. Then, apply the updated configuration:
```bash theme={null}
kubectl apply -f front-end-service.yaml
```
Verify the service:
```bash theme={null}
kubectl get svc
```
***
## 2. Add a Taint to a Node and Create a Pod with a Toleration
### Tainting the Node
Check the nodes in your cluster:
```bash theme={null}
kubectl get nodes
```
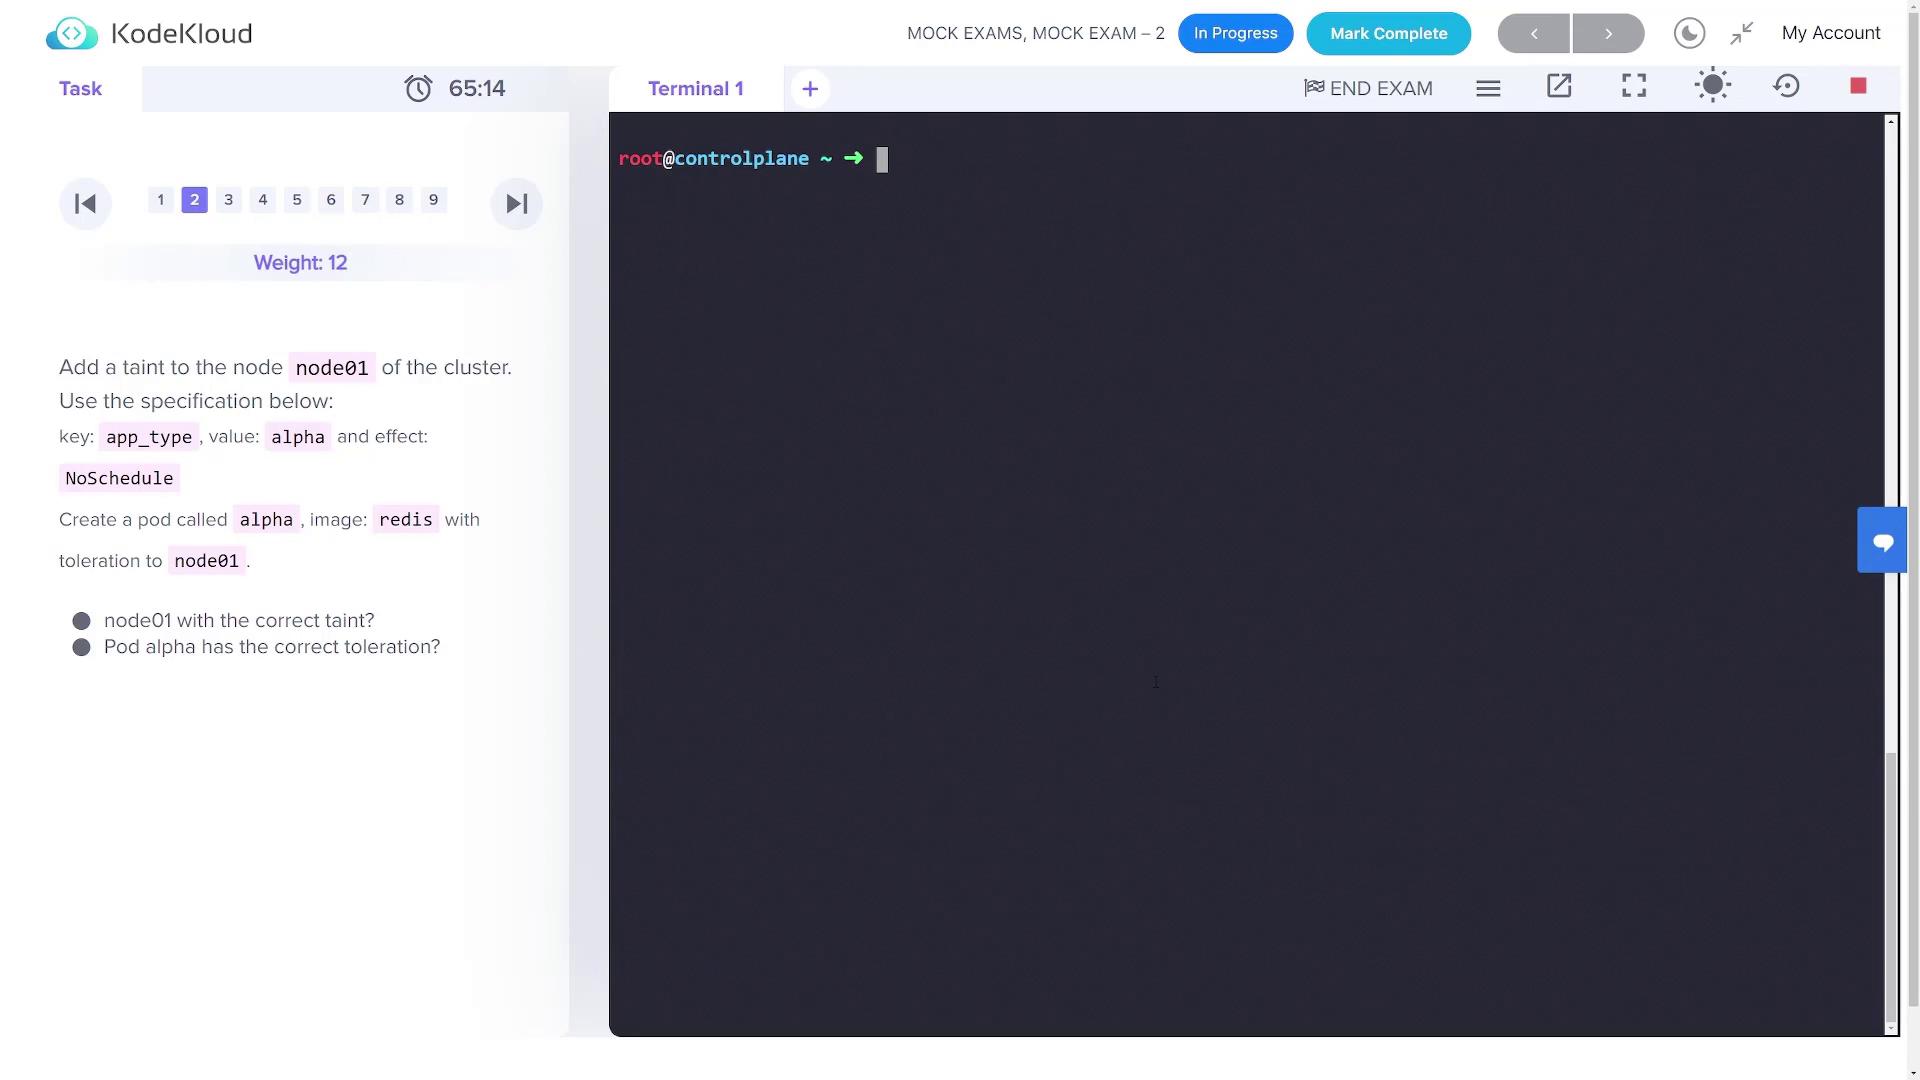
Apply a taint on the node named **node01** with key `app_type`, value `alpha`, and effect `NoSchedule`:
```bash theme={null}
kubectl taint node node01 app_type=alpha:NoSchedule
```
Confirm the taint by describing the node:
```bash theme={null}
kubectl describe node node01
```
### Creating the Pod with Toleration
Create a pod named **alpha** using the `redis` image. First, generate the pod's YAML configuration:
```bash theme={null}
kubectl run alpha --image=redis --dry-run=client -o yaml > alpha.yaml
```
Edit the `alpha.yaml` file to include the following toleration under the pod spec:
```yaml theme={null}
tolerations:
- key: app_type
operator: Equal
value: "alpha"
effect: NoSchedule
```
A complete sample configuration should look like this:
```yaml theme={null}
apiVersion: v1
kind: Pod
metadata:
name: alpha
labels:
run: alpha
spec:
tolerations:
- key: app_type
operator: Equal
value: "alpha"
effect: NoSchedule
containers:
- name: alpha
image: redis
restartPolicy: Always
```
Apply the configuration:
```bash theme={null}
kubectl apply -f alpha.yaml
```
Verify that the pod is running on **node01**:
```bash theme={null}
kubectl get pod -o wide
```
***
## 3. Label the Control Plane Node and Create a Deployment with Node Affinity
### Labeling the Node
List your nodes to find the control plane node:
```bash theme={null}
kubectl get node
```
Label the control plane node (assumed to be named **controlplane**) with `app_type=beta`:
```bash theme={null}
kubectl label node controlplane app_type=beta
```
Confirm the label is applied:
```bash theme={null}
kubectl get node --show-labels
```
### Creating the Beta-Apps Deployment with Node Affinity
Create a deployment named **beta-apps** with the following settings:
* **Image:** nginx
* **Replicas:** 3
Generate the YAML configuration:
```bash theme={null}
kubectl create deployment beta-apps --image=nginx --replicas=3 --dry-run=client -o yaml > beta-apps.yaml
```
Edit the file to add a node affinity section under the pod spec:
```yaml theme={null}
spec:
affinity:
nodeAffinity:
requiredDuringSchedulingIgnoredDuringExecution:
- matchExpressions:
- key: app_type
operator: In
values:
- beta
```
A complete version of the edited deployment YAML will be:
```yaml theme={null}
apiVersion: apps/v1
kind: Deployment
metadata:
name: beta-apps
labels:
app: beta-apps
spec:
replicas: 3
selector:
matchLabels:
app: beta-apps
template:
metadata:
labels:
app: beta-apps
spec:
affinity:
nodeAffinity:
requiredDuringSchedulingIgnoredDuringExecution:
- matchExpressions:
- key: app_type
operator: In
values:
- beta
containers:
- name: nginx
image: nginx
resources: {}
```
Apply the deployment:
```bash theme={null}
kubectl apply -f beta-apps.yaml
```
Verify that the pods are scheduled on the control plane node:
```bash theme={null}
kubectl get pod -o wide
```
***
## 4. Create an Ingress Resource for the My-Video Service
First, verify the **my-video-service** details (it listens on port 8080):
```bash theme={null}
kubectl get service
```
You should see output similar to:
```bash theme={null}
NAME TYPE CLUSTER-IP EXTERNAL-IP PORT(S) AGE
front-end-service NodePort 10.101.45.50 80:31242/TCP 8m4s
kubernetes ClusterIP 10.96.0.1 443/TCP 23m
my-video-service ClusterIP 10.97.57.28 8080/TCP 2m54s
```
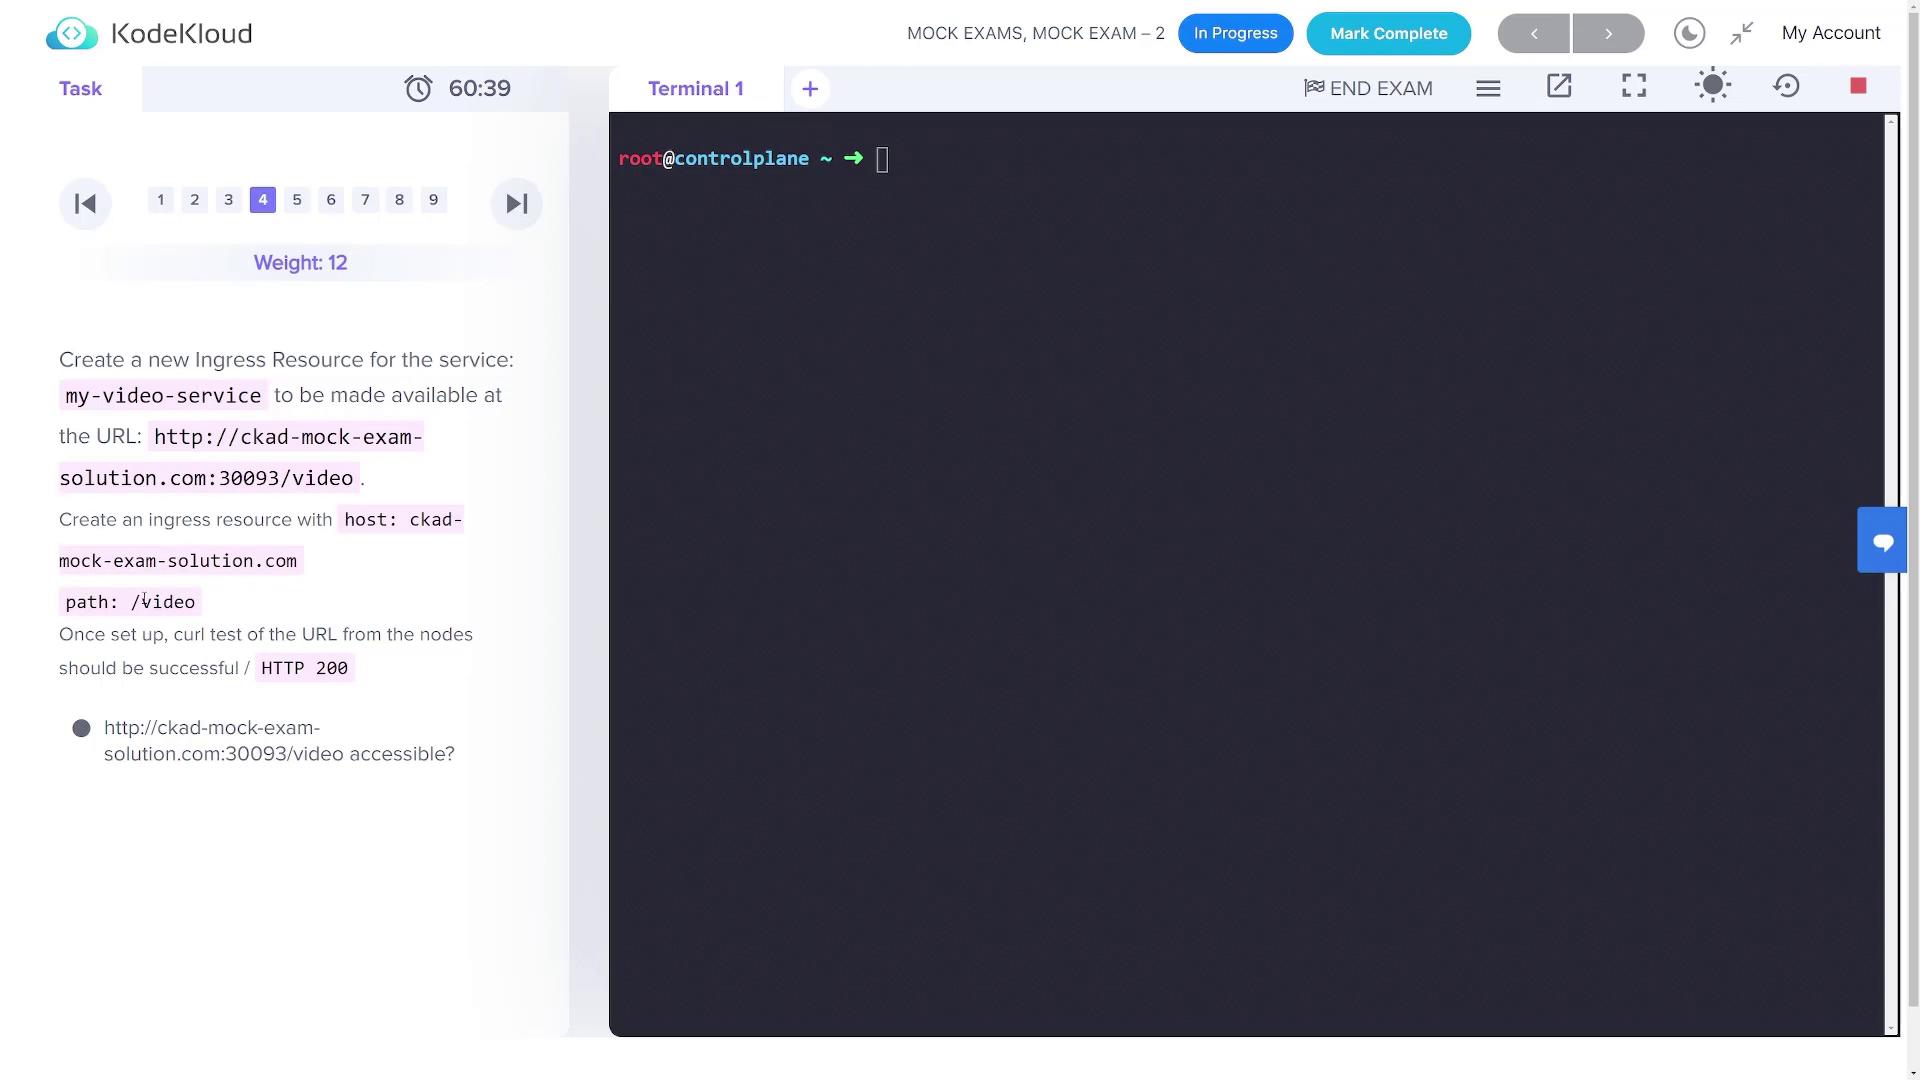
Create an ingress resource so that **my-video-service** is reachable via the URL `ckad-mock-exam-solution.com` at the path `/video`.
Generate the ingress configuration imperatively:
```bash theme={null}
kubectl create ingress ingress --rule="ckad-mock-exam-solution.com/video= my-video-service:8080" --dry-run=client -o yaml > ingress.yaml
```
Then, adjust the YAML to ensure it follows the proper format. The final configuration should be:
```yaml theme={null}
apiVersion: networking.k8s.io/v1
kind: Ingress
metadata:
name: ingress
spec:
rules:
- host: ckad-mock-exam-solution.com
http:
paths:
- path: /video
pathType: Prefix
backend:
service:
name: my-video-service
port:
number: 8080
status:
loadBalancer: {}
```
Apply the ingress resource:
```bash theme={null}
kubectl apply -f ingress.yaml
```
Verify the ingress configuration:
```bash theme={null}
kubectl get ingress
```
***
## 5. Update a Pod with a Readiness Probe
Update a pod (named **pod-with-rprobe**) to include a readiness probe. First, retrieve its current configuration:
```bash theme={null}
kubectl get pod pod-with-rprobe -o yaml > pod.yaml
```
Edit `pod.yaml` and insert the following snippet under the container spec (before the ports section):
```yaml theme={null}
readinessProbe:
httpGet:
path: /ready
port: 8080
```
An updated container section should resemble:
```yaml theme={null}
containers:
- name: pod-with-rprobe
image: kodekloud/webapp-delayed-start
env:
- name: APP_START_DELAY
value: "180"
readinessProbe:
httpGet:
path: /ready
port: 8080
ports:
- containerPort: 8080
protocol: TCP
```
After saving your changes, force replace the existing pod:
```bash theme={null}
kubectl replace -f pod.yaml --force
```
Verify the update:
```bash theme={null}
kubectl get pod pod-with-rprobe
```
***
## 6. Create a Pod with a Liveness Probe
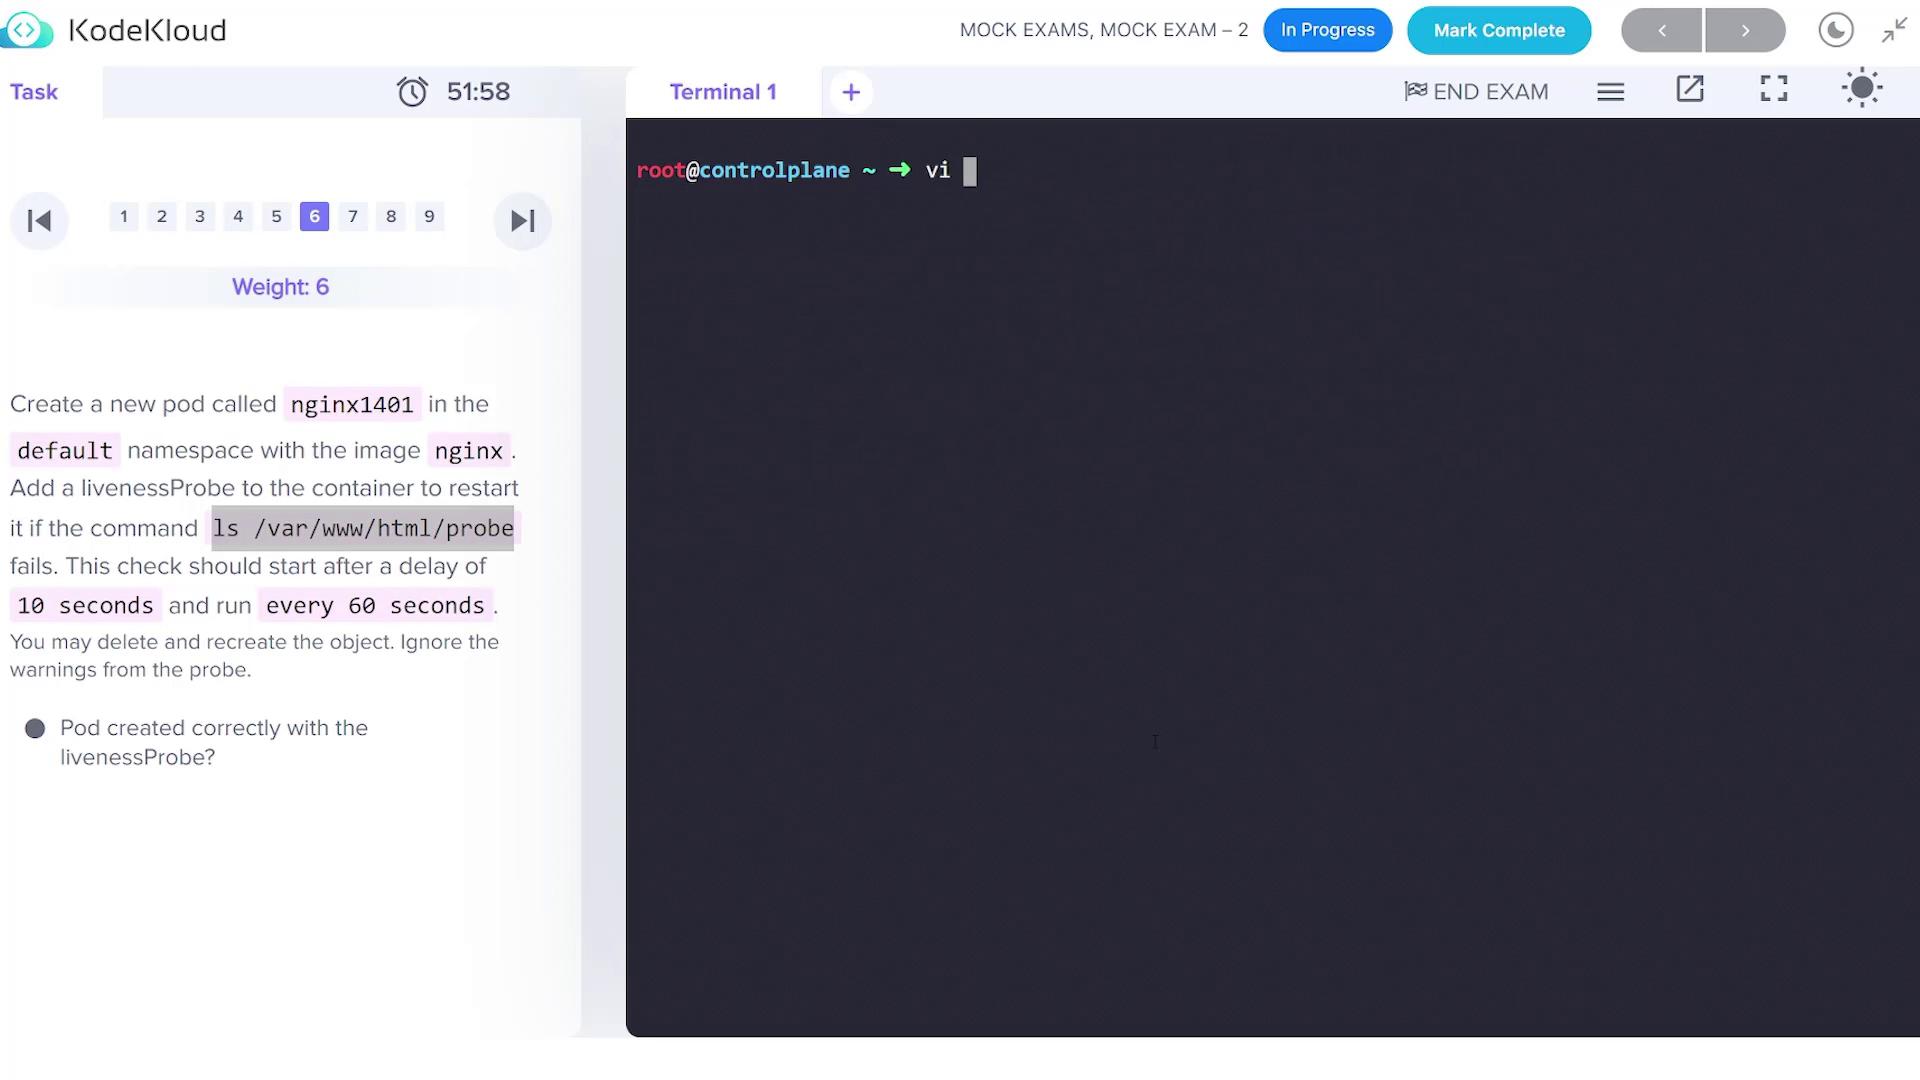
Create a new pod named **nginx1401** in the default namespace using the **nginx** image. This pod will have a liveness probe that executes a command to check `/var/www/html/probe`. The probe has an initial delay of 10 seconds and executes every 60 seconds.
Create a file called `nginx1401.yaml` with the following content:
```yaml theme={null}
apiVersion: v1
kind: Pod
metadata:
name: nginx1401
namespace: default
spec:
containers:
- name: nginx1401
image: nginx
livenessProbe:
exec:
command: ["ls", "/var/www/html/probe"]
initialDelaySeconds: 10
periodSeconds: 60
```
Apply the configuration:
```bash theme={null}
kubectl apply -f nginx1401.yaml
```
If validation errors occur, verify the YAML formatting and ensure the liveness probe is directly placed under the container.
***
## 7. Create a Job Called Whalesay
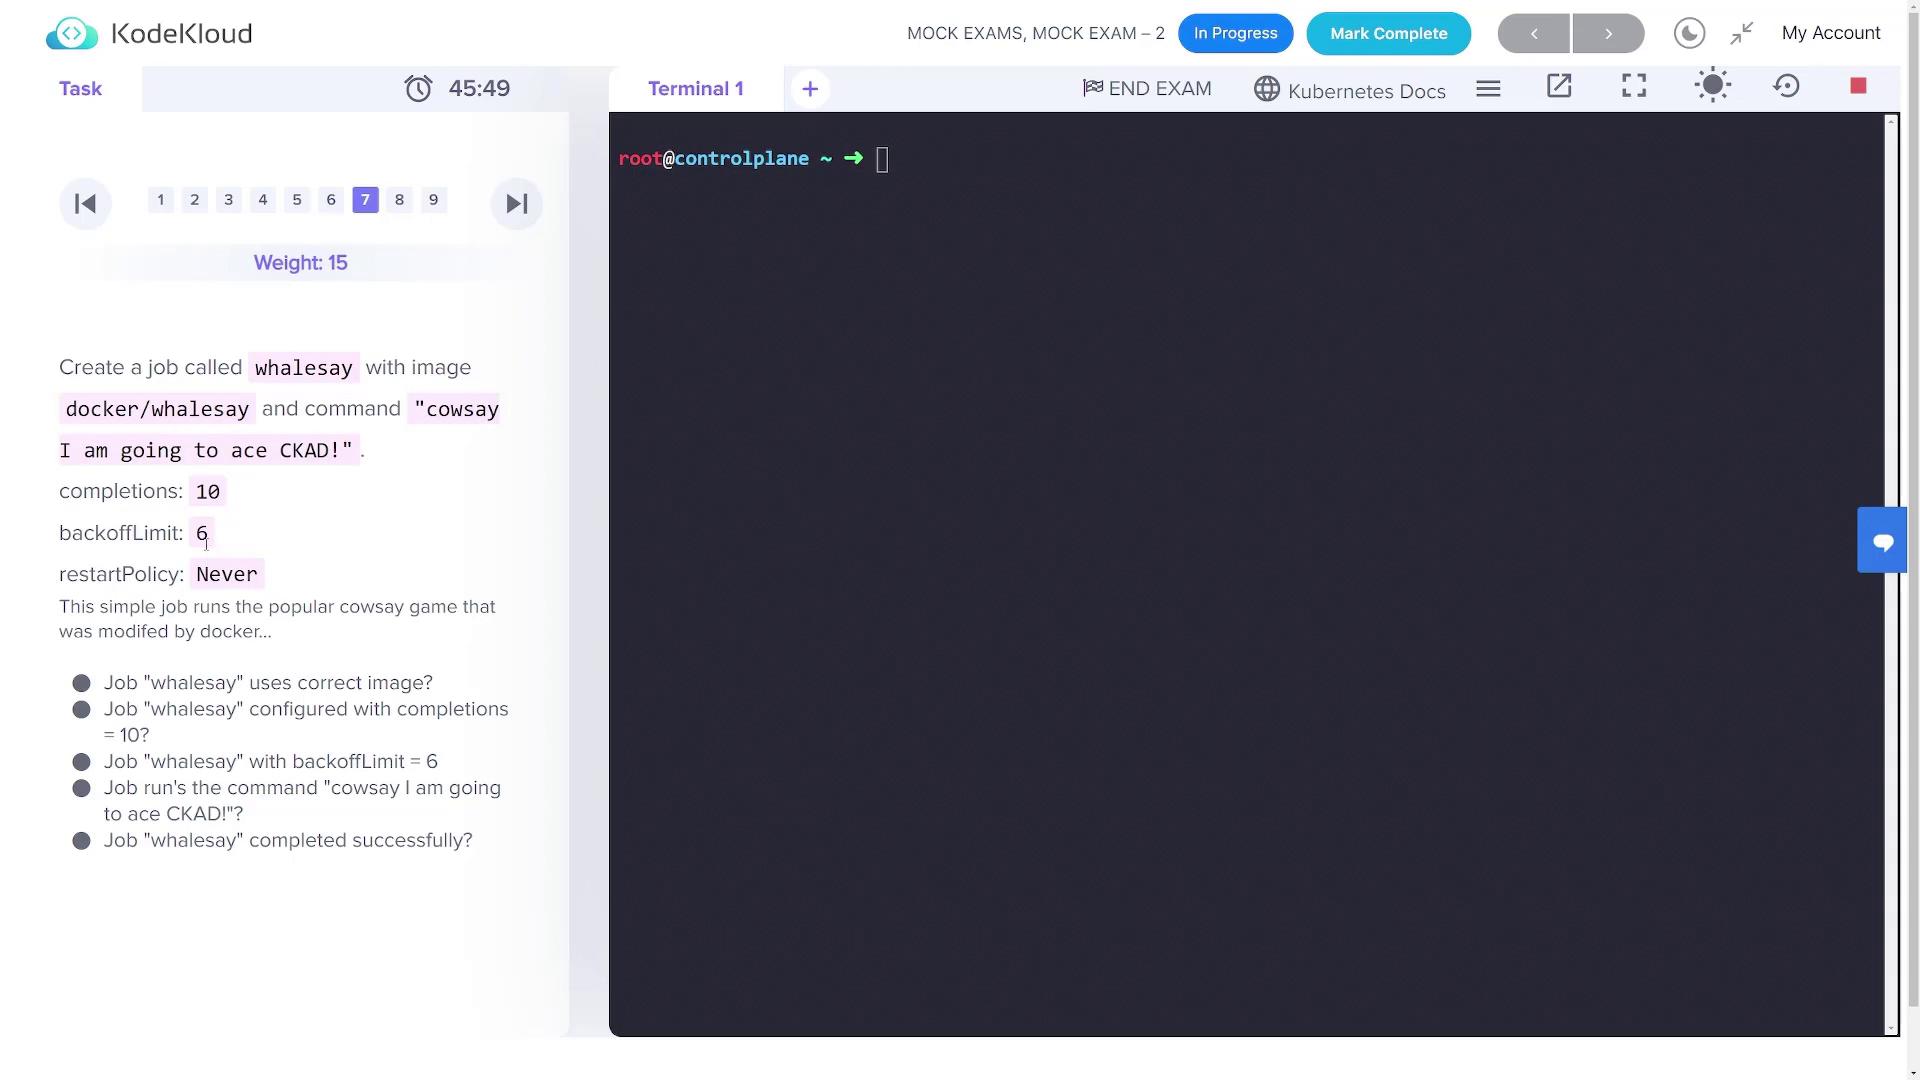
Create a Kubernetes Job named **whalesay** using the `docker/whalesay` image. This job will execute a command to display "I am going to ace CKAD!", with 10 completions, a backoff limit of 6, and a restart policy set to Never.
Generate the job configuration using a dry run:
```bash theme={null}
kubectl create job whalesay --image=docker/whalesay -- /cowsay "I am going to ace CKAD!" --dry-run=client -o yaml > whalesay.yaml
```
Edit the `whalesay.yaml` file to include the completions and backoffLimit fields. The finalized YAML should be:
```yaml theme={null}
apiVersion: batch/v1
kind: Job
metadata:
name: whalesay
spec:
completions: 10
backoffLimit: 6
template:
spec:
containers:
- name: whalesay
image: docker/whalesay
command:
- sh
- -c
- "/cowsay 'I am going to ace CKAD!'"
restartPolicy: Never
```
Apply the job configuration:
```bash theme={null}
kubectl apply -f whalesay.yaml
```
Monitor the job progress until all 10 completions succeed:
```bash theme={null}
kubectl get jobs -w
```
***
## 8. Create a Multi-Container Pod
Create a pod named **multi-pod** containing two containers with the configurations below:
* **Container 1:**
* Name: jupiter
* Image: nginx
* Environment Variable: `type=planet`
* **Container 2:**
* Name: europa
* Image: busybox
* Command: `/bin/sh -c "sleep 4800"`
* Environment Variable: `type=moon`
Create a file called `multi-pod.yaml` with the following content:
```yaml theme={null}
apiVersion: v1
kind: Pod
metadata:
name: multi-pod
spec:
containers:
- name: jupiter
image: nginx
env:
- name: type
value: "planet"
- name: europa
image: busybox
command: ["/bin/sh", "-c", "sleep 4800"]
env:
- name: type
value: "moon"
```
Apply the configuration:
```bash theme={null}
kubectl apply -f multi-pod.yaml
```
***
## 9. Create a Persistent Volume
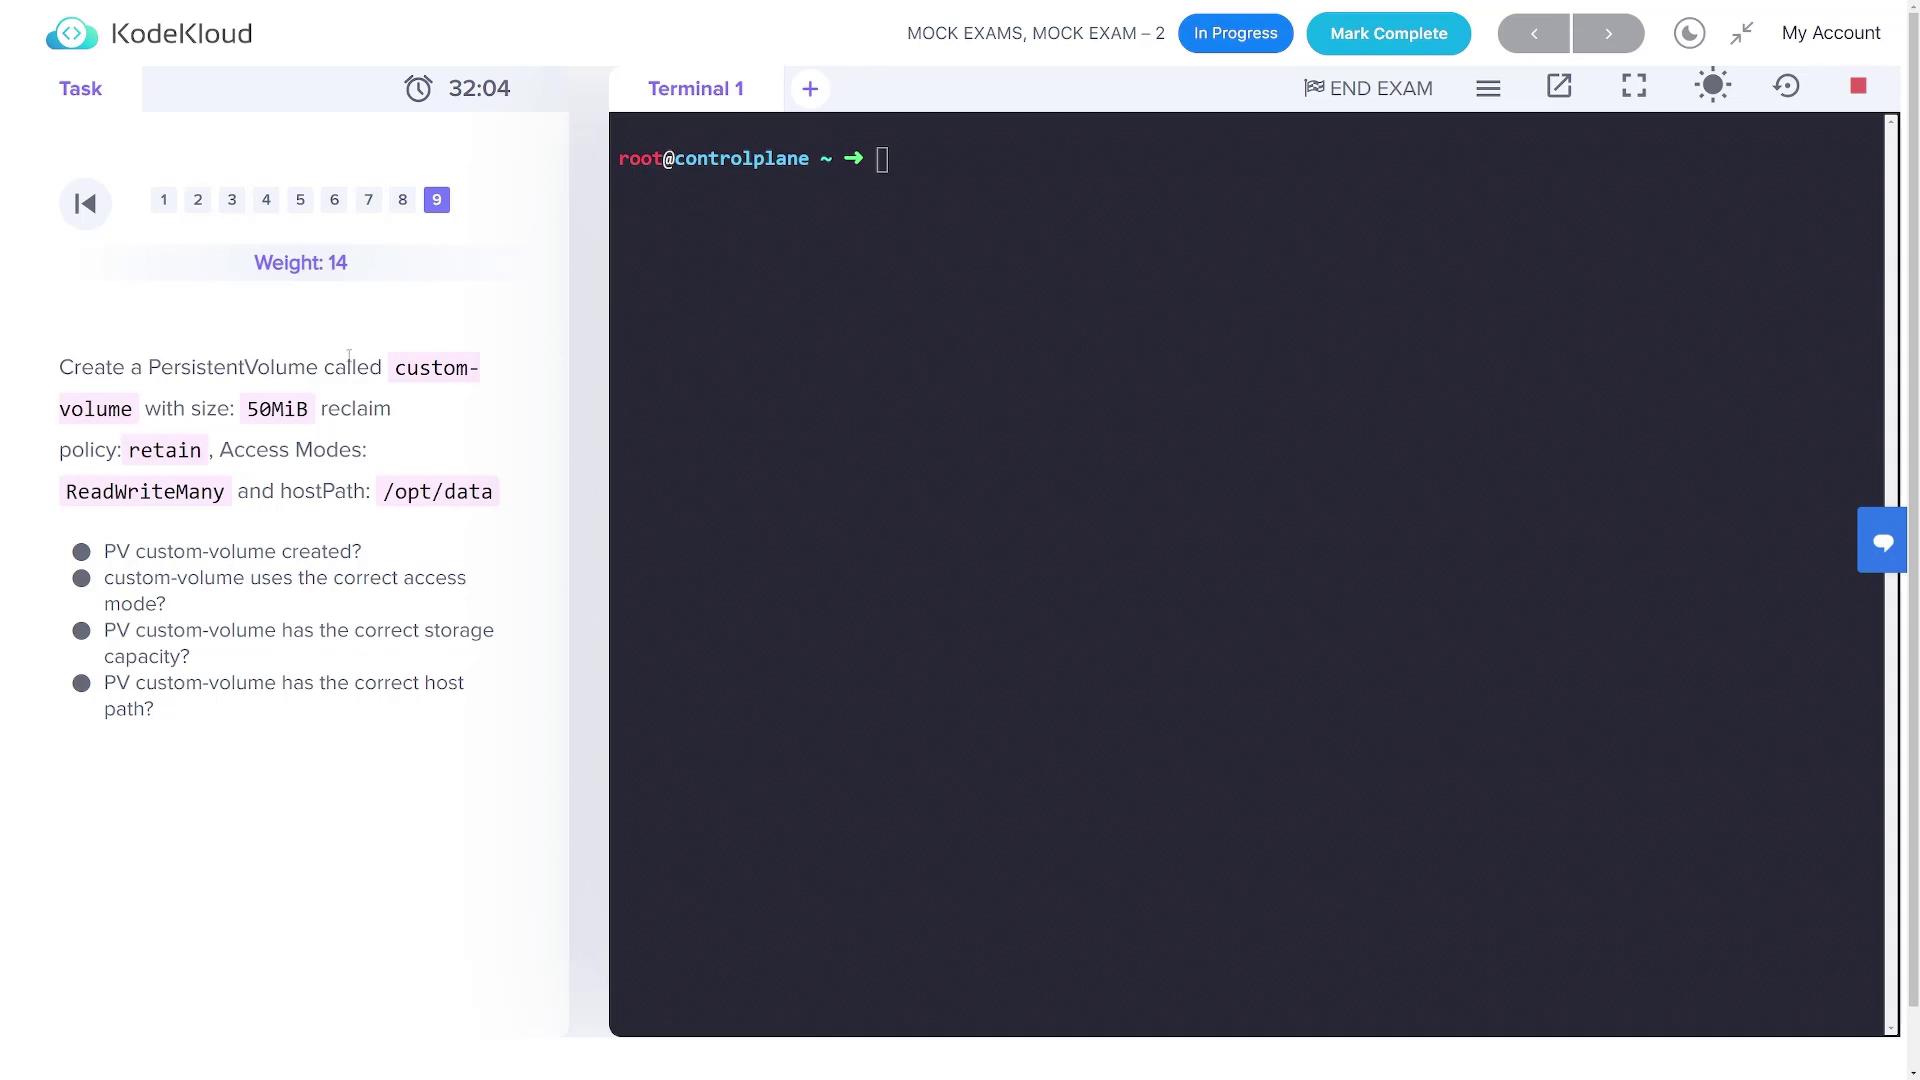
Create a persistent volume named **custom-volume** with these attributes:
* **Storage:** 50Mi
* **Reclaim Policy:** Retain
* **Access Modes:** ReadWriteMany
* **Host Path:** /opt/data
Create a file named `pv.yaml` with the configuration below:
```yaml theme={null}
apiVersion: v1
kind: PersistentVolume
metadata:
name: custom-volume
spec:
capacity:
storage: 50Mi
accessModes:
- ReadWriteMany
persistentVolumeReclaimPolicy: Retain
hostPath:
path: /opt/data
```
Apply the persistent volume configuration:
```bash theme={null}
kubectl apply -f pv.yaml
```
***
This concludes the mock exam solutions. Verify each resource with the appropriate kubectl commands to ensure all configurations are applied successfully. Enjoy scaling your Kubernetes expertise!