> ## Documentation Index
> Fetch the complete documentation index at: https://notes.kodekloud.com/llms.txt
> Use this file to discover all available pages before exploring further.
# Solution Validating and Mutating Admission Controllers
> This article provides a hands-on guide for validating and mutating admission controllers in Kubernetes, covering namespace creation, TLS secret management, and webhook server deployment.
In this lesson, we walk through the lab on validating and mutating admission controllers. You'll gain hands-on experience with namespace creation, TLS secret management, deploying webhook servers, and testing pod security contexts.
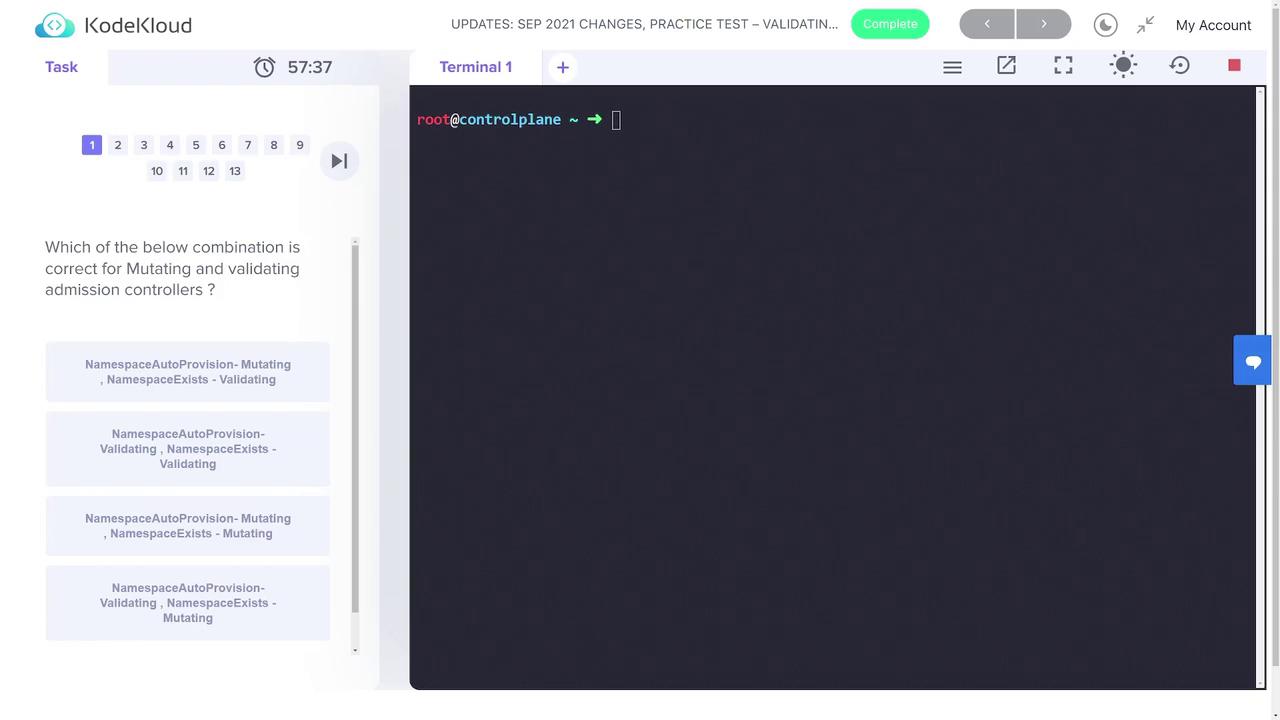
The lab begins with a multiple-choice question asking which combination is correct for mutating and validating admission controllers. The key observation is that the namespace auto-provision admission controller performs a mutation by automatically creating or altering a namespace. On the other hand, the namespace existence check is strictly a validation step. Therefore, the correct combination is to treat namespace auto-provisioning as mutating and namespace existence checking as validating.
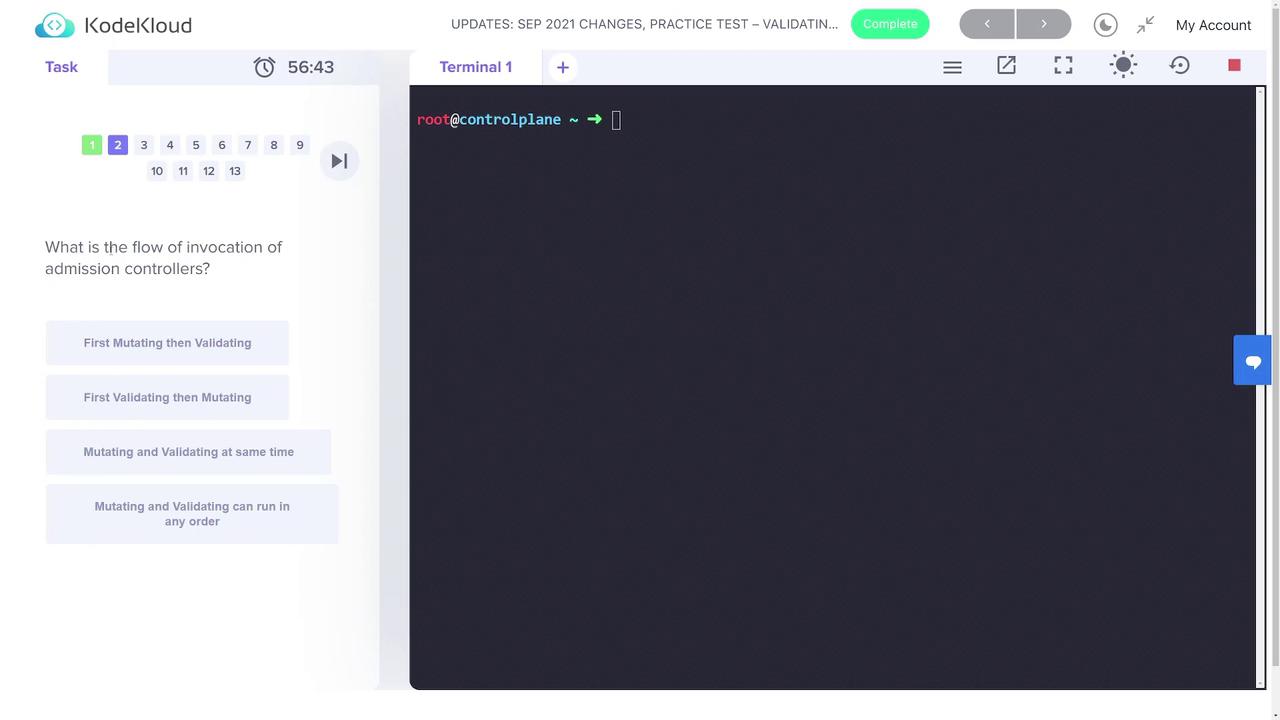
## Step 1: Create the Namespace
First, create a namespace named "webhook-demo" to serve as the environment for the webhook operations.
```bash theme={null}
kubectl create ns webhook-demo
```
After executing the command, verify that the namespace is created by listing all namespaces:
```bash theme={null}
kubectl get ns
```
You should see the "webhook-demo" namespace included in the output.
## Step 2: Create a TLS Secret
For secure webhook communication, create a TLS secret named "webhook-server-tls" in the "webhook-demo" namespace. Ensure you substitute the correct file paths for the certificate and key:
```bash theme={null}
kubectl -n webhook-demo create secret tls webhook-server-tls \
--cert "/root/keys/webhook-server-tls.crt" \
--key "/root/keys/webhook-server-tls.key"
```
A successful creation message will confirm that the TLS secret has been established.
## Step 3: Deploy the Webhook Server
Review the webhook server deployment definition provided in the file `webhook-deployment.yaml`:
```bash theme={null}
cat webhook-deployment.yaml
```
Deploy the webhook server with the following command:
```bash theme={null}
kubectl apply -f webhook-deployment.yaml
```
## Step 4: Create the Webhook Service
Create a service for the webhook server using the configuration in `webhook-service.yaml`:
```bash theme={null}
kubectl apply -f webhook-service.yaml
```
## Step 5: Apply the Mutating Webhook Configuration
Next, apply the mutating webhook configuration defined in `webhook-configuration.yaml`. This file includes rules under the "rules" section to intercept "CREATE" operations for pods.
```bash theme={null}
kubectl apply -f webhook-configuration.yaml
```
When applying the webhook configuration, you might receive a deprecation warning indicating that admissionregistration.k8s.io/v1beta1 is deprecated in favor of v1. Despite the warning, the configuration will still perform its intended function by denying pod creation requests that attempt to run as root when no security context is provided.
In our lab, if no explicit value is given for "runAsNonRoot", a default value of `true` is applied, and the user ID is defaulted to `1234` unless overridden.
## Step 6: Test the Webhook by Deploying Pods
### Pod with Default Security Context
The next stage involves deploying a pod that does not specify any security context so that the webhook can mutate the configuration. The YAML file `pod-with-defaults.yaml` contains the following configuration:
```yaml theme={null}
# A pod with no securityContext specified.
# Without the webhook, it would run as user root (0). The webhook mutates it
# to run as the non-root user with uid 1234.
apiVersion: v1
kind: Pod
metadata:
name: pod-with-defaults
labels:
app: pod-with-defaults
spec:
restartPolicy: OnFailure
containers:
- name: busybox
image: busybox
command: ["sh", "-c", "echo I am running as user $(id -u)"]
```
Deploy the pod with:
```bash theme={null}
kubectl apply -f pod-with-defaults.yaml
```
After deployment, confirm that the pod has been mutated by retrieving the pod details:
```bash theme={null}
kubectl get pod pod-with-defaults -o yaml
```
The webhook should have added a mutated security context, setting `runAsNonRoot: true` and `runAsUser: 1234`.
### Pod with Explicit Override
Next, deploy a pod that explicitly sets its security context to allow running as root. Check the `pod-with-override.yaml` file where the security context is defined with `runAsNonRoot` set to `false`:
```bash theme={null}
kubectl apply -f pod-with-override.yaml
```
Review the file to confirm that the override is applied as intended.
### Pod with Conflicting Security Context
Finally, deploy a pod with a conflicting security configuration in the `pod-with-conflict.yaml` file. This configuration attempts to set `runAsNonRoot: true` while also specifying `runAsUser: 0`, creating a conflict.
```yaml theme={null}
apiVersion: v1
kind: Pod
metadata:
name: pod-with-conflict
labels:
app: pod-with-conflict
spec:
restartPolicy: OnFailure
securityContext:
runAsNonRoot: true
containers:
- name: busybox
image: busybox
command: ["sh", "-c", "echo I am running as user $(id -u)"]
```
Deploy the conflicting pod with:
```bash theme={null}
kubectl apply -f pod-with-conflict.yaml
```
The admission webhook should reject the conflicting pod creation request, displaying an error message similar to the following:
Error from server: error when creating "pod-with-conflict.yaml": admission webhook "webhook-server.webhook-demo.svc" denied the request: runAsNonRoot specified, but runAsUser set to 0 (the root user)
This rejection confirms that the webhook validation is functioning as expected by preventing pods from running as root when it is not allowed.
***
This comprehensive walkthrough demonstrates how to validate and mutate admission controllers effectively. By following these steps, you ensure that your Kubernetes environment enforces the desired security configurations.