> ## Documentation Index
> Fetch the complete documentation index at: https://notes.kodekloud.com/llms.txt
> Use this file to discover all available pages before exploring further.
# Persistent Volume Claims
> This article explains creating Persistent Volume Claims in Kubernetes and how they bind to Persistent Volumes, including reclaim policies for efficient storage management.
Welcome to this lesson on Persistent Volume Claims (PVCs) in Kubernetes. In this article, we will walk through the process of creating a PVC, explain how Kubernetes binds PVCs to Persistent Volumes (PVs), and discuss reclaim policies for managing storage efficiently.
Before you create a PVC, ensure that one or more persistent volumes are available in your cluster. Remember, persistent volumes and persistent volume claims are separate Kubernetes objects. Typically, an administrator creates a pool of persistent volumes, while a user creates PVCs to request and access that storage.
When a PVC is created, Kubernetes searches for an appropriate PV that meets the requested capacity and matching properties such as access modes, volume modes, and storage class. Each PVC is bound to a single PV based on a best-match algorithm. The diagram below illustrates the relationship between PVCs and PVs:
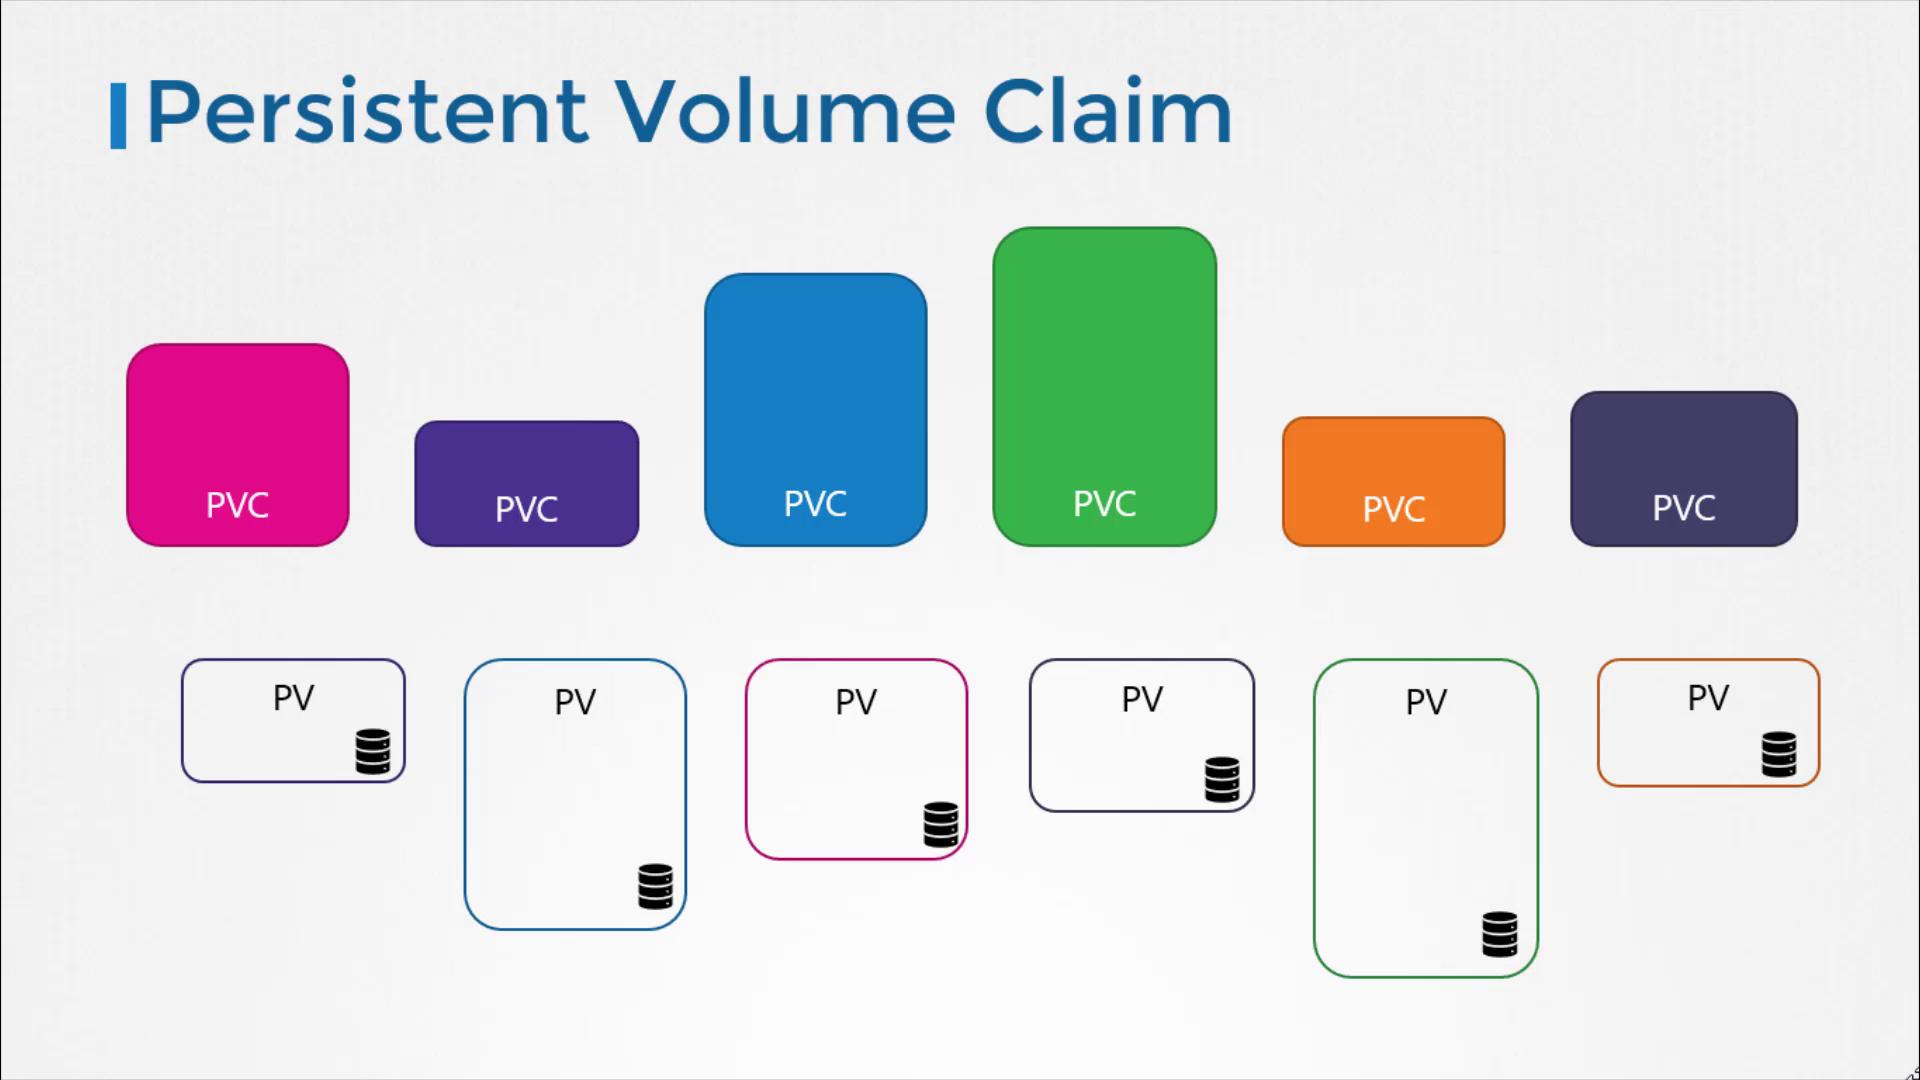
If multiple persistent volumes could satisfy a claim’s requirements, labels and selectors can be used to bind a claim to a specific volume. For example, consider the following configuration snippet that uses a selector with a label match:
```yaml theme={null}
selector:
matchLabels:
name: my-p
```
On the PV side, you might define:
```yaml theme={null}
labels:
name: my-pv
```
Even if the PVC requests a smaller amount of storage, it may bind to a larger PV if all other criteria match and no better option is available. Once a PV is bound to a PVC, its remaining capacity cannot be used for other claims.
If no suitable volumes are available, the PVC remains in a pending state. When new PVs are added that meet the claim’s requirements, Kubernetes binds the PVC automatically.
## Creating a Persistent Volume Claim
Let's create a persistent volume claim using a YAML template. In this example, the API version is set to v1 and the kind is PersistentVolumeClaim. The claim is named "myclaim". Under the specification, we set the access mode to ReadWriteOnce and request 500Mi of storage.
Below is the YAML definition for the PVC:
```yaml theme={null}
apiVersion: v1
kind: PersistentVolumeClaim
metadata:
name: myclaim
spec:
accessModes:
- ReadWriteOnce
resources:
requests:
storage: 500Mi
```
To create the claim, run the following command:
```bash theme={null}
kubectl create -f pvc-definition.yaml
```
Once applied, you can view the status of your PVC with:
```bash theme={null}
kubectl get persistentvolumeclaim
```
The output might initially be similar to:
```text theme={null}
NAME STATUS VOLUME CAPACITY ACCESS MODES
myclaim Pending
```
At this point, Kubernetes is evaluating the available persistent volumes. Suppose you have already configured a PV as shown below:
```yaml theme={null}
apiVersion: v1
kind: PersistentVolume
metadata:
name: pv-voll
spec:
accessModes:
- ReadWriteOnce
capacity:
storage: 1Gi
awsElasticBlockStore:
volumeID:
fsType: ext4
```
Since the PV's access mode matches and its capacity (1Gi) exceeds the PVC's request (500Mi), Kubernetes binds the PVC to this PV if no other closer match exists. You can verify the binding by executing:
```bash theme={null}
kubectl get persistentvolumeclaim
```
The PVC status should now show as "Bound".
## Deleting a Persistent Volume Claim and Reclaim Policies
To delete a PVC, use the following command:
```bash theme={null}
kubectl delete persistentvolumeclaim myclaim
```
After deletion, it's important to understand the fate of the underlying PV based on its reclaim policy. The reclaim policy determines what happens to a PV when its associated PVC is deleted.
### Reclaim Policy Options
The default reclaim policy is set to Retain, which means the PV remains available until manually deleted by an administrator:
```yaml theme={null}
persistentVolumeReclaimPolicy: Retain
```
If you want Kubernetes to automatically delete the PV when the PVC is removed—thus freeing up the storage—you can change the reclaim policy accordingly. Alternatively, you might choose the Recycling policy, where the data on the volume is scrubbed before the volume is made available for reuse:
```yaml theme={null}
persistentVolumeReclaimPolicy: Recycling
```
To practice configuring and troubleshooting persistent volumes and claims in Kubernetes, review the above configurations and experiment with these commands on your cluster.
## Summary
In this lesson, we covered:
* **PVC and PV Concepts:** How PVCs bind to suitable PVs based on capacity and properties.
* **Configuration Example:** Creating a PVC using a YAML file.
* **PVC Creation Process:** Binding status and troubleshooting.
* **Reclaim Policies:** How PVs behave after their associated PVC is deleted.
For more detailed Kubernetes information, refer to the following resources:
* [Kubernetes Basics](https://kubernetes.io/docs/concepts/overview/what-is-kubernetes/)
* [Kubernetes Documentation](https://kubernetes.io/docs/)
* [Docker Hub](https://hub.docker.com/)
Happy learning!