This article discusses securing the Kubelet in Kubernetes by configuring authentication, authorization, and managing access to its APIs.
In this lesson, we revisit the Kubelet and examine multiple approaches for its configuration and hardening on Kubernetes nodes. In the CKA Certification Course - Certified Kubernetes Administrator, the Kubelet is compared to a ship’s captain. Much like a captain, it handles onboard operations, manages paperwork to join the cluster, and communicates regularly with the master control. It also loads or unloads containers as instructed by the scheduler and sends continuous status reports.However, a significant security risk arises if an impersonator masquerades as the master, potentially exposing sensitive information about cargo such as its quantity, content, and destination. Therefore, protecting all communications between the master (kube-apiserver) and the Kubelet is essential.The Kubelet registers its node with the Kubernetes cluster and, upon receiving commands to deploy a container or pod, delegates tasks to the container runtime (for example, Docker). It then continuously monitors the pod and container states, reporting their status back to the kube-apiserver.
Traditionally, installing the Kubelet involved manually downloading its binary and configuring it as a service. When using the kubeadm tool for cluster deployment, the necessary binaries are downloaded automatically, and the cluster is bootstrapped for you. However, you must still install the Kubelet on each worker node manually.Below is an example of installing the Kubelet and setting up its service:
Starting with version 1.10, many parameters previously passed via command-line flags have been migrated into a dedicated Kubelet configuration file. This file, known as the Kubelet configuration, simplifies deployment and management.Below is an updated example demonstrating how to configure the Kubelet service to use a remote container runtime:
When initiating the Kubelet service, specify the path to the configuration file using the --config flag. Notice that parameters are defined using camel case (e.g., httpCheckFrequency) rather than the command-line flag style (http-check-frequency). Also, note that if the same parameter is set in both the command line and the configuration file, the command-line value takes precedence.
Although kubeadm does not install the Kubelet, it can manage Kubelet configuration files across worker nodes during the kubeadm join process.
To inspect the running Kubelet process and view its configuration settings, check the process details and the configuration file contents. For example:
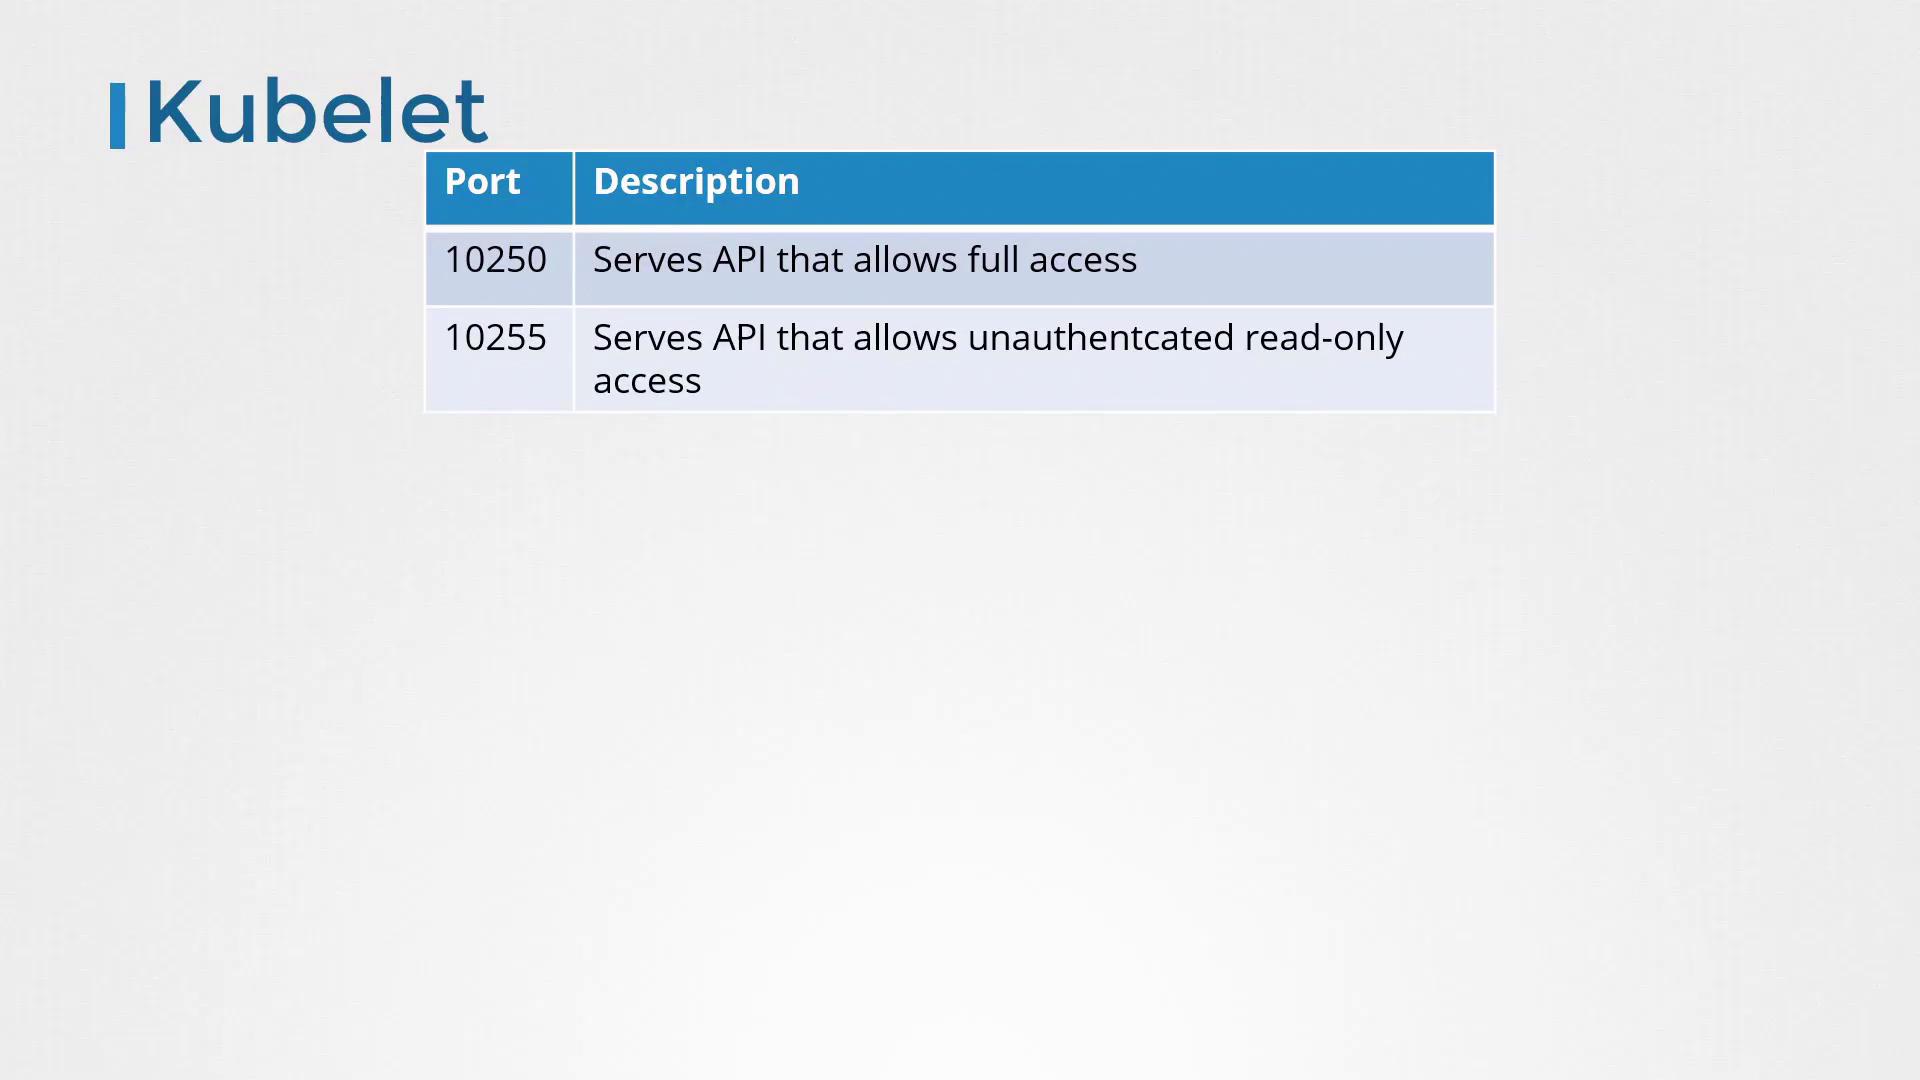
Ensuring that the Kubelet only responds to authenticated requests from the kube-apiserver is critical for the security of your cluster. By default, the Kubelet serves on two distinct ports:
Port 10250: Provides full API access.
Port 10255: Offers a read-only API for metrics and system data.
By default, anonymous access is permitted to these APIs. For example, running the following command returns a list of pods running on a node:
Copy
curl -sk http://localhost:10250/pods
You can also access additional endpoints (e.g., /logs/syslog) for node system log inspection. The Kubelet API exposes multiple functions, including node health checks, metrics, port forwarding, and command execution in containers.The service running on port 10255, however, provides unauthenticated, read-only access. This poses a security risk because anyone with network access could potentially view sensitive data.
By default, the Kubelet treats unauthenticated requests as anonymous, using the credentials system:anonymous and group system:unauthenticated. To disable anonymous access, update the Kubelet service configuration using the --anonymous-auth=false flag:
Certificate-based authentication provides secure access by using a pair of certificates. Configure the Kubelet to use the CA certificate with the --client-ca-file parameter in the service file or within the Kubelet configuration:
When performing API calls (for example, with curl), include the client certificate and key since the kube-apiserver is treated as a client from the Kubelet’s perspective. Below is an example configuration for the kube-apiserver service:
Copy
# Example command lines and configuration snippetsExecStart=/usr/local/bin/kubelet \\ --client-ca-file=/path/to/ca.crt \\curl -sk https://localhost:10250/pods/ --key kubelet-key.pem --cert kubelet-cert.pem# Example kube-apiserver.service snippet[Service]ExecStart=/usr/local/bin/kube-apiserver \\ --kubelet-client-certificate=/path/to/kubelet-cert.pem \\ --kubelet-client-key=/path/to/kubelet-key.pem \\
If neither certificate-based nor token-based authentication explicitly rejects a request, the Kubelet will fallback to treating it as anonymous. Always ensure your authentication mechanisms are correctly configured.
After authenticating requests, the Kubelet determines what actions or API resources a user can access. By default, the authorization mode is set to AlwaysAllow, meaning all requests are permitted. To secure the Kubelet, configure the authorization mode to Webhook so the Kubelet consults the API server to determine if a request should be allowed:
The read-only port (10255) can expose sensitive metrics without authentication. It is advisable to disable this port if not explicitly needed. You can disable it by setting the port value to zero in either the service file or configuration file:
In this lesson, we reviewed critical aspects of securing the Kubelet:
Disable anonymous authentication by setting --anonymous-auth=false or configuring it within the YAML file.
Implement a secure authentication mechanism with certificate-based authentication by setting the clientCAFile parameter.
Configure authorization using the Webhook mode so that the API server validates requests.
Disable the read-only port (10255) by setting it to zero if unauthenticated access is not desired.
By applying these security measures, your Kubelet will be significantly more resilient to unauthorized access. Now, proceed to the labs and practice implementing Kubelet security in your Kubernetes environment.