> ## Documentation Index
> Fetch the complete documentation index at: https://notes.kodekloud.com/llms.txt
> Use this file to discover all available pages before exploring further.
# Open Policy Agent OPA
> This lesson introduces Open Policy Agent (OPA) for managing authorization in a web service scenario using a simple Flask application.
In this lesson, we dive into Open Policy Agent (OPA) by examining a straightforward web service scenario and demonstrating how OPA can manage authorization. We focus on plain OPA without using Docker or Kubernetes, making it easy to understand the core concepts.
Imagine a web service where users place orders for products. The service must be secure: communications between the user and the web portal are both authenticated and authorized. Authentication confirms the user’s identity (e.g., via usernames/passwords or certificates), while authorization controls what an authenticated user is permitted to do—such as viewing past orders or placing new ones.
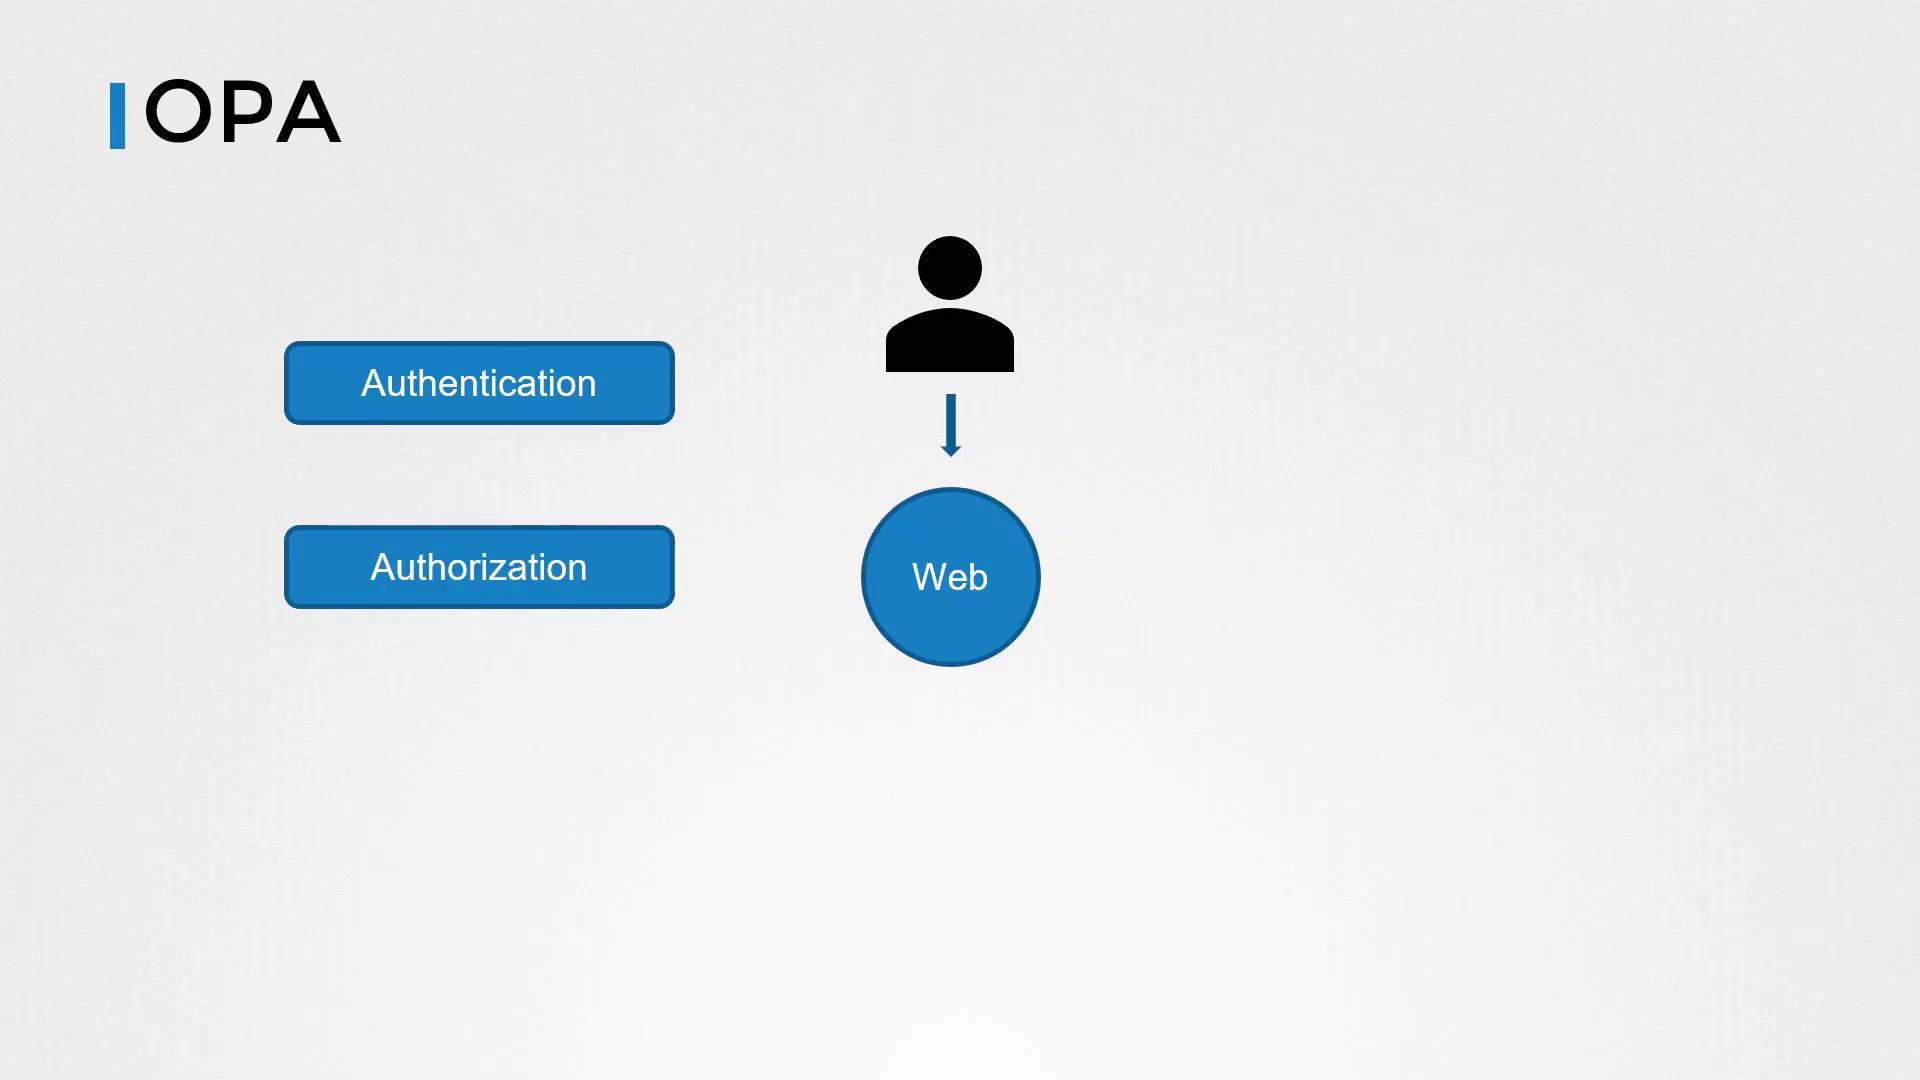
Below, we first demonstrate a basic Python-based Flask application without any authorization. Next, we incorporate basic authorization within Flask. Finally, we integrate OPA to provide a robust and flexible authorization solution.
***
## A Simple Flask Application Without Authorization
Consider this basic Flask application which serves the "/home" endpoint and returns a welcome message:
```python theme={null}
@app.route('/home')
def hello_world():
return 'Welcome Home!', 200
```
In this initial version, there is no authorization in place, meaning the endpoint is accessible to anyone.
***
## Adding Basic Authorization in Flask
To add a simple layer of authorization, we check if the user is "john". In this example, the username is provided as a URL parameter:
```python theme={null}
@app.route('/home')
def hello_world():
user = request.args.get("user")
if user != "john":
return 'Unauthorized!', 401
return 'Welcome Home!', 200
```
While this manual check works for a single case, it quickly becomes unmanageable as the number of users, groups, and roles grows—especially in environments where multiple programming languages are used.
***
## Introducing OPA for Scalable Authorization
To overcome the complexities of distributed authorization, OPA can be deployed as a centralized policy decision point. With OPA, you define policies in a single location that all services can query via an API to determine access permissions.
### Deploying the OPA Server
Begin by downloading the OPA binary, making it executable, and starting the OPA server using the `-s` flag. By default, OPA listens on port 8181 and has an open API without built-in authentication or authorization:
```bash theme={null}
curl -L -o opa https://github.com/open-policy-agent/opa/releases/download/v0.11.0/opa_linux_amd64
chmod 755 ./opa
./opa run -s
{"addrs":["8181"],"insecure_addr":"","level":"info","msg":"First line of log stream.","time":"2021-03-18T20:25:38+08:00"}
```
By default, OPA’s API is open, so it is advisable to implement proper network security measures in production environments.
***
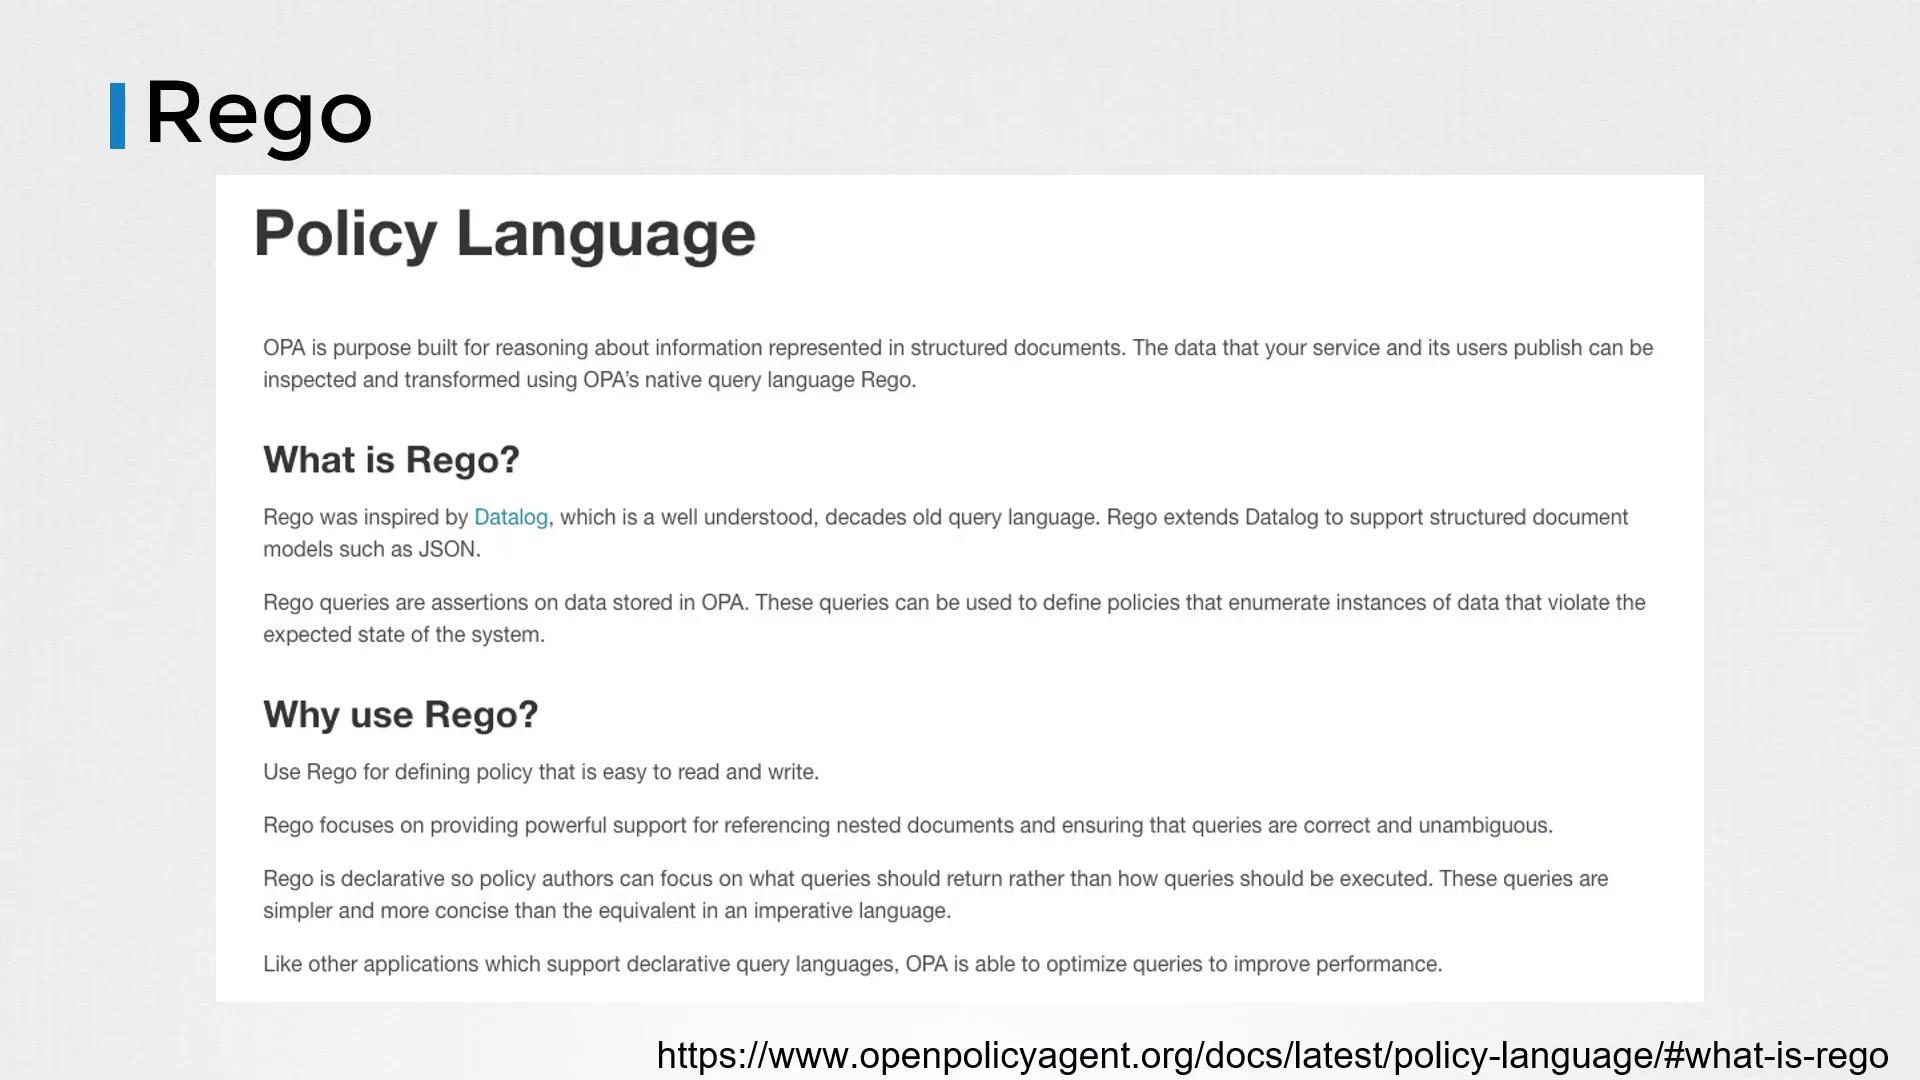
### Defining an Authorization Policy with Rego
OPA policies are authored in Rego and stored in files with the `.rego` extension. Below is an example policy that permits access to the `/home` endpoint only if the user is "john":
```rego theme={null}
package httpapi.authz
# HTTP API request
import input
default allow = false
allow {
input.path == "home"
input.user == "john"
}
```
To load this policy into OPA, use a PUT request:
```bash theme={null}
curl -X PUT --data-binary @example.rego http://localhost:8181/v1/policies/example1
```
To list all existing policies, run:
```bash theme={null}
curl http://localhost:8181/v1/policies
```
***
### Integrating OPA with the Python Application
Instead of embedding the authorization check within your application code, you can now delegate it to the OPA server. The updated Flask application builds an input dictionary and sends it as JSON to the OPA API. The appropriate query endpoint for our policy package, `httpapi.authz`, is `/v1/data/httpapi/authz`.
```python theme={null}
@app.route('/home')
def hello_world():
user = request.args.get("user")
input_dict = {
"input": {
"user": user,
"path": "home"
}
}
rsp = requests.post("http://127.0.0.1:8181/v1/data/httpapi/authz", json=input_dict)
if not rsp.json()["result"]["allow"]:
return 'Unauthorized!', 401
return 'Welcome Home!', 200
```
With this implementation, the Flask application offloads the authorization decision to OPA, which evaluates the input against its policies and responds with a decision.
***
### Experimenting with Rego in the Playground
OPA offers an interactive Rego playground at [play.openpolicyagent.org](https://play.openpolicyagent.org), where you can experiment with writing and testing policies. The playground allows you to work with structured input data and refine your policies on the fly.
For instance, given the input:
```json theme={null}
{
"user": "john",
"path": "home"
}
```
The policy will return:
```json theme={null}
{
"allow": true
}
```
Check out the playground to experiment with more complex policies and inputs.
***
### Testing Your OPA Policies
OPA includes a built-in testing framework that allows you to run tests using Rego test files. Below is an example test file for an authorization policy:
```rego theme={null}
package authz
test_post_allowed {
allow with input as {"path": ["users"], "method": "POST"}
}
test_get_anonymous_denied {
not allow with input as {"path": ["users"], "method": "GET"}
}
test_get_user_allowed {
allow with input as {"path": ["users", "bob"], "method": "GET", "user_id": "bob"}
}
test_get_another_user_denied {
not allow with input as {"path": ["users", "bob"], "method": "GET", "user_id": "alice"}
}
```
Execute the tests with the following command:
```bash theme={null}
$ opa test -v
data.authz.test_post_allowed: PASS (1.417µs)
data.authz.test_get_anonymous_denied: PASS (426ns)
data.authz.test_get_user_allowed: PASS (367ns)
data.authz.test_get_another_user_denied: PASS (320ns)
-----------------------------------------------------------
PASS: 4/4
```
Using OPA's testing framework ensures that your policies perform as expected before deploying them into production.
***
***
## Conclusion
This lesson provided an introduction to OPA by starting with a simple Flask application, adding basic in-code authorization, and finally migrating to a centralized authorization model using OPA. We explored how to author policies in Rego, load them into OPA, integrate policy queries into your application, and test your policies using OPA’s testing framework.
In future lessons, we will explore how OPA integrates with Kubernetes and delve into more advanced use cases. Practice with OPA to gain a deeper understanding of centralized authorization—happy coding!
For additional resources and further reading, explore:
* [Open Policy Agent Documentation](https://www.openpolicyagent.org/docs/)
* [Rego Language Guide](https://www.openpolicyagent.org/docs/latest/policy-language/)
* [Flask Documentation](https://flask.palletsprojects.com/)
* [Python Requests Library](https://docs.python-requests.org/)