> ## Documentation Index
> Fetch the complete documentation index at: https://notes.kodekloud.com/llms.txt
> Use this file to discover all available pages before exploring further.
# Demo Create FIS Experiment using CF
> This tutorial demonstrates deploying an AWS Fault Injection Simulator experiment using a CloudFormation template for chaos engineering.
In this tutorial, you’ll deploy an AWS Fault Injection Simulator (FIS) experiment with a CloudFormation template—the same experiment you could create in the AWS Management Console. This approach enables repeatable, version-controlled chaos engineering deployments.
## Prerequisites
* AWS account with administrative permissions (or FIS, EC2, CloudFormation privileges)
* AWS CLI configured locally
* Basic familiarity with CloudFormation and Auto Scaling groups
## Step 1: Clone the Repository
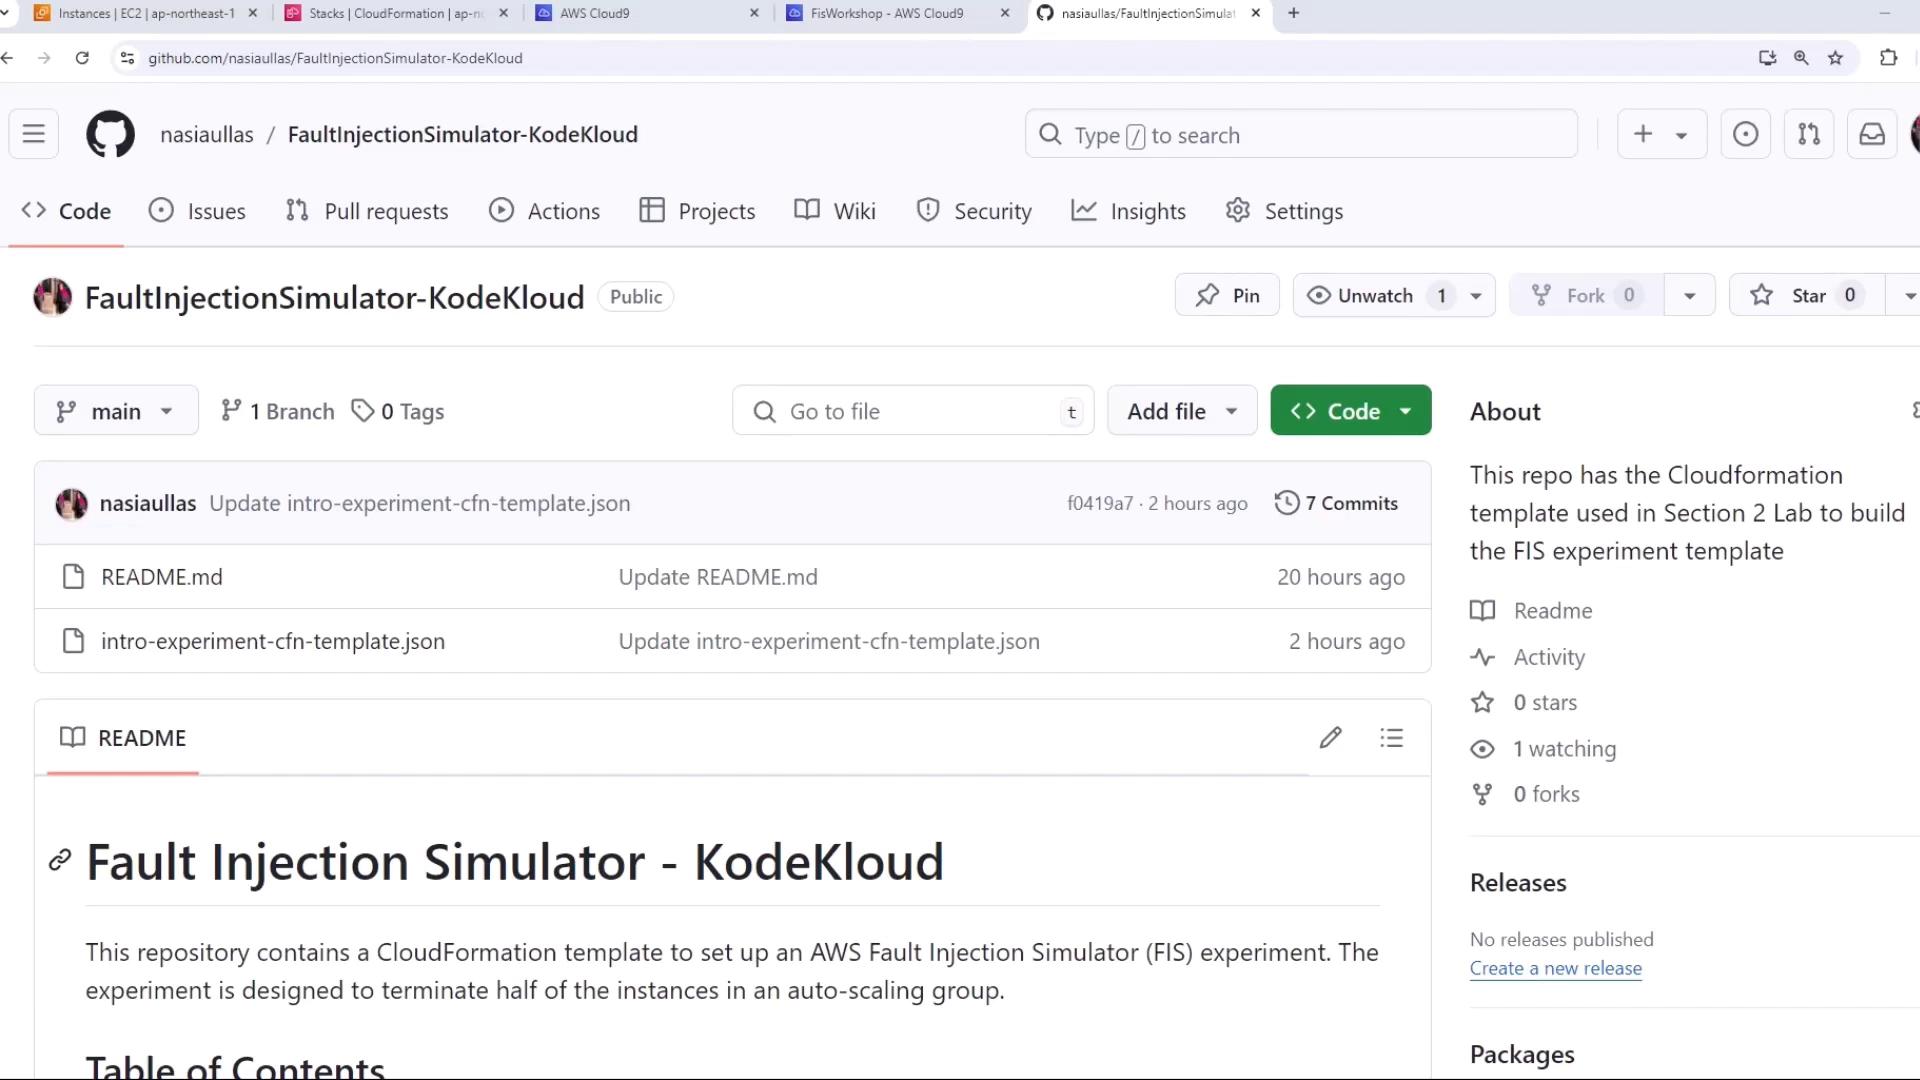
1. Navigate to the GitHub repo shown above.
2. Download or clone the repository to your local system:
```bash theme={null}
git clone https://github.com/kodekloudhub/FaultInjectionSimulator-KodeKloud.git
cd FaultInjectionSimulator-KodeKloud
```
3. Locate the CloudFormation template (`fis-experiment-template.json`).
## Step 2: Review the CloudFormation Template
Below is the core resource definition that creates an FIS experiment template to terminate 50% of instances in an Auto Scaling group:
```json theme={null}
{
"Resources": {
"FisWorkshopTemplate": {
"Type": "AWS::FIS::ExperimentTemplate",
"Properties": {
"Description": "Terminate half of the instances in the auto scaling group",
"Tags": { "Name": "FisWorkshop-Exp1-CloudFormation" },
"Actions": {
"FisWorkshopAsg-TerminateInstances": {
"ActionId": "aws:ec2:terminate-instances",
"Description": "Terminate instances",
"Parameters": {},
"Targets": { "Instances": "FisWorkshopAsg-50Percent" }
}
}
}
}
}
}
```
| Template Section | Purpose | Details |
| ---------------- | ------------------------------------------------------------------- | ---------------------------------------------------------------------- |
| Description | Explains the experiment intent | Terminate 50% of instances |
| Tags | Metadata for easy identification | `Name=FisWorkshop-Exp1-CloudFormation` |
| Actions | Defines chaos actions | `aws:ec2:terminate-instances` targeting a resource selector |
| Targets | Selects the EC2 instances to terminate | `FisWorkshopAsg-50Percent` selects half of the instances by tag filter |
| IAM Role & Logs | (Not shown) Creates an IAM execution role and CloudWatch Logs group | Required for FIS permissions and audit trails |
This template does not declare any parameters—everything is preconfigured.
## Step 3: Deploy the CloudFormation Stack
1. Open the [AWS CloudFormation console](https://console.aws.amazon.com/cloudformation).
2. Choose **Create stack** → **With new resources (standard)**.
3. Upload the JSON template (`fis-experiment-template.json`).
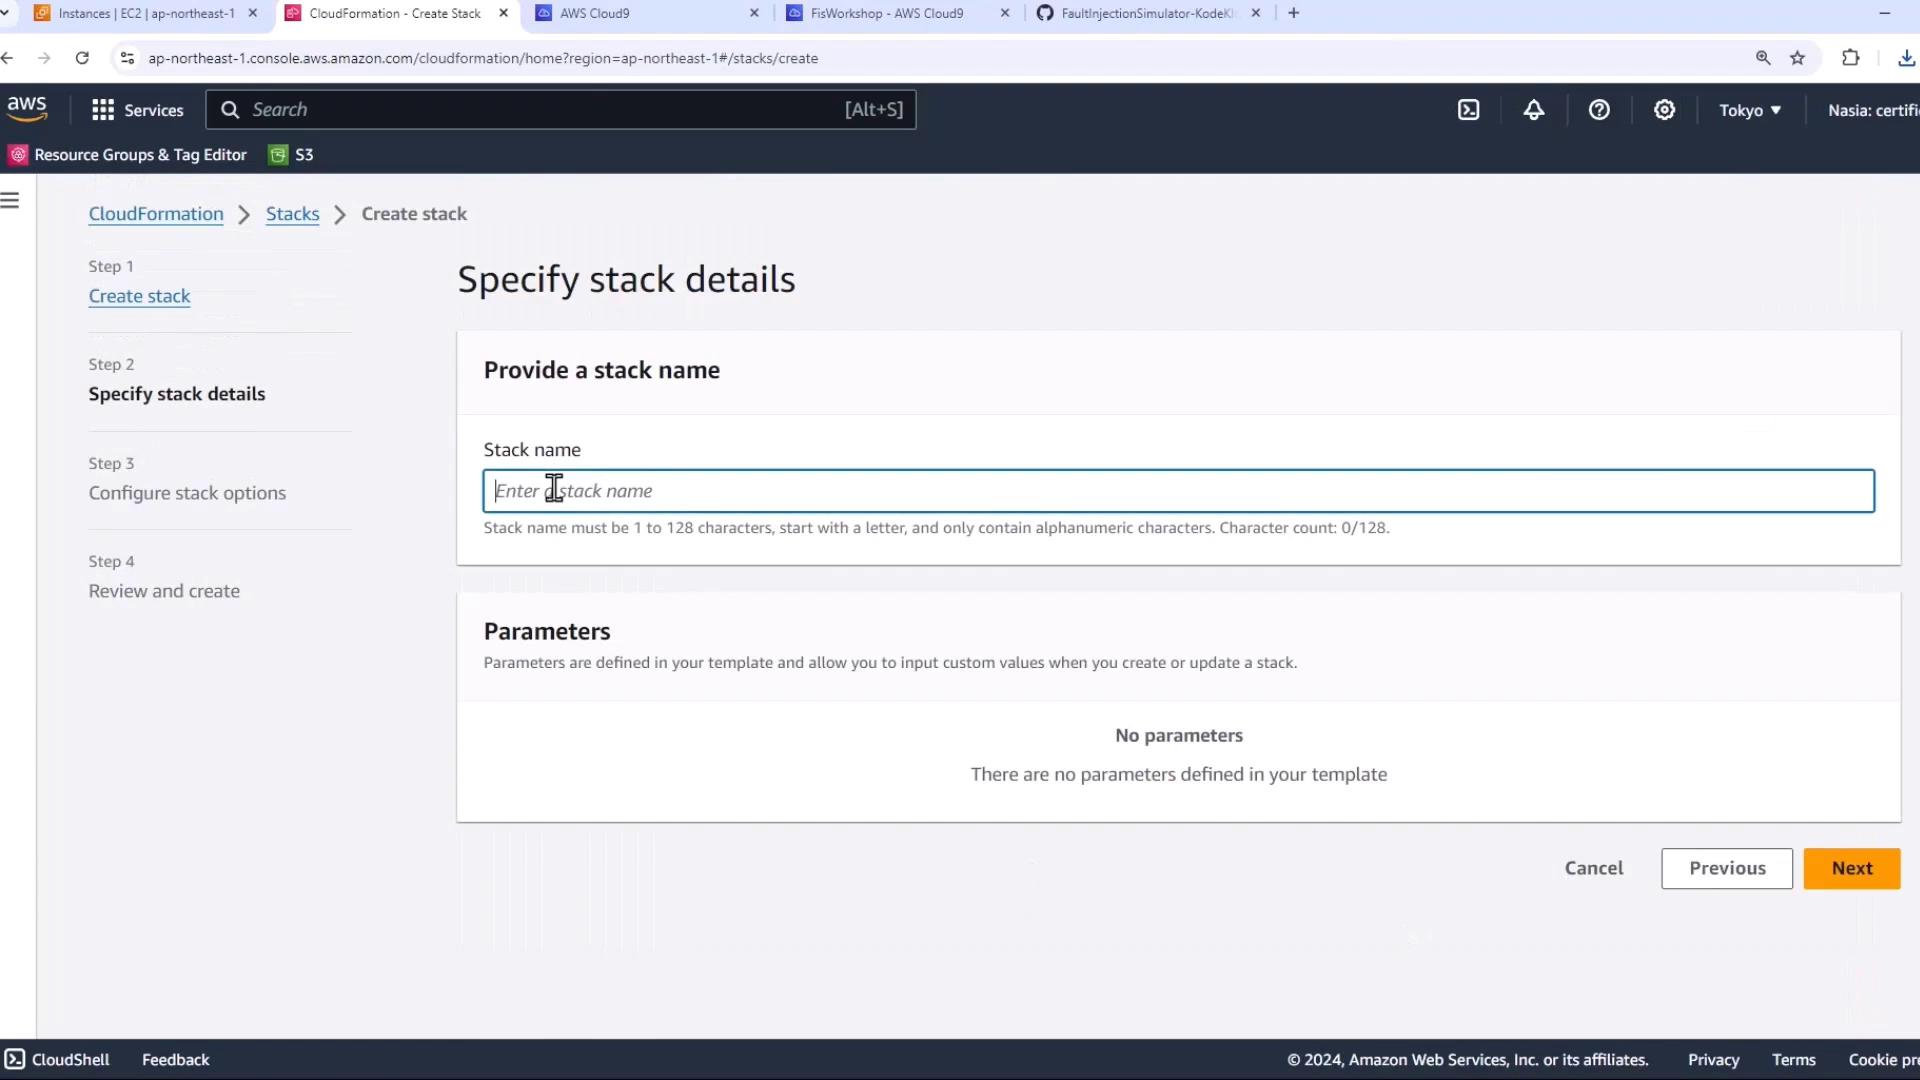
4. Provide a stack name (e.g., `fis-experiment-stack`) and click **Next** through the remaining screens.
5. Review and click **Create stack**.
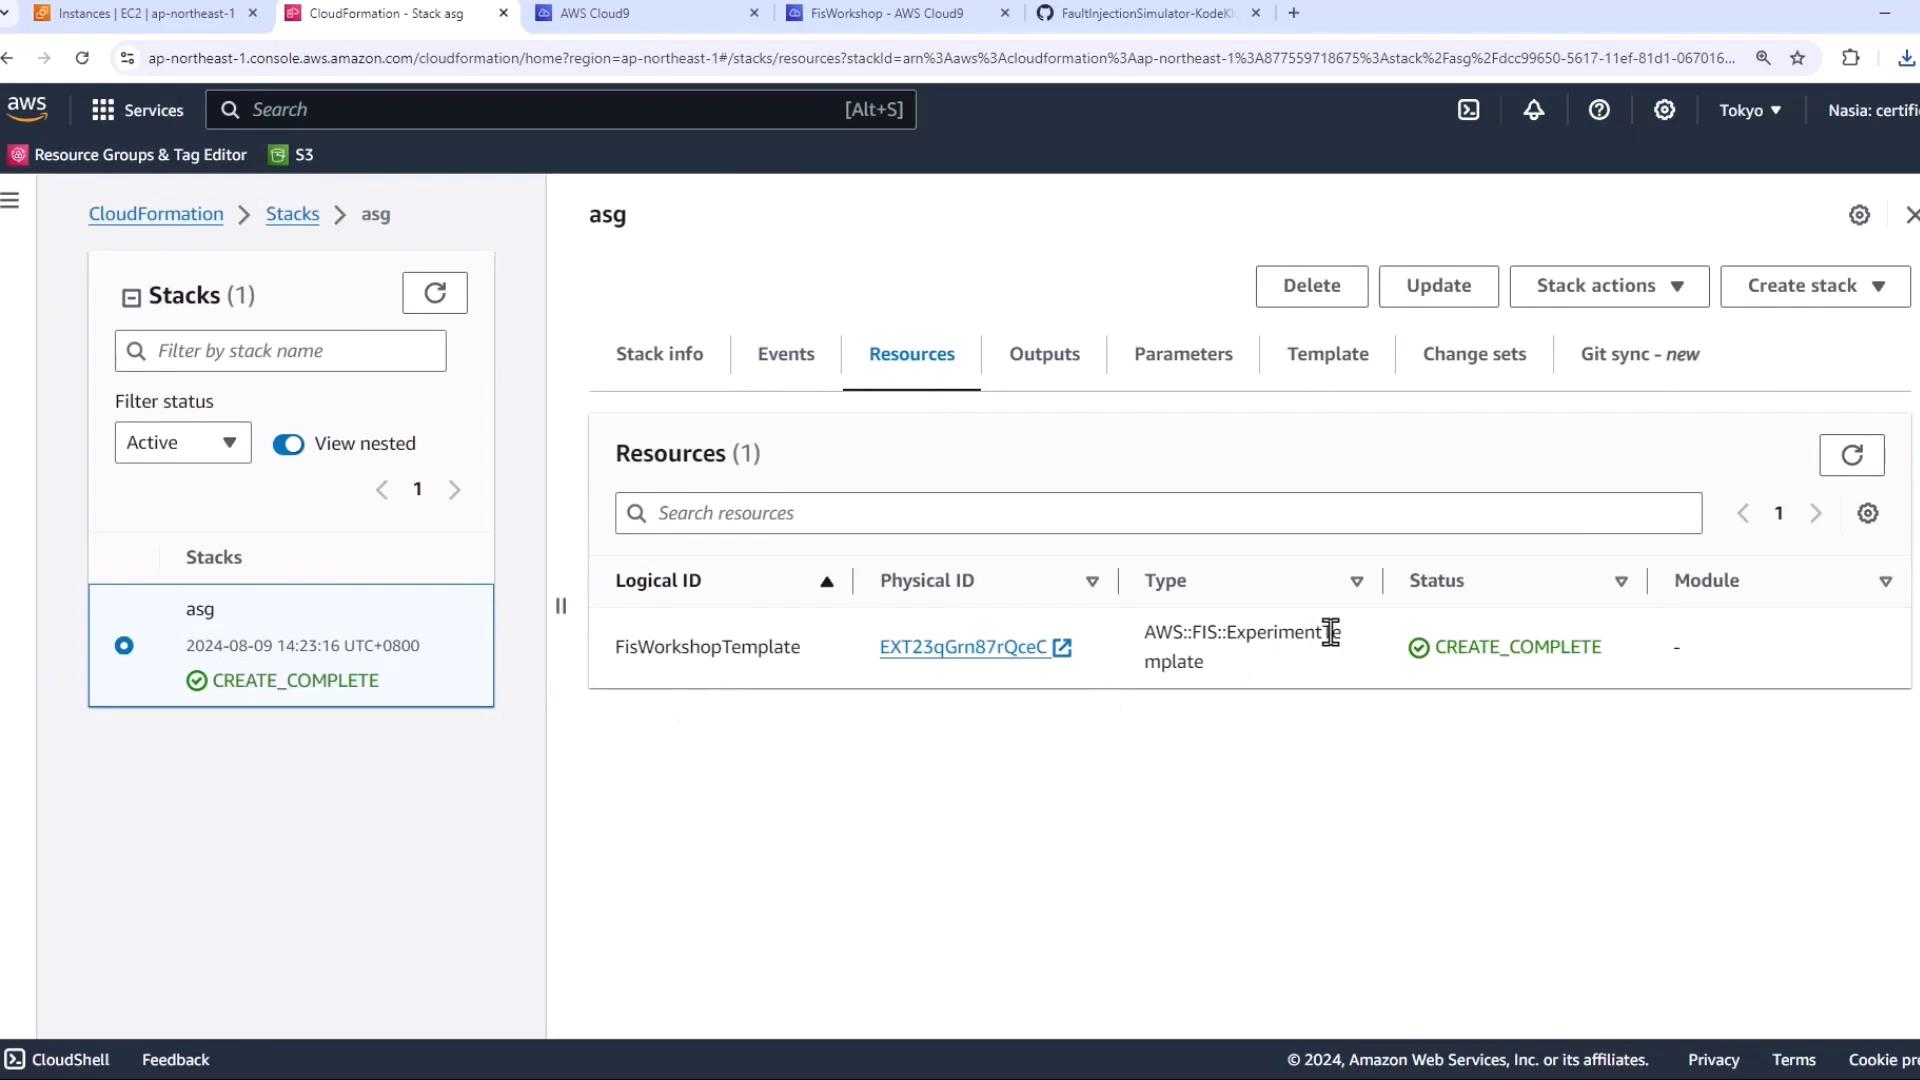
Once the stack reaches **CREATE\_COMPLETE**, confirm that the `FisWorkshopTemplate` resource exists:
## Step 4: Inspect the Experiment in the FIS Console
1. In CloudFormation, click the **FisWorkshopTemplate** resource.
2. Select **View in Console** to open the AWS FIS console.
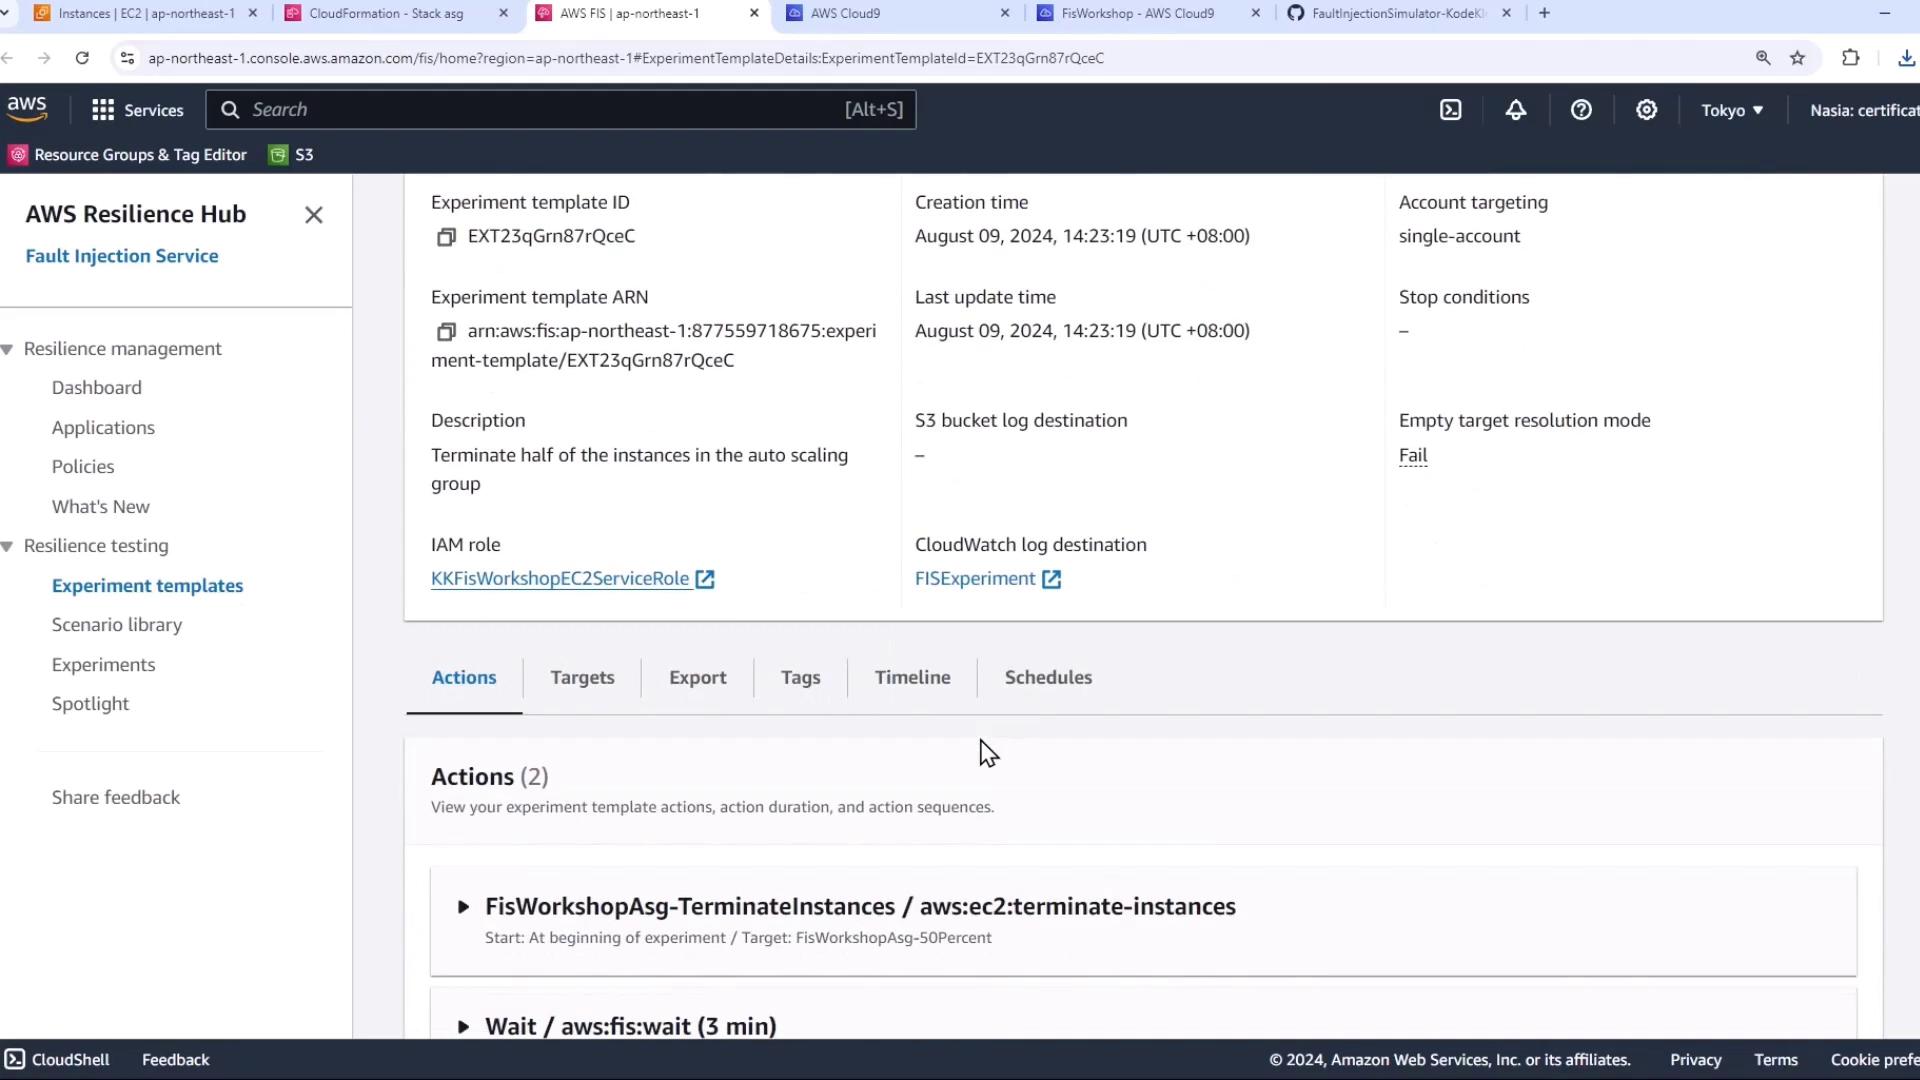
3. Review the **Actions** and **Targets**.
4. Click **Generate preview** to simulate which instances would be affected.
If your Auto Scaling group has fewer than 2 instances, the preview will fail because you cannot select 50% of one instance.
## Step 5: Scale the Auto Scaling Group
1. Open the [EC2 Auto Scaling console](https://console.aws.amazon.com/ec2autoscaling).
2. Select your Auto Scaling group and click **Edit**.
3. Increase the **Desired** and **Minimum** capacity from 1 to 2.
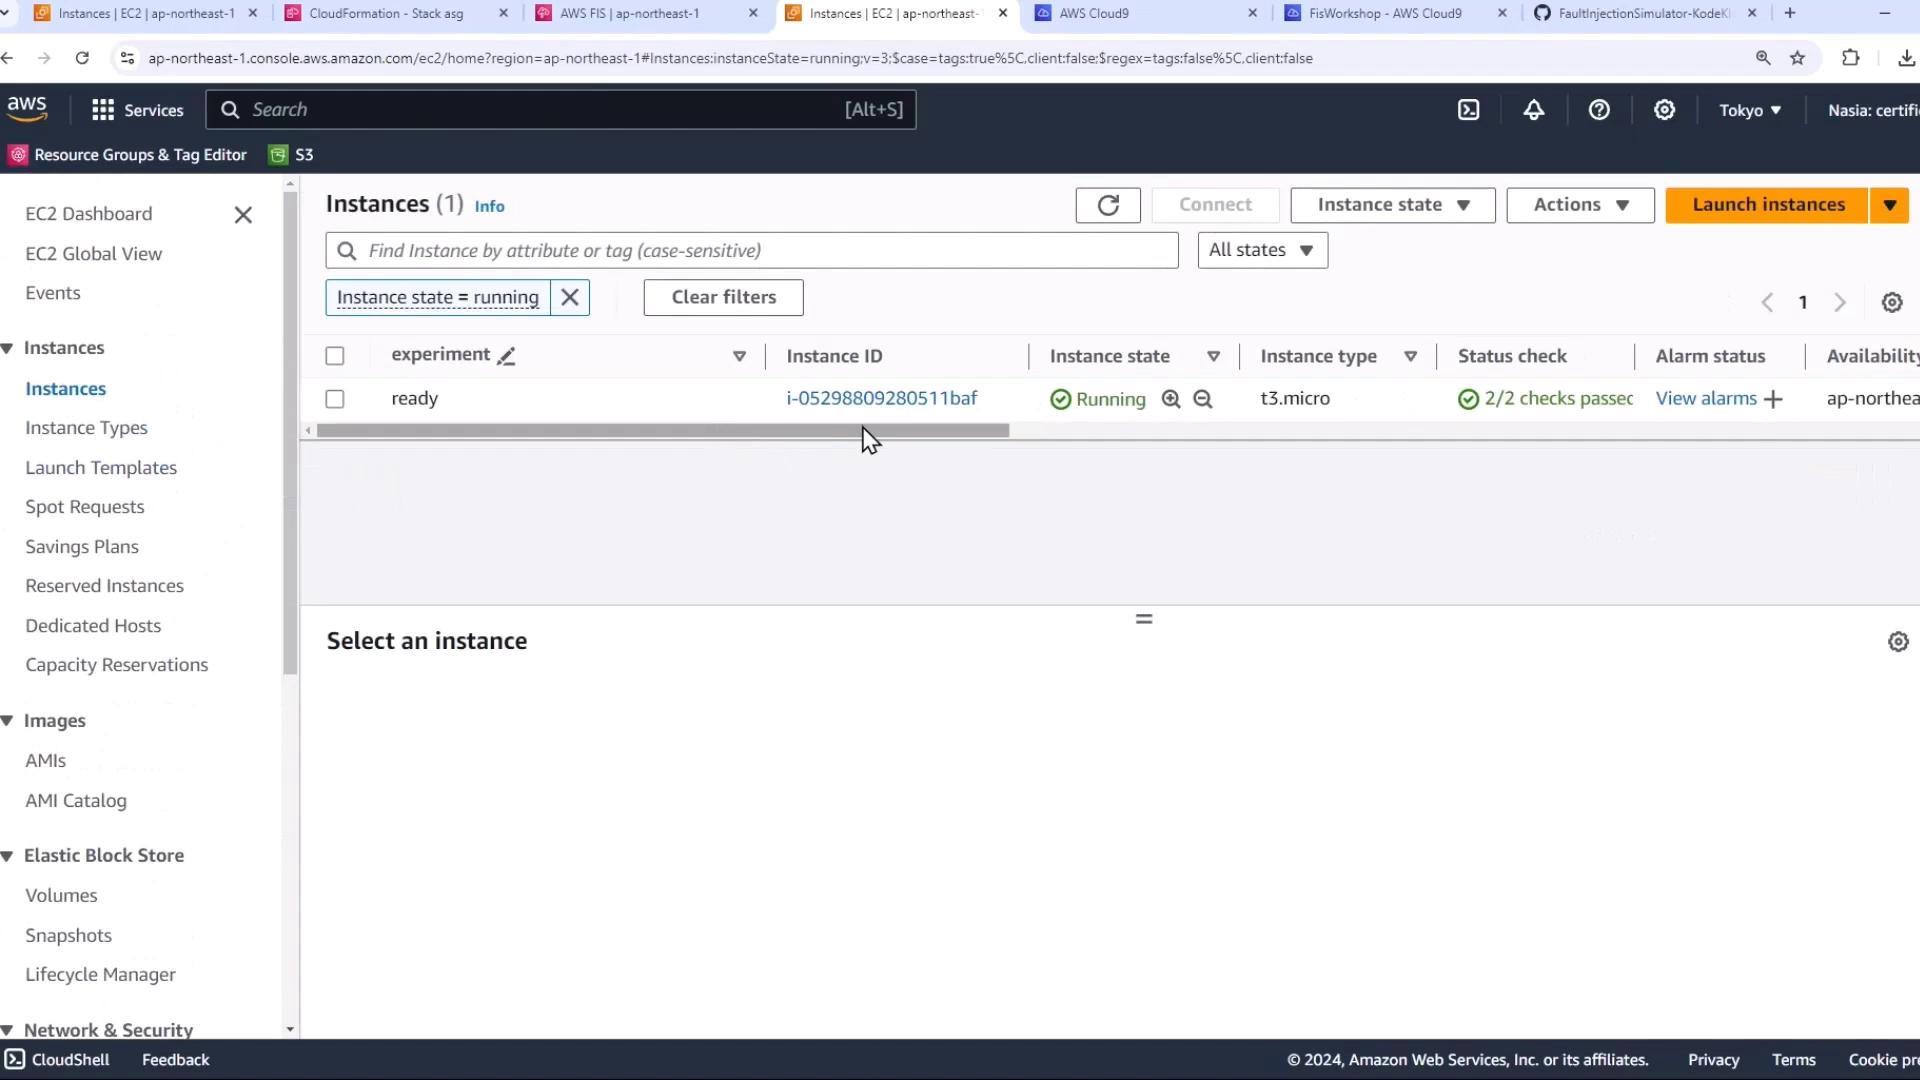
4. Save and wait for the second instance to reach the **running** state.
## Step 6: Generate Preview and Run the Experiment
1. Return to the FIS console and click **Generate preview** again. You’ll see one of the two instances selected.
2. Click **Start experiment** to terminate the instance.
3. Observe that the Auto Scaling group immediately replaces the terminated instance—maintaining your application’s capacity without disruption.
## Links and References
* [AWS Fault Injection Simulator Documentation](https://docs.aws.amazon.com/fis/latest/userguide/)
* [AWS CloudFormation User Guide](https://docs.aws.amazon.com/AWSCloudFormation/latest/UserGuide/)
* [EC2 Auto Scaling Documentation](https://docs.aws.amazon.com/autoscaling/ec2/userguide/)
* [Chaos Engineering on AWS](https://aws.amazon.com/blogs/architecture/introducing-chaos-engineering-on-aws/)