> ## Documentation Index
> Fetch the complete documentation index at: https://notes.kodekloud.com/llms.txt
> Use this file to discover all available pages before exploring further.
# Demo Building an MCP Server
> Guide to building and registering a minimal Python MCP server for a flight booking demo, exposing resources and tools and configuring Roo Code to run and verify them.
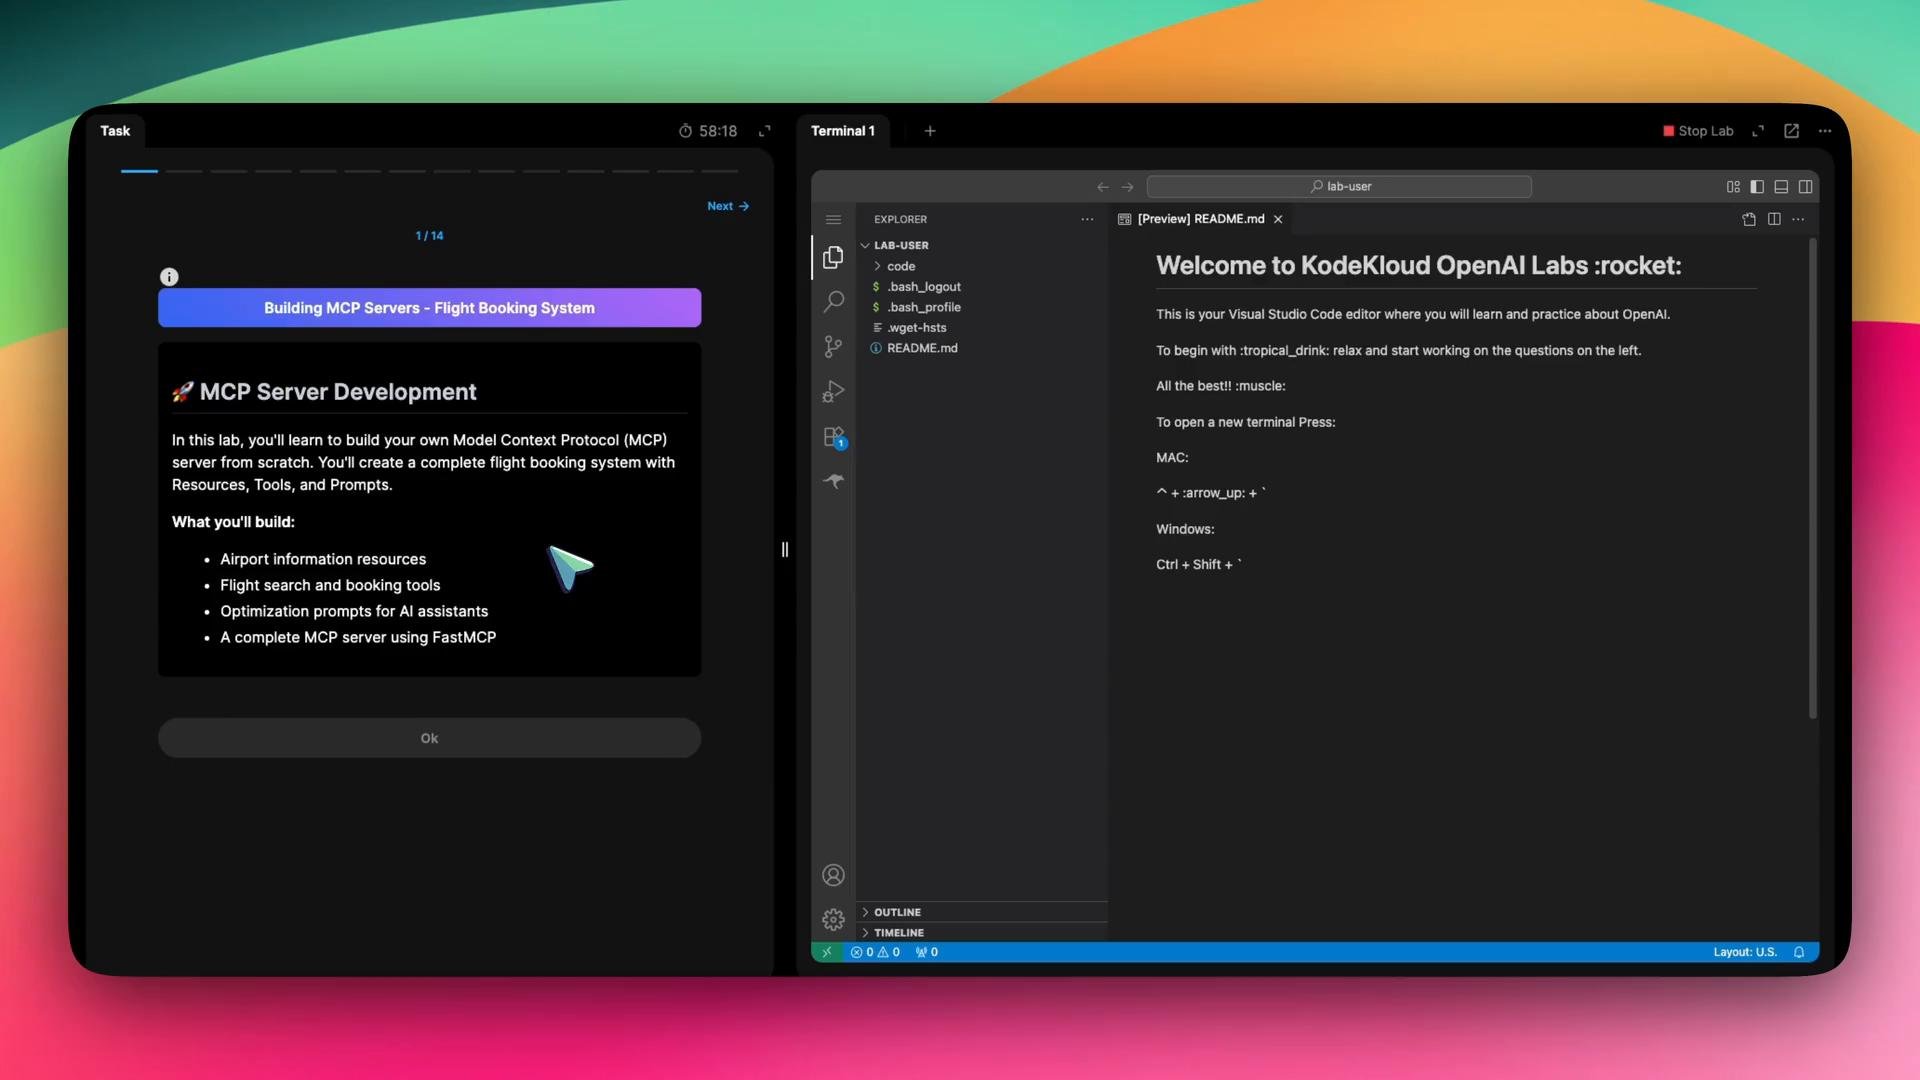
In this lesson you'll build a minimal MCP (Model Context Protocol) server for a flight-booking example and connect it to Roo Code so agents can discover and call its tools and resources.
 Overview
* The lab starts with a quick knowledge-check on MCP concepts (transport protocols, resources, tools, prompts).
* The hands-on tasks walk you through:
* Initializing a Python project
* Implementing an MCP server
* Registering resources and tools (functions exposed to agents)
* Configuring Roo Code to run and use the MCP server
Step 1 — Initialize the Python project
Open a terminal and run the following commands (the lab uses an `uv` runner tool):
```bash theme={null}
cd /home/lab-user
uv init flight-booking-server
cd flight-booking-server
uv add "mcp[cli]"
```
These commands create `/home/lab-user/flight-booking-server` and install the MCP CLI dependency required to run an MCP server.
Step 2 — Review the initial server.py
Open `server.py` in your project. The scaffolded file includes a minimal MCP server and a helper that returns airport data. A simple starting file may look like:
```python theme={null}
from mcp.server.fastmcp import FastMCP
# Create an MCP server
mcp = FastMCP("Flight Booking Server")
def get_airports():
"""List of available airports"""
return {
"LAX": {"name": "Los Angeles International", "city": "Los Angeles"},
"JFK": {"name": "John F. Kennedy International", "city": "New York"},
"LHR": {"name": "London Heathrow", "city": "London"}
}
if __name__ == "__main__":
mcp.run()
```
Task: register the `get_airports` function as an MCP resource and register callable functions (like `search_flights` and `create_booking`) as tools so agents can invoke them.
Step 3 — Register resources and tools
Annotate functions with MCP decorators to expose them to agents:
* Use `@mcp.resource("")` to expose data as a resource (file-like or other URI).
* Use `@mcp.tool()` to register callable tools that agents can invoke with arguments.
Place this updated `server.py` in your project to register a file resource and two tools:
```python theme={null}
from mcp.server.fastmcp import FastMCP
# Create an MCP server
mcp = FastMCP("Flight Booking Server")
@mcp.resource("file://airports")
def get_airports():
"""Get list of available airports"""
return {
"LAX": {"name": "Los Angeles International", "city": "Los Angeles"},
"JFK": {"name": "John F. Kennedy International", "city": "New York"},
"LHR": {"name": "London Heathrow", "city": "London"}
}
@mcp.tool()
def search_flights(origin: str, destination: str) -> dict:
"""Search for flights between two airports"""
return {
"flights": [
{"id": "FL123", "origin": origin, "destination": destination, "price": 299},
{"id": "FL456", "origin": origin, "destination": destination, "price": 349}
]
}
@mcp.tool()
def create_booking(flight_id: str, passenger_name: str) -> dict:
"""Create a flight booking"""
return {
"booking_id": f"BK{flight_id[-3:]}",
"flight_id": flight_id,
"passenger": passenger_name,
"status": "confirmed"
}
if __name__ == "__main__":
mcp.run()
```
Notes on the decorators:
* `@mcp.resource("file://airports")` exposes the airports list under the `airports` file URI. Adjust the URI scheme or name to fit your environment.
* `@mcp.tool()` registers each function as an agent-callable tool.
* Keep `if __name__ == "__main__": mcp.run()` to start the server when the file is executed.
Step 4 — Prompts
The project may also include prompt functions used by agents (examples: `add`, `greet`). Register prompt handlers with whatever decorator or API your MCP library requires. Check your project's example code or the MCP library documentation for the exact prompt registration syntax.
Step 5 — Configure Roo Code (Project-level MCP)
To allow Roo Code to run your MCP server, add a project-level `mcp.json` entry describing how to start it. In Roo Code Project MCP settings, paste this configuration:
```json theme={null}
{
"mcpServers": {
"flight-booking": {
"command": "uv",
"args": ["run", "python", "server.py"],
"cwd": "/home/lab-user/flight-booking-server"
}
}
}
```
Configuration fields explained:
| Field | Purpose | Example |
| - | - | - |
| `mcpServers..command` | Command used to start the MCP server | `uv` |
| `mcpServers..args` | Arguments passed to the command | `["run", "python", "server.py"]` |
| `mcpServers..cwd` | Working directory where the command runs | `/home/lab-user/flight-booking-server` |
After saving:
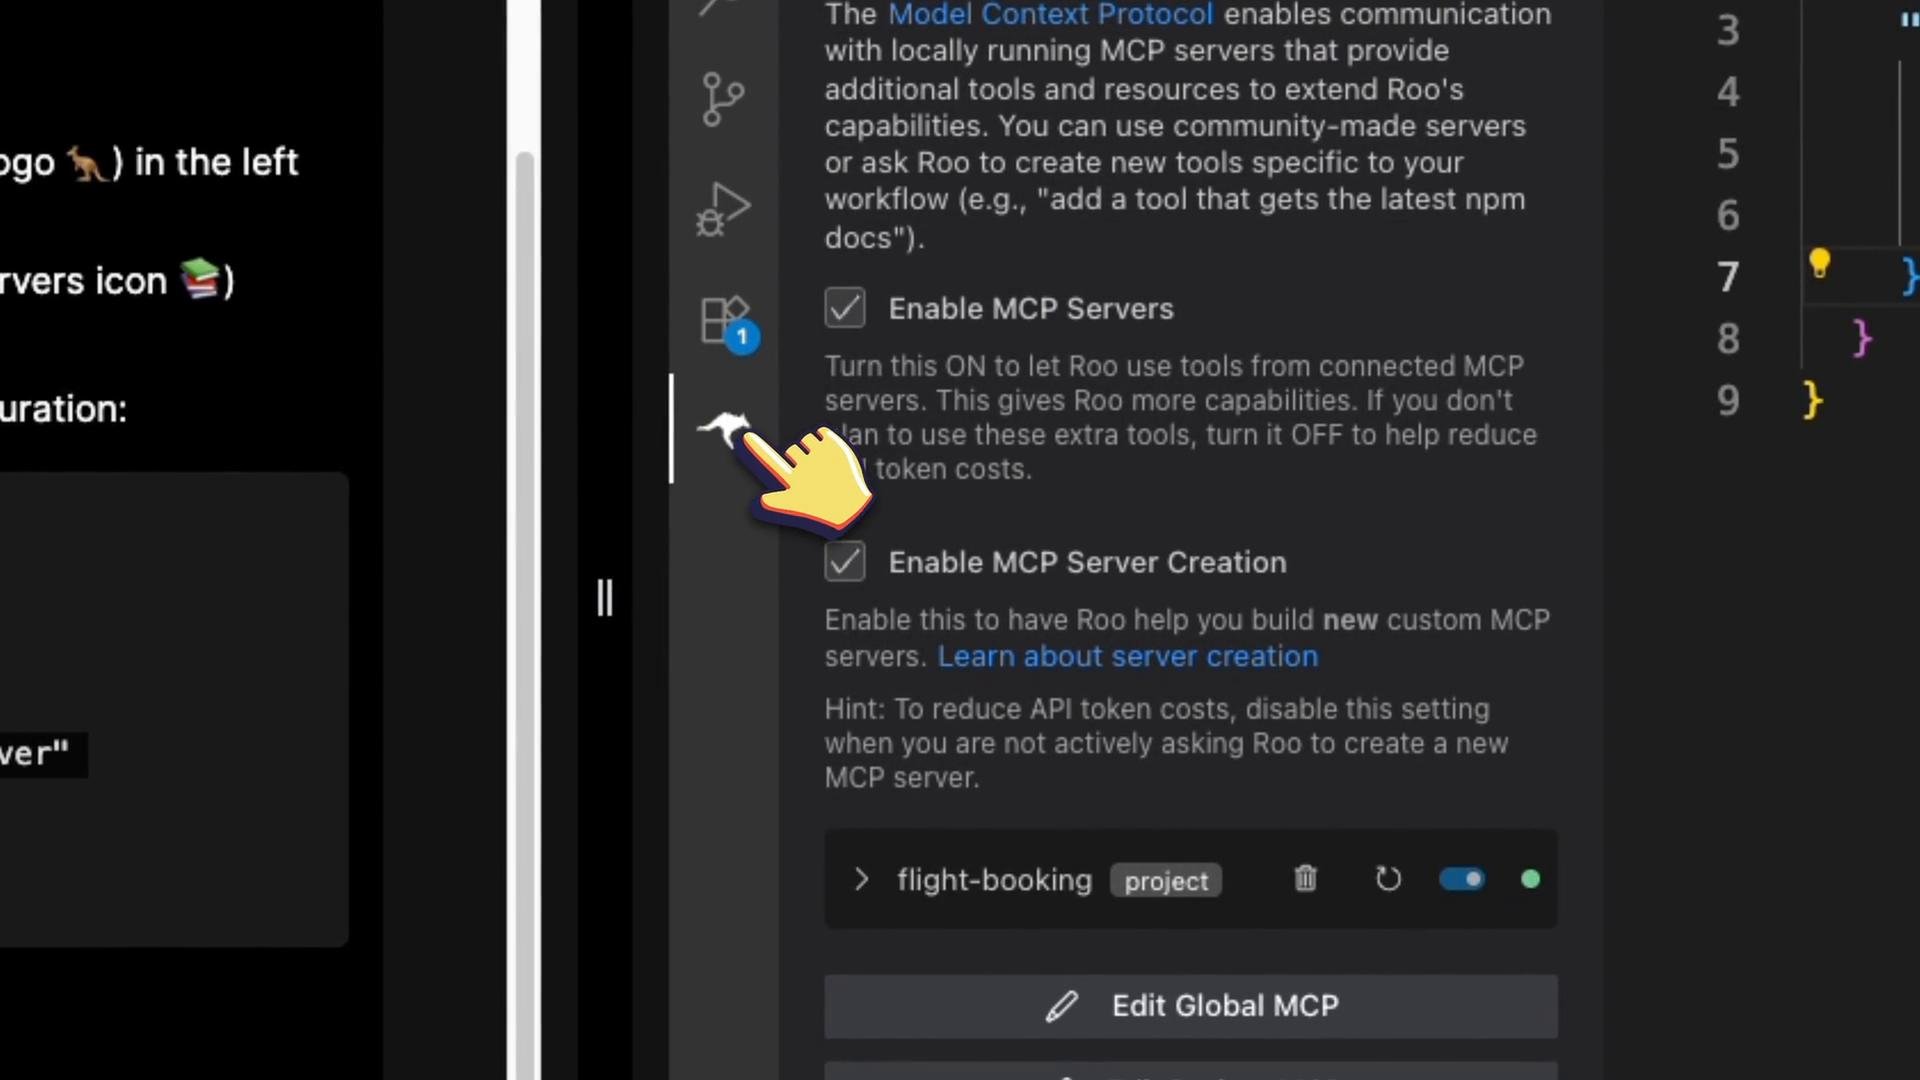
* In Roo Code, click Refresh MCP Servers.
* Confirm the `flight-booking` server appears and shows a running (green) indicator.
Overview
* The lab starts with a quick knowledge-check on MCP concepts (transport protocols, resources, tools, prompts).
* The hands-on tasks walk you through:
* Initializing a Python project
* Implementing an MCP server
* Registering resources and tools (functions exposed to agents)
* Configuring Roo Code to run and use the MCP server
Step 1 — Initialize the Python project
Open a terminal and run the following commands (the lab uses an `uv` runner tool):
```bash theme={null}
cd /home/lab-user
uv init flight-booking-server
cd flight-booking-server
uv add "mcp[cli]"
```
These commands create `/home/lab-user/flight-booking-server` and install the MCP CLI dependency required to run an MCP server.
Step 2 — Review the initial server.py
Open `server.py` in your project. The scaffolded file includes a minimal MCP server and a helper that returns airport data. A simple starting file may look like:
```python theme={null}
from mcp.server.fastmcp import FastMCP
# Create an MCP server
mcp = FastMCP("Flight Booking Server")
def get_airports():
"""List of available airports"""
return {
"LAX": {"name": "Los Angeles International", "city": "Los Angeles"},
"JFK": {"name": "John F. Kennedy International", "city": "New York"},
"LHR": {"name": "London Heathrow", "city": "London"}
}
if __name__ == "__main__":
mcp.run()
```
Task: register the `get_airports` function as an MCP resource and register callable functions (like `search_flights` and `create_booking`) as tools so agents can invoke them.
Step 3 — Register resources and tools
Annotate functions with MCP decorators to expose them to agents:
* Use `@mcp.resource("")` to expose data as a resource (file-like or other URI).
* Use `@mcp.tool()` to register callable tools that agents can invoke with arguments.
Place this updated `server.py` in your project to register a file resource and two tools:
```python theme={null}
from mcp.server.fastmcp import FastMCP
# Create an MCP server
mcp = FastMCP("Flight Booking Server")
@mcp.resource("file://airports")
def get_airports():
"""Get list of available airports"""
return {
"LAX": {"name": "Los Angeles International", "city": "Los Angeles"},
"JFK": {"name": "John F. Kennedy International", "city": "New York"},
"LHR": {"name": "London Heathrow", "city": "London"}
}
@mcp.tool()
def search_flights(origin: str, destination: str) -> dict:
"""Search for flights between two airports"""
return {
"flights": [
{"id": "FL123", "origin": origin, "destination": destination, "price": 299},
{"id": "FL456", "origin": origin, "destination": destination, "price": 349}
]
}
@mcp.tool()
def create_booking(flight_id: str, passenger_name: str) -> dict:
"""Create a flight booking"""
return {
"booking_id": f"BK{flight_id[-3:]}",
"flight_id": flight_id,
"passenger": passenger_name,
"status": "confirmed"
}
if __name__ == "__main__":
mcp.run()
```
Notes on the decorators:
* `@mcp.resource("file://airports")` exposes the airports list under the `airports` file URI. Adjust the URI scheme or name to fit your environment.
* `@mcp.tool()` registers each function as an agent-callable tool.
* Keep `if __name__ == "__main__": mcp.run()` to start the server when the file is executed.
Step 4 — Prompts
The project may also include prompt functions used by agents (examples: `add`, `greet`). Register prompt handlers with whatever decorator or API your MCP library requires. Check your project's example code or the MCP library documentation for the exact prompt registration syntax.
Step 5 — Configure Roo Code (Project-level MCP)
To allow Roo Code to run your MCP server, add a project-level `mcp.json` entry describing how to start it. In Roo Code Project MCP settings, paste this configuration:
```json theme={null}
{
"mcpServers": {
"flight-booking": {
"command": "uv",
"args": ["run", "python", "server.py"],
"cwd": "/home/lab-user/flight-booking-server"
}
}
}
```
Configuration fields explained:
| Field | Purpose | Example |
| - | - | - |
| `mcpServers..command` | Command used to start the MCP server | `uv` |
| `mcpServers..args` | Arguments passed to the command | `["run", "python", "server.py"]` |
| `mcpServers..cwd` | Working directory where the command runs | `/home/lab-user/flight-booking-server` |
After saving:
* In Roo Code, click Refresh MCP Servers.
* Confirm the `flight-booking` server appears and shows a running (green) indicator.
 Step 6 — Verify tools and resources
When the MCP server is running, Roo Code lists available MCP resources and tools. You should see the `airports` resource and the `search_flights` and `create_booking` tools.
Test `search_flights` with a JSON payload like:
```json theme={null}
{
"origin": "LAX",
"destination": "JFK"
}
```
A sample formatted response from `search_flights` might be:
* Found 2 flights from LAX to JFK:
* Flight FL123 — \$299
* Flight FL456 — \$349
Roo Code will ask you to approve or deny an agent's request to call an MCP tool. Approve the request to let Roo Code run the tool and return the result.
Make sure the `cwd` path in your project-level MCP configuration exactly matches your project directory (`/home/lab-user/flight-booking-server`). If the working directory is incorrect, Roo Code cannot start the server.
Wrap-up
* You initialized a Python project, created a minimal MCP server, and exposed a resource and tools.
* You configured Roo Code to run your local MCP server and verified tools and resources are discoverable.
* Next steps: add more prompts, expand tool logic, and experiment with agent interactions to learn how MCP exposes functions and resources to agents.
Links and references
* Python documentation: [https://docs.python.org/3/](https://docs.python.org/3/)
* Consult your MCP library documentation or project examples for decorator usage and prompt registration details.
This documentation is built and hosted on [Mintlify](https://mintlify.com), a developer documentation platform.
Step 6 — Verify tools and resources
When the MCP server is running, Roo Code lists available MCP resources and tools. You should see the `airports` resource and the `search_flights` and `create_booking` tools.
Test `search_flights` with a JSON payload like:
```json theme={null}
{
"origin": "LAX",
"destination": "JFK"
}
```
A sample formatted response from `search_flights` might be:
* Found 2 flights from LAX to JFK:
* Flight FL123 — \$299
* Flight FL456 — \$349
Roo Code will ask you to approve or deny an agent's request to call an MCP tool. Approve the request to let Roo Code run the tool and return the result.
Make sure the `cwd` path in your project-level MCP configuration exactly matches your project directory (`/home/lab-user/flight-booking-server`). If the working directory is incorrect, Roo Code cannot start the server.
Wrap-up
* You initialized a Python project, created a minimal MCP server, and exposed a resource and tools.
* You configured Roo Code to run your local MCP server and verified tools and resources are discoverable.
* Next steps: add more prompts, expand tool logic, and experiment with agent interactions to learn how MCP exposes functions and resources to agents.
Links and references
* Python documentation: [https://docs.python.org/3/](https://docs.python.org/3/)
* Consult your MCP library documentation or project examples for decorator usage and prompt registration details.
This documentation is built and hosted on [Mintlify](https://mintlify.com), a developer documentation platform.