> ## Documentation Index
> Fetch the complete documentation index at: https://notes.kodekloud.com/llms.txt
> Use this file to discover all available pages before exploring further.
# Demo Lab Environment Setup
> Guide to configuring Roo Code VS Code extension with lab temporary API keys and verifying connection in a browser-hosted remote VS Code lab environment.
This guide shows how to access the browser-hosted lab environment for this lesson, inspect the pre-populated environment variables, and configure the Roo Code VS Code extension with the lab's temporary API keys. Roo Code is a chat-based coding assistant that runs inside VS Code (similar to [Cursor AI](https://learn.kodekloud.com/user/courses/cursor-ai)).
Before you begin:
* Create a free account and start the first lab using the lab signup link provided with this lesson.
* The lab runs a remote VS Code instance in your browser connected to a real system.
Interface layout
* Left pane: step-by-step instructions for the lab tasks (this lab contains seven tasks).
* Right pane: VS Code server (editor + terminal). Open the terminal by focusing the lower pane and selecting Terminal → New Terminal.
Step 1 — Open the terminal and inspect environment variables
1. Open a new terminal in the remote VS Code instance.
2. Run the following to view the pre-populated shell profile:
```bash theme={null}
cat ~/.bash_profile
```
You should see several `export` entries for temporary keys and base URLs. Example (trimmed for clarity):
```bash theme={null}
export CLAUDE_API_KEY=59b2f572be074c31
export GROQ_API_KEY=b2f572be074c31
export OPENAI_API_BASE=https://dev.kk-ai-keys.kodekloud.com/v1
export OPENAI_API_KEY=59b2f572be074c31
export AZURE_OPENAI_ENDPOINT=https://dev.kk-ai-keys.kodekloud.com/openai
export AZURE_OPENAI_API_KEY=ca447759b2f572be074c
export GROQ_API_BASE=https://dev.kk-ai-keys.kodekloud.com
export CLAUDE_API_BASE=https://dev.kk-ai-keys.kodekloud.com
```
The two values Roo Code needs in this lab are `OPENAI_API_BASE` and `OPENAI_API_KEY`. Copy those values now — you’ll paste them into Roo Code’s provider settings in the next step.
The lab provides temporary credentials that expire. Do not reuse these keys outside this lab — treat them as ephemeral.
Step 2 — Open Roo Code inside VS Code
* Click the Roo Code button in the VS Code activity bar to open its chat interface.
* From the Roo Code panel, click Settings → Configure Providers to add a provider configuration.
Step 3 — Configure Roo Code with the lab API keys
Fill in the provider configuration using the values copied from `~/.bash_profile`. Use these recommended settings:
| Setting | Description | Example / Value |
| - | - | - |
| API Provider | Choose the compatible provider type for the lab | `OpenAI Compatible` |
| Base URL | The API base URL for the lab-provided service | `https://dev.kk-ai-keys.kodekloud.com/v1` |
| API Key | The temporary API key found in `~/.bash_profile` | `59b2f572be074c31` |
| Model | The model to use for the chat assistant | `deepseek/deepseek-chat-v3-0324:free` |
After entering the values, click OK or Apply to save. Roo Code will attempt to connect using the provided Base URL and API Key.
Step 4 — Verify the connection
Send a simple prompt from the Roo Code chat pane to confirm the assistant responds. Example prompt:
```text theme={null}
Create a one-line shell command to list Python files in the current directory.
```
If you receive a reply, the connection is successful and Roo Code is ready for use.
Troubleshooting
* Double-check you copied the exact values from `~/.bash_profile` (no extra spaces or missing characters).
* Confirm you selected `OpenAI Compatible` and set the correct model string.
* If Roo Code still can’t connect, retry saving the provider config or restart the VS Code window.
If Roo Code fails to connect, first verify `OPENAI_API_BASE` and `OPENAI_API_KEY` are current in `~/.bash_profile`. These lab keys are temporary — re-open the terminal to confirm they haven’t changed.
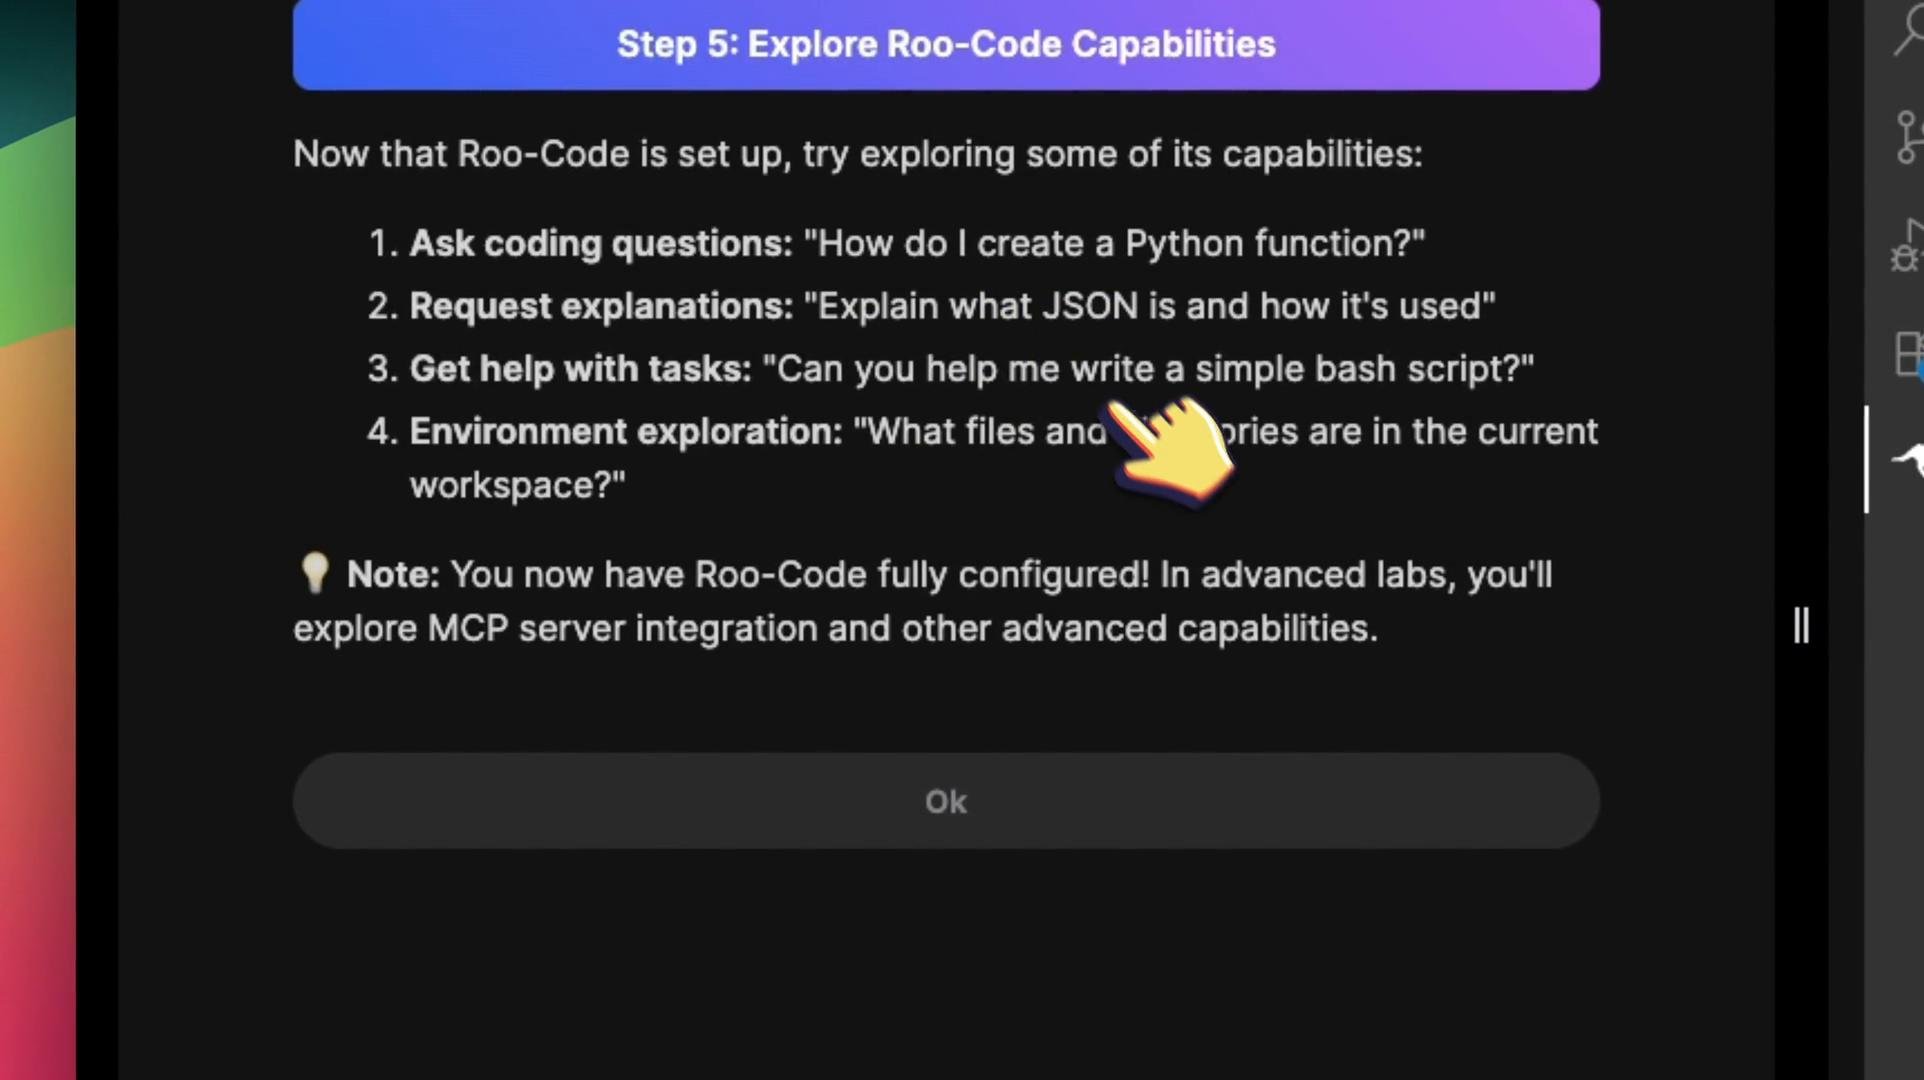
Explore Roo Code
* Ask coding questions, request explanations, get help writing scripts, or ask the assistant to open files in your workspace.
* The Roo Code panel also provides example tasks to try.
 Next steps
* Head back to the lab and complete the tasks using Roo Code to accelerate your workflow.
* Try prompts like: “Refactor this script for readability,” “Find TODO comments in the repo,” or “Show a one-line command to count files by extension.”
This documentation is built and hosted on [Mintlify](https://mintlify.com), a developer documentation platform.
Next steps
* Head back to the lab and complete the tasks using Roo Code to accelerate your workflow.
* Try prompts like: “Refactor this script for readability,” “Find TODO comments in the repo,” or “Show a one-line command to count files by extension.”
This documentation is built and hosted on [Mintlify](https://mintlify.com), a developer documentation platform.