> ## Documentation Index
> Fetch the complete documentation index at: https://notes.kodekloud.com/llms.txt
> Use this file to discover all available pages before exploring further.

# Demo Installation and Setup

> This guide covers the installation and setup of the AI-powered code editor Cursor on Windows, macOS, and Linux.

In this guide, we’ll walk through installing **Cursor**, the AI-powered, cross-platform code editor, on **Windows**, **macOS**, and **Linux**. By the end, you’ll have Cursor up and running with your preferred account, extensions, and settings across all environments.

***

## Installing on Windows

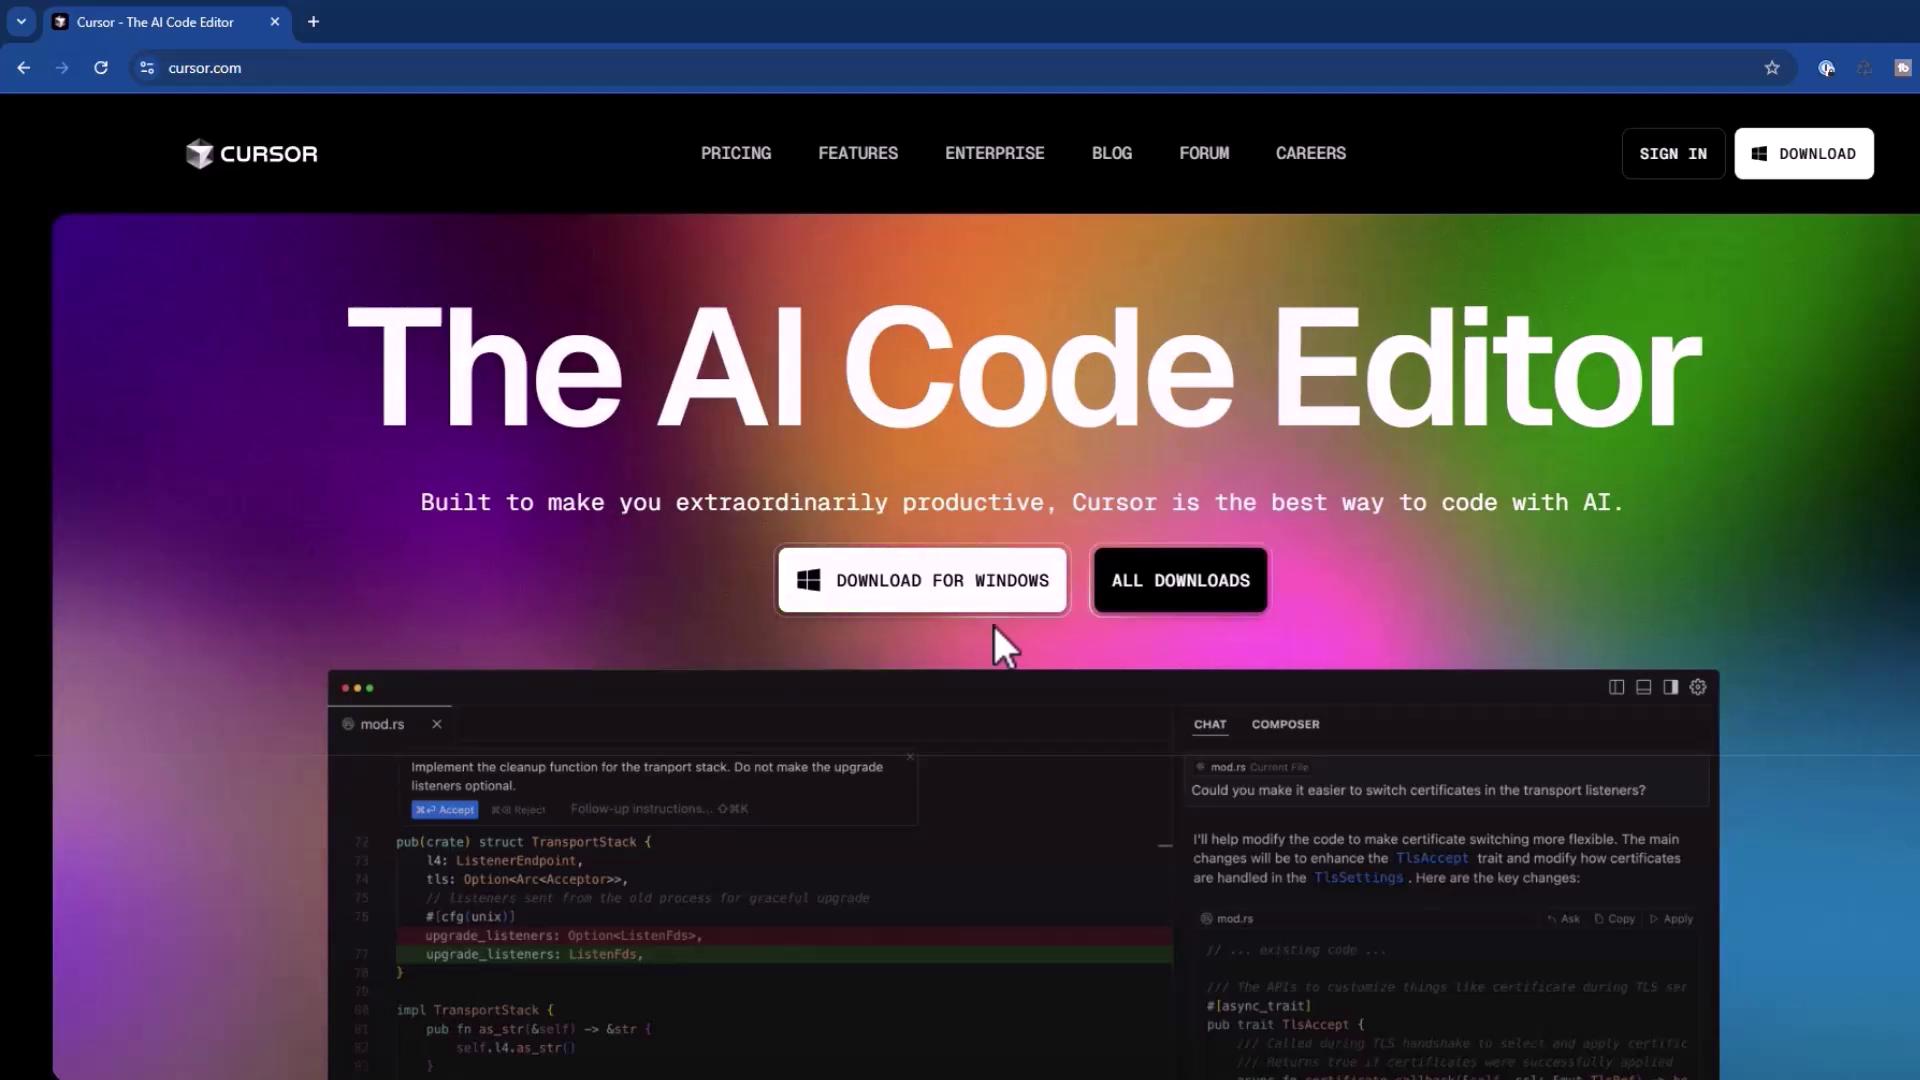
1. Download the Windows installer from [cursor.com](https://cursor.com).

<Frame>
  ![The image shows a webpage for "The AI Code Editor" called Cursor, featuring a colorful gradient background with options to download the software. The page highlights its productivity features and includes a code editor interface.](https://kodekloud.com/kk-media/image/upload/v1752872719/notes-assets/images/Cursor-AI-Demo-Installation-and-Setup/cursor-ai-code-editor-webpage.jpg)
</Frame>

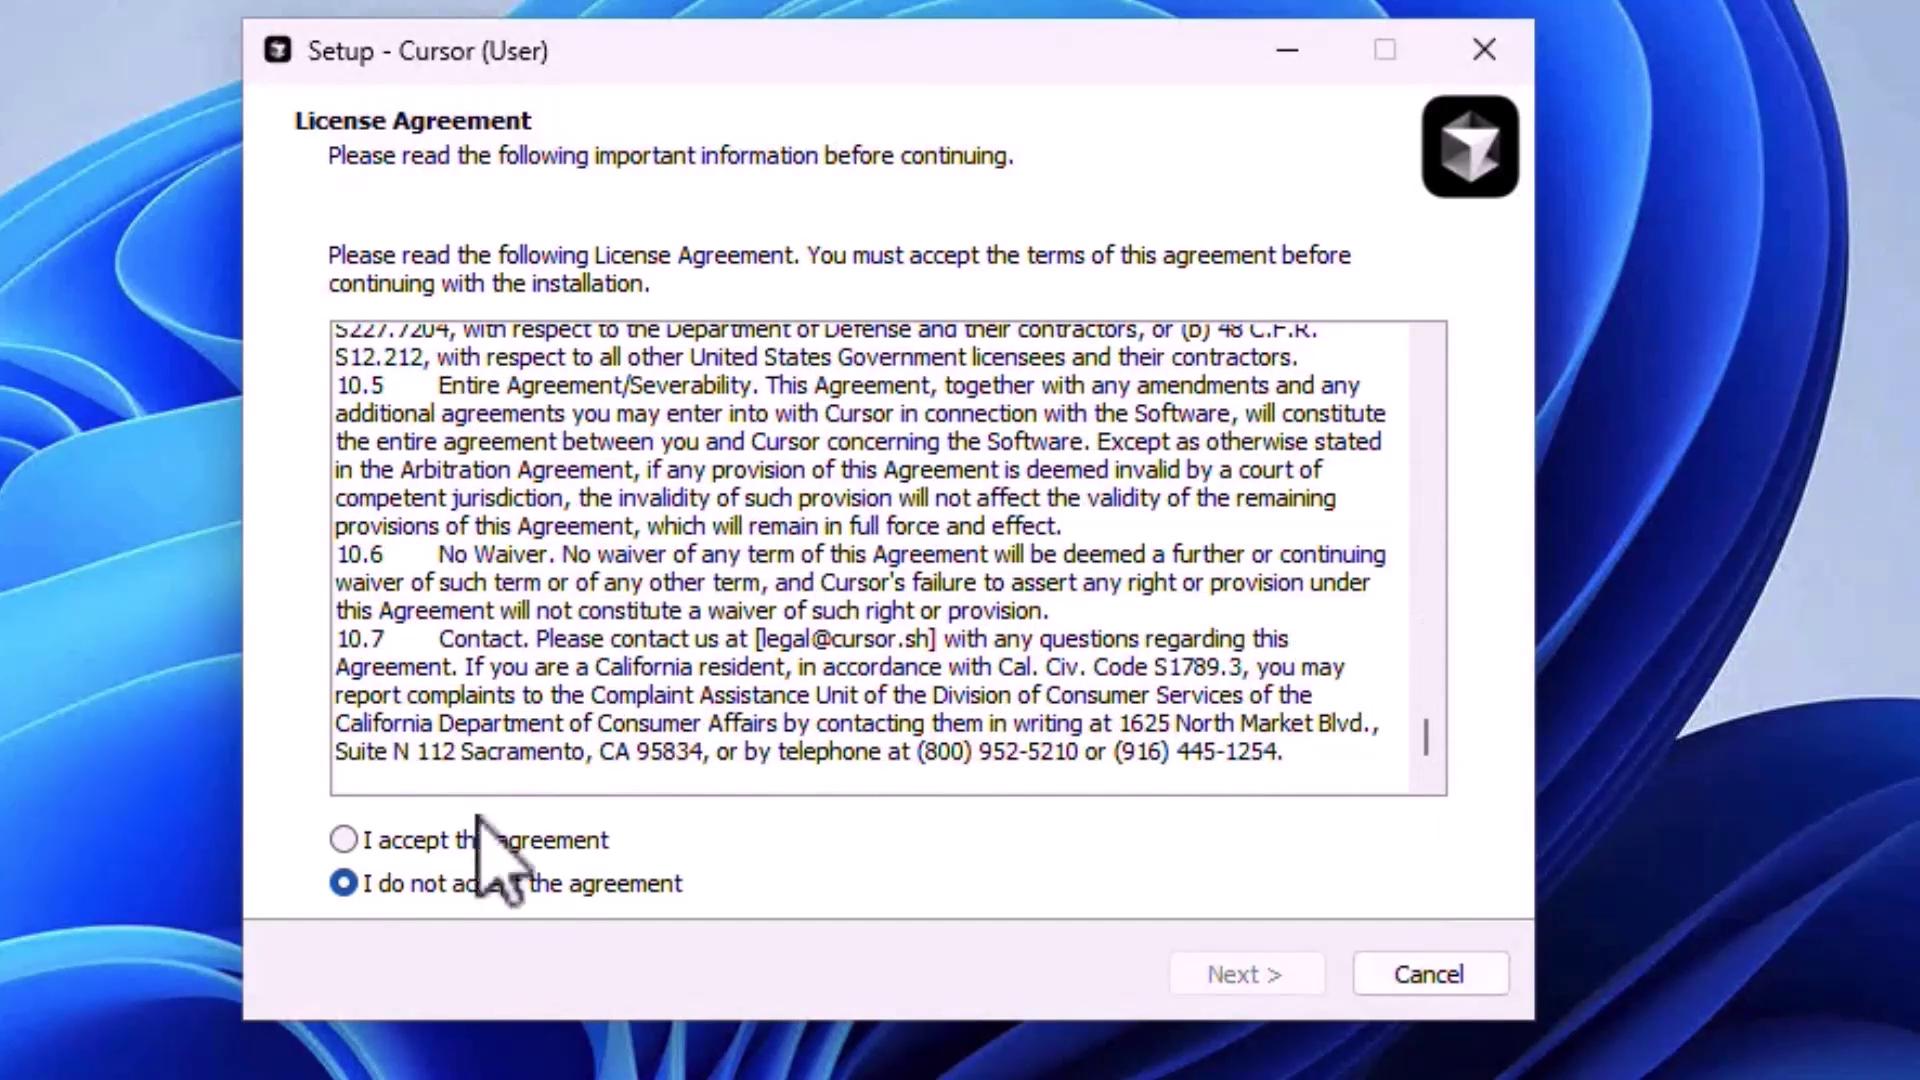
2. Run the installer and accept the license agreement to proceed.

<Frame>
  ![The image shows a software setup window displaying a license agreement with options to accept or decline the agreement. A cursor is hovering over the "I do not accept the agreement" option.](https://kodekloud.com/kk-media/image/upload/v1752872721/notes-assets/images/Cursor-AI-Demo-Installation-and-Setup/software-setup-license-agreement.jpg)
</Frame>

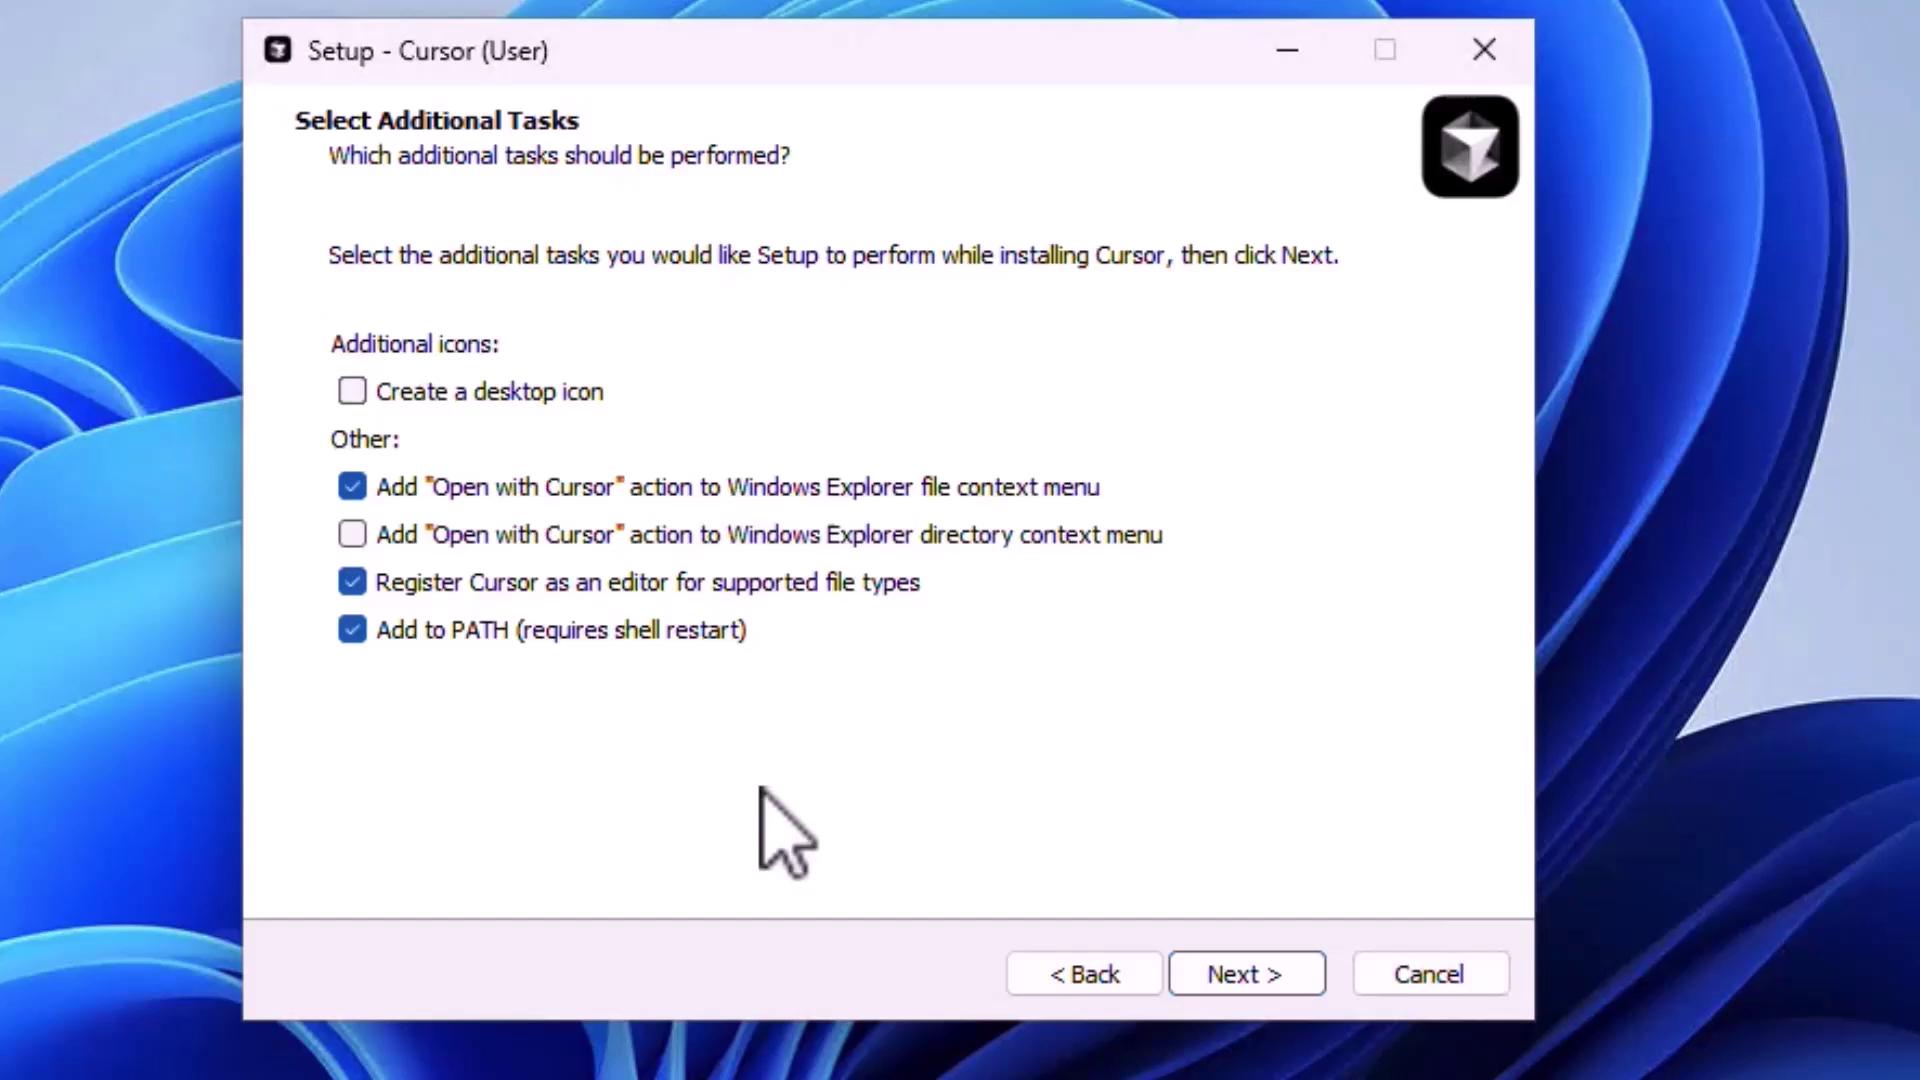
3. Select any additional tasks, such as:

   * Creating a desktop icon
   * Adding an **“Open with Cursor”** context menu
   * Registering Cursor as the default editor
   * Adding Cursor to the system `PATH`

   Then click **Next**.

<Frame>
  ![The image shows a software setup window for "Cursor," where users can select additional tasks like adding actions to the Windows Explorer context menu and registering the program as an editor.](https://kodekloud.com/kk-media/image/upload/v1752872722/notes-assets/images/Cursor-AI-Demo-Installation-and-Setup/cursor-software-setup-window.jpg)
</Frame>

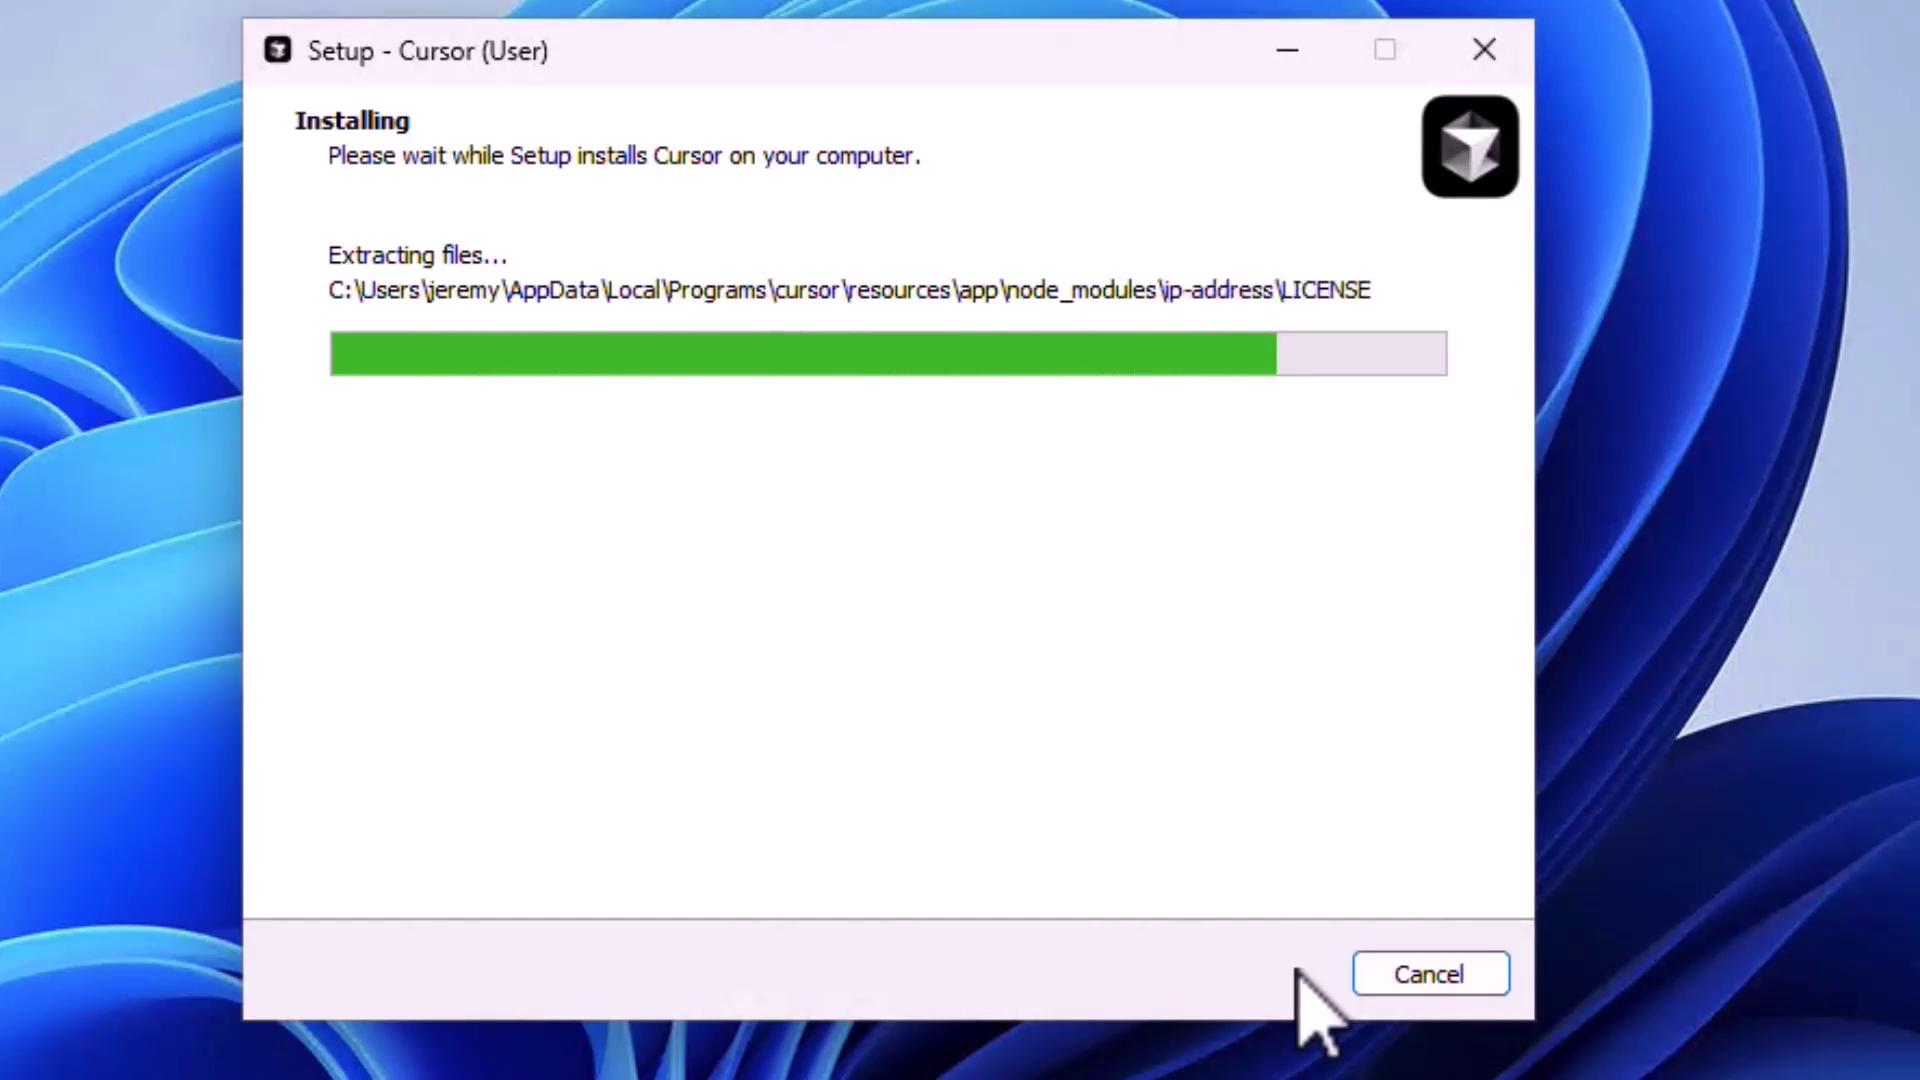
4. Wait for installation to complete, then click **Finish** to launch Cursor.

<Frame>
  ![The image shows a software installation window for "Cursor," with a progress bar indicating the extraction of files. A "Cancel" button is visible at the bottom.](https://kodekloud.com/kk-media/image/upload/v1752872723/notes-assets/images/Cursor-AI-Demo-Installation-and-Setup/cursor-installation-progress-window.jpg)
</Frame>

5. On first launch, sign in with your preferred account.

<Frame>
  ![The image shows a login prompt for "Cursor desktop" with options to cancel or log in, and a cursor pointing at the "YES, LOG IN" button.](https://kodekloud.com/kk-media/image/upload/v1752872724/notes-assets/images/Cursor-AI-Demo-Installation-and-Setup/cursor-desktop-login-prompt.jpg)
</Frame>

6. Once authenticated, you’ll see the main dashboard where you can:
   * Open an existing project
   * Clone a repository
   * Connect via SSH

***

## Installing on macOS

1. Download the macOS **.dmg** from [cursor.com](https://cursor.com).
2. Double-click to mount and drag the Cursor icon into **Applications**.
3. (Optional) Add Cursor to your Dock for quick access.
4. Open Cursor; macOS will prompt you to confirm launching an app downloaded from the internet.
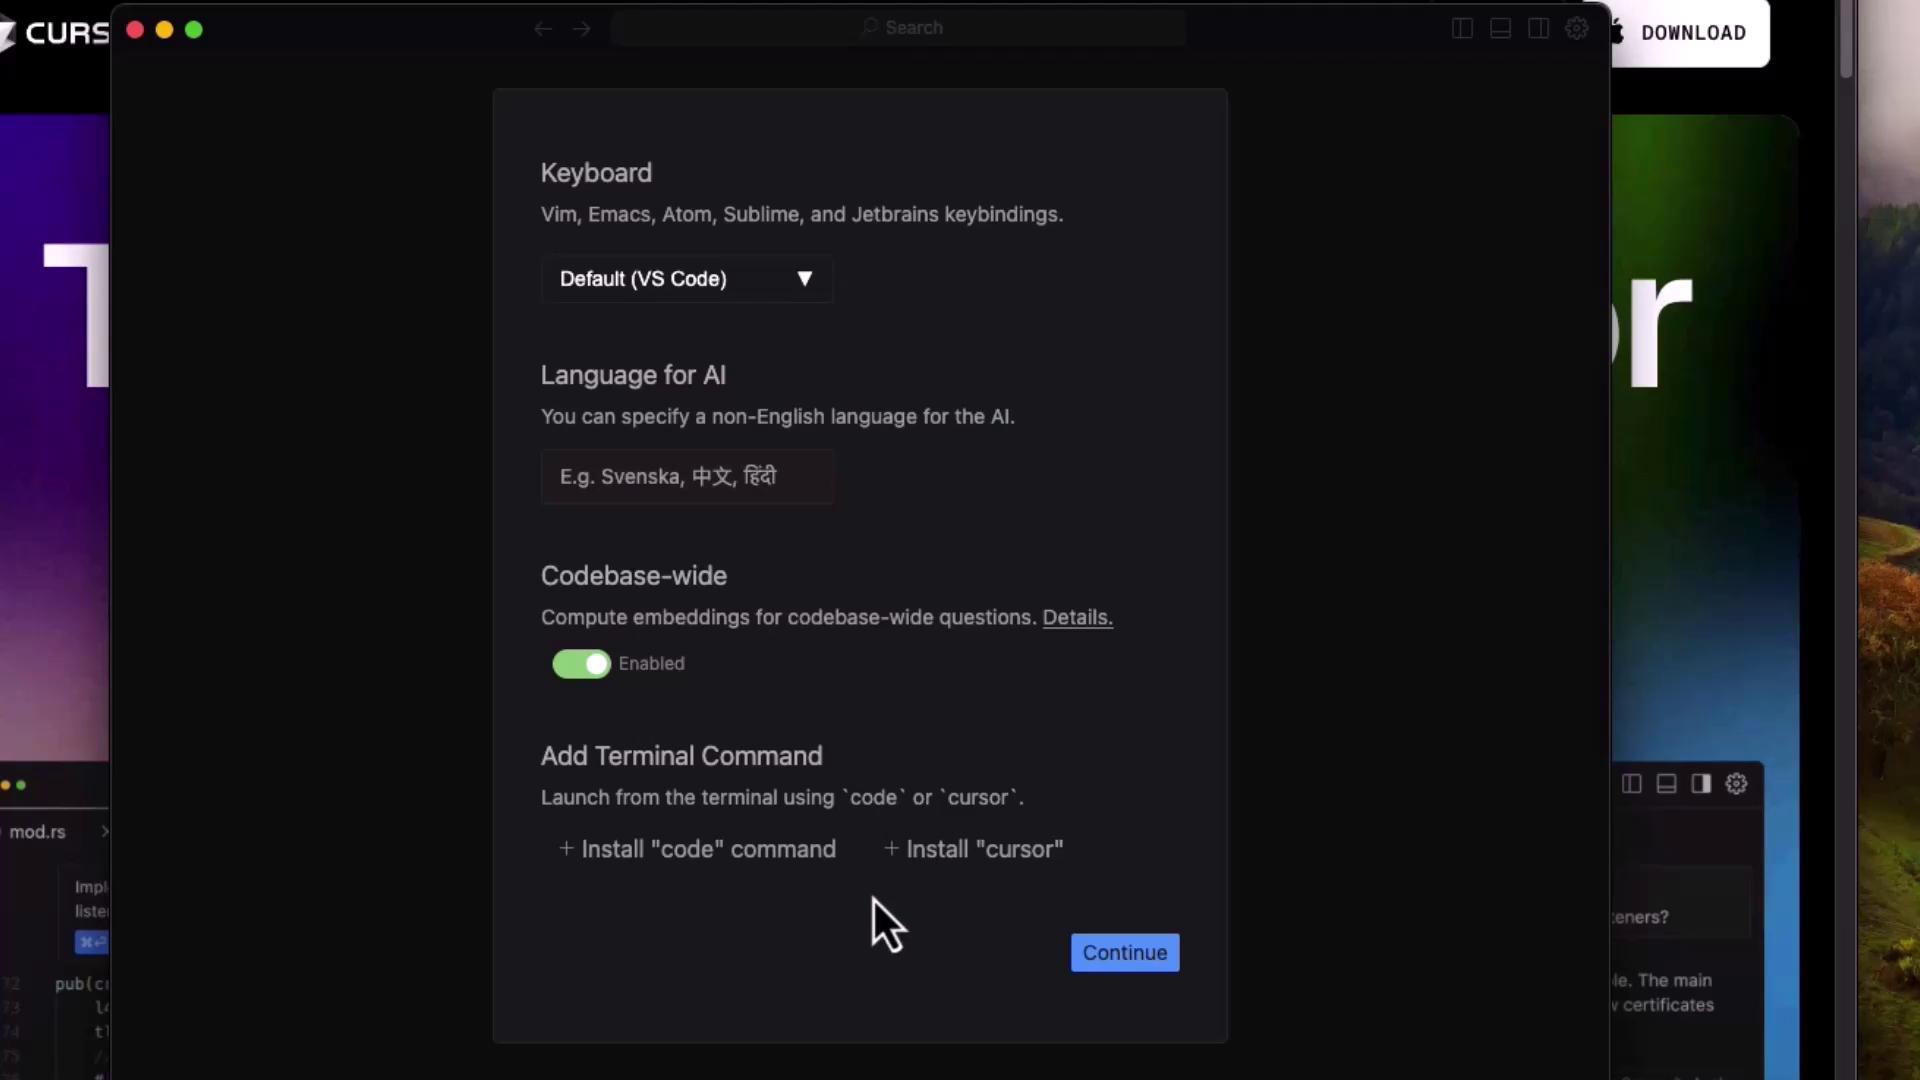
5. Configure initial settings:
   * **Keyboard shortcuts**
   * **AI language preferences**
   * **Codebase-wide indexing**
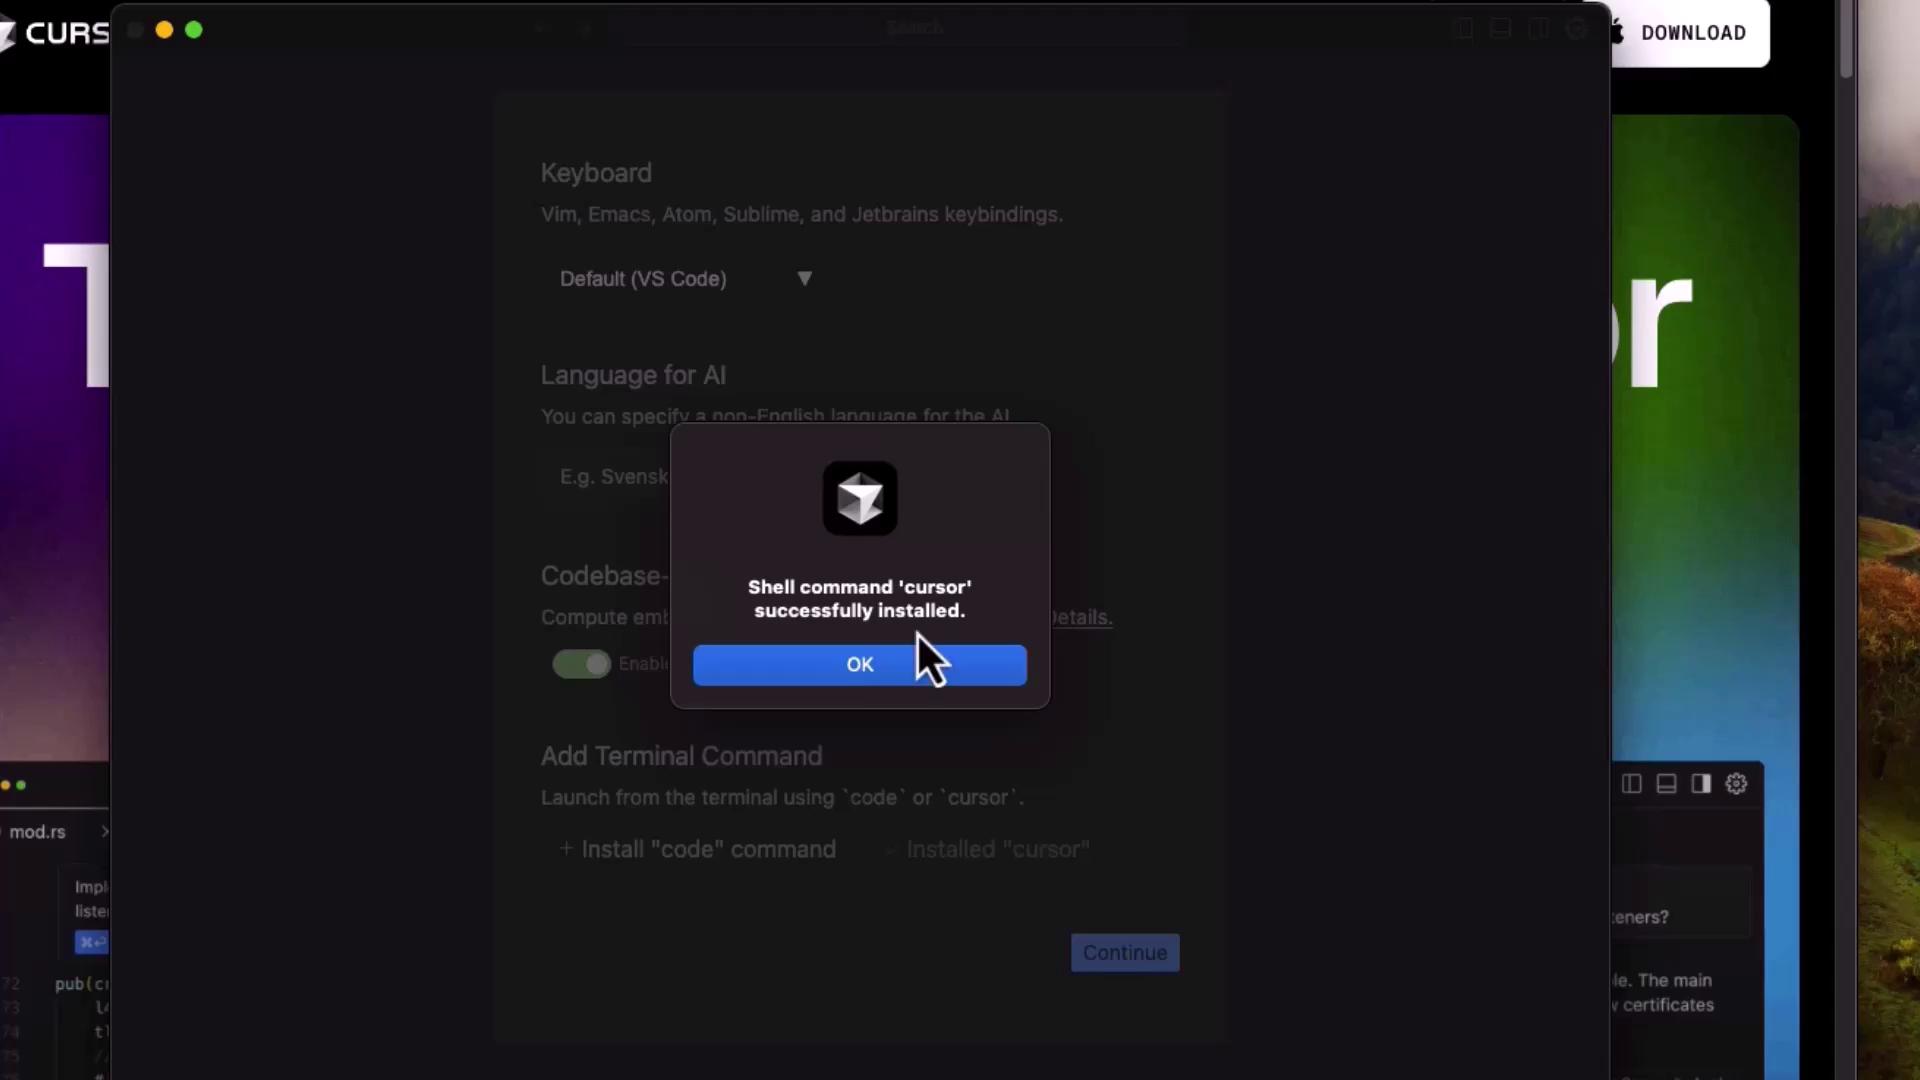
   * Install the `cursor` shell command for terminal access

<Frame>
  ![The image shows a software settings window with options for keyboard configuration, language selection for AI, and codebase-wide embedding settings. There are also options to install terminal commands.](https://kodekloud.com/kk-media/image/upload/v1752872726/notes-assets/images/Cursor-AI-Demo-Installation-and-Setup/software-settings-keyboard-language-options.jpg)
</Frame>

6. After installing the shell command, you’ll see a confirmation popup.

<Frame>
  ![The image shows a pop-up notification indicating that the shell command "cursor" has been successfully installed, with an "OK" button highlighted by a cursor.](https://kodekloud.com/kk-media/image/upload/v1752872727/notes-assets/images/Cursor-AI-Demo-Installation-and-Setup/cursor-installation-notification-popup.jpg)
</Frame>

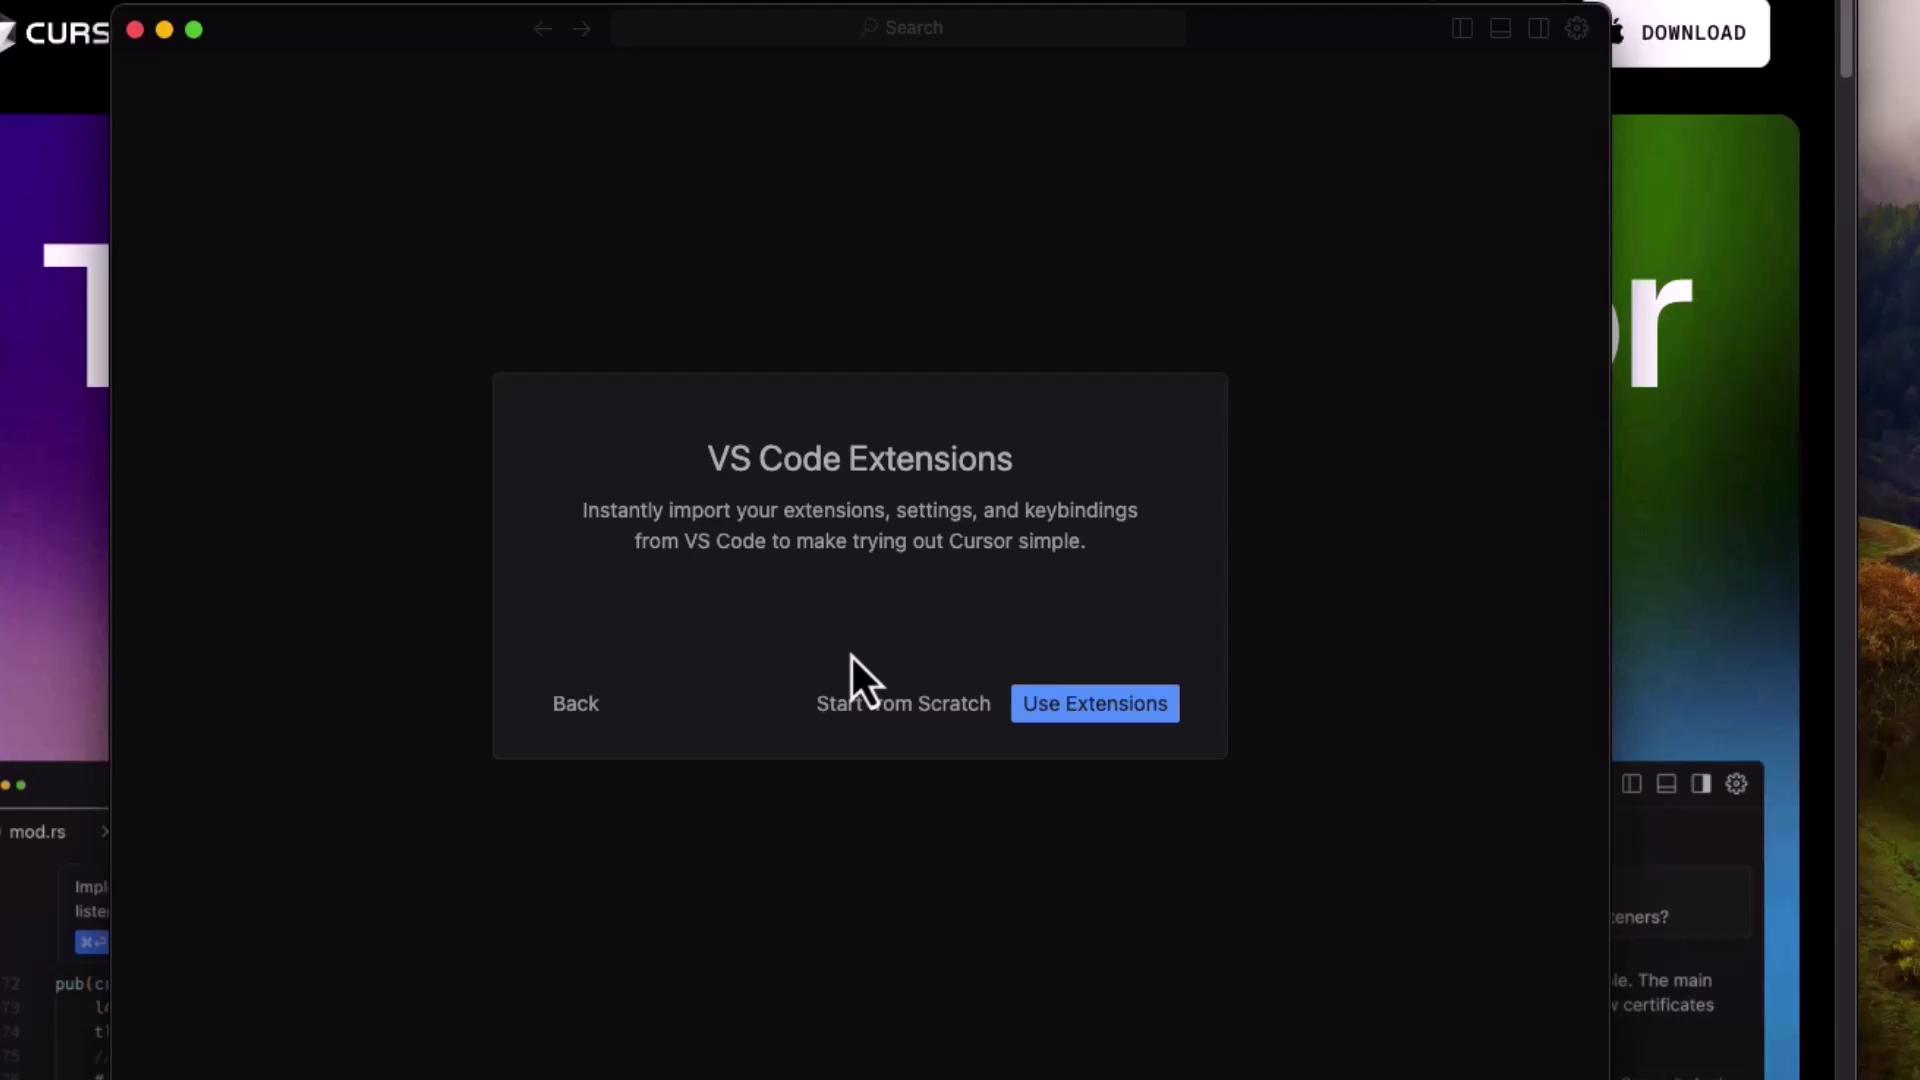
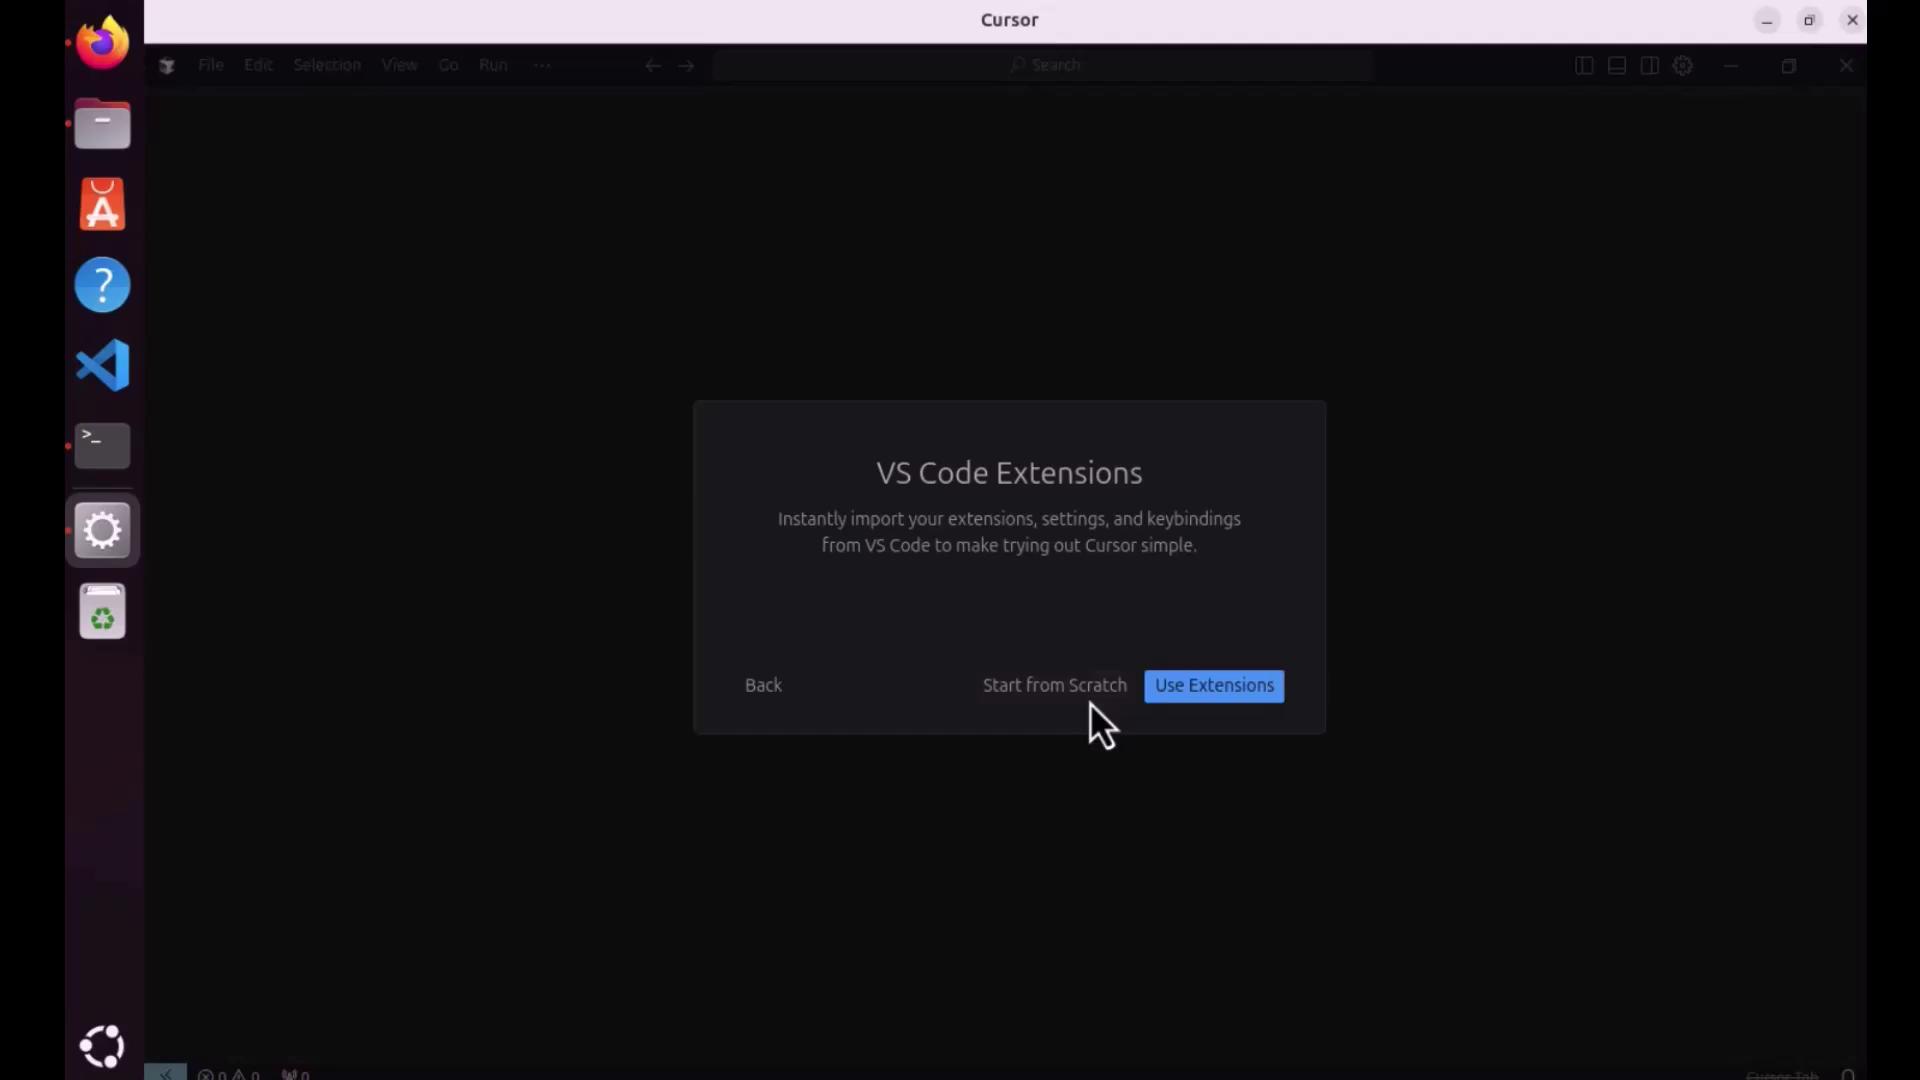
7. Choose whether to import your existing [VS Code](https://code.visualstudio.com) extensions, settings, & keybindings or start fresh.

<Frame>
  ![The image shows a dialog box in a software application offering to import VS Code extensions, settings, and keybindings, with options to "Start from Scratch" or "Use Extensions."](https://kodekloud.com/kk-media/image/upload/v1752872728/notes-assets/images/Cursor-AI-Demo-Installation-and-Setup/vs-code-import-dialog-box.jpg)
</Frame>

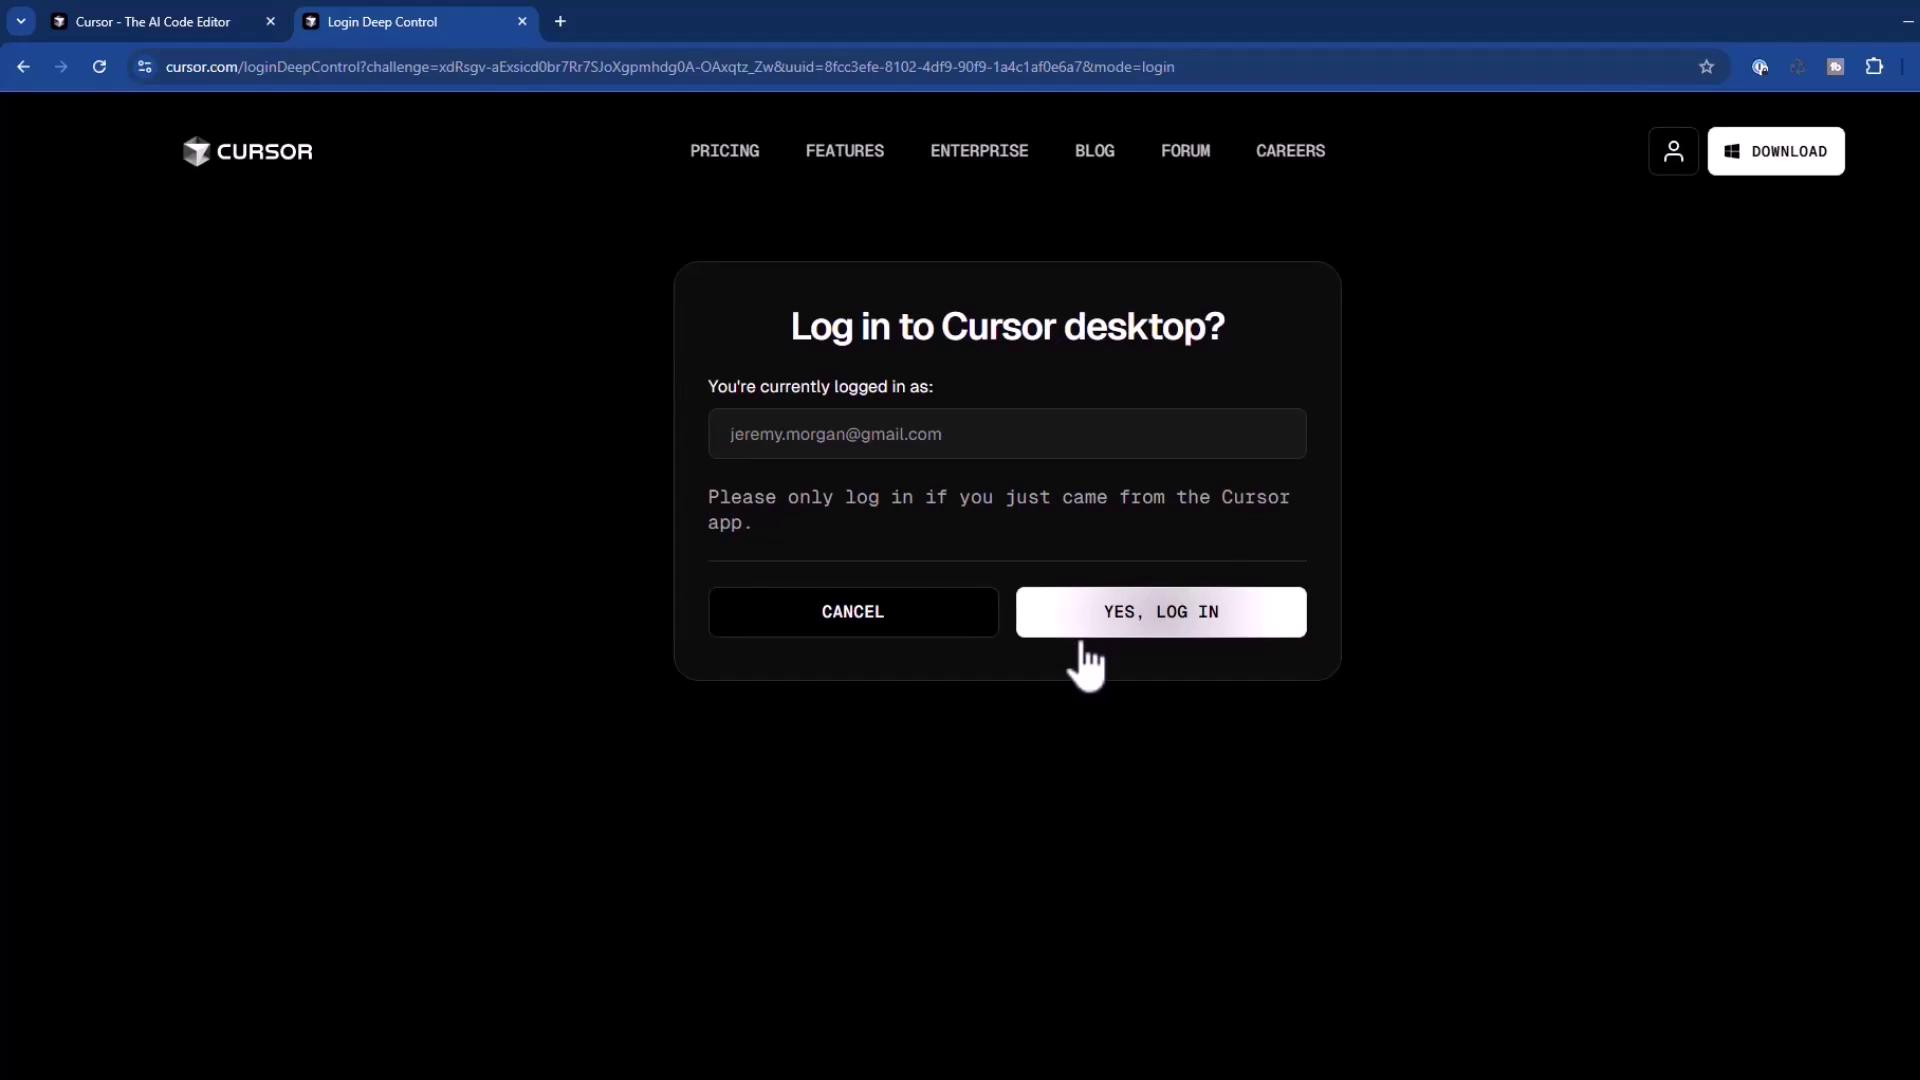
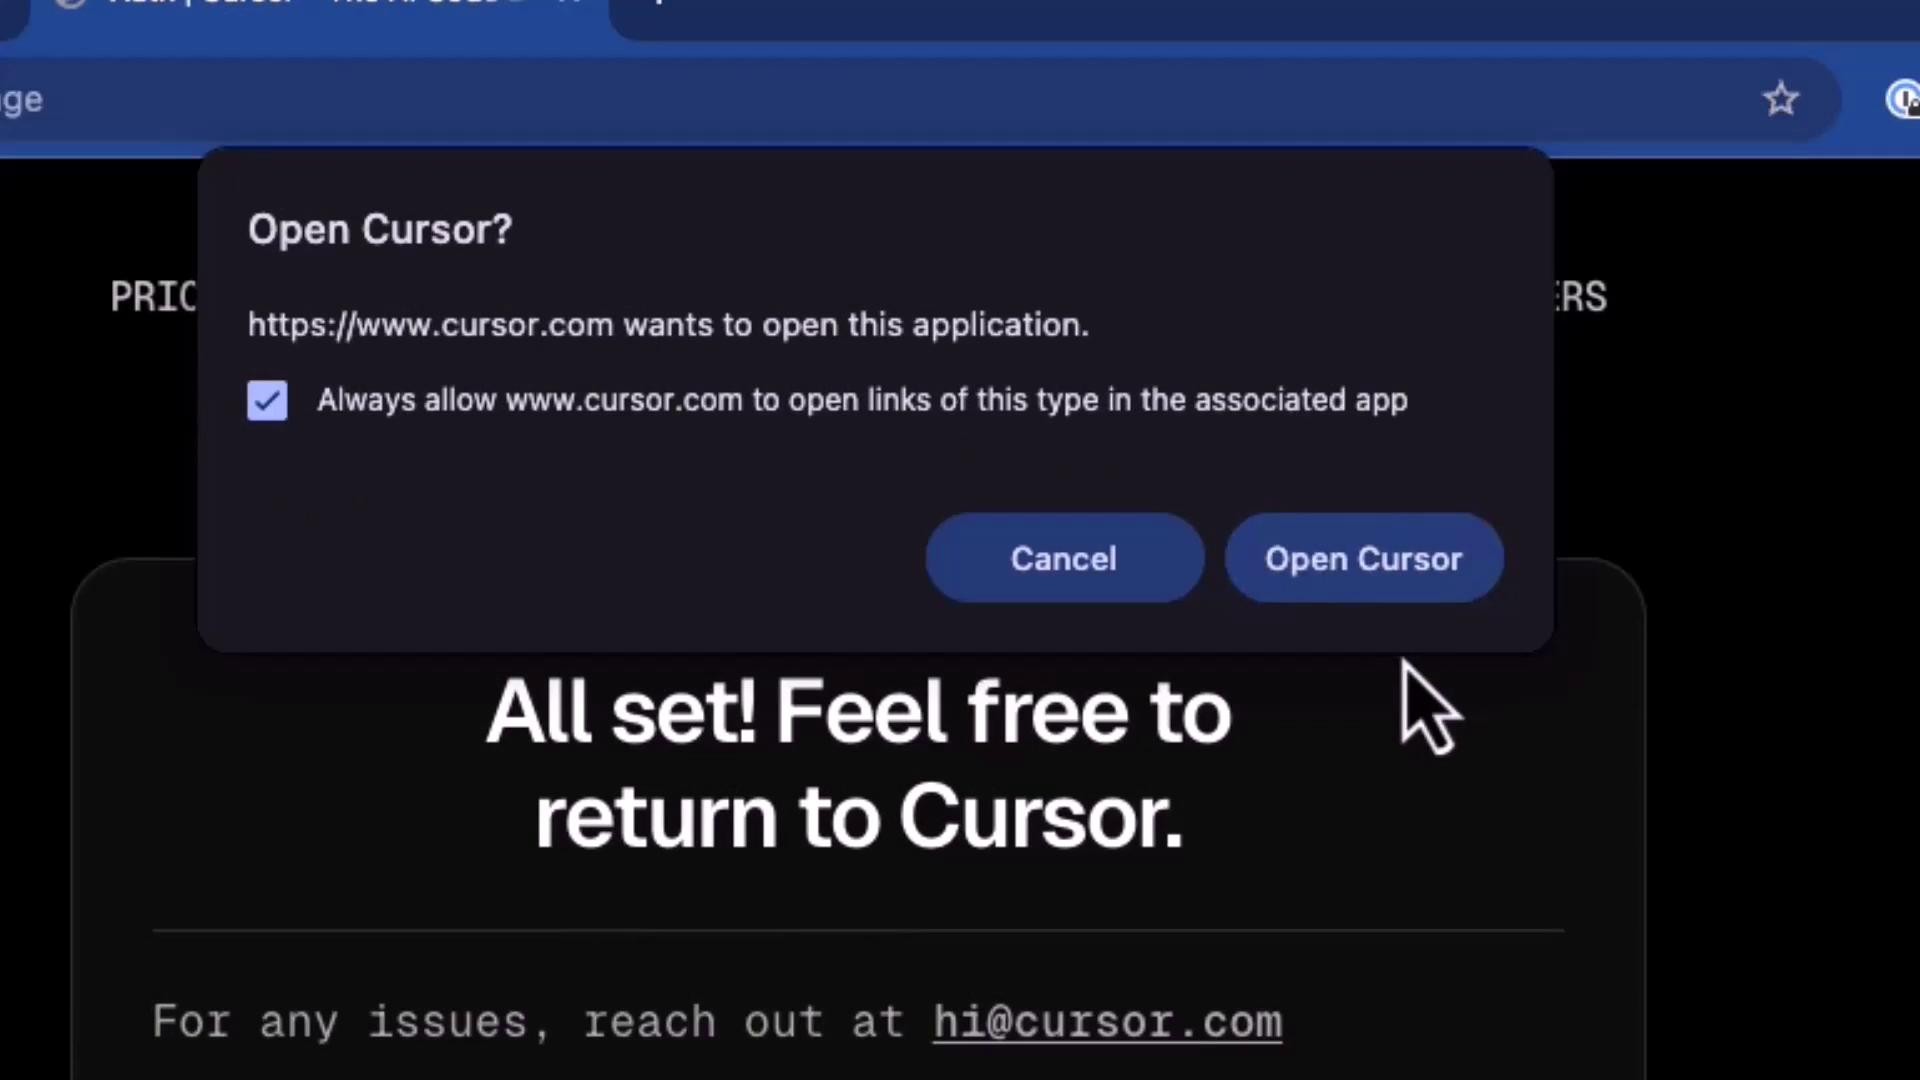
8. Sign in via your browser and allow the system prompt to open Cursor.

<Frame>
  ![The image shows a pop-up window asking if the user wants to open the Cursor application, with options to "Cancel" or "Open Cursor."](https://kodekloud.com/kk-media/image/upload/v1752872730/notes-assets/images/Cursor-AI-Demo-Installation-and-Setup/cursor-application-popup-window.jpg)
</Frame>

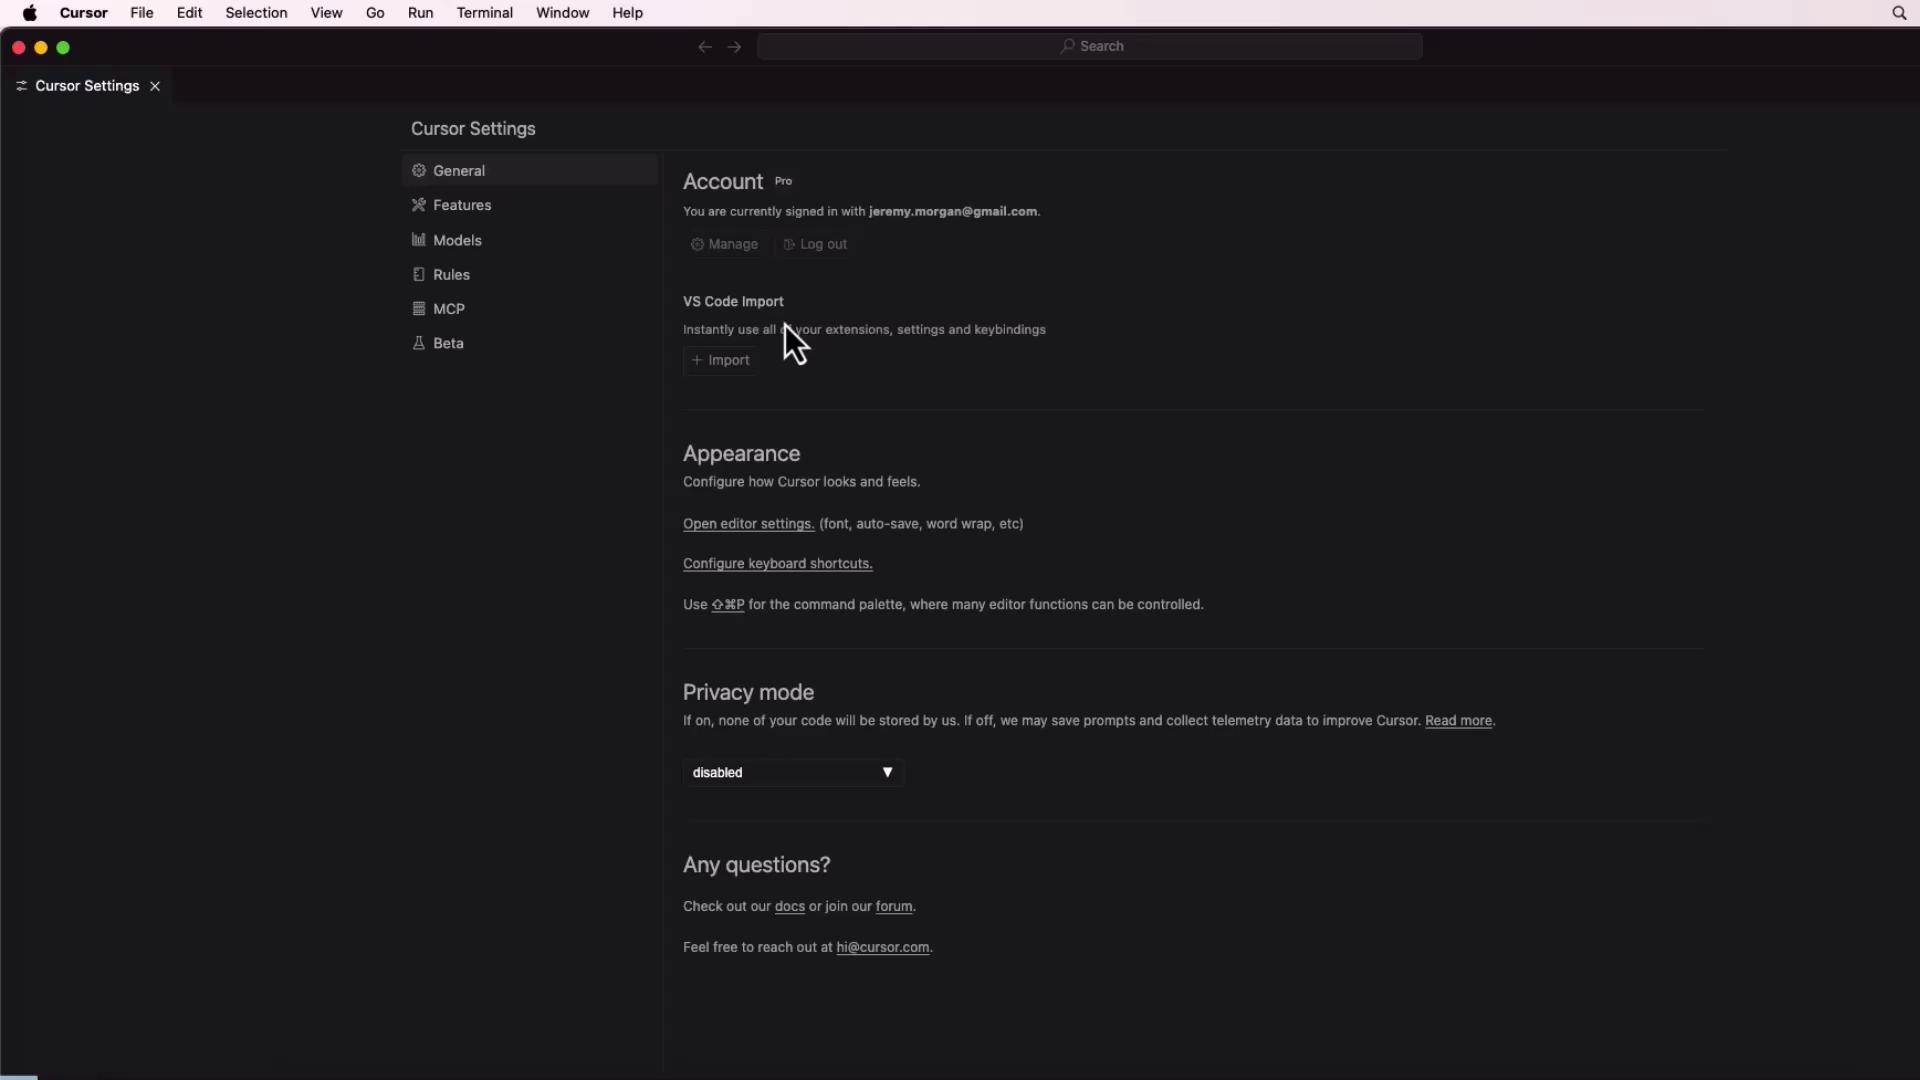
9. After logging in, customize your theme, account, and privacy settings on the main interface.

<Frame>
  ![The image shows a software settings interface with options for account management, VS Code import, appearance configuration, and privacy mode. The interface is dark-themed and includes a sidebar with various settings categories.](https://kodekloud.com/kk-media/image/upload/v1752872731/notes-assets/images/Cursor-AI-Demo-Installation-and-Setup/software-settings-interface-dark-theme.jpg)
</Frame>

***

## Installing on Linux

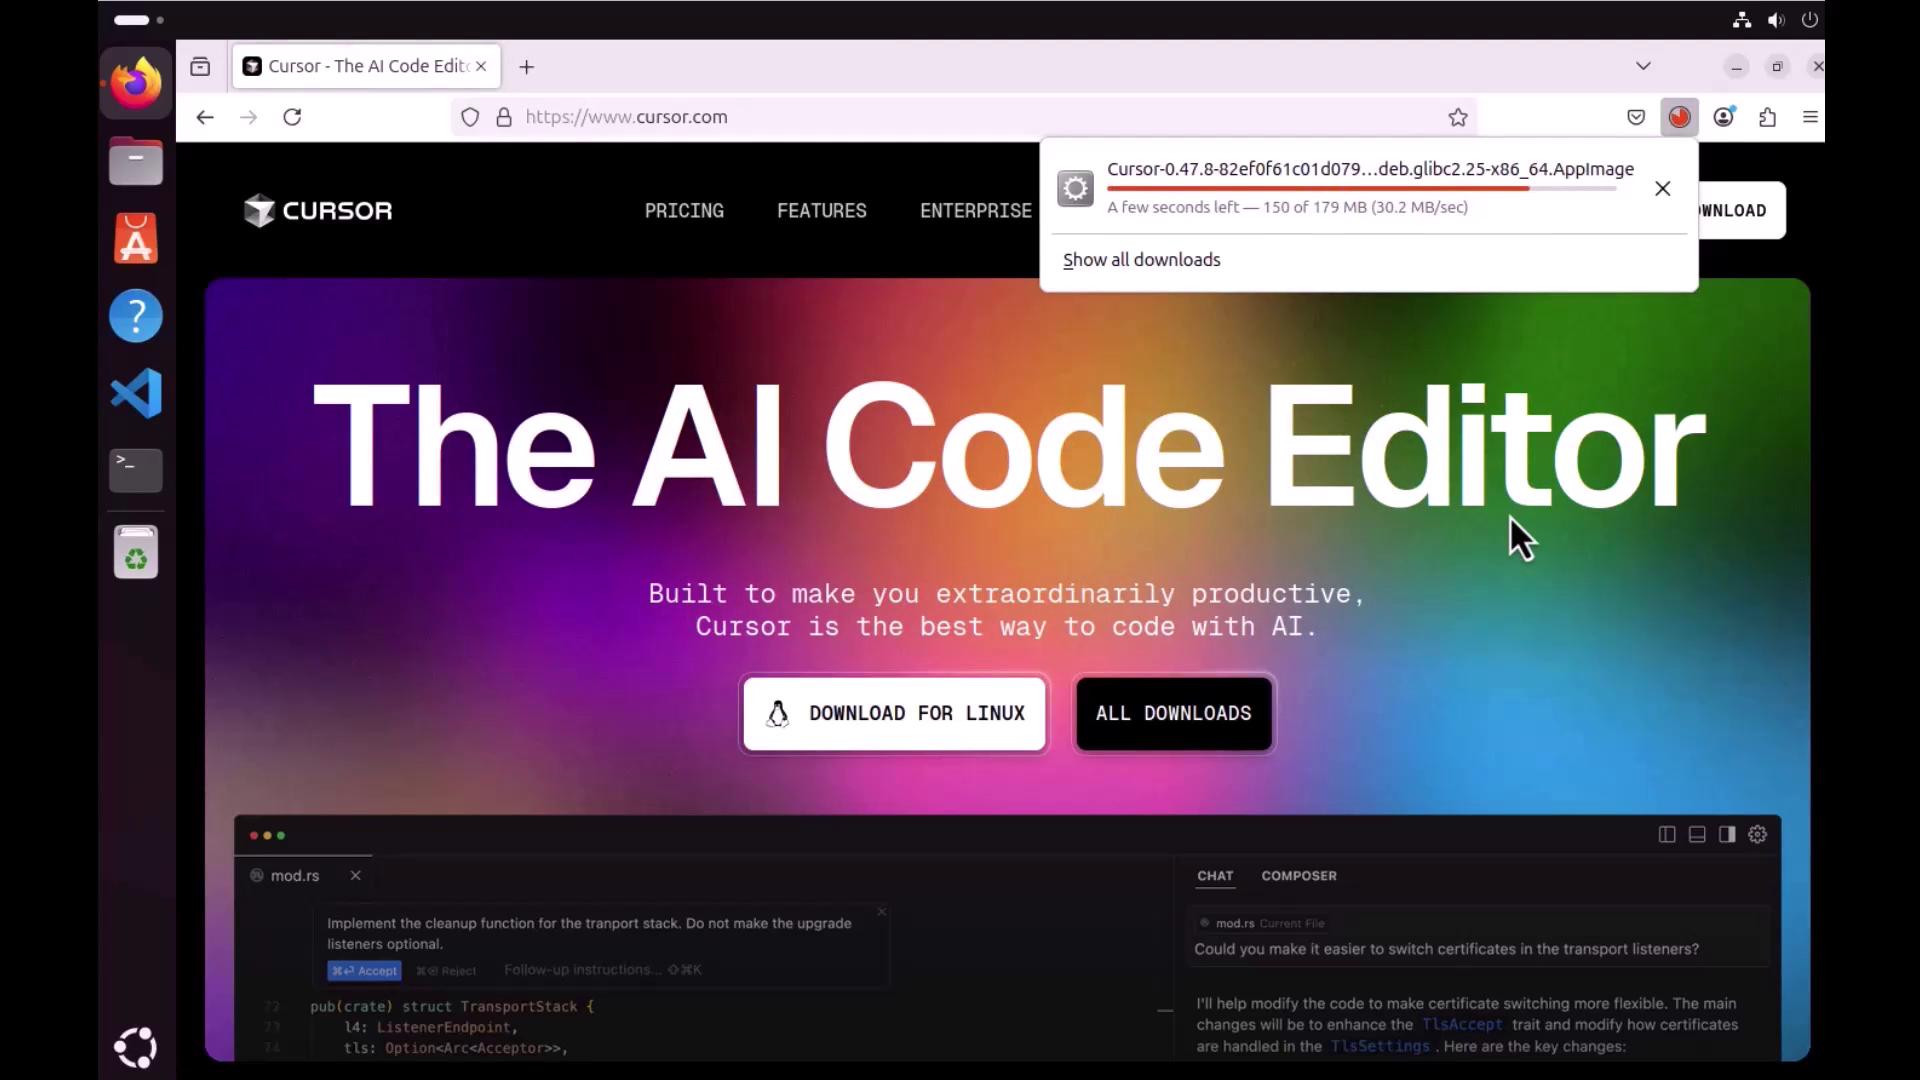
Cursor is distributed as an **AppImage** on Linux platforms (e.g., [Ubuntu](https://ubuntu.com)).

1. Download the AppImage from [cursor.com](https://cursor.com) and place it in your **Downloads** or **Apps** directory.

<Frame>
  ![The image shows a webpage for "The AI Code Editor" by Cursor, with options to download for Linux and view all downloads. A download progress bar is visible at the top.](https://kodekloud.com/kk-media/image/upload/v1752872732/notes-assets/images/Cursor-AI-Demo-Installation-and-Setup/the-ai-code-editor-downloads-page.jpg)
</Frame>

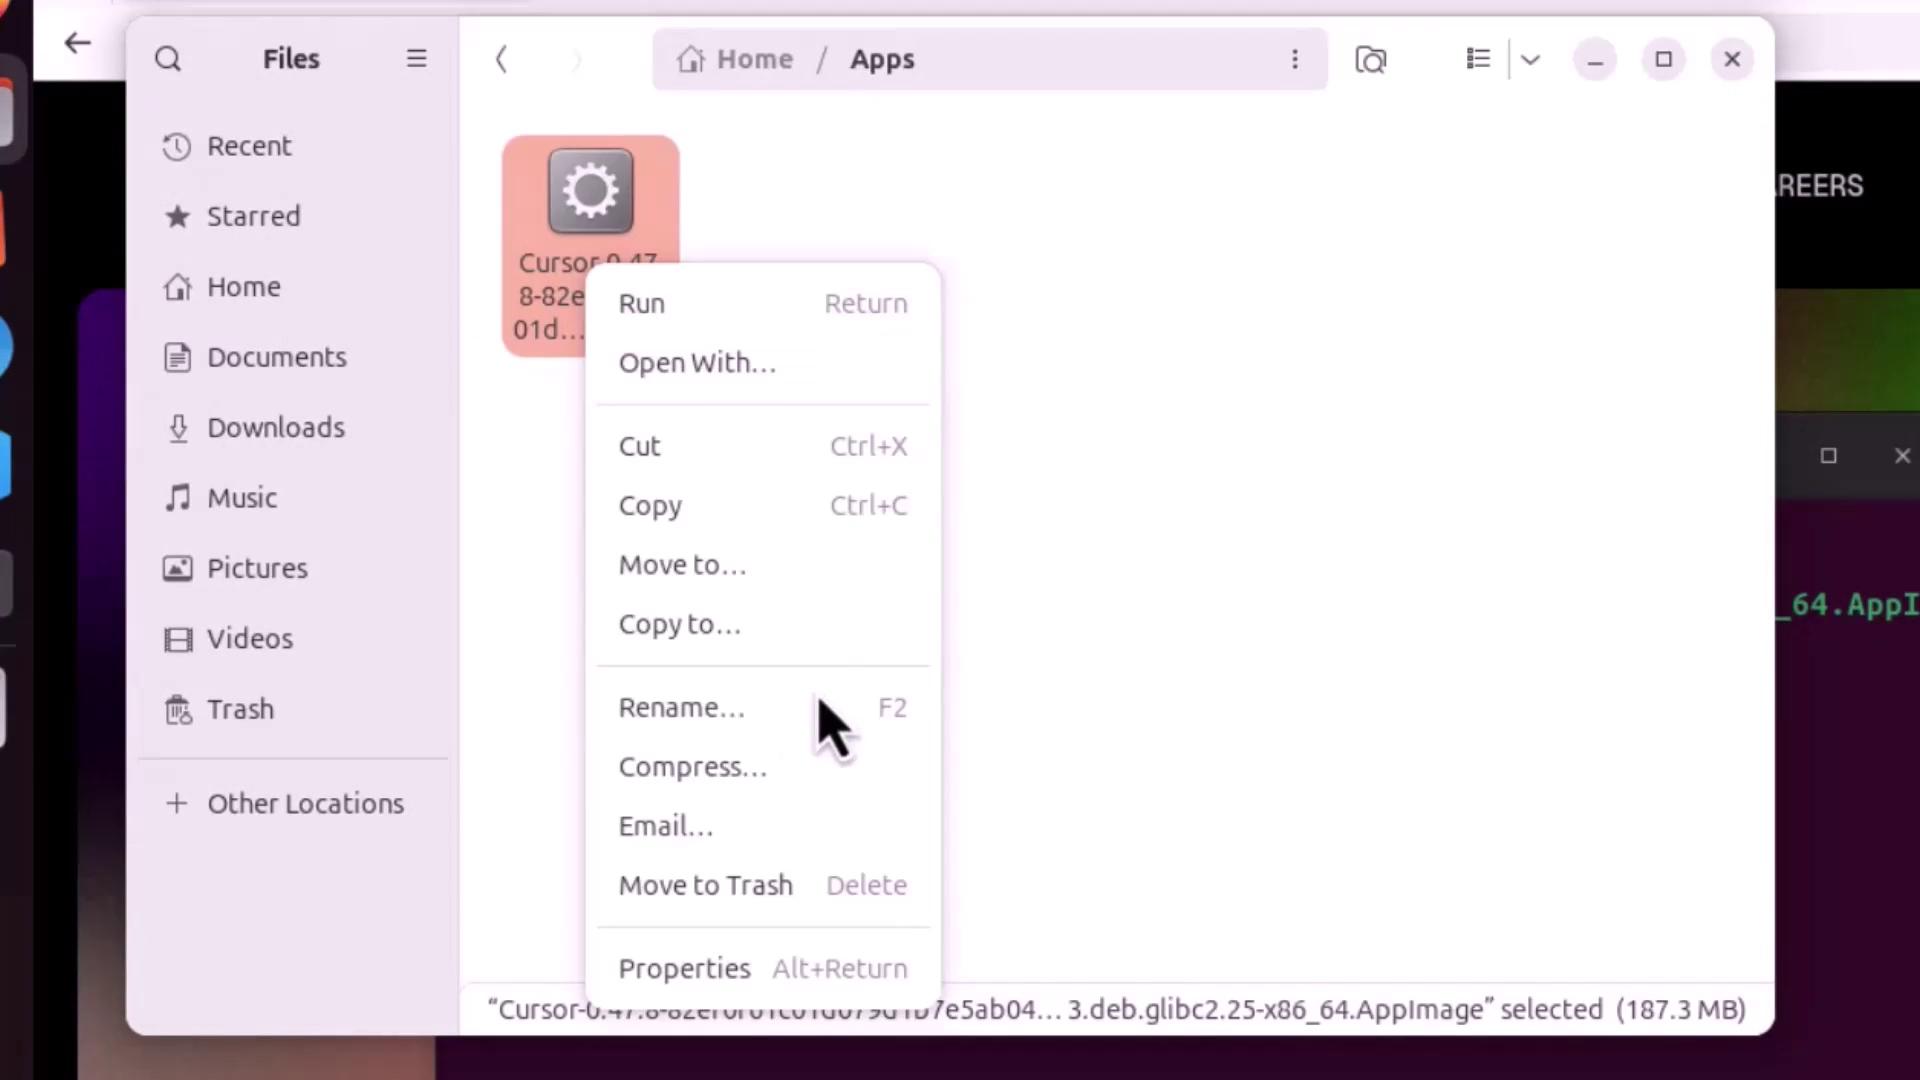
2. Make the AppImage executable:
   * **Graphical**: Right-click → **Properties** → **Permissions** → Tick *Allow executing file as program*

<Frame>
  ![The image shows a file manager window on a computer, with a right-click context menu open for a file named "Cursor" in the "Apps" directory. The menu options include actions like Run, Open With, Cut, Copy, and Rename.](https://kodekloud.com/kk-media/image/upload/v1752872734/notes-assets/images/Cursor-AI-Demo-Installation-and-Setup/file-manager-context-menu-cursor.jpg)
</Frame>

* **Terminal**:
  ```bash theme={null}
  cd ~/Apps
  chmod +x Cursor.AppImage
  ./Cursor.AppImage
  ```

<Callout icon="triangle-alert" color="#FF6B6B">
  If you encounter an error about `libfuse.so.2`, install FUSE before launching:

  ```bash theme={null}
  sudo apt-get update && sudo apt-get upgrade -y
  sudo apt install libfuse2
  ./Cursor.AppImage
  ```
</Callout>

3. On first launch, configure your preferences and import [VS Code](https://code.visualstudio.com) extensions just like on macOS.

<Frame>
  ![The image shows a computer screen with a dialog box for importing VS Code extensions, offering options to "Start from Scratch" or "Use Extensions." The left side displays a vertical dock with various application icons.](https://kodekloud.com/kk-media/image/upload/v1752872736/notes-assets/images/Cursor-AI-Demo-Installation-and-Setup/vscode-import-extensions-dialog.jpg)
</Frame>

4. Sign in to your Cursor account to sync settings and projects.

***

## Quickstart: Verify Your Setup

Cursor’s integrated terminal adapts to each OS:

* **Windows**: PowerShell, Command Prompt, or WSL
* **macOS**: Z shell (zsh)
* **Linux**: Bash

Create a simple Python project to ensure everything is working:

```python theme={null}
# hello_world.py
def main():
    print("Hello, World!")

if __name__ == "__main__":
    main()
```

Run it in Cursor’s terminal:

```bash theme={null}
python3 hello_world.py
# Output:
# Hello, World!
```

On Ubuntu, you can pin Cursor to the Dock (Dash) by right-clicking its icon and selecting **Add to Favorites**.

***

## References

* [Cursor Official Site](https://cursor.com)
* [VS Code Documentation](https://code.visualstudio.com/docs)
* [Ubuntu Linux](https://ubuntu.com)
* [FUSE on Linux](https://github.com/libfuse/libfuse)

<CardGroup>
  <Card title="Watch Video" icon="video" cta="Learn more" href="https://learn.kodekloud.com/user/courses/cursor-ai/module/1ca163cf-4d24-4135-a1e6-ff2848c741bf/lesson/5511c2bd-dbd6-45c9-b824-3aa2de2da9a5" />
</CardGroup>
