> ## Documentation Index
> Fetch the complete documentation index at: https://notes.kodekloud.com/llms.txt
> Use this file to discover all available pages before exploring further.
# Demo Auto Imports and Customizing Settings
> This lesson explores Cursor IDE’s AI-powered autocompletion, Python auto-imports, and customizable settings to enhance Flask development workflows.
In this lesson we explore Cursor IDE’s AI-powered autocompletion, Python auto-imports, and customizable settings. We’ll demonstrate how to streamline your Flask development workflow and tailor Cursor to your preferences.
## Table of Contents
* Automatic Imports
* Quick Fix Menu
* Python Auto Import (Beta)
* Global & Project Settings
* Importing VS Code Configuration
* Defining .cursor-rules
* Feature Toggles
* AI Models & API Keys
* Enabling Beta Features
* Next Steps
## Automatic Imports
Cursor leverages machine learning to detect missing Python modules and insert the corresponding imports. Consider this Flask example:
```python theme={null}
import sqlite3
import os
from flask import Flask, render_template, request, redirect, url_for, flash, session, g
from datetime import datetime
import hashlib
import logging
# Initialize Flask app
app = Flask(__name__)
app.config['SECRET_KEY'] = 'dev'
app.config['DATABASE'] = os.path.join(app.instance_path, 'task_manager.sqlite')
# Ensure instance folder exists and write to CSV
try:
os.makedirs(app.instance_path)
with open('file.csv', 'w') as f:
f.write('Hello, World!')
with open('file.csv', 'r') as f:
csvreader = csv.reader(f)
for row in csvreader:
print(row)
except OSError:
pass
```
Because `csv` is not imported, `csv.reader` will trigger a quick fix. Press `⌘.` (macOS) or `Ctrl+.` (Windows/Linux), choose **Import 'csv'**, and Cursor auto-inserts:
```python theme={null}
import csv
import sqlite3
import os
# ...other imports
```
Your application runs without `ModuleNotFoundError`.
Use the auto-import feature to speed up development and avoid manual import typos.
## Quick Fix Menu
Beyond imports, the Quick Fix menu helps with:
* Renaming symbols
* Searching for import candidates
* Suppressing linter warnings
Navigate to suggested actions with `Ctrl+.` / `⌘.`.
## Python Auto Import (Beta)
The Python auto-import (Beta) proactively adds necessary imports as you type. Example:
```python theme={null}
def read_csv(file_path):
with open(file_path, 'r') as f:
csvreader = csv.reader(f)
for row in csvreader:
print(row)
def write_csv(file_path, data):
with open(file_path, 'w') as f:
csvwriter = csv.writer(f)
csvwriter.writerows(data)
```
Press **Tab** inside the function, save the file, and watch `import csv` appear at the top.
## Customizing Settings in Cursor
Access global settings with `⌘⇧J` (macOS) or `Ctrl+Shift+J` (Windows/Linux). Here you can adjust AI rules, feature toggles, editor themes, and more.
### Importing VS Code Settings
Mirror your [VS Code](https://code.visualstudio.com) preferences by importing your settings and extensions into Cursor.
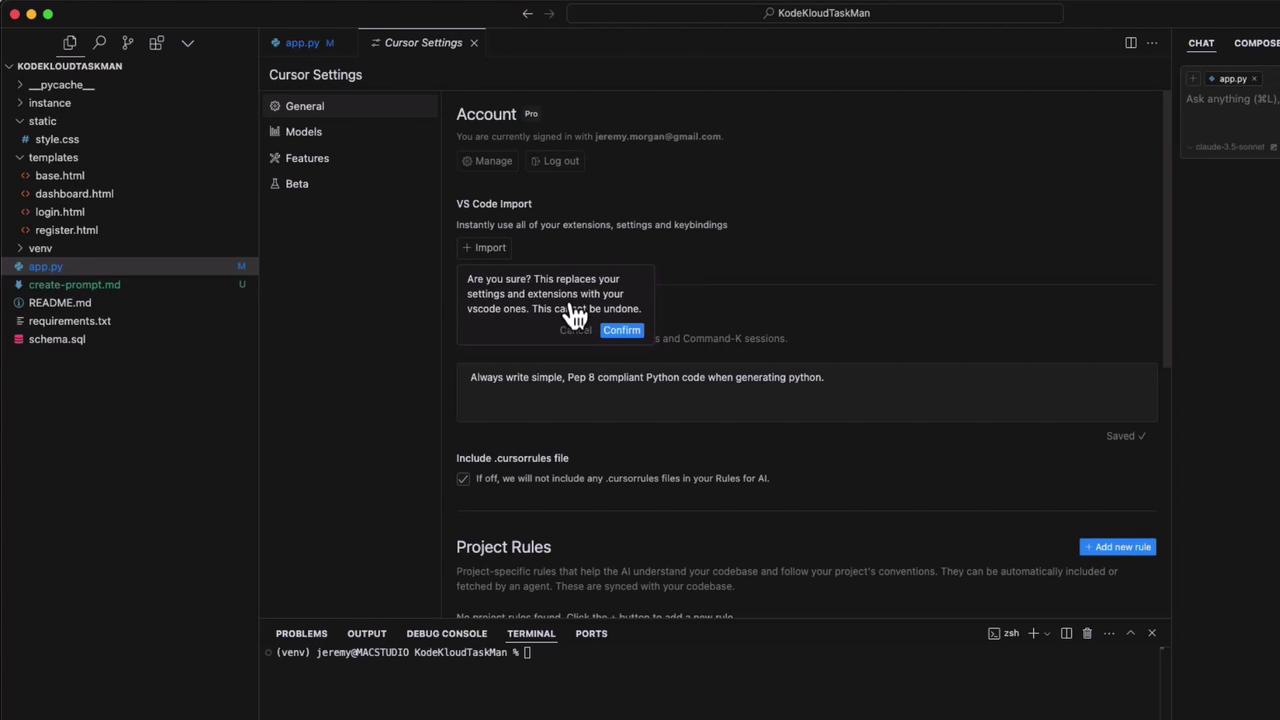
After import, extensions like [TabNine](https://www.tabnine.com) and your preferred theme sync automatically.
```text theme={null}
[2025-03-19 21:44:41.900] Extension version: 0.88.5
[2025-03-19 21:44:41.901] LLM bundle: none
[2025-03-19 21:44:41.901] WSL extension is supported only in Microsoft versions of VS Code
```
### Project-Specific Cursor Rules
Define a `.cursor-rules` file at your project root to override global AI instructions. These per-project settings ensure consistent code style.
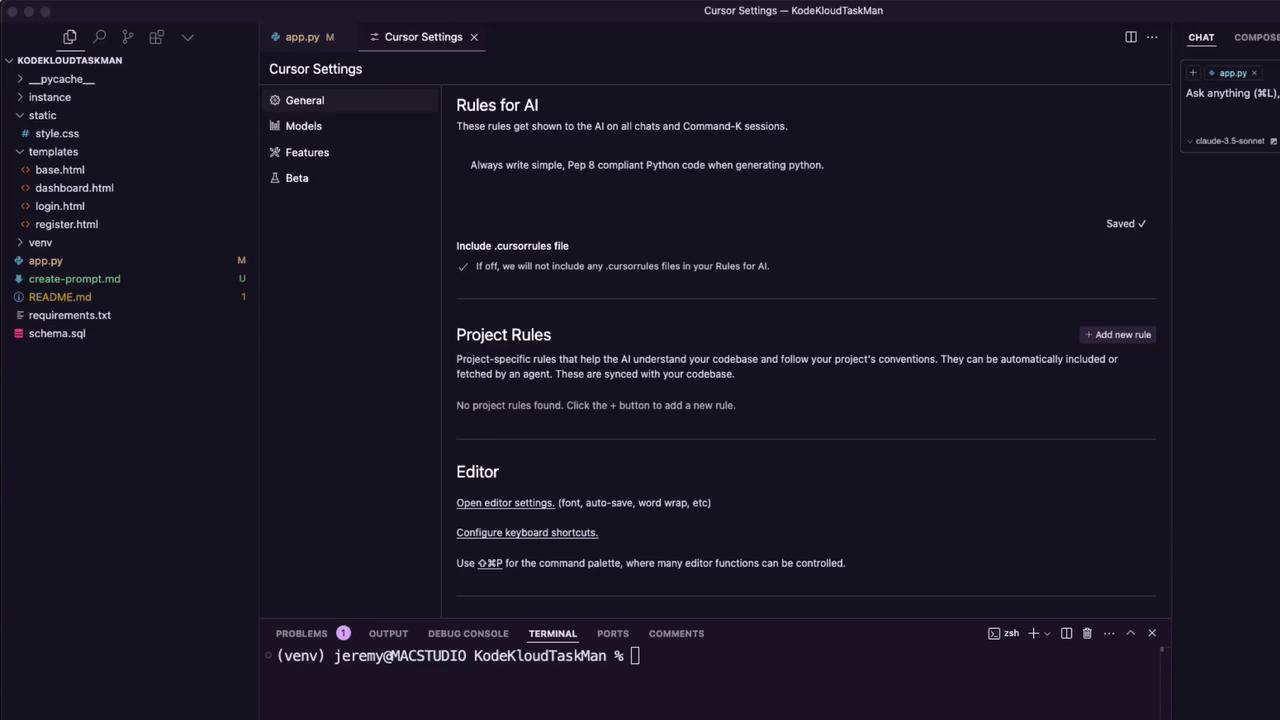
Example `.cursor-rules`:
```txt theme={null}
# .cursor-rules
always generate Python code that is simple and PEP 8 compliant
```
### Feature Toggles
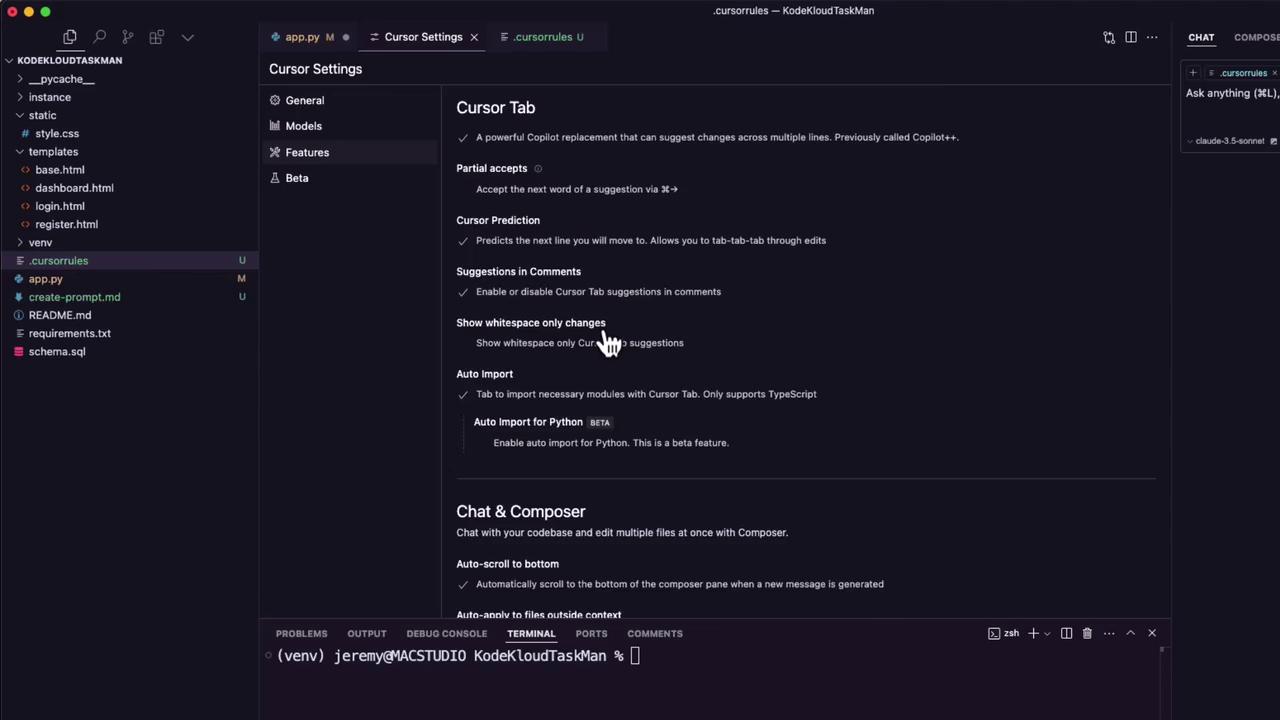
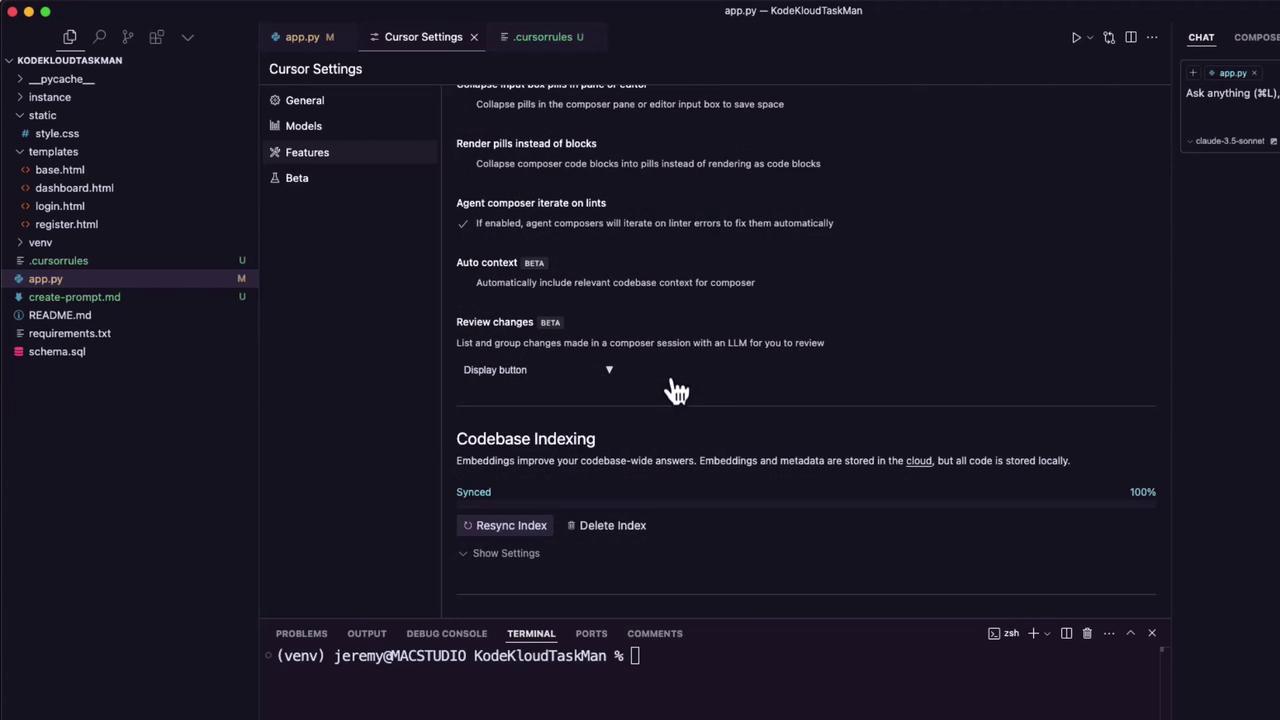
Enable or disable Cursor IDE features according to your workflow:
| Feature | Description |
| -------------------------------- | -------------------------------------- |
| Cursor predictions | Real-time code suggestions |
| Auto import for Python (Beta) | Automatic import insertion as you code |
| Partial accepts | Accept suggestions in segments |
| Show whitespace-only suggestions | Display whitespace completions |
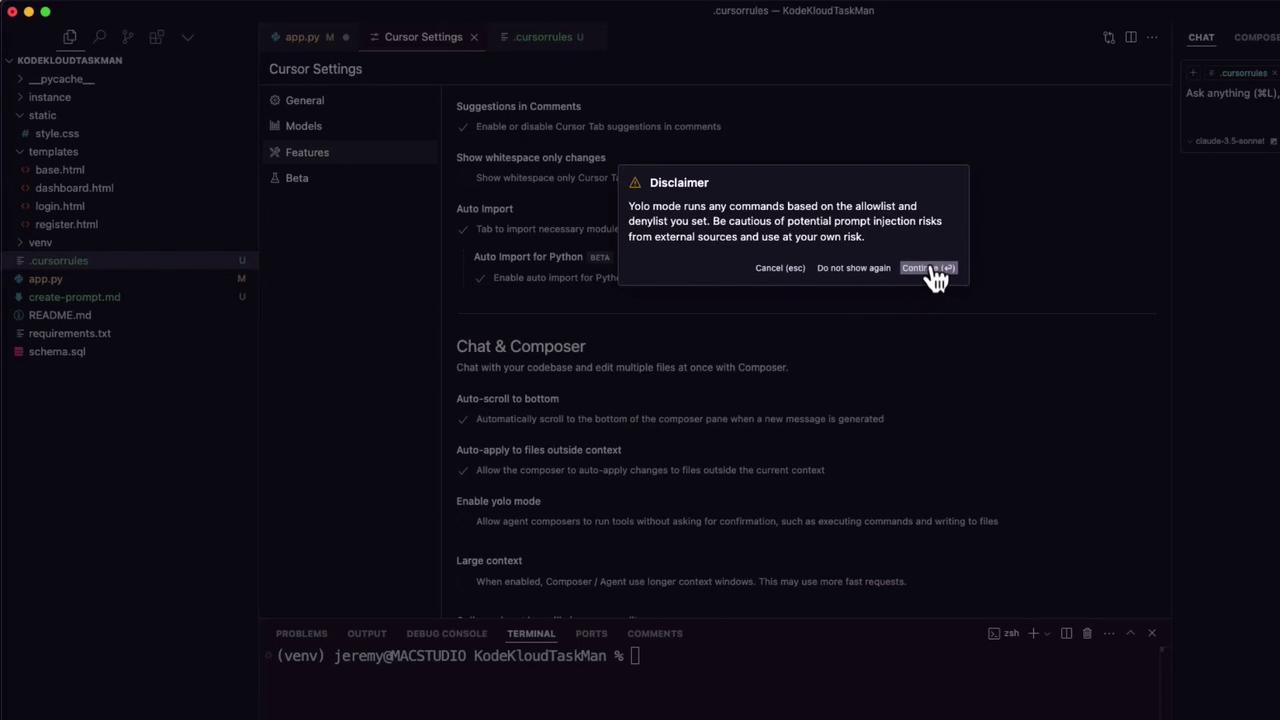
Keep your API keys secure. Do not commit them to public repositories.
## AI Models and API Keys
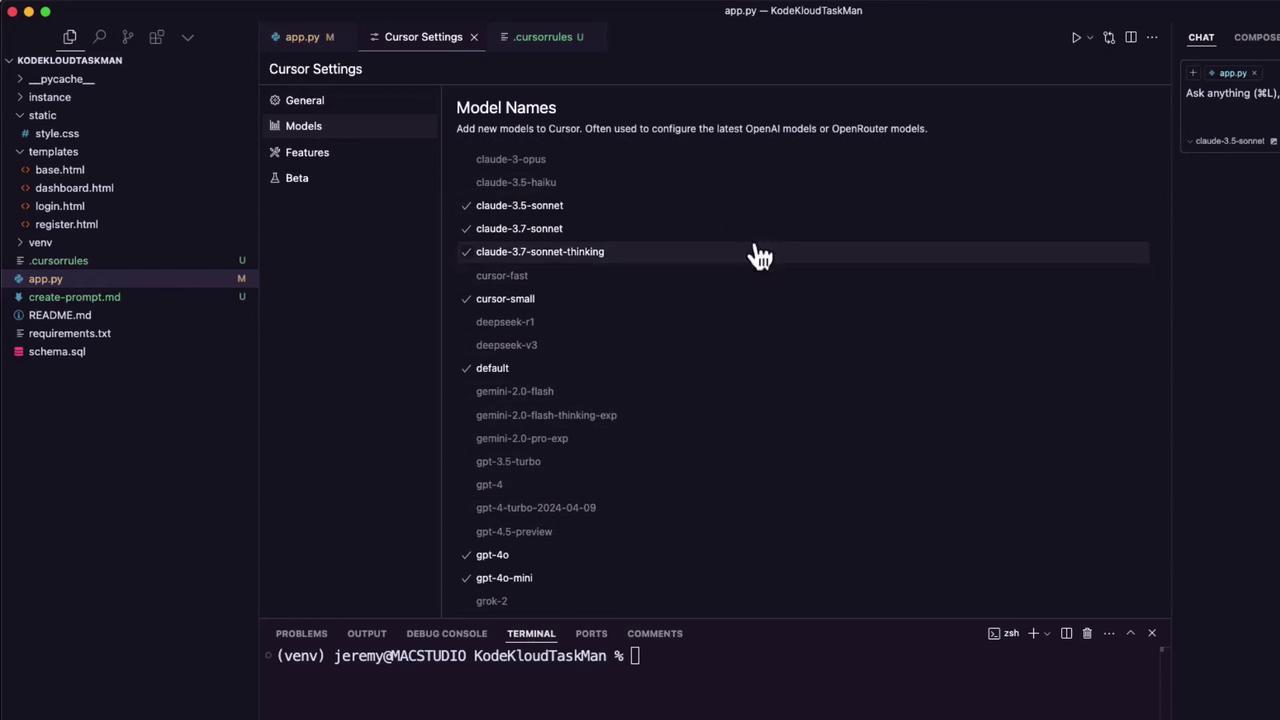
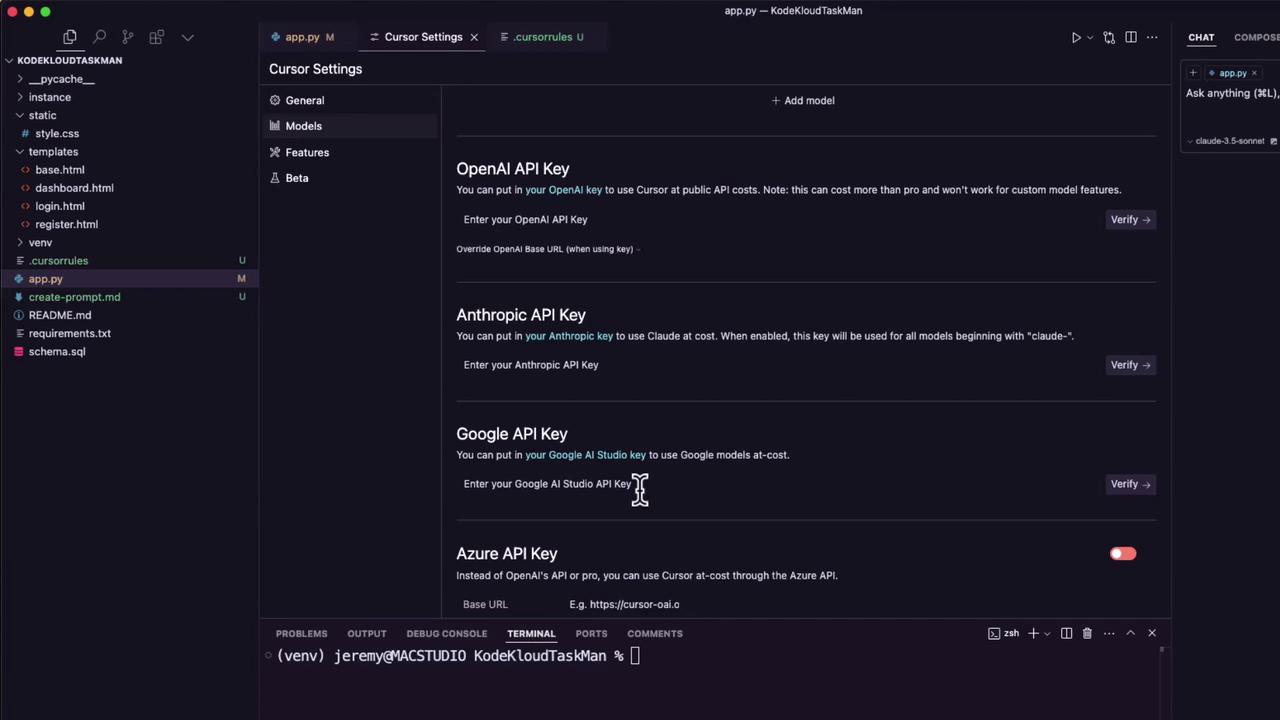
Under **Models**, select your preferred AI backend. To unlock premium capabilities, add API keys for:
* OpenAI
* Anthropic
* Google Cloud AI
* Azure AI
## Beta Features
Join the cutting edge by toggling beta features for early access to new AI capabilities.
## Next Steps
Now that you’ve configured Cursor’s auto-imports and personalized your IDE, proceed to explore advanced prompt engineering and delve deeper into Cursor’s AI-driven development workflow.
## Links and References
* [Cursor IDE Documentation](https://cursor.so/docs/)
* [VS Code Official Site](https://code.visualstudio.com)
* [TabNine AI Autocomplete](https://www.tabnine.com)