biostats.csv) from Azure Blob Storage into Azure Data Lake Storage Gen2.
Prerequisites
- Active Azure subscription
- Existing Azure Synapse Analytics workspace with Data Lake Storage Gen2
- Storage account (e.g., PHVNewStorage) containing a
sampledatacontainer
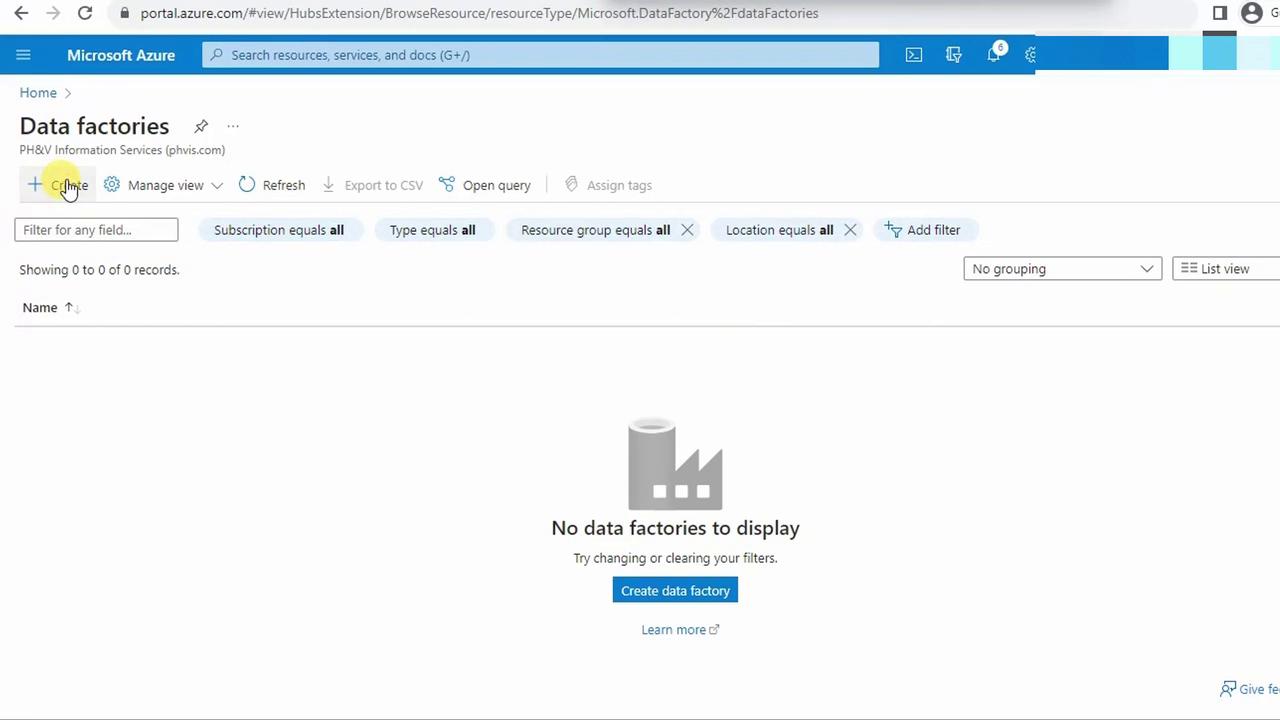
1. Create an Azure Data Factory
- Sign in to the Azure Portal and navigate to Data Factories. Click + Create.
- On the Create Data Factory blade, configure:
- Subscription
- Resource group
- Instance name
- Region
- Version (defaults to V2)
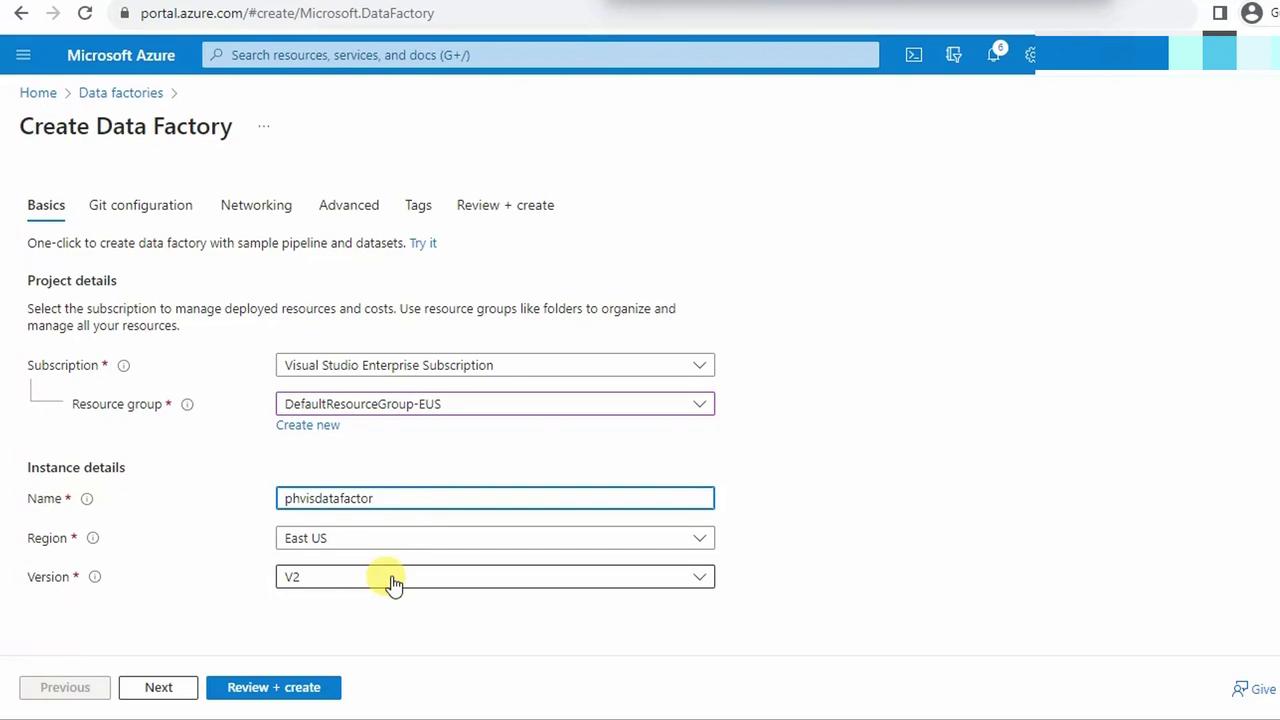
- Click Review + create, then Create. Wait for deployment to finish.
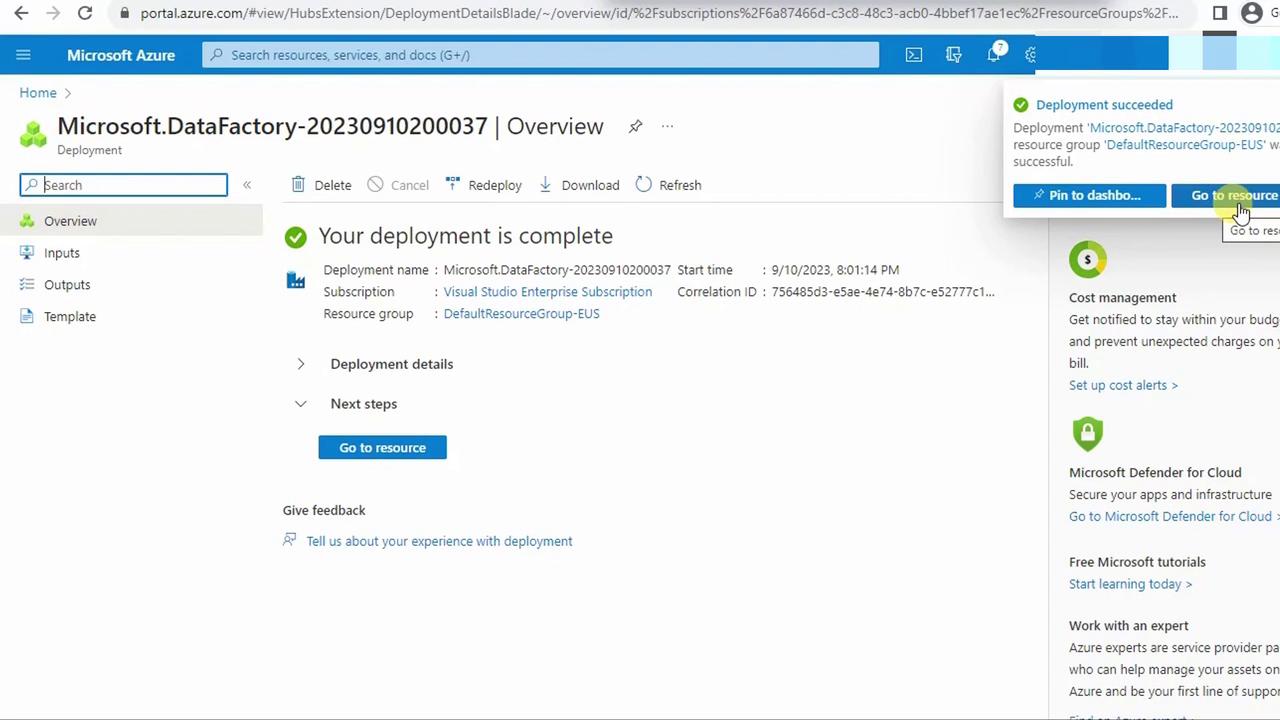
- In your resource group, locate the new Data Factory. Refresh if necessary.
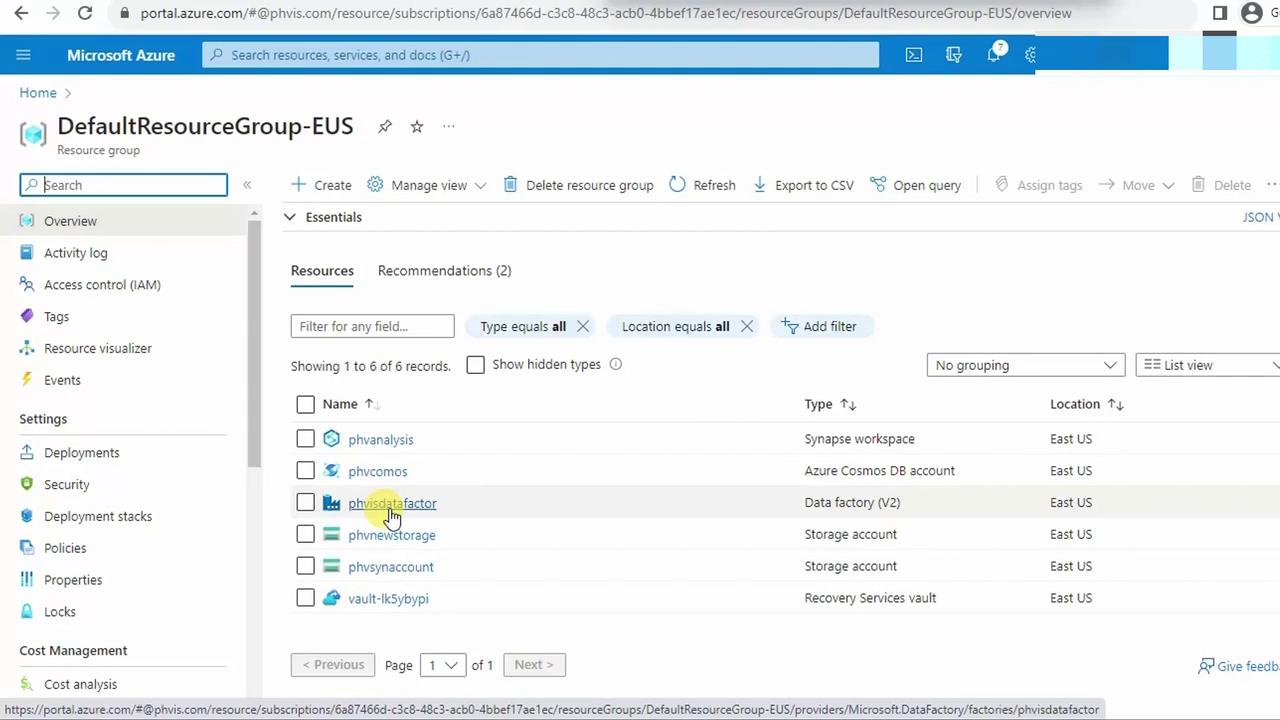
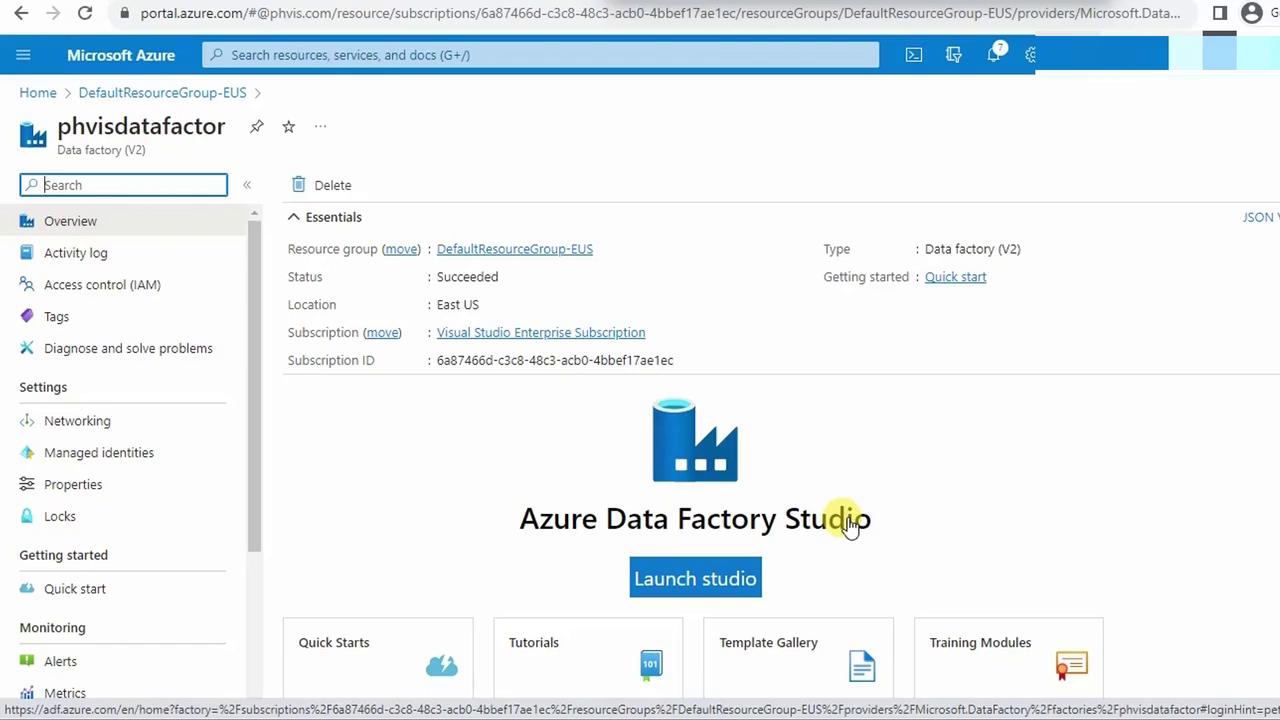
- Select the Data Factory to open its overview page.
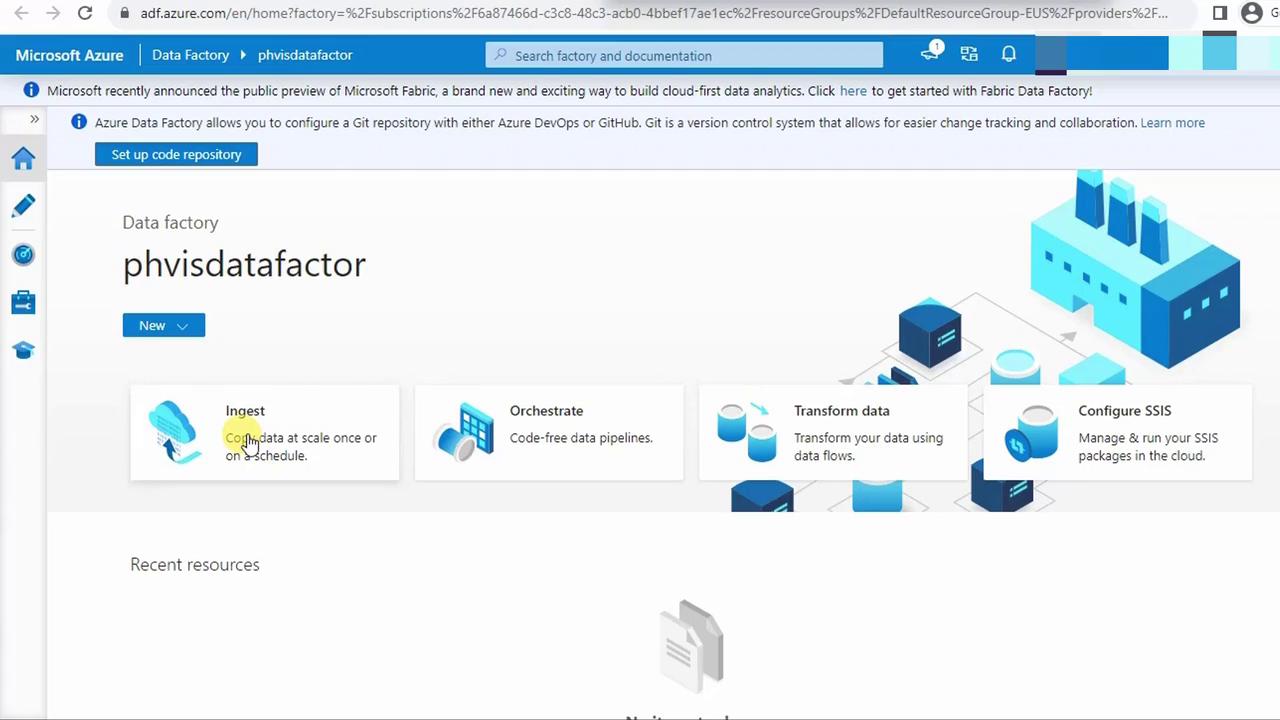
2. Launch Azure Data Factory Studio
Azure Data Factory Studio is the integrated web UI for designing and monitoring pipelines.- On the Data Factory overview page, click Launch Studio.
- A new browser tab opens with the Studio workspace.
3. Set Up Source and Destination Storage
We will copybiostats.csv from the PHVNewStorage account’s sampledata container into your Data Lake Gen2 storage.
Ensure you have the Storage Blob Data Contributor role on both the source and destination storage accounts.
4. Build the Copy Data Pipeline
- In Studio, select Ingest from the left menu, then click Copy Data.
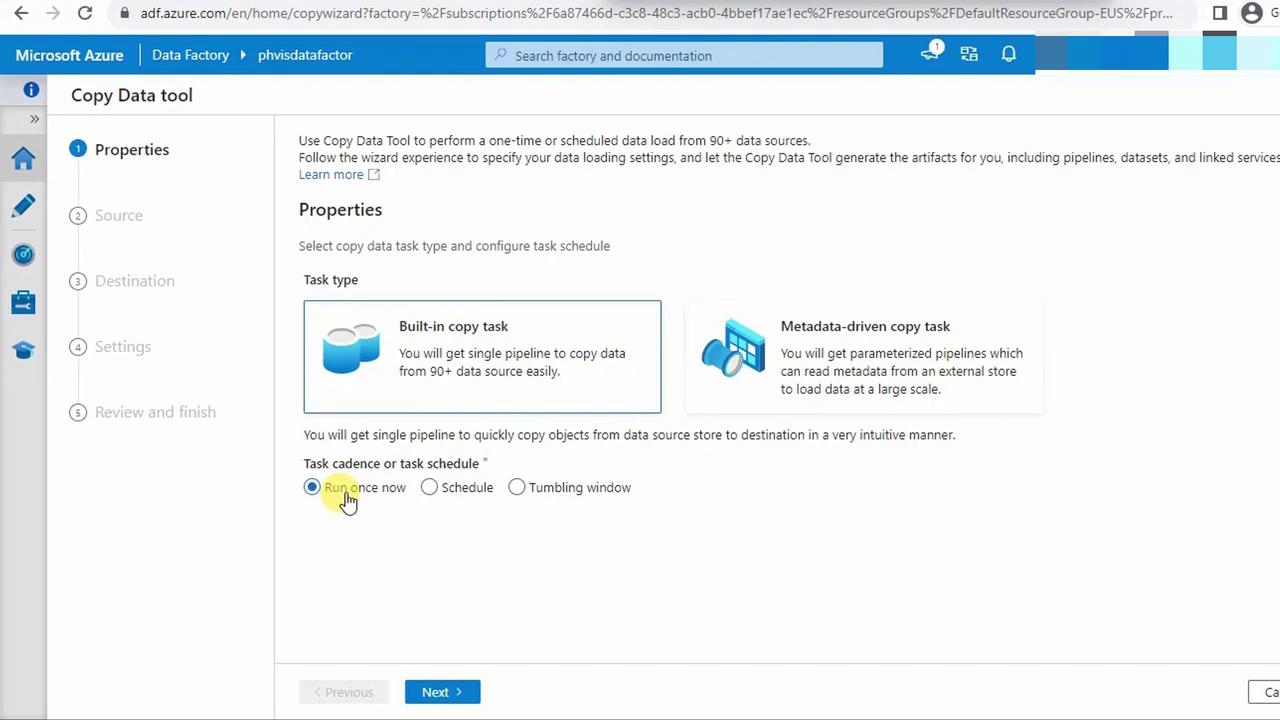
- Choose Built-in copy task, set Run once now, and click Next.
4.1 Configure Source
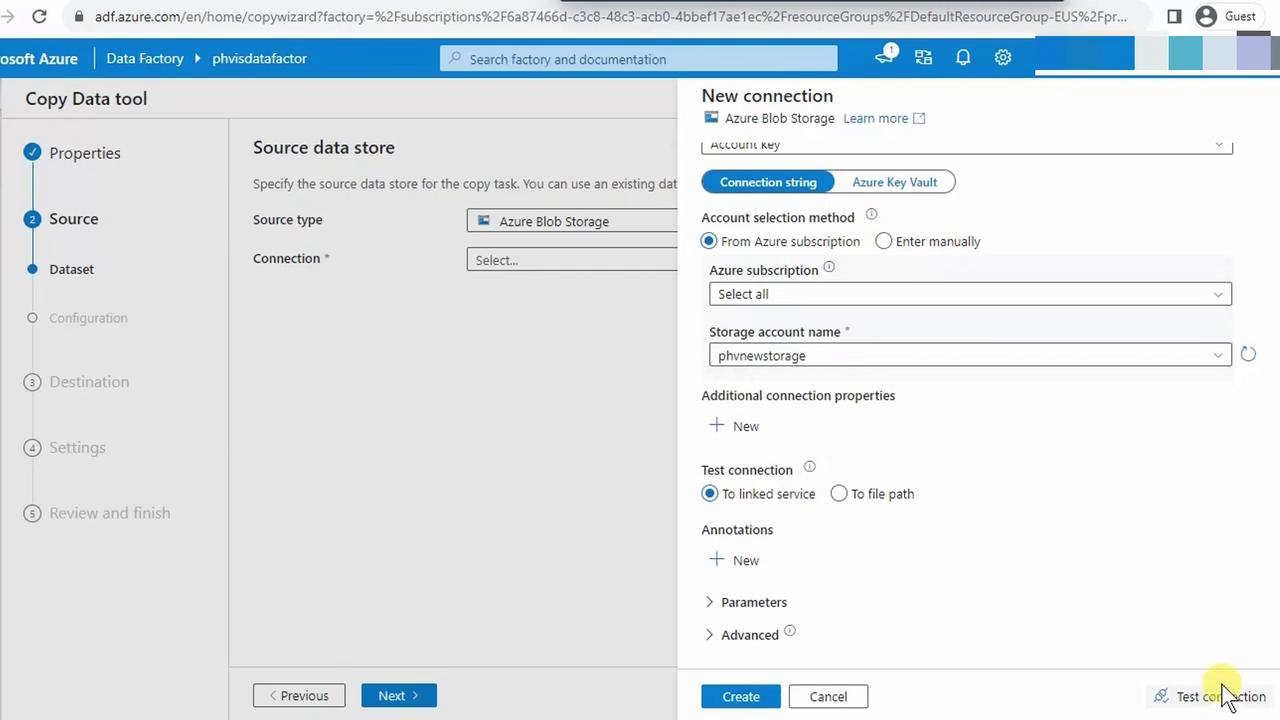
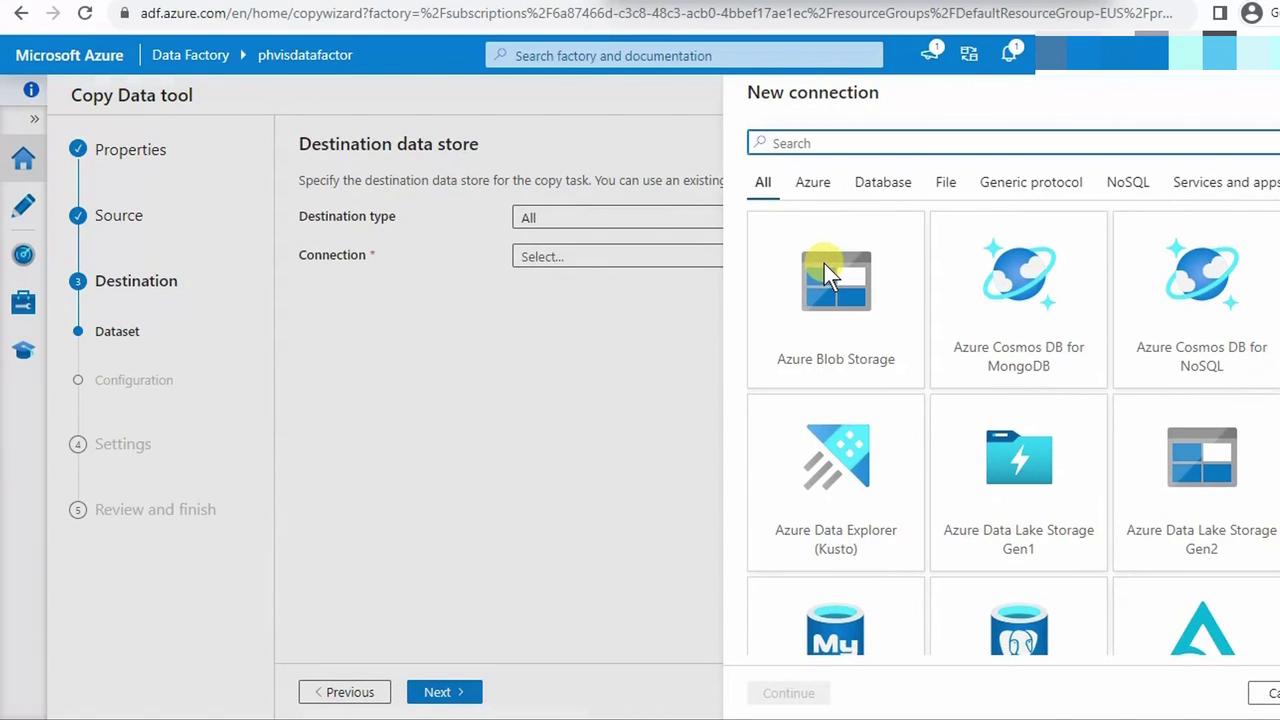
- Under Source data store, select Azure Blob Storage.
- Click New to create a linked service. Name it (e.g.,
csvhome), choose your subscription, and select PHVNewStorage. Test then save.
- Click Browse, expand containers, and select
sampledata.
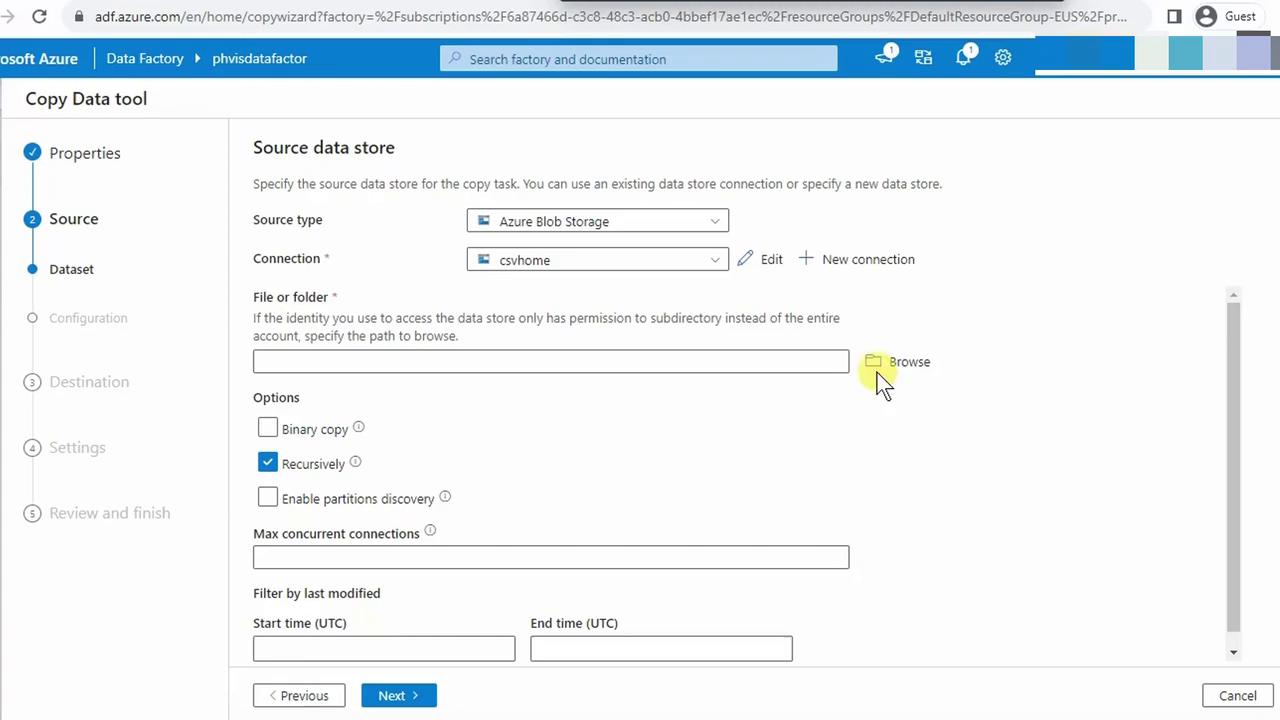
- Enable Recursion to include subfolders. Click Next.
4.2 Upload or Verify Your CSV
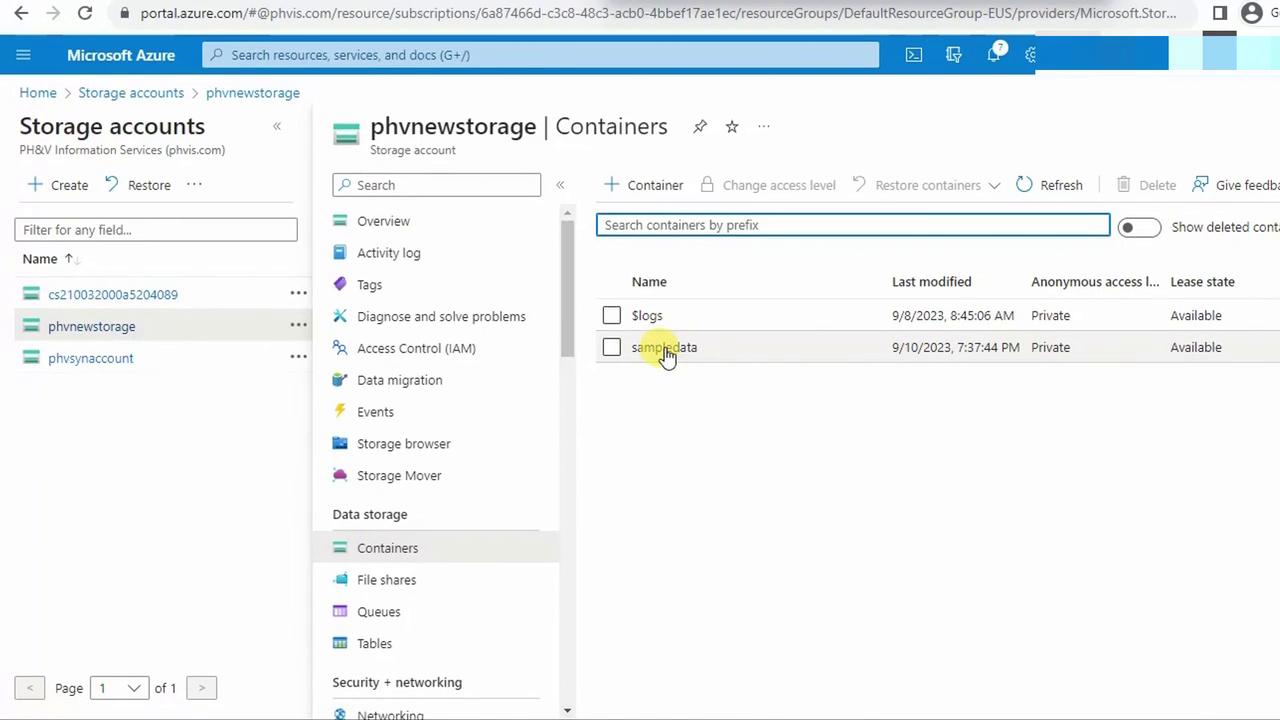
- In the Azure Portal, open Storage Accounts > PHVNewStorage > Containers > sampledata.
- Remove old files, then upload
biostats.csv.
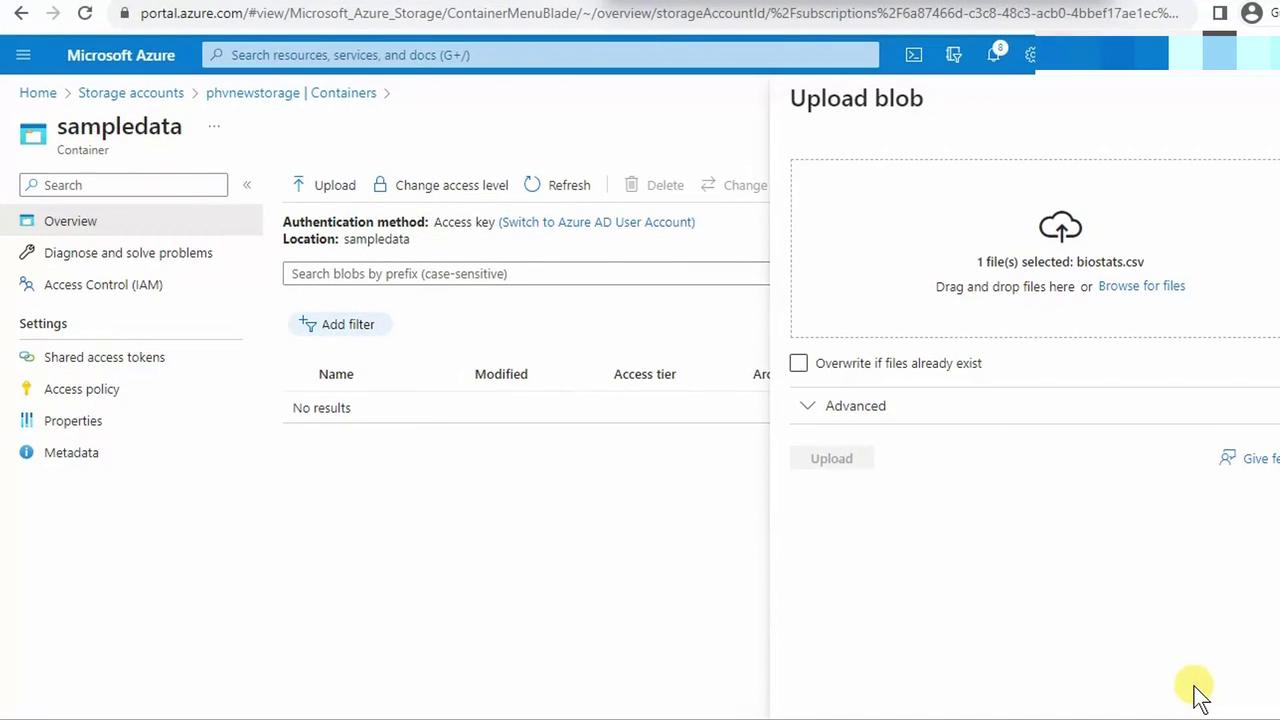
- Return to Studio and click Next.
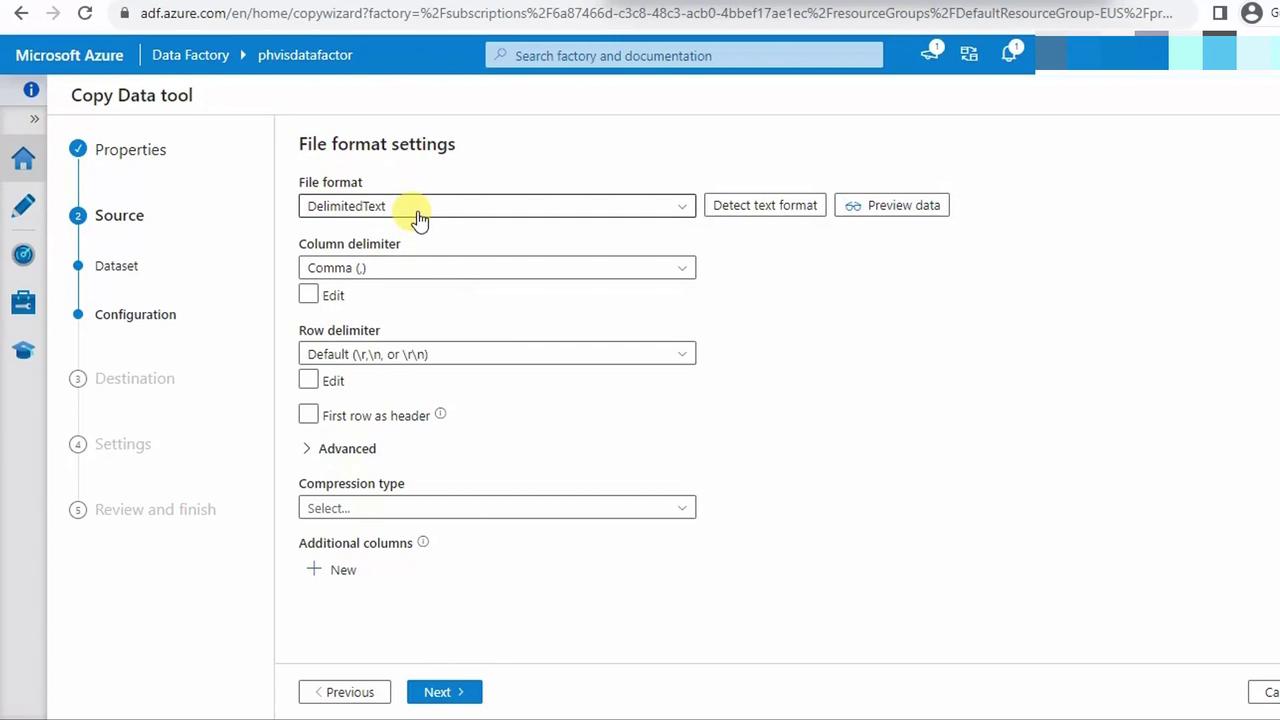
4.3 Define Source File Format
- Select DelimitedText with comma (
,) as the column delimiter. Keep default settings.
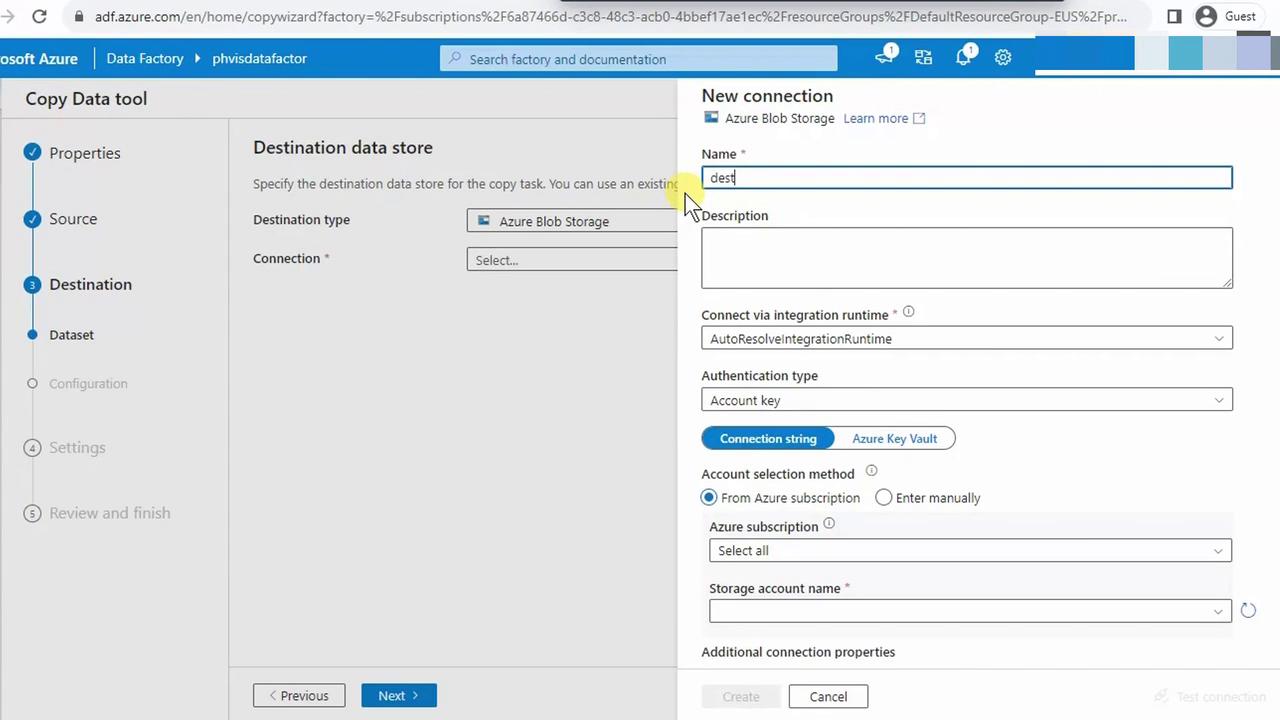
4.4 Configure Destination
- For Destination data store, pick Azure Blob Storage (Data Lake Gen2 uses the Blob API).
- Create a new linked service: name it (e.g.,
destination), select your Data Lake account (e.g., phvsinaccount), and save.
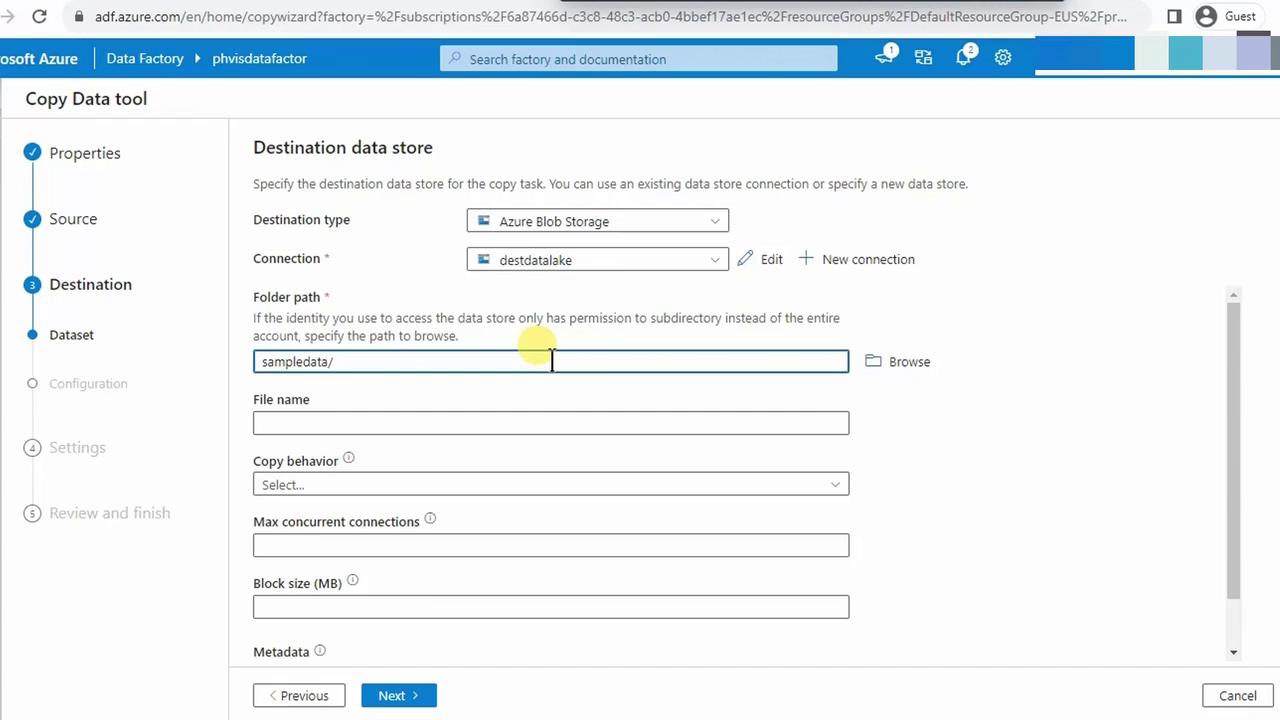
- Browse to the
sampledatafolder path. - Leave File name blank, choose Preserve hierarchy, and accept defaults.
4.5 Review Output File Format
Keep the default delimited settings (comma, no header row changes).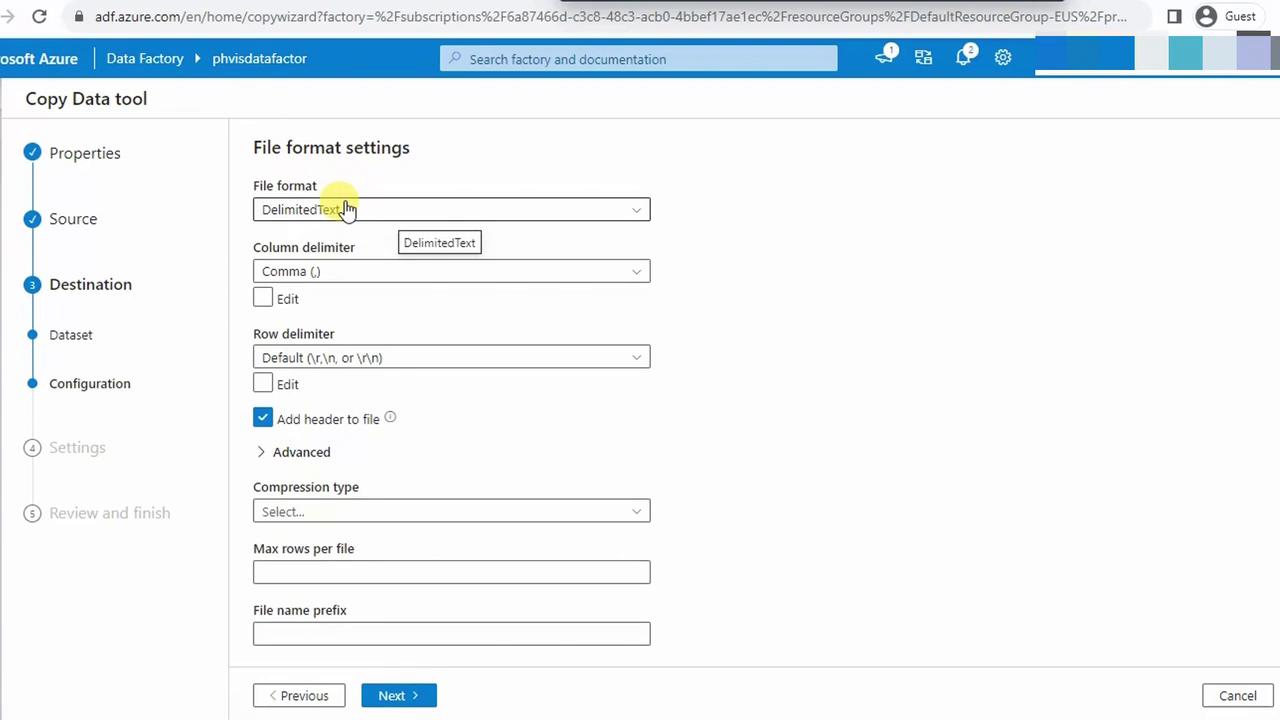
4.6 Finalize and Run Pipeline
- Assign a name (e.g., Copy_CSV) and optional description.
- Accept default fault tolerance and logging.
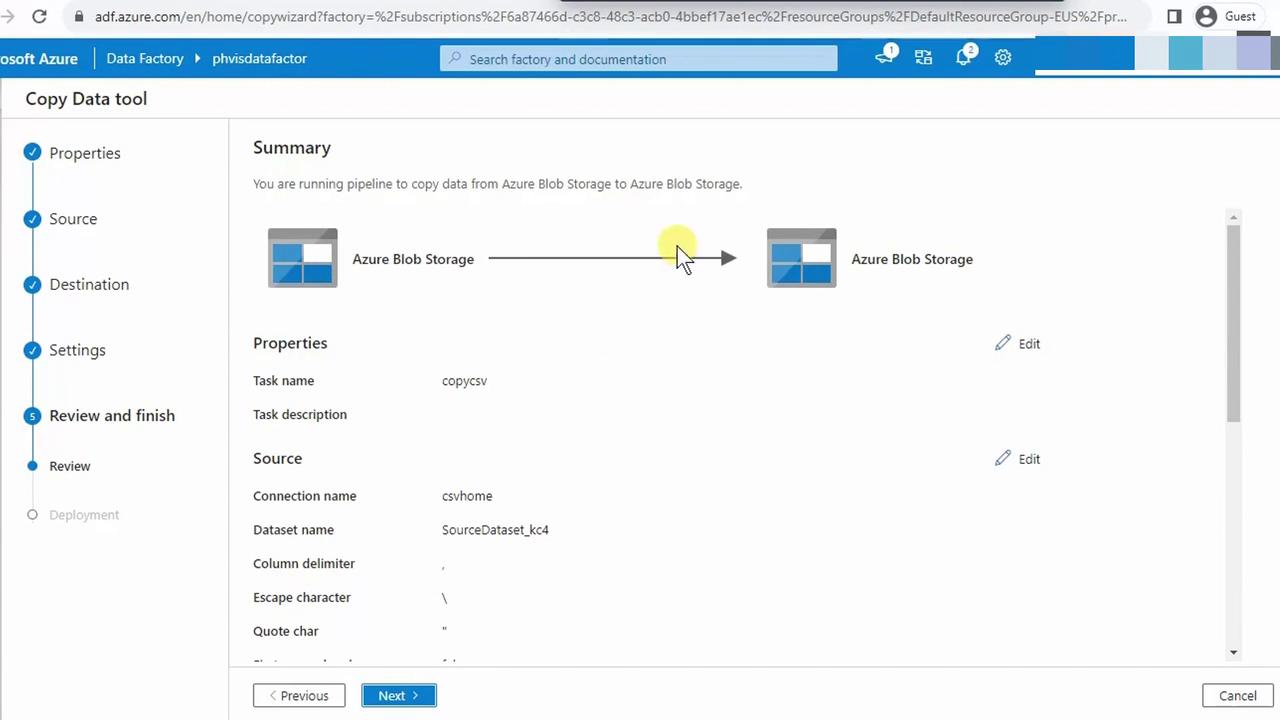
- Review the summary and click Finish.
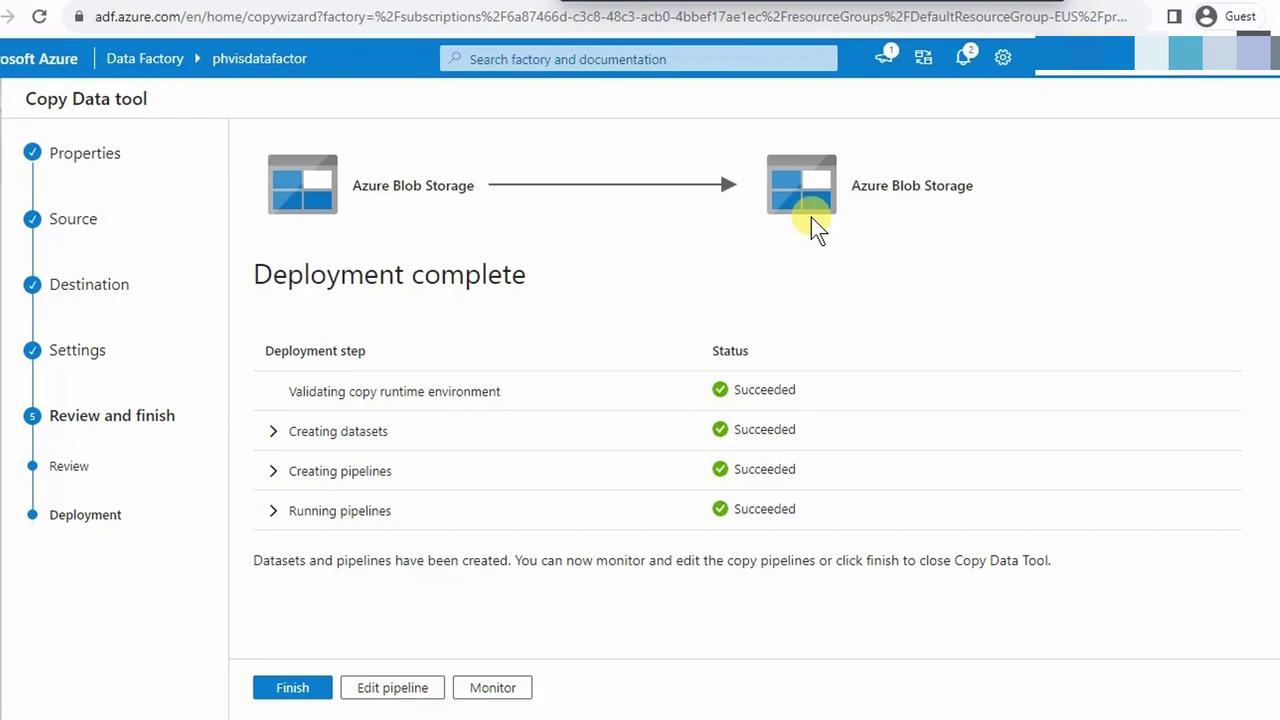
- The pipeline will validate and execute automatically. Monitor the status; all activities should show Succeeded.
5. Verify in the Data Lake
In the Azure Portal, navigate to your Data Lake storage account and confirm thatbiostats.csv appears under the sampledata folder.
By following these steps, you’ve successfully implemented an Azure Data Factory pipeline to transfer CSV data from Blob Storage to Data Lake Storage Gen2.