DP-900: Microsoft Azure Data Fundamentals

Structured Data

Demo Normalized Tables

Welcome to this walkthrough on exploring normalized tables in an Azure SQL Database using SQL Server Management Studio (SSMS). While Azure Data Studio also supports querying and diagrams, SSMS’s layout is particularly useful for visualizing table schemas and relationships. This demo highlights how Azure SQL Database works seamlessly with tools built for on-premises SQL Server.


1. Connect and Browse Tables

  1. Open SSMS and connect to your Azure SQL Database instance.
  2. In Object Explorer, expand DatabasesYourDatabaseTables.
  3. Locate SalesLT.Customer and expand it to view columns and keys.

The image shows a SQL Server Management Studio interface with a database explorer open, displaying the structure of a database named "PhvAz" and highlighting the "CustomerID" column in the "SalesLT.Customer" table.

EntityDescriptionKey Columns
CustomerCustomer profilesCustomerID (PK)
SalesOrderHeaderOrder summariesSalesOrderID (PK), CustomerID (FK)
SalesOrderDetailLine items per orderSalesOrderDetailID (PK), ProductID (FK)
ProductProduct catalogProductID (PK)
AddressAddress directoryAddressID (PK)

Note

You can use Azure Data Studio for most tasks, but SSMS provides automated database diagrams for clearer relationship mapping.


2. Query Sample Orders

Right-click SalesLT.SalesOrderHeaderSelect Top 1,000 Rows. SSMS generates and runs:

SELECT TOP (1000)
    [SalesOrderID],
    [RevisionNumber],
    [OrderDate],
    [DueDate],
    [ShipDate],
    [Status],
    [OnlineOrderFlag],
    [SalesOrderNumber],
    [PurchaseOrderNumber],
    [AccountNumber],
    [CustomerID],
    [ShipToAddressID],
    [BillToAddressID],
    [ShipMethod],
    [CreditCardApprovalCode],
    [SubTotal],
    [TaxAmt]
FROM [SalesLT].[SalesOrderHeader];

You’ll see 32 records and corresponding CustomerID values:

The image shows a SQL Server Management Studio interface with a query result displaying customer data, including fields like CustomerID, Name, CompanyName, and EmailAddress. The left pane shows the database structure with tables and columns.

Next, verify 
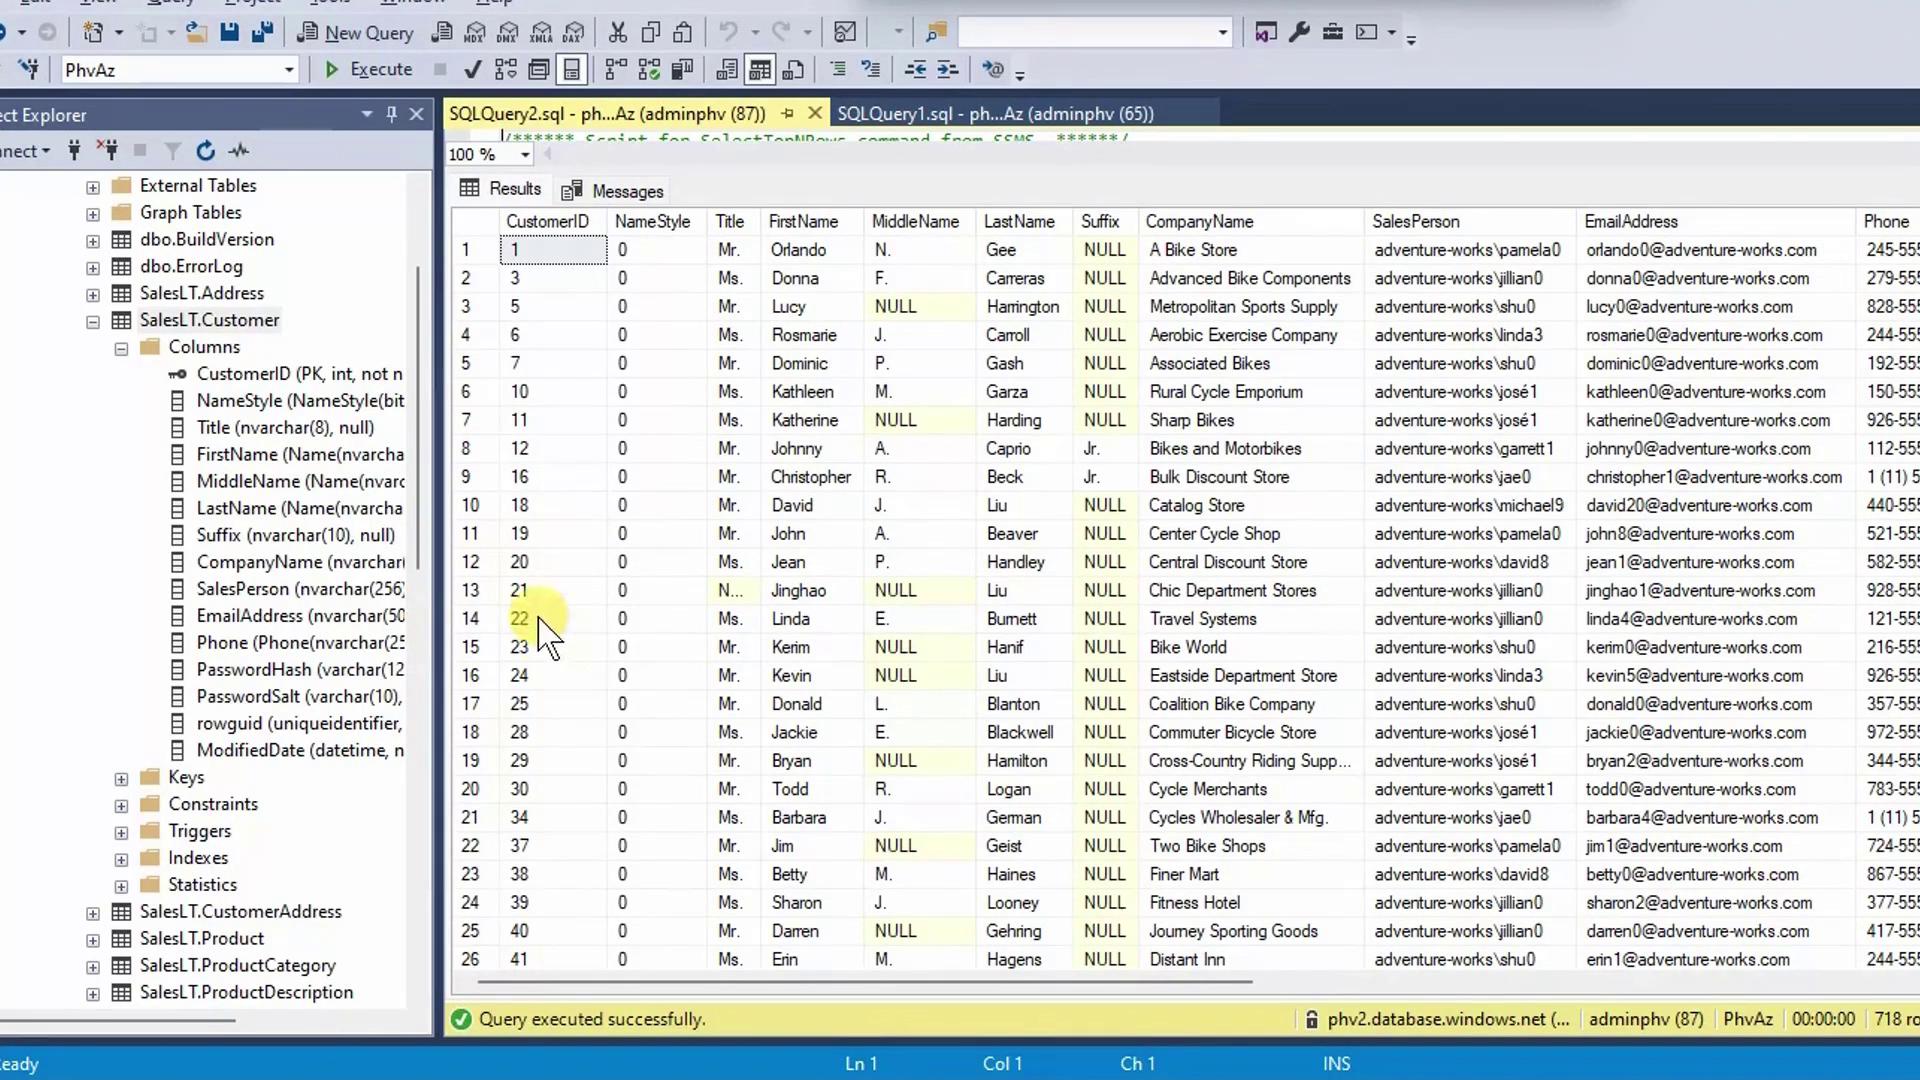
CustomerID matches by querying the customer table:

SELECT TOP (1000)
    CustomerID,
    Name,
    EmailAddress
FROM [SalesLT].[Customer];

The image shows a SQL Server Management Studio interface with a query result displaying a table of data, including columns like Ship Date, Status, Sales Order Number, and Customer ID. The left pane shows a database schema with tables and columns.

Warning

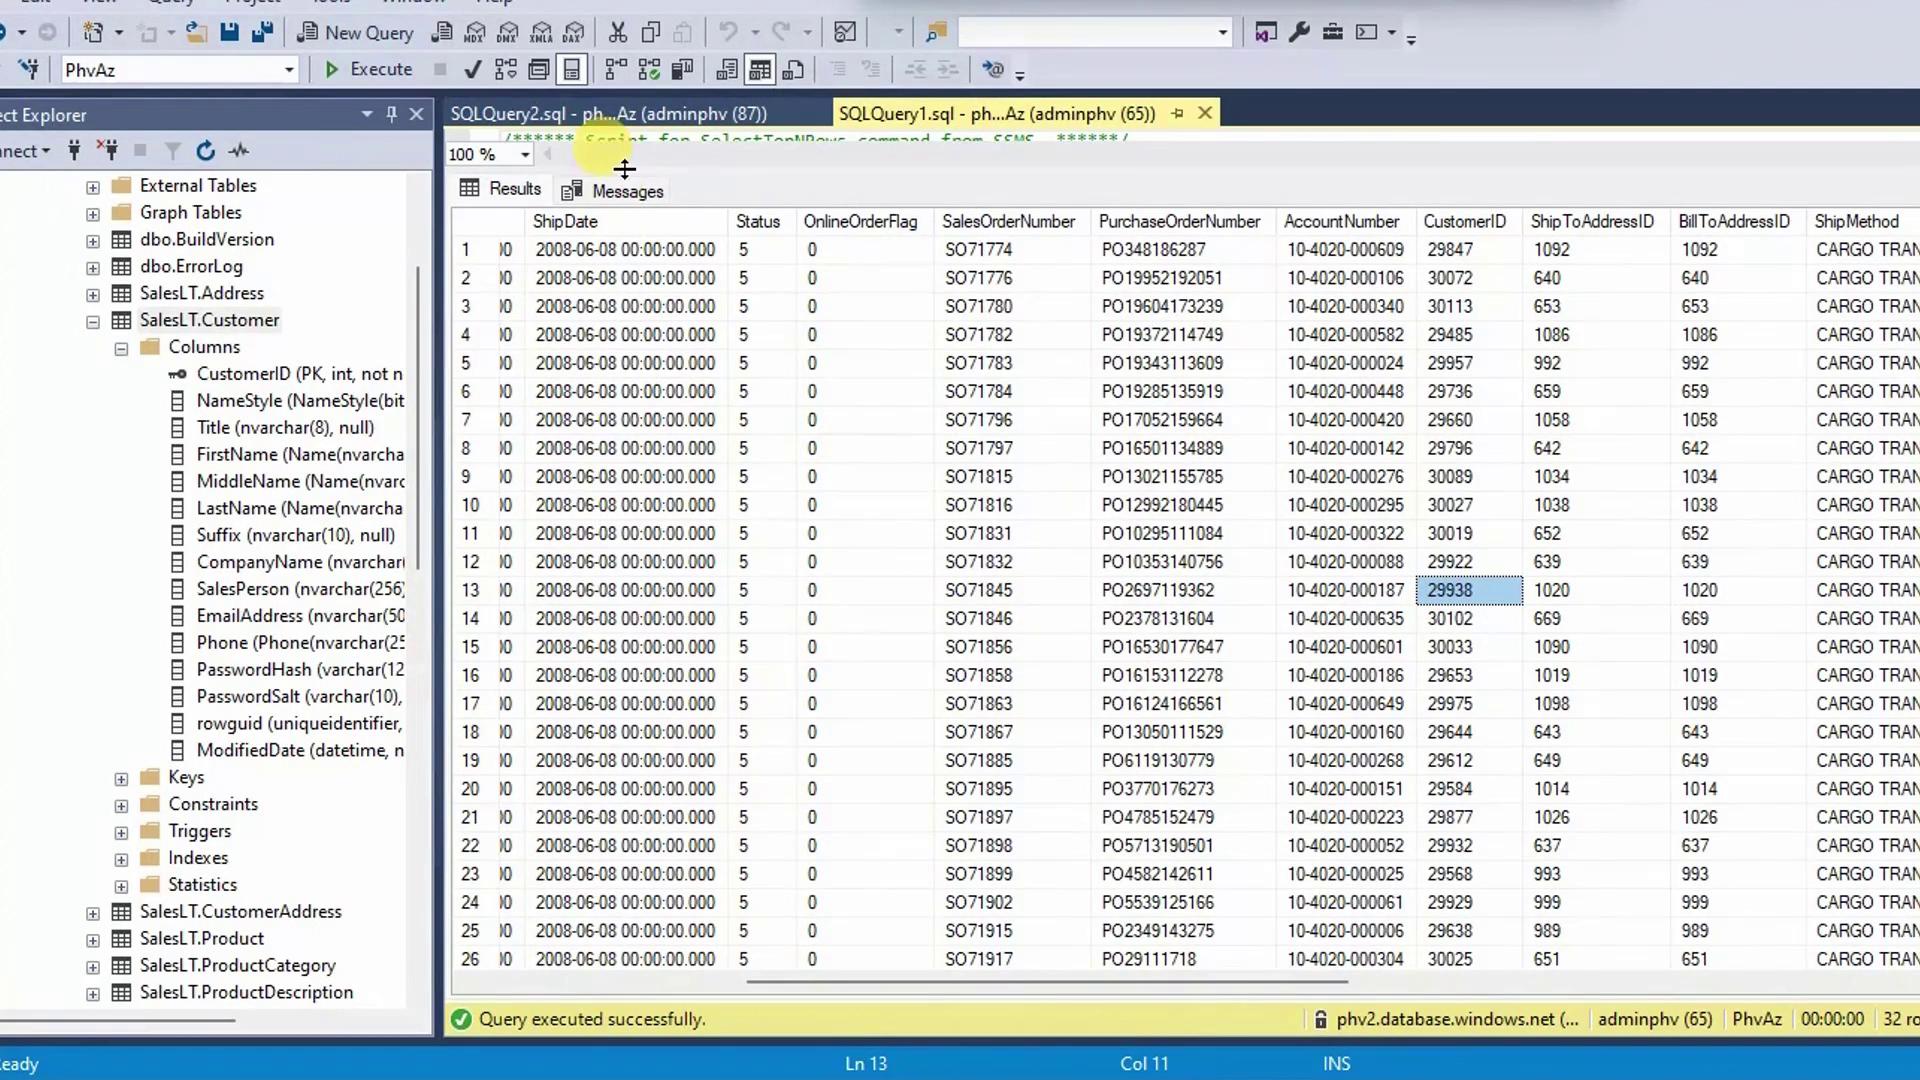
Avoid retrieving extremely large datasets without filters in production. Use WHERE clauses or TOP to limit results and protect performance.


3. Joining Tables via FK–PK

Instead of manual lookups, join SalesOrderHeader and Customer on CustomerID:

SELECT 
    soh.SalesOrderID,
    soh.OrderDate,
    c.Name       AS CustomerName,
    c.EmailAddress
FROM [SalesLT].[SalesOrderHeader] AS soh
JOIN [SalesLT].[Customer] AS c
  ON soh.CustomerID = c.CustomerID;

This query returns each order alongside its customer details in one view.


4. Visualizing Relationships with a Database Diagram

In SSMS Object Explorer, right-click Database DiagramsNew Database Diagram. Add the relevant tables to auto-generate this schema view:

The image shows a database diagram in SQL Server Management Studio, displaying tables and their relationships, including "SalesOrderHeader," "SalesOrderDetail," and "Product."

Key relationships illustrated:

  • SalesLT.Customer → SalesLT.CustomerAddress → SalesLT.Address
    (Supports billing, shipping, and contact addresses per customer)
  • SalesLT.SalesOrderHeader → SalesLT.Address
    (ShipToAddressID, BillToAddressID)
  • SalesLT.SalesOrderHeader → SalesLT.SalesOrderDetail → SalesLT.Product

5. Benefits of Normalized Design

Normalization with clear FK–PK constraints:

  • Eliminates redundant data across tables
  • Ensures consistent, reliable updates
  • Streamlines data maintenance
  • Enables efficient, focused queries

References

Watch Video

Watch video content

Previous
Creating Relationships