DevOps Pre-Requisite Course

2 Tier Applications

KodeKloud E Commerce Application

This tutorial explains how to deploy the KodeKloud e-commerce website, a fictional online store for electronic devices, using a LAMP stack (Linux, Apache, MariaDB, PHP). For this lab, we use MariaDB—a community alternative to MySQL—with identical procedures whether you choose MariaDB or MySQL.

The image shows a product list webpage featuring items like laptops, drones, VR devices, and phones, with prices and images for each product.

The sections below detail setting up the lab environment, installing required components, and configuring the system properly.


Environment Setup and Task Overview

We start by preparing a CentOS machine to deploy the application. The overall procedure includes:

  1. Installing and configuring the firewall.
  2. Setting up the MariaDB database.
  3. Installing and configuring the Apache HTTP Server and PHP.
  4. Downloading and configuring the application code.
  5. Verifying the deployment using tools like curl.

For an efficient process, start with the database configuration followed by the web server and PHP setup.


Step 1: Firewall Configuration

Begin by installing and starting the firewalld service on your CentOS machine:

sudo yum install firewalld
sudo service firewalld start
sudo systemctl enable firewalld

Step 2: MariaDB Database Setup

Install the MariaDB server, adjust the configuration, and configure firewall rules for SQL access. Although the configuration file (/etc/my.cnf) is similar to that of MySQL, you can use the MySQL client to interact with MariaDB.

sudo yum install mariadb-server
sudo vi /etc/my.cnf  # Configure the file with the correct port settings if needed
sudo service mariadb start
sudo systemctl enable mariadb

sudo firewall-cmd --permanent --zone=public --add-port=3306/tcp
sudo firewall-cmd --reload

After starting MariaDB, use the MySQL command-line interface to create the database, user, and load the inventory data:

mysql
MariaDB > CREATE DATABASE ecomdb;
MariaDB > CREATE USER 'ecomuser'@'localhost' IDENTIFIED BY 'ecompassword';
MariaDB > GRANT ALL PRIVILEGES ON *.* TO 'ecomuser'@'localhost';
MariaDB > FLUSH PRIVILEGES;

mysql < db-load-script.sql

Note

Be sure to adjust port settings or other configuration parameters in /etc/my.cnf as needed for your environment.


Step 3: Apache and PHP Setup

Install Apache, PHP, and Git. Then, configure Apache to serve PHP by prioritizing index.php over index.html and open port 80 for external traffic:

sudo yum install -y httpd php php-mysql
sudo firewall-cmd --permanent --zone=public --add-port=80/tcp
sudo firewall-cmd --reload
sudo vi /etc/httpd/conf/httpd.conf  # Modify DirectoryIndex to prioritize index.php
sudo service httpd start
sudo systemctl enable httpd

sudo yum install -y git
git clone https://github.com/<application>.git /var/www/html/
# Update index.php with the correct database address, database name, and credentials
curl http://localhost

This configuration deploys the entire stack on a single node. In multi-node environments, the database and web server reside on separate machines, requiring additional connectivity configuration.


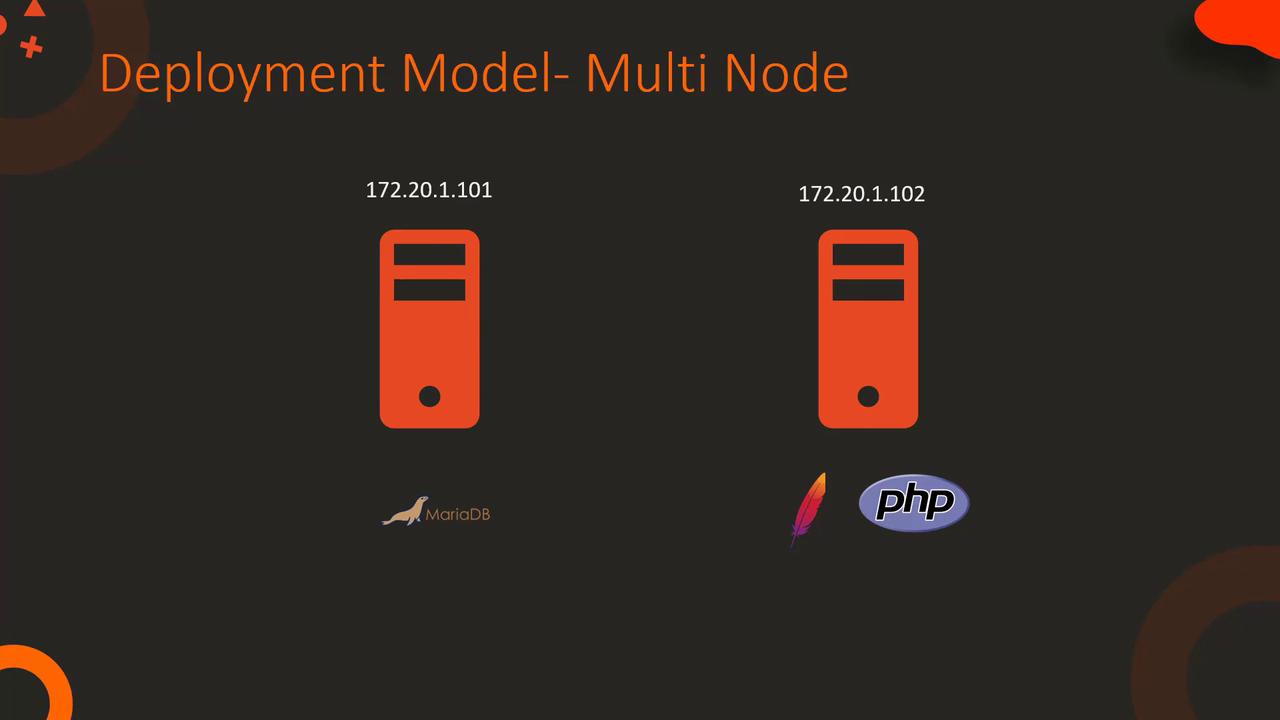
Multi-Node Deployment Configuration

For multi-node deployments, host the database server and web server on different nodes. Ensure that the web server’s index.php is updated with the correct database server IP, and update database user permissions for remote access. The diagram below illustrates this multi-node setup:

The image illustrates a multi-node deployment model with two servers, one running MariaDB and the other running Apache and PHP.

Update the database user to allow access from the web server's IP address:

mysql
MariaDB > CREATE DATABASE ecomdb;
MariaDB > CREATE USER 'ecomuser'@'172.20.1.102' IDENTIFIED BY 'ecompassword';
MariaDB > GRANT ALL PRIVILEGES ON *.* TO 'ecomuser'@'172.20.1.102';
MariaDB > FLUSH PRIVILEGES;

Modify the PHP connection settings accordingly:

$link = mysqli_connect('172.20.1.101', 'ecomuser', 'ecompassword');
if ($link) {
    $res = mysqli_query($link, "SELECT * FROM products;");
    while ($row = mysqli_fetch_assoc($res)) {
        // Process each product record
    }
}

Warning

Always ensure that user permissions and access control settings are securely configured when allowing remote connections.


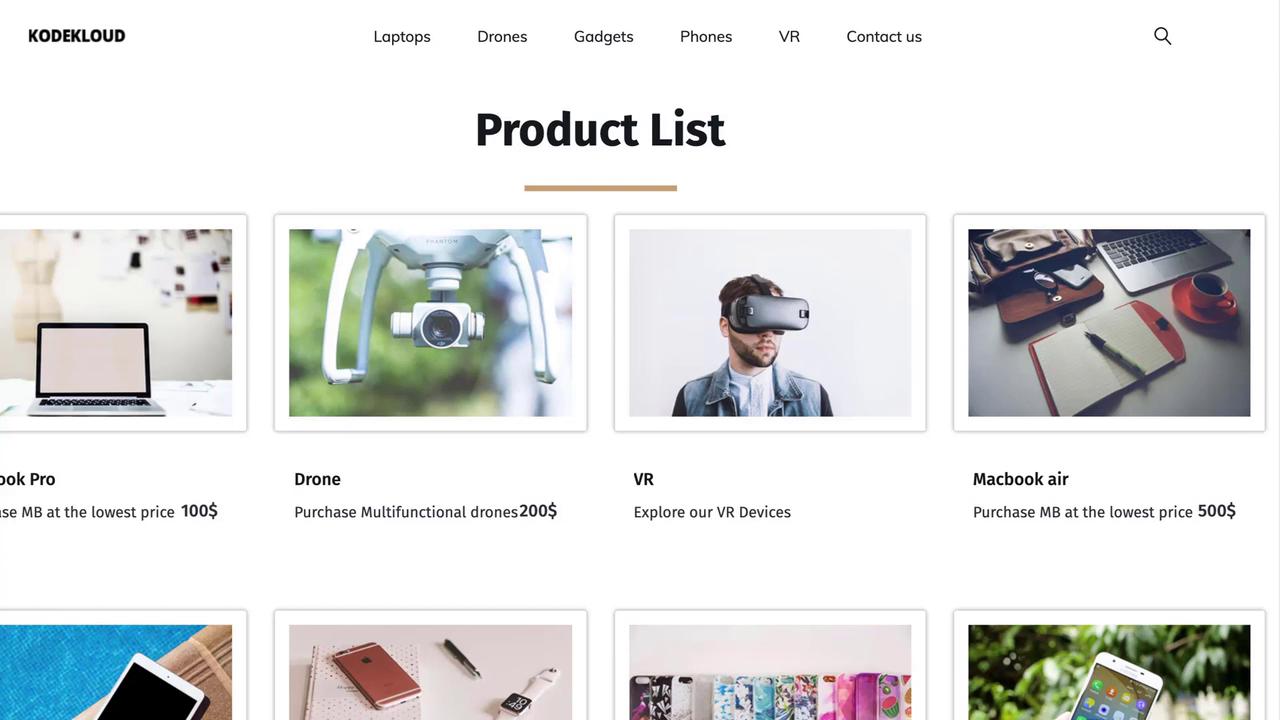
Code Explanation: HTML/PHP for Displaying Products

The index.php file is responsible for connecting to the MariaDB database and retrieving product data for display on the website. Below is a snippet demonstrating the database connection and data retrieval process:

$link = mysqli_connect('172.20.1.101', 'ecomuser', 'ecompassword', 'ecomdb');

if ($link) {
    $res = mysqli_query($link, "SELECT * FROM products;");
    while ($row = mysqli_fetch_assoc($res)) { 
?>
<div class="col-md-3 col-sm-6 business_content">
    <?php echo '<img src="img/' . $row['ImageUrl'] . '" alt="">'; ?>
    <div class="media">
        <div class="media-left">
        </div>
        <div class="media-body">
            <a href="#"><?php echo $row['Name']; ?></a>
            <p>Purchase <?php echo $row['Name']; ?> at the lowest price <span><?php echo $row['Price']; ?>$</span></p>
        </div>
    </div>
</div>
<?php 
    } 
}

This snippet establishes a secure connection to the database and retrieves product records to display on the front end. Modify the host, credentials, and database names as necessary to match your environment.


Demonstration

The example below reiterates how the PHP code connects to the database and retrieves product records, reinforcing the concepts discussed:

$link = mysqli_connect('172.20.1.101', 'ecomuser', 'ecompassword', 'ecomdb');
if ($link) {
    $res = mysqli_query($link, "SELECT * FROM products;");
    while ($row = mysqli_fetch_assoc($res)) { 
        // Your code here to process and display each product
    }
}

After reviewing this demo, proceed to the project labs to set up your environment and apply your new skills.


This guide provided a complete walkthrough for deploying a LAMP stack application for the KodeKloud e-commerce website, covering both single-node and multi-node configurations. Enjoy setting up your lab environment and exploring the project!


References

Watch Video

Watch video content

Previous
JSON JSON Path