DevOps Pre-Requisite Course

Lab Setup

Demo Connecting to VM on Windows

In this guide, you will learn how to connect to a CentOS virtual machine from a Windows system. The steps below cover logging into the VM, checking its network configuration, and establishing an SSH connection using MobaXterm or another SSH client.

Step 1: Log into the CentOS VM

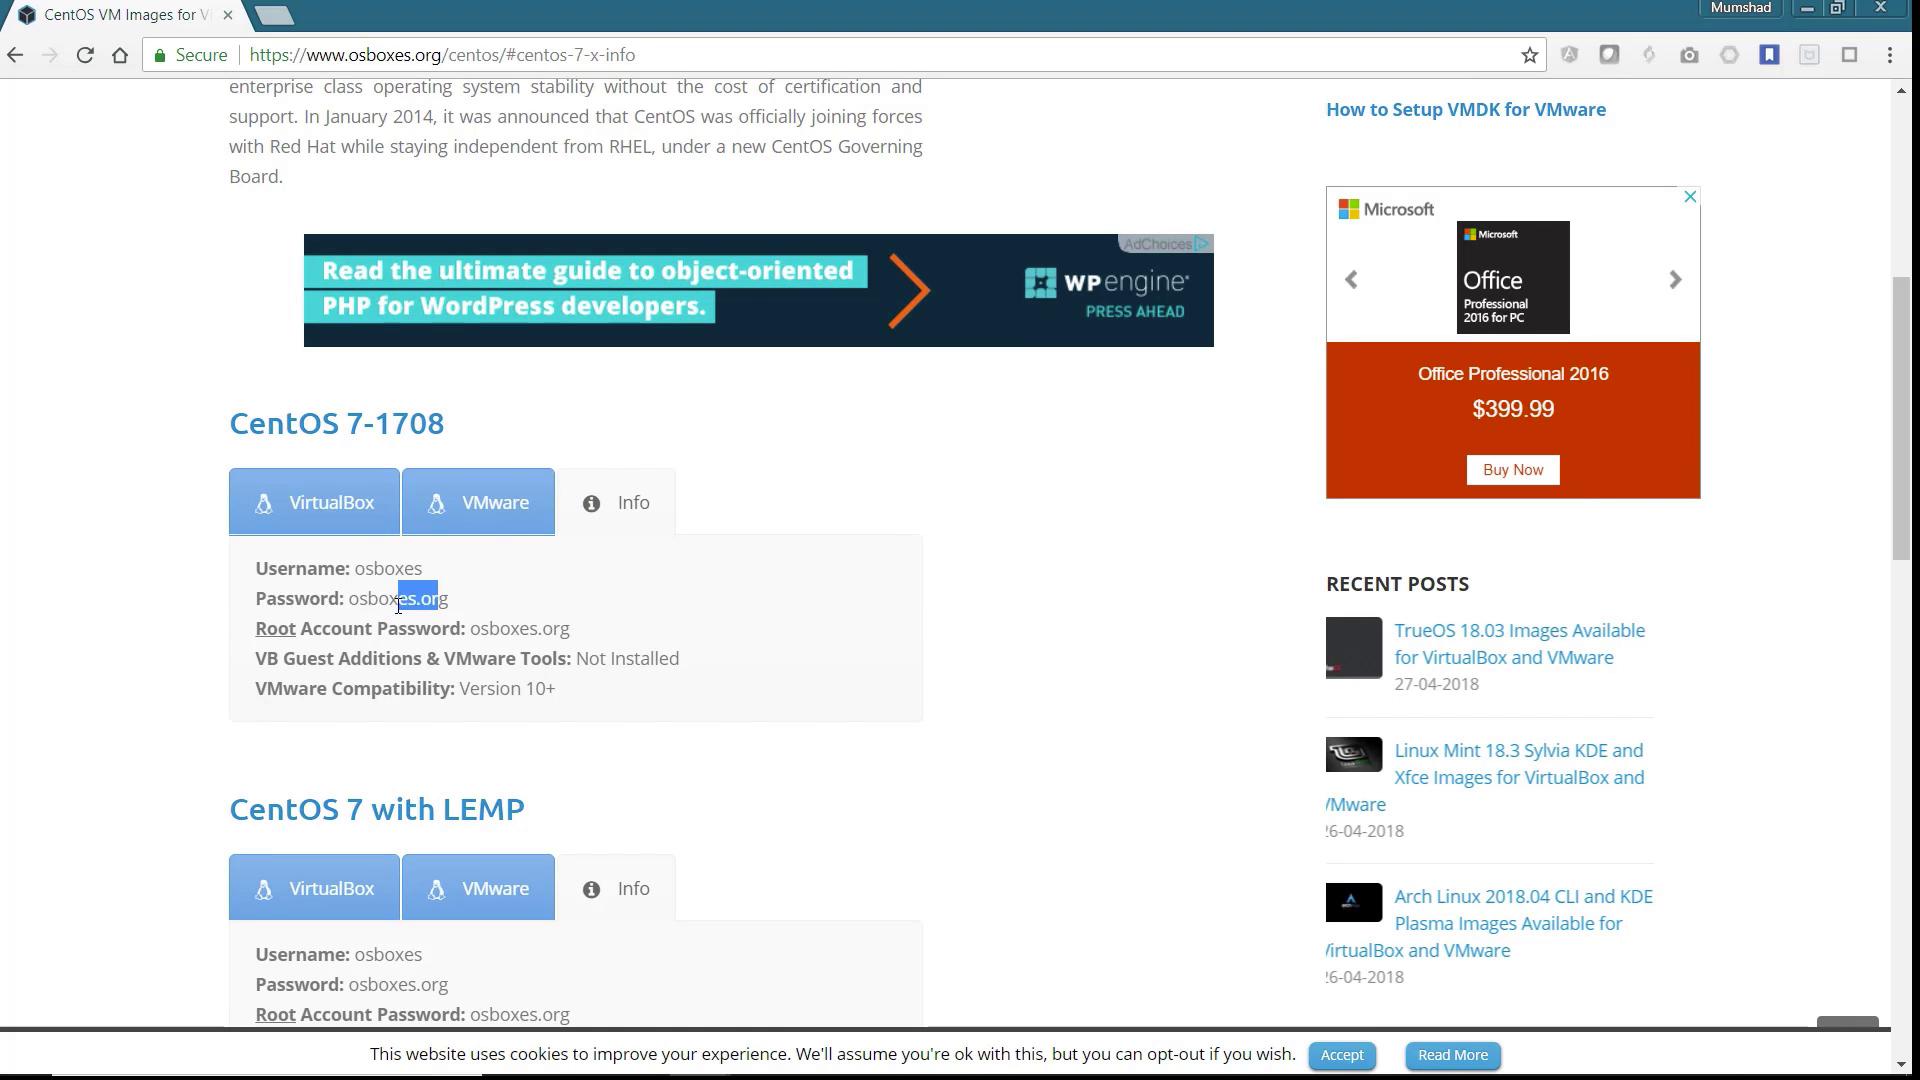
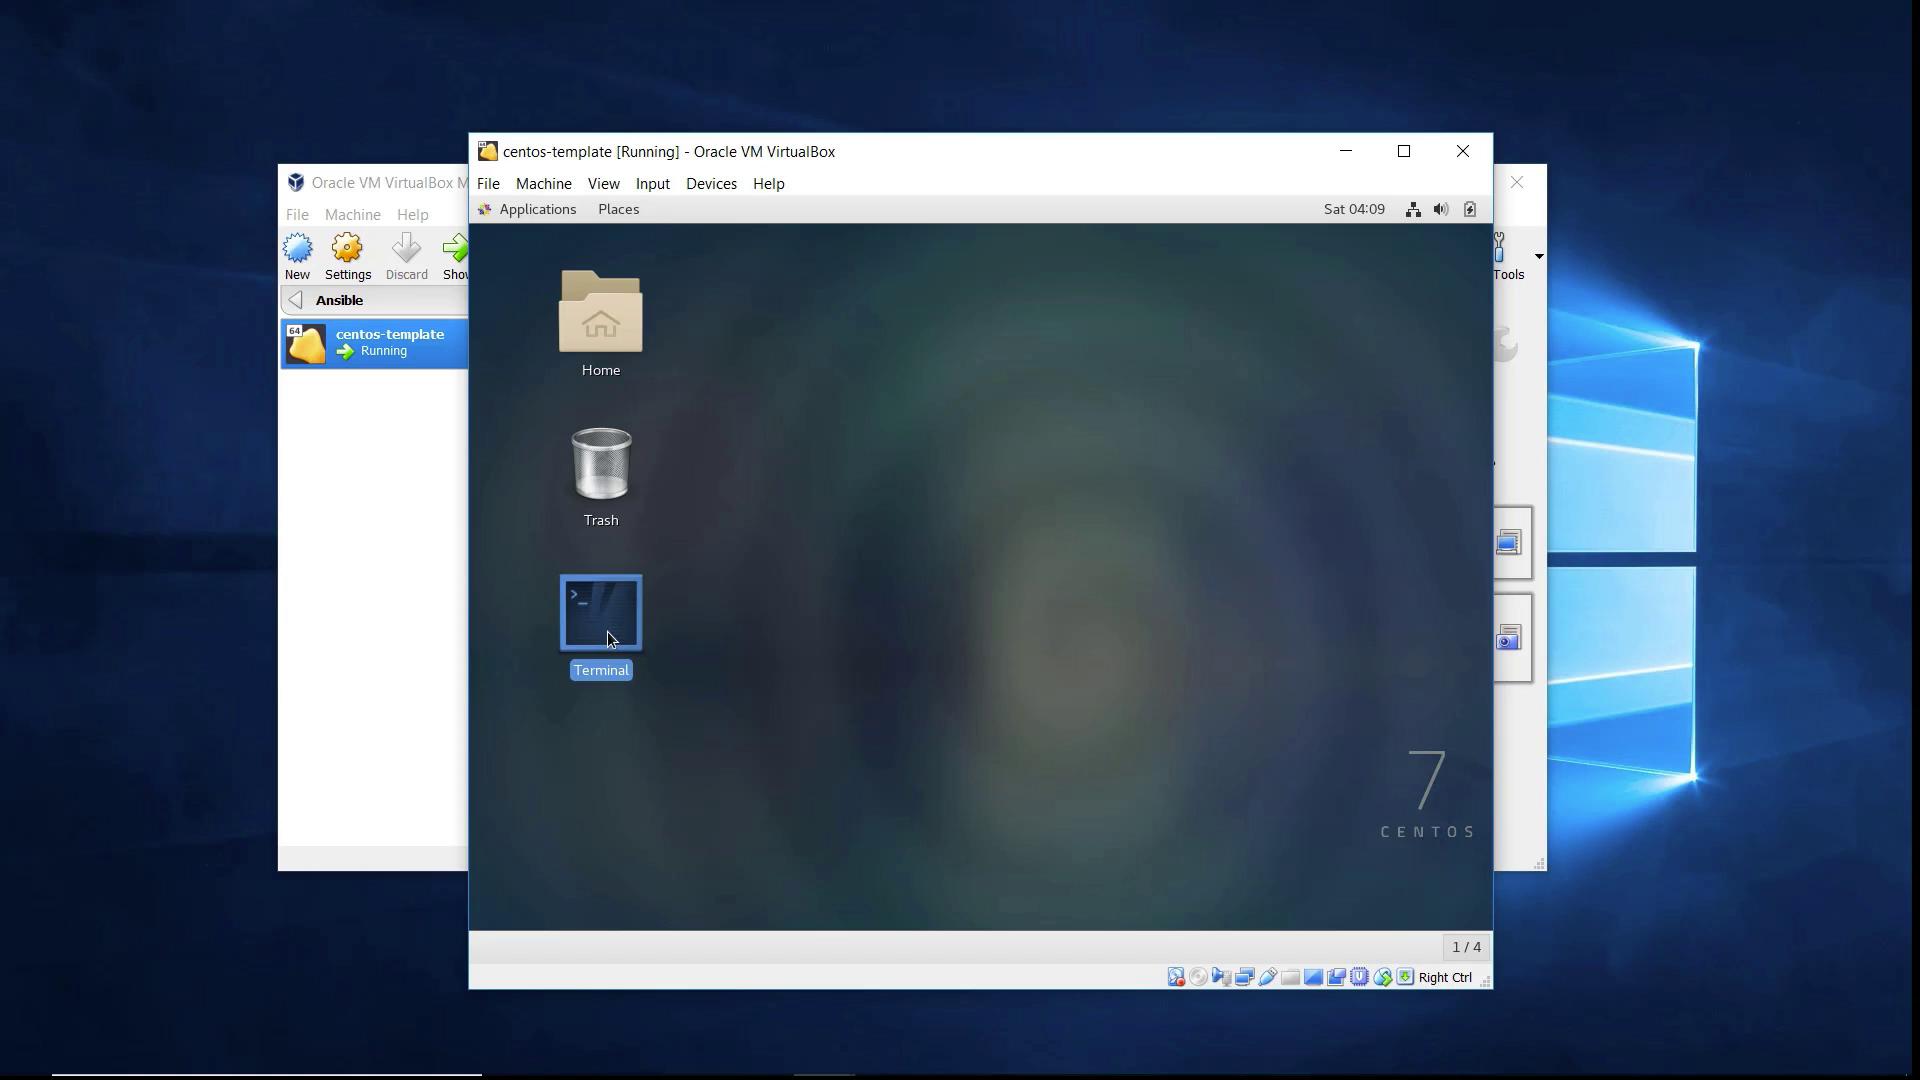
At the login prompt on your CentOS VM, select the default user "osboxes". For images downloaded from osboxes.org, the login credentials are provided on the website's Info section—with the username being "osboxes" and the password "osboxes.org".

The image shows a webpage listing CentOS VM images for VirtualBox and VMware, including login credentials and compatibility details, alongside advertisements and recent posts.

Enter the password osboxes.org and click Sign In to access your CentOS system.

Step 2: Check the VM's Network Configuration

Once logged in, open a terminal on the CentOS system and run the following command to display the network configuration:

ifconfig

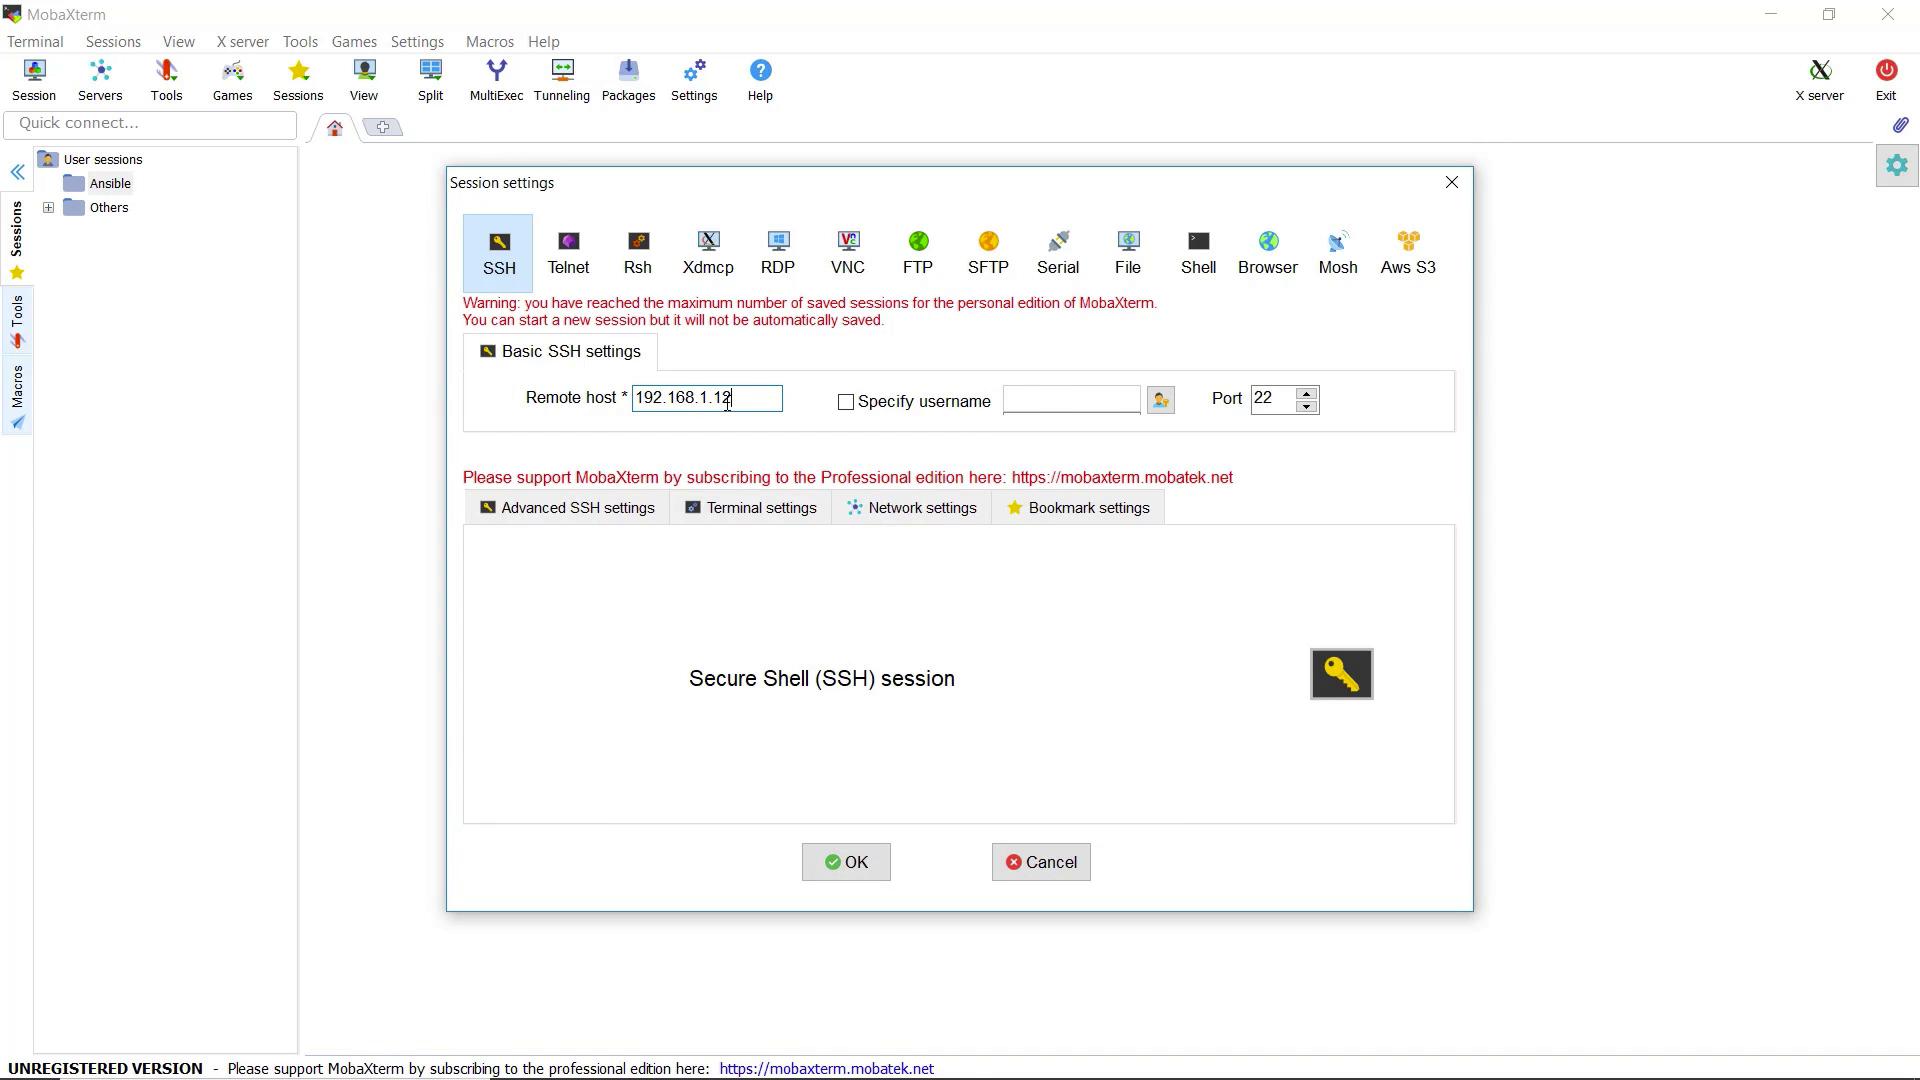
This command reveals the current IP address assigned to the virtual machine. From the output, you should note the IP address, for example, 192.168.1.112.

The image shows a CentOS 7 virtual machine running in Oracle VM VirtualBox on a Windows desktop, displaying icons for Home, Trash, and Terminal.

Below is an example output of the ifconfig command:

osboxes@osboxes:~$ ifconfig
enp0s3: flags=4163<UP,BROADCAST,RUNNING,MULTICAST>  mtu 1500
        inet 192.168.1.112  netmask 255.255.255.0  broadcast 192.168.1.255
        inet6 fe80::f68c:761a:9917:9bb2:7111  prefixlen 64  scopeid 0x20<link>
        ether 08:00:27:3f:29:68  txqueuelen 1000  (Ethernet)
        RX packets 234  bytes 16860 (16.4 KiB)
        RX errors 0  dropped 0  overruns 0  frame 0
        TX packets 75  bytes 9212 (8.9 KiB)
        TX errors 0  dropped 0  overruns 0  carrier 0  collisions 0

lo: flags=73<UP,LOOPBACK,RUNNING>  mtu 65536
        inet 127.0.0.1  netmask 255.0.0.0
        inet6 ::1  prefixlen 128  scopeid 0x10<host>
        loop  txqueuelen 1  (Local Loopback)
        RX packets 0  bytes 0 (0.0 B)
        RX errors 0  dropped 0  overruns 0  frame 0
        TX packets 0  bytes 0 (0.0 B)
        TX errors 0  dropped 0  overruns 0  carrier 0  collisions 0

virbr0: flags=4099<BROADCAST,MULTICAST>  mtu 1500
        inet 192.168.122.1  netmask 255.255.255.0  broadcast 192.168.122.255
        inet6 fe80::42:3ff:fe9e:9288  prefixlen 64  scopeid 0x20<link>
        ether 52:54:00:3d:a8:3a  txqueuelen 1000  (Ethernet)
        RX packets 0  bytes 0 (0.0 B)
        RX errors 0  dropped 0  overruns 0  frame 0
        TX packets 0  bytes 0 (0.0 B)
        TX errors 0  dropped 0  overruns 0  carrier 0  collisions 0

Note

Ensure that you note the correct IP address from your ifconfig output. You will require this IP address to establish the SSH connection.

Step 3: Establish an SSH Connection

With your CentOS VM's IP address at hand, you can now establish an SSH connection from your Windows system.

Using MobaXterm

  1. Launch MobaXterm and create a new SSH session.
  2. Enter the following details:
    • IP Address: 192.168.1.112
    • Username: osboxes

The image shows the MobaXterm application interface, specifically the session settings window for establishing a Secure Shell (SSH) connection to a remote host.

  1. Click OK to proceed.
  2. When prompted, enter the password osboxes.org.

The image shows a MobaXterm terminal window prompting for a password to access a remote server at IP address 192.168.1.112.

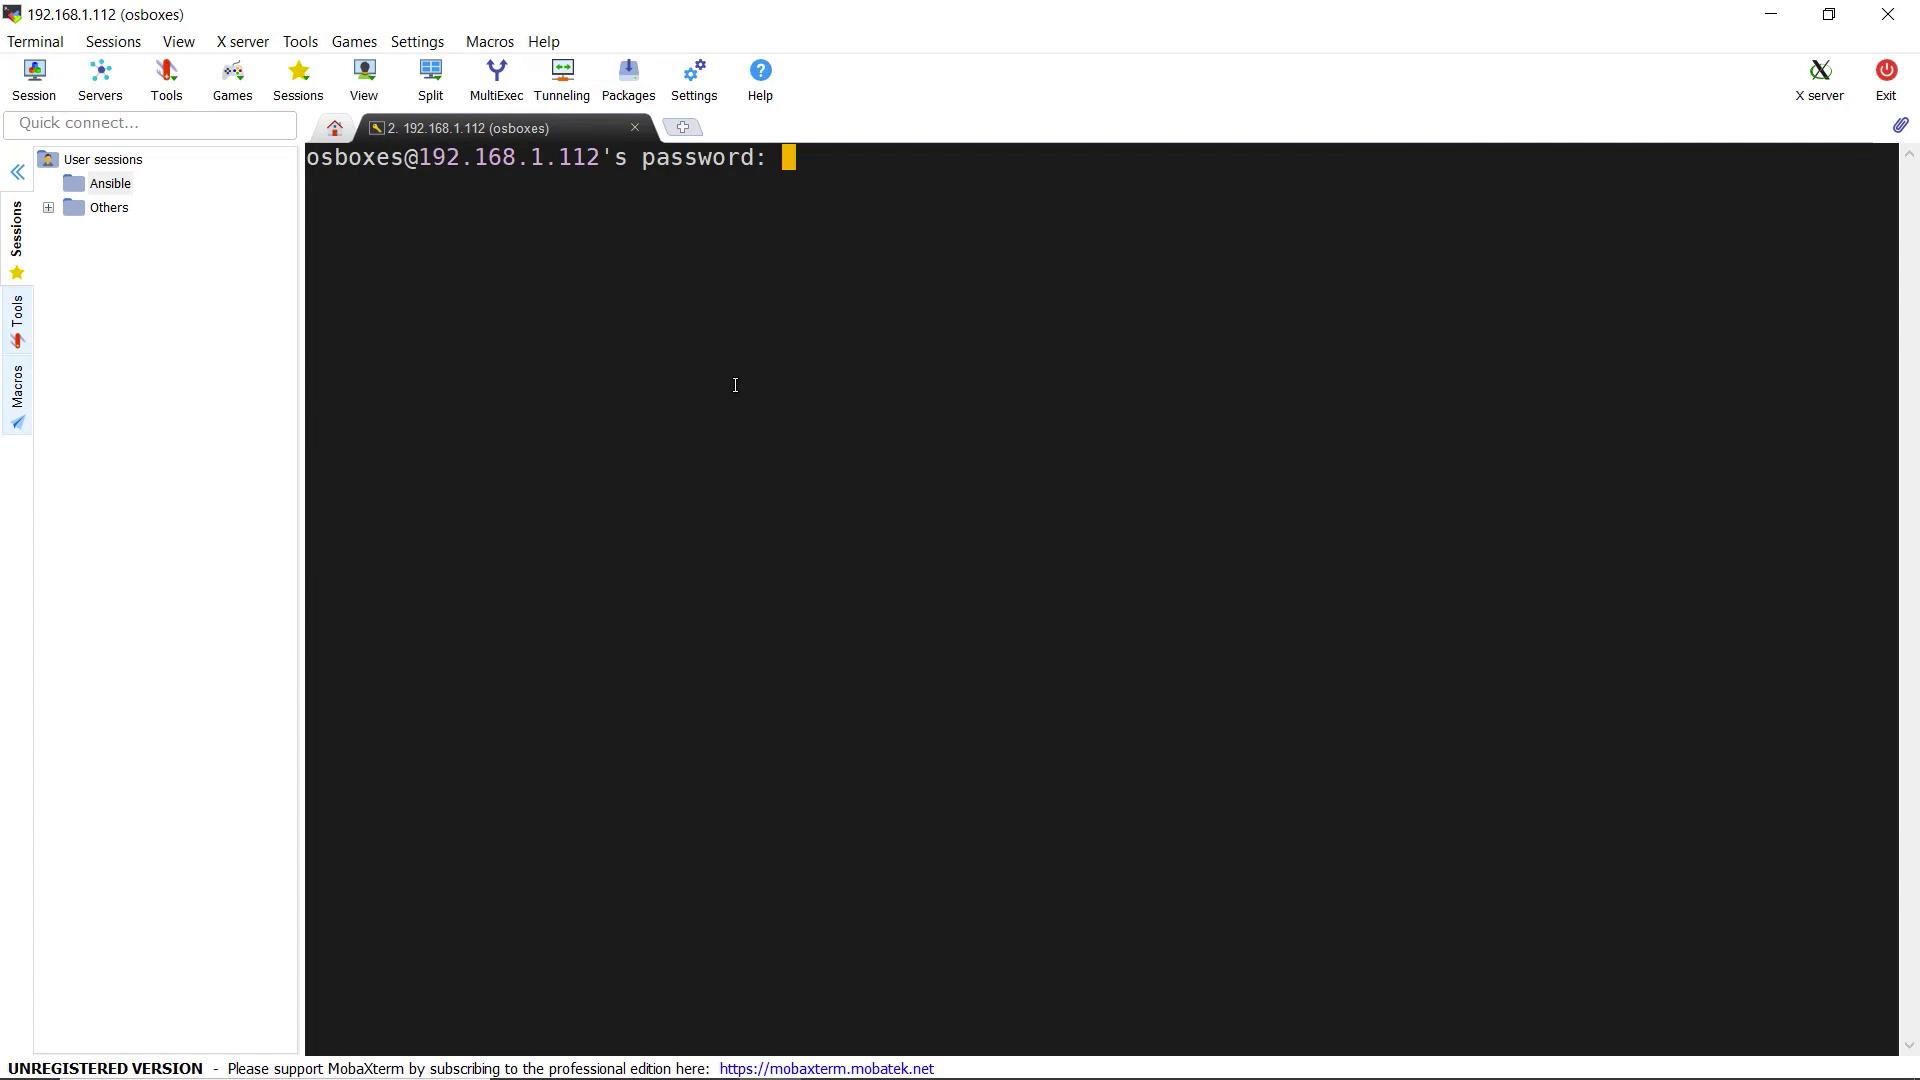
After entering the correct password, you will be successfully logged into the CentOS VM via SSH. This secure connection allows you to manage your VM remotely.

Further Resources

For more information on managing SSH sessions on Windows, check out the MobaXterm documentation or explore PuTTY.

Watch Video

Watch video content

Previous
Demo Connecting to VM on Mac