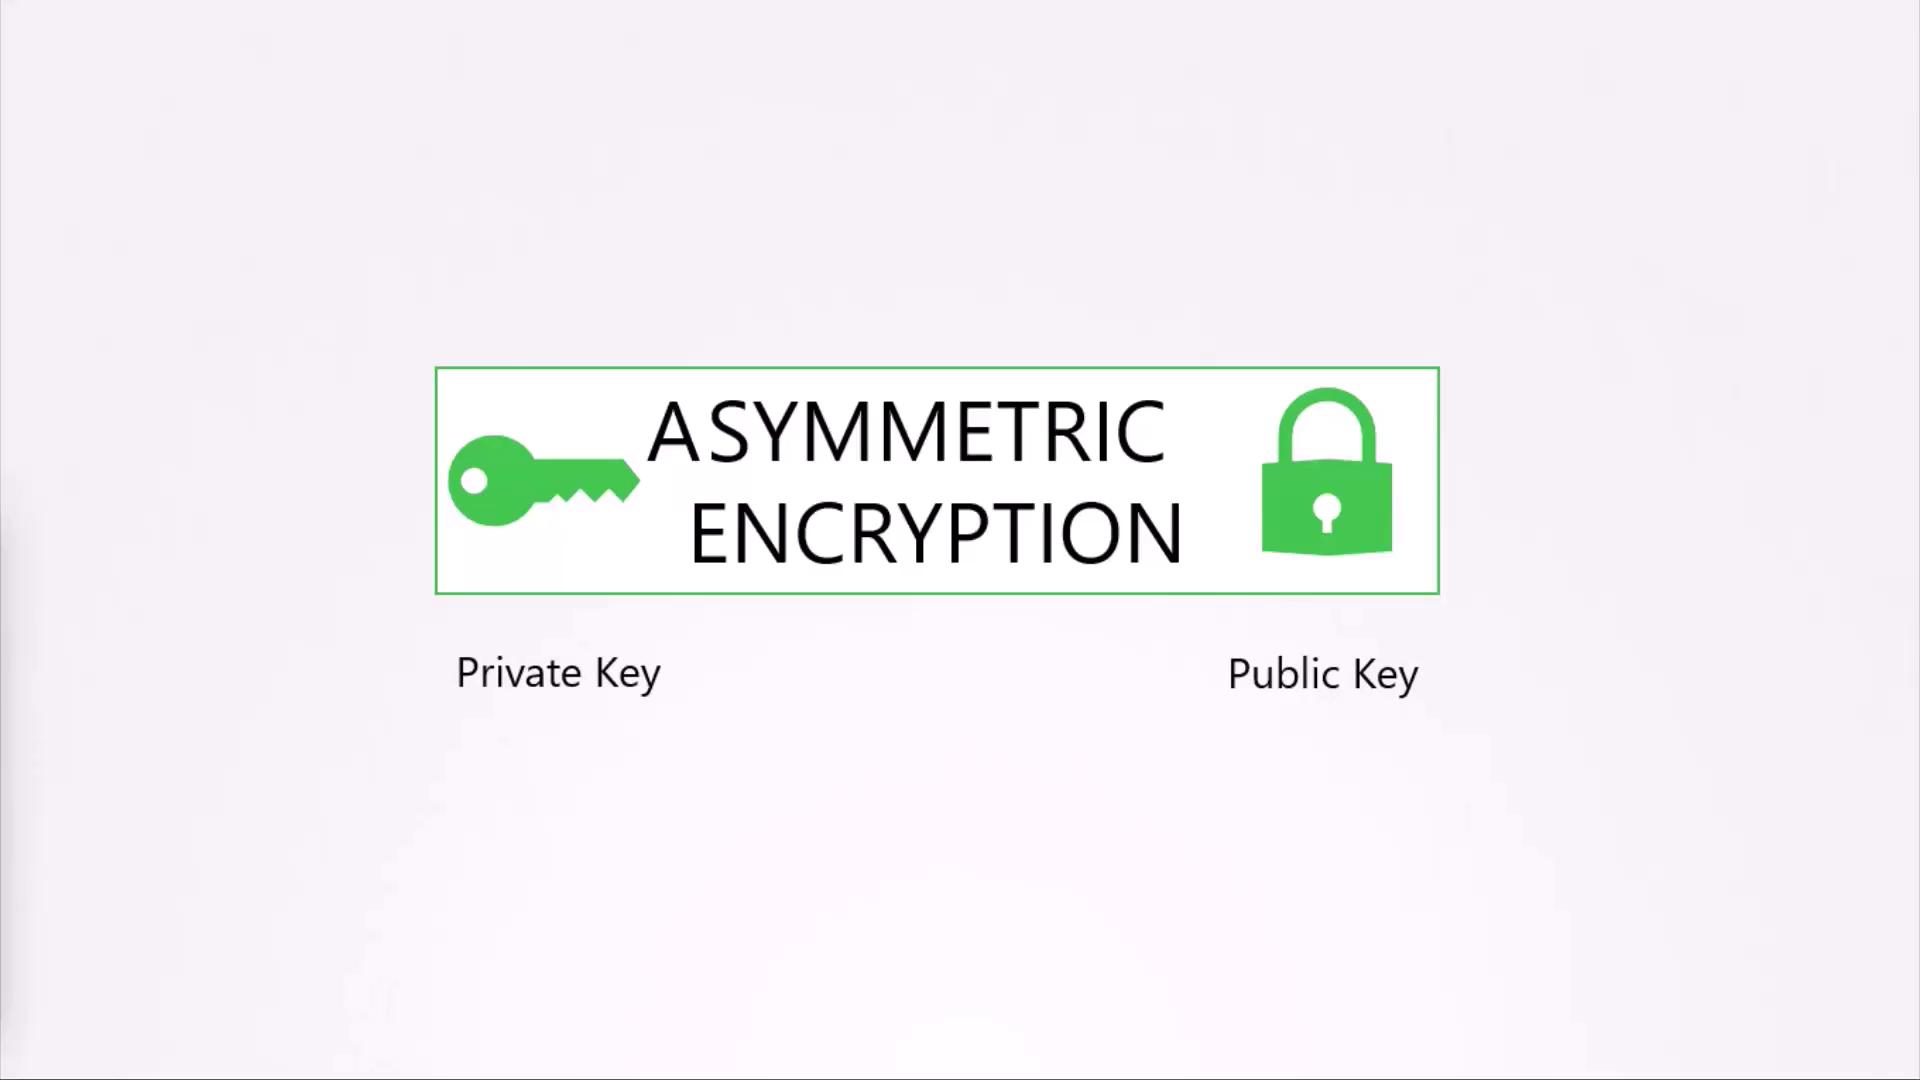
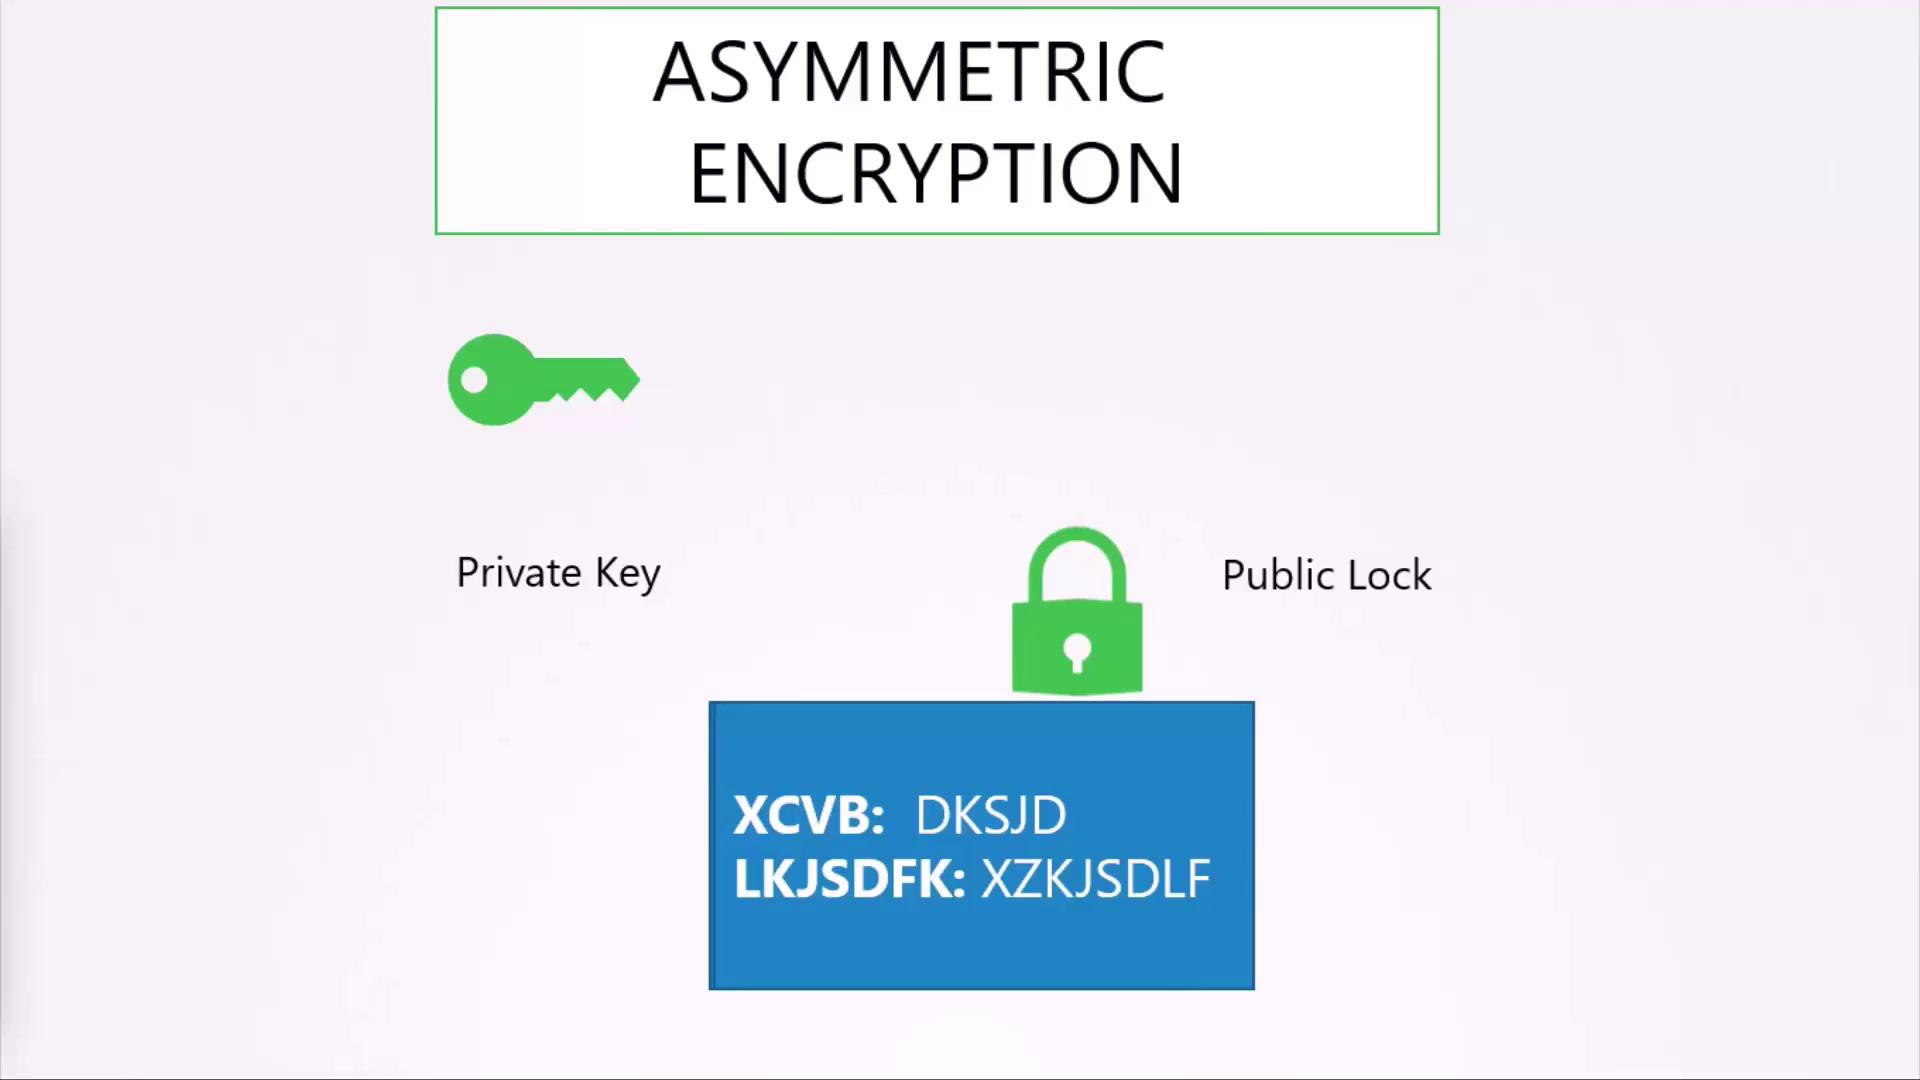
Asymmetric encryption uses a pair of keys—a private key and a public key. When data is encrypted with the public key, only the corresponding private key can decrypt it, enhancing security over symmetric encryption.
Securing SSH Access with Key Pairs
A common use case of asymmetric encryption is the secure access to servers via SSH. Instead of using passwords—which can be easily compromised—SSH key pairs provide a more secure authentication method.-
Generate a key pair using the SSH keygen command. This command creates two files:
id_rsafor the private key andid_rsa.pubfor the public key. -
Configure your server to allow only key-based authentication by adding your public key to the server’s
~/.ssh/authorized_keysfile. When initiating an SSH connection, specify your private key’s location: -
For multiple servers, copy your public key into each server’s
authorized_keysfile. Similarly, if additional users require access, they should generate their own key pairs and have their public keys added by the server administrator.
Securing HTTPS with a Combination of Asymmetric and Symmetric Encryption
Securing web server communications poses a challenge with symmetric encryption because the encryption key must be shared between the client and server, risking exposure to interception. Asymmetric encryption is used in combination with symmetric encryption to securely exchange keys. The process operates as follows:-
Key Generation:
The server creates an asymmetric key pair (private and public keys) using a tool like OpenSSL. For example: -
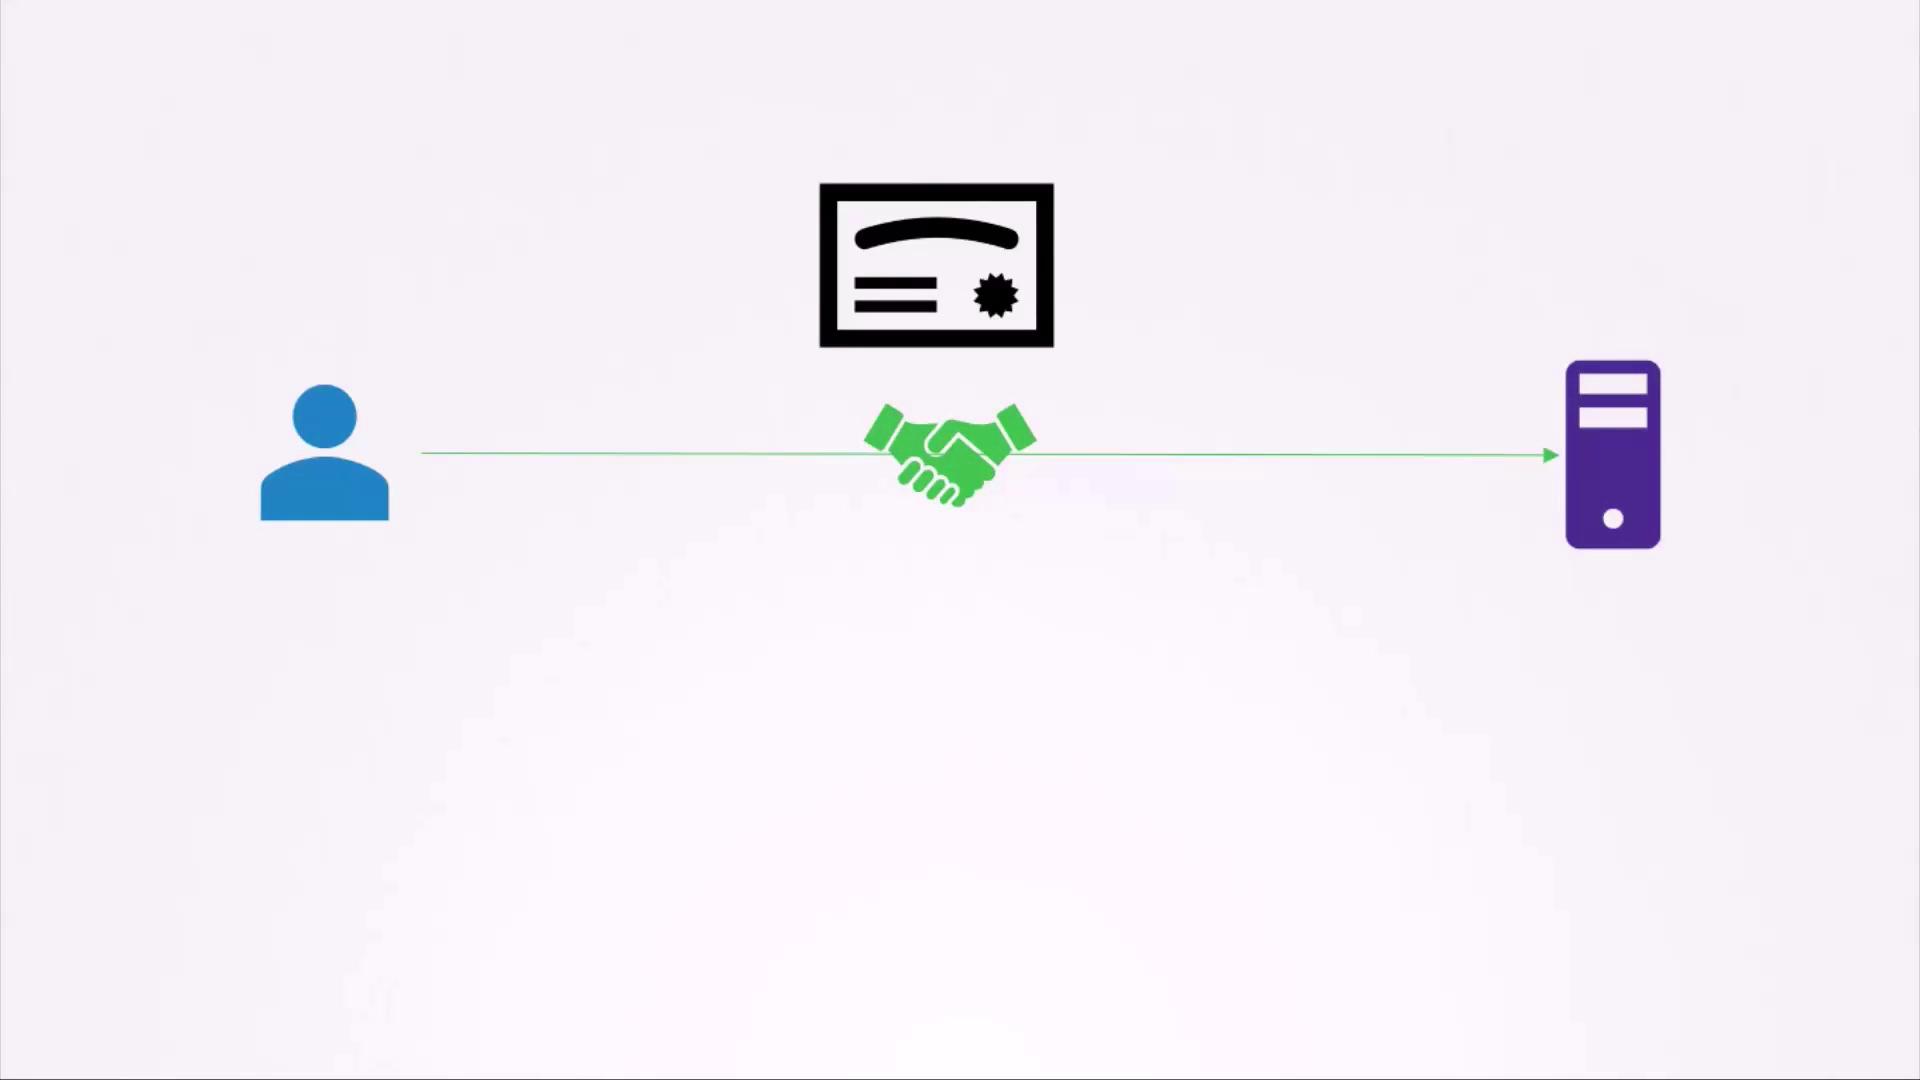
Certificate Exchange:
When a user connects via HTTPS, the server sends its public key, usually embedded in a digital certificate, to the client. Even if intercepted, the public key cannot be used to decrypt the symmetric key encrypted by the client. -
Symmetric Key Exchange:
The user’s browser generates a symmetric key, encrypts it with the server’s public key, and sends it back. The server then decrypts this message using its private key to retrieve the symmetric key. All subsequent communications are encrypted using this symmetric key.
Preventing Impersonation with Digital Certificates
An attack vector to be aware of involves hackers creating fake websites to impersonate legitimate institutions like banks. An attacker can generate their own keys and a fake certificate to lure users into giving up sensitive credentials. To counteract this risk, servers send digital certificates during an HTTPS handshake. These certificates include the public key and vital identification information such as the domain name and issuer details. Consider this example certificate snippet:Browsers flag self-signed certificates, which are signed by their own creator, as untrustworthy. Always obtain a certificate from a trusted Certificate Authority (CA) to ensure browser compatibility and end-user security.

Obtaining a Certificate from a Certificate Authority
To secure your web server with a trusted certificate, follow these steps:-
Generate a Certificate Signing Request (CSR):
Use OpenSSL along with your private key and domain name: -
Submit the CSR to a CA:
After verification, the CA signs your certificate and returns it. The certificate is then trusted by web browsers as it can be validated using the CA’s pre-installed public key.
Summary of the SSL/TLS Process
| Step | Description | Example/Command |
|---|---|---|
| 1 | Secure SSH access using key pairs | ssh-keygen |
| 2 | Configure servers with public keys | Add key to ~/.ssh/authorized_keys |
| 3 | Generate CSR for HTTPS encryption | openssl req -new -key my-bank.key -out my-bank.csr -subj "/C=US/ST=CA/O=MyOrg, Inc./CN=my-bank.com" |
| 4 | Certificate issuance by trusted CA | Certificate signed by CA |
| 5 | Establish HTTPS session | Browser verifies certificate and encrypts symmetric key |
| 6 | Ongoing communication secured with symmetric key | Secure symmetric encryption session |
- Using key pairs to secure SSH and HTTPS.
- Generating a CSR and obtaining a trusted certificate.
- The browser verifying the certificate using the CA’s public key.
- Exchanging a symmetric key for further communication encryption.
A Note on Key Usage and Naming Conventions
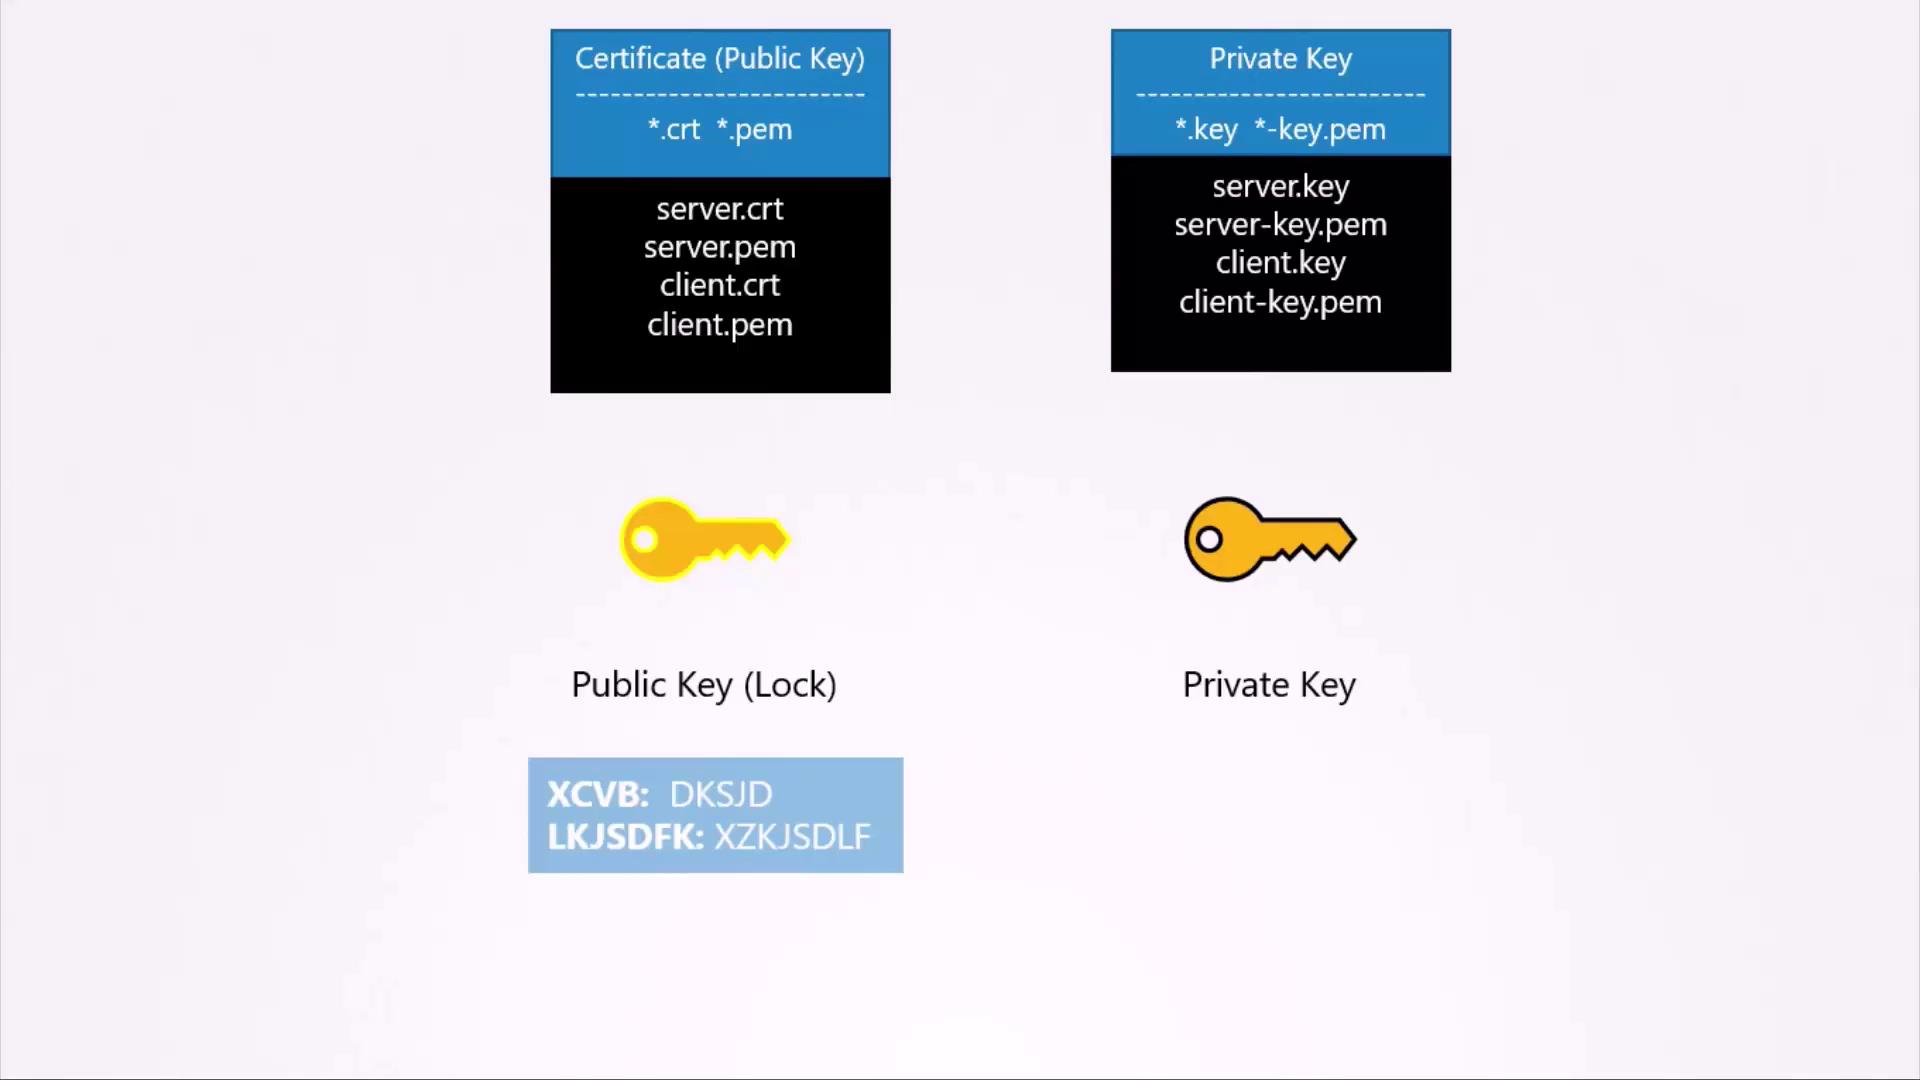
Remember the simple analogy: a private key is kept secret like a personal key, while a public key is shared openly like a lock. Although both keys can encrypt data, only the corresponding opposite key can decrypt it. For example, encryption with your private key allows anyone with your public key to decrypt the message, which is why private keys must remain confidential. Common file extensions help differentiate keys and certificates:- Public key certificates often use extensions such as .crt or .pem (e.g., server.crt, server.pem).
- Private keys typically have extensions like .key or include “key” in the filename (e.g., server.key or server-dash-key.pem).