> ## Documentation Index
> Fetch the complete documentation index at: https://notes.kodekloud.com/llms.txt
> Use this file to discover all available pages before exploring further.
# Apache Tomcat
> This article explores Apache Tomcat, detailing its installation, directory structure, and web application deployment on a CentOS machine.
In this article, we will explore Apache Tomcat, a popular web server and servlet container primarily used to host Java-based web applications. Before beginning, ensure that Java is installed on your system.
Ensure that Java is installed on your system before proceeding with the Tomcat installation.
## Installing Apache Tomcat on CentOS
Follow these steps to install Apache Tomcat on a CentOS machine. In a production environment, it's recommended to create dedicated users for Tomcat and configure it as a service.
1. Install Java:
```bash theme={null}
yum install java-1.8.0-openjdk-devel
```
2. Download the Tomcat package:
```bash theme={null}
wget https://downloads.apache.org/tomcat/tomcat-8/v8.5.53/bin/apache-tomcat-8.5.53.tar.gz
```
3. Extract the package:
```bash theme={null}
tar xvf apache-tomcat-8.5.53.tar.gz
```
4. Start Tomcat using the startup script in the bin directory:
```bash theme={null}
./apache-tomcat-8.5.53/bin/startup.sh
```
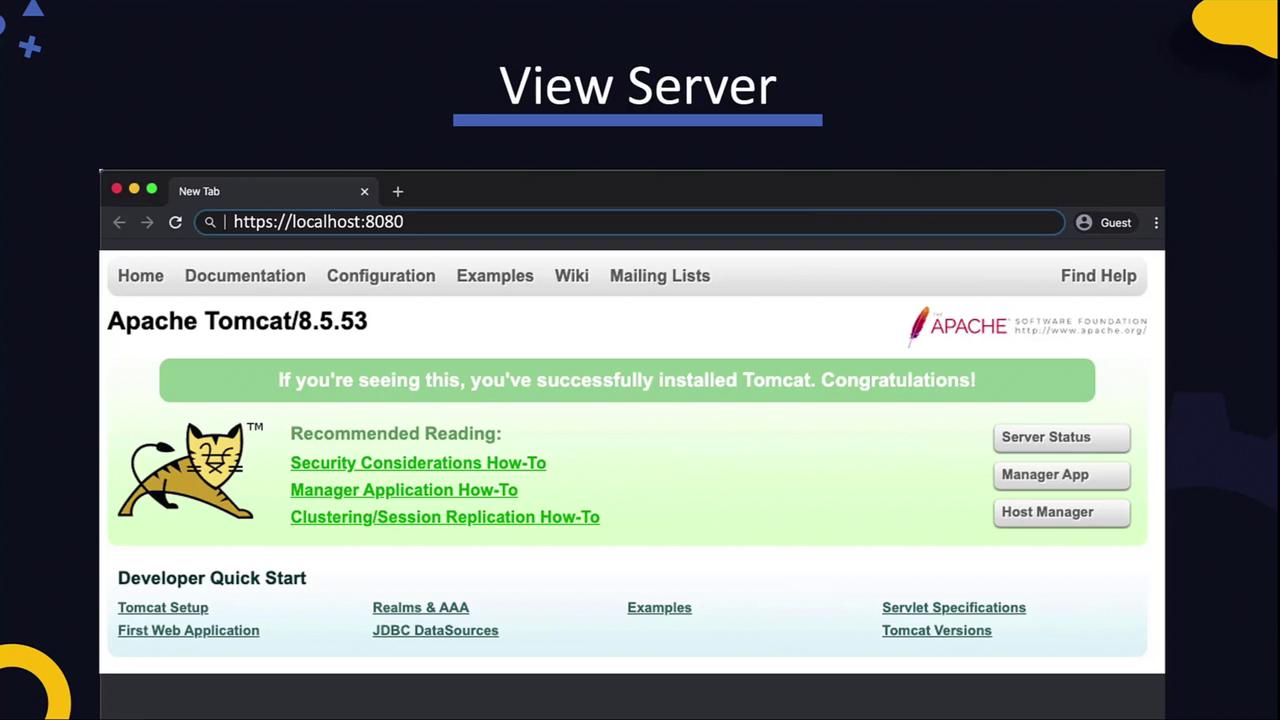
After the server starts, open your web browser and navigate to port 8080 on your host. You should see the default Apache Tomcat welcome page:
***
## Exploring the Tomcat Directory Structure
After extracting the Tomcat package, examine its directory structure with the following command:
```bash theme={null}
ls -l apache-tomcat-8.5.53
```
Example output:
```plaintext theme={null}
-rw-r----- 1 19318 Mar 11 10:06 BUILDING.txt
-rw-r----- 1 5408 Mar 11 10:06 CONTRIBUTING.md
-rw-r----- 1 57011 Mar 11 10:06 LICENSE
-rw-r----- 1 1726 Mar 11 10:06 NOTICE
-rw-r----- 1 3255 Mar 11 10:06 README.md
-rw-r----- 1 7136 Mar 11 10:06 RELEASE-NOTES
-rw-r----- 1 16262 Mar 11 10:06 RUNNING.txt
drwxr-x--- 2 4096 Mar 18 10:17 bin
drwxr-x--- 2 4096 Mar 18 10:06 conf
drwxr-x--- 2 4096 Mar 11 10:03 lib
drwxr-x--- 7 4096 Mar 11 10:04 logs
drwxr-x--- 2 4096 Mar 11 10:03 temp
drwxr-x--- 2 4096 Mar 11 10:03 webapps
drwxr-x--- 2 4096 Mar 11 10:03 work
```
### Key Directories
* **bin**: Contains scripts for starting and stopping Tomcat. Windows users should use the `.bat` files, while Unix/Linux users should use the `.sh` scripts.
* **conf**: Contains essential configuration files such as `server.xml` and `web.xml`. The `server.xml` file defines the "Connector" element that sets the port (default is 8080) on which Tomcat listens. Any changes require a restart of the service.
* **logs**: Stores server logs.
* **webapps**: The default deployment directory for web applications. Placing a WAR file here triggers automatic extraction and deployment.
* **lib**, **temp**, and **work**: Manage libraries, temporary files, and work data respectively.
Below is an excerpt from the `server.xml` file demonstrating how connectors are configured:
```xml theme={null}
```
***
## Deploying a Web Application
Deploying a web application on Tomcat is straightforward. Follow these steps:
### 1. Package Your Application
First, package your application's source code into a WAR file. You can use the `jar` utility or build tools such as Maven or Gradle:
```bash theme={null}
jar -cvf app.war *
mvn package
gradle build
```
### 2. Deploy the WAR File
Copy the WAR file (e.g., `app.war`) to the **webapps** directory of your Tomcat server. If Tomcat is running, it will automatically detect the new file, extract it, and deploy the application into a folder corresponding to the WAR file name (for example, `/app`).
### 3. Verify the Deployment
To confirm deployment, review the Tomcat logs located in the **logs** directory. Check the contents of `catalina.out` with:
```plaintext theme={null}
cat ~/apache-tomcat-8.5.53/logs/catalina.out
```
Example log output:
```plaintext theme={null}
18-Mar-2020 10:43:32.769 INFO [localhost-startStop-1] org.apache.catalina.startup.HostConfig.deployDirectory Deployment of web application directory [/home/vagrant/apache-tomcat-8.5.53/webapps/ROOT] has finished in [13] ms
18-Mar-2020 10:43:32.783 INFO [main] org.apache.catalina.startup.HostConfig.deployDirectory Deployment of web application directory [/home/vagrant/apache-tomcat-8.5.53/webapps/manager] has finished in [14] ms
18-Mar-2020 10:43:32.789 INFO [main] org.apache.coyote.AbstractProtocol.start Starting ProtocolHandler ["http-nio-8080"]
18-Mar-2020 10:43:32.789 INFO [main] org.apache.catalina.startup.Catalina.start Server startup in 407 ms
18-Mar-2020 11:21:23.560 INFO [localhost-startStop-2] org.apache.catalina.startup.HostConfig.deployWAR Deployment of web application archive [/home/vagrant/apache-tomcat-8.5.53/webapps/app.war] has finished in [57] ms
```
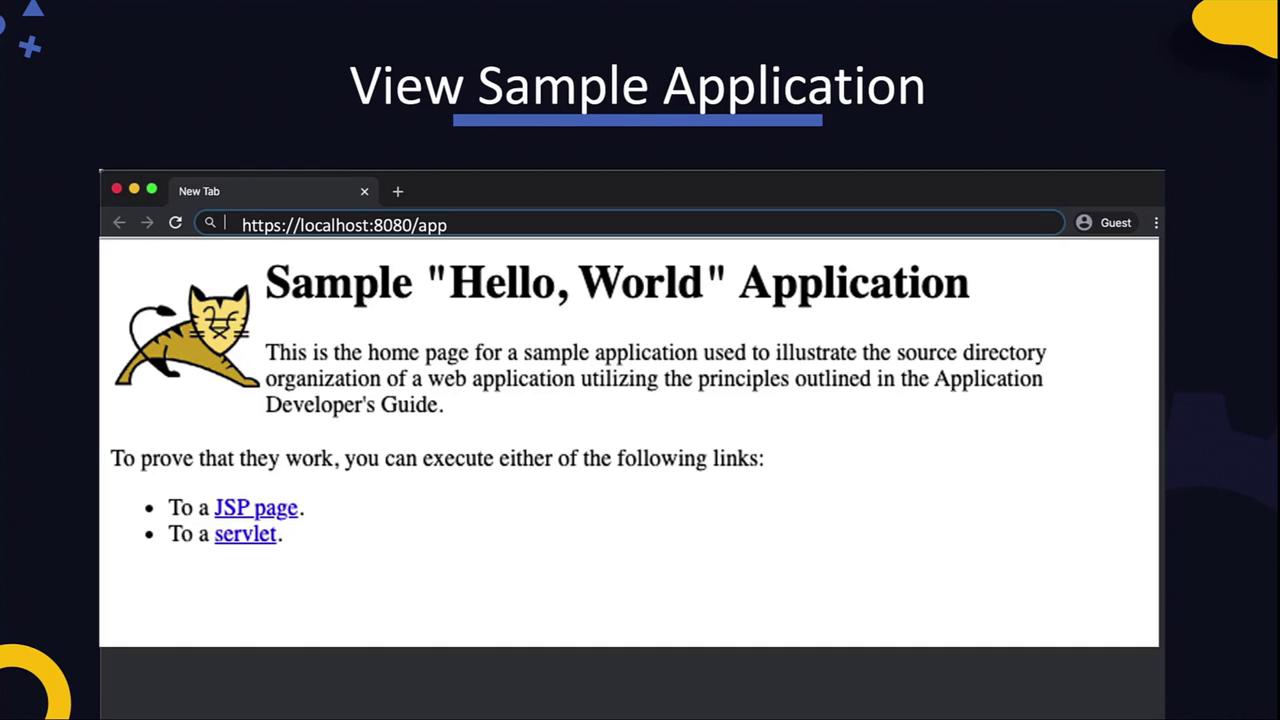
Once deployed, access your application by navigating to:
[http://your-hostname:8080/app](http://your-hostname:8080/app)
For example, if your application displays a "Hello, World" message, its homepage will appear similar to the following:
***
## Conclusion
This guide provided an overview of installing Apache Tomcat, exploring its directory structure, and deploying a web application. Make sure to implement additional security measures, performance tuning, and service management configurations when deploying in production environments.
In production, always review and apply best practices for security and performance optimization to ensure a robust deployment.
Happy deploying, and see you in the next lesson!