> ## Documentation Index
> Fetch the complete documentation index at: https://notes.kodekloud.com/llms.txt
> Use this file to discover all available pages before exploring further.
# Python Deploy Flask App
> This article provides a step-by-step guide on deploying a Python web application using the Flask framework.
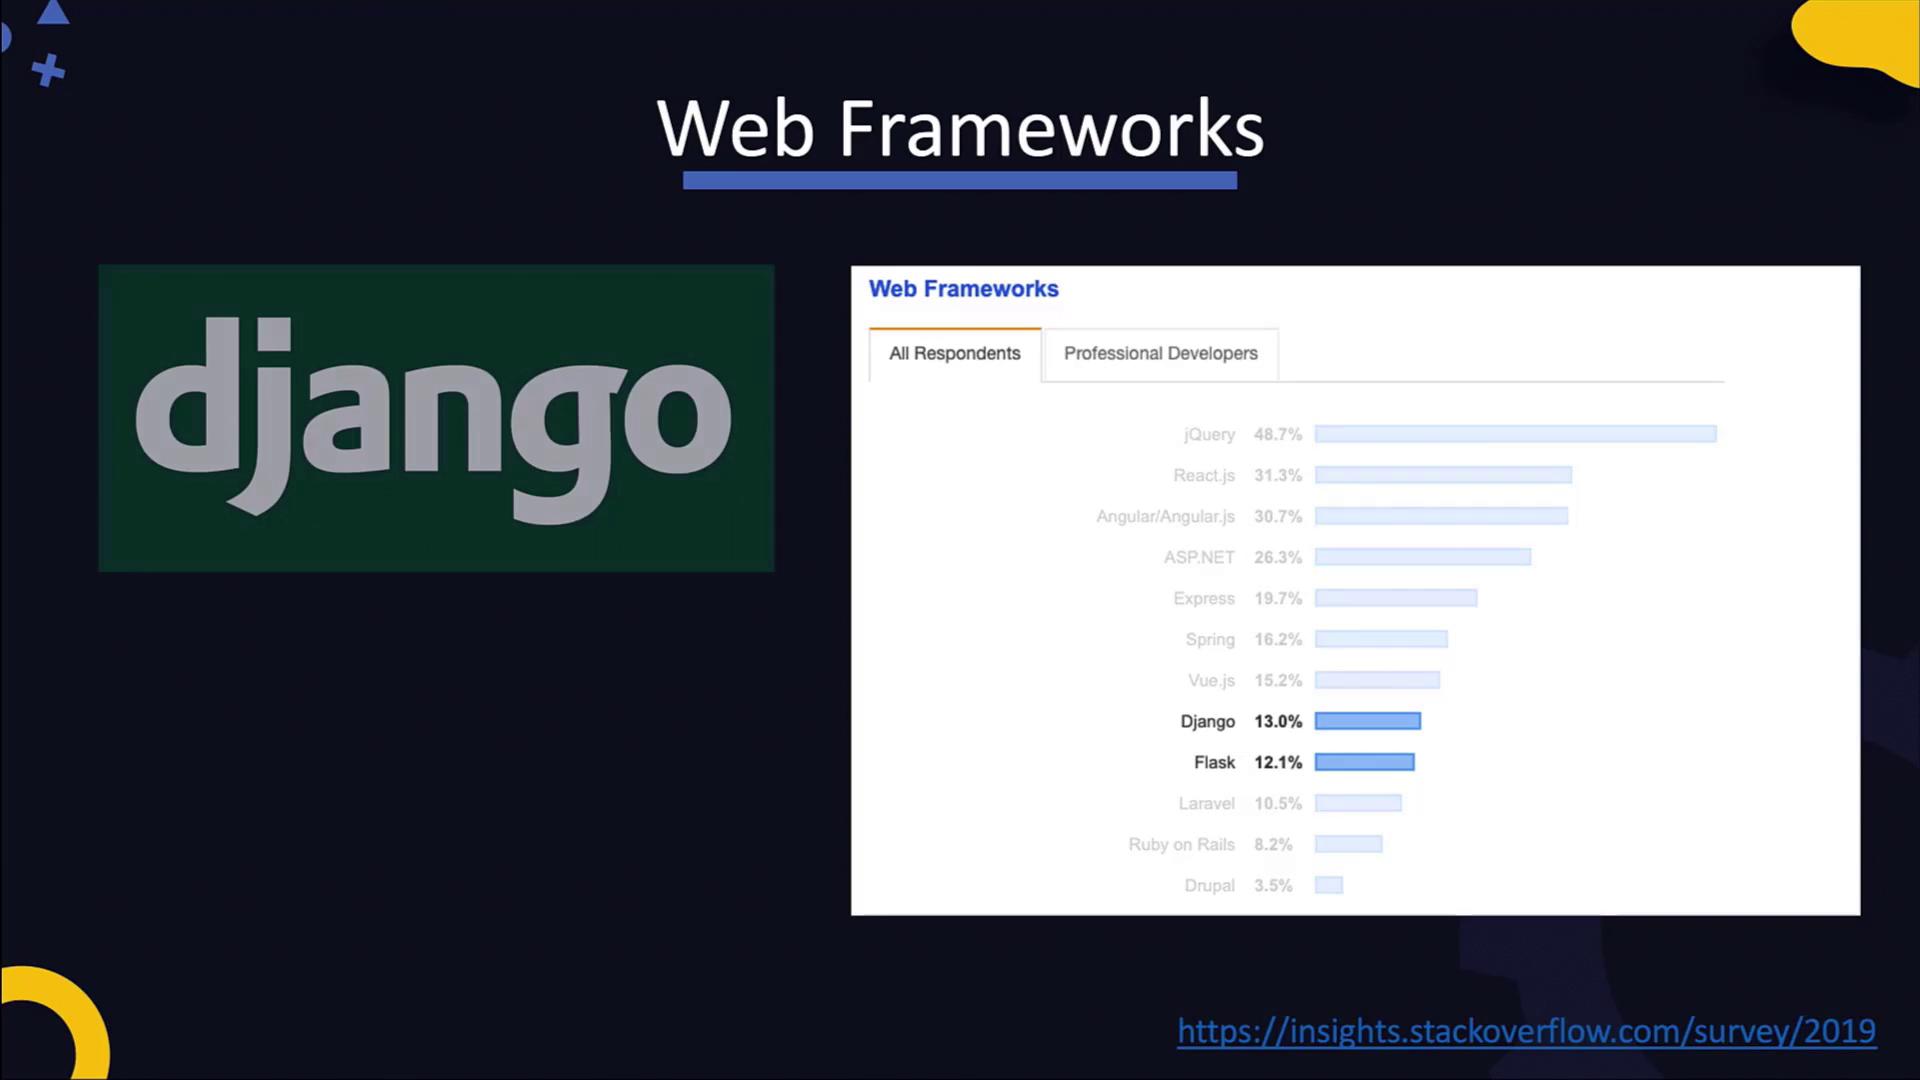
This article provides a step-by-step guide on deploying a Python web application using the Flask framework. Drawing from insights available on [Stack Overflow](https://stackoverflow.com), [Django](https://www.djangoproject.com/), and [Flask](https://flask.palletsprojects.com/), we focus on deploying a sample Flask application for both development and production-like environments.
Below is an image that illustrates a typical project structure for a Python web application. The diagram includes core modules, database modules, services, routes, shared utilities, test configurations, and essential files such as LICENSE and README. The application’s main entry point is the main.py file, and its dependencies are managed in the requirements.txt file.
## Running the Application Using Flask's Development Server
Before running the application, install the required dependencies by executing the following command:
```bash theme={null}
pip install -r requirements.txt
```
Once the dependencies are installed, start the application with this command:
```bash theme={null}
python main.py
```
Upon starting the application, you should expect output similar to:
```plaintext theme={null}
* Serving Flask app "main" (lazy loading)
* Environment: production
WARNING: This is a development server. Do not use it in a production deployment.
Use a production WSGI server instead.
* Debug mode: off
* Running on http://127.0.0.1:5000/ (Press CTRL+C to quit)
```
Below is the content of the main.py file:
```python theme={null}
from flask import Flask
app = Flask(__name__)
@app.route('/')
def hello():
return 'Hello, World!'
if __name__ == '__main__':
app.run()
```
The Flask development server is designed for simplicity and debugging during development. It listens on the default port 5000 and is not recommended for use in production environments.
## Deploying with Gunicorn
For production deployments, you can use production-grade servers such as Gunicorn, uWSGI, gevent, or Twisted Web. Gunicorn is a popular choice for serving Python web applications in production.
To deploy the Flask application using Gunicorn, run the following command which specifies the application file (main) and the Flask app instance (app):
```bash theme={null}
gunicorn main:app
```
Expected output when starting Gunicorn will look similar to:
```plaintext theme={null}
[2020-03-10 09:53:29 +0000] [2916] [INFO] Starting gunicorn 20.0.4
[2020-03-10 09:53:29 +0000] [2916] [INFO] Listening at:
http://127.0.0.1:8000 (2916)
[2020-03-10 09:53:29 +0000] [2916] [INFO] Using worker: sync
[2020-03-10 09:53:29 +0000] [2919] [INFO] Booting worker with pid: 2919
```
Gunicorn listens on port 8000 by default. To enhance app performance under high traffic, you can scale by running multiple worker processes. For example, to start Gunicorn with two workers, use:
```bash theme={null}
gunicorn main:app -w 2
```
This command spawns additional worker processes, and the output will reflect the presence of both:
```plaintext theme={null}
[2020-03-10 09:53:29 +0000] [2916] [INFO] Starting gunicorn 20.0.4
[2020-03-10 09:53:29 +0000] [2916] [INFO] Listening at:
http://127.0.0.1:8000 (2916)
[2020-03-10 09:53:29 +0000] [2916] [INFO] Using worker: sync
[2020-03-10 09:53:29 +0000] [2919] [INFO] Booting worker with pid: 2919
[2020-03-10 09:53:29 +0000] [2921] [INFO] Booting worker with pid: 2921
```
Any traffic that reaches port 8000 is handled by these worker instances, ensuring better load management for your application.
Remember that while the Flask development server is great for local testing and debugging, production environments require a robust server like Gunicorn or another WSGI server to handle real-world traffic and provide security enhancements.
## Summary
In this guide, we demonstrated how to deploy a Flask web application using two methods:
* The Flask built-in development server, ideal for local development and debugging.
* Gunicorn as a production-grade server, which allows for multiple worker processes to improve performance under load.
For further learning, consider exploring additional configurations and examples of deploying Python applications using other WSGI servers and container orchestration tools.
Additional Resources:
* [Flask Documentation](https://flask.palletsprojects.com/)
* [Gunicorn Documentation](https://gunicorn.org/)
* [Python Web Development Tutorials](https://www.fullstackpython.com/flask.html)
By following these steps, you can deploy your Flask web application effectively while scaling as your traffic increases.