> ## Documentation Index
> Fetch the complete documentation index at: https://notes.kodekloud.com/llms.txt
> Use this file to discover all available pages before exploring further.
# Demo Create Azure VM
> Learn to provision an Azure Virtual Machine using an ARM template and parameters file from your cloned repository.
In this hands-on guide, you'll learn how to provision an Azure Virtual Machine (VM) using an ARM template and a parameters file from your cloned repository. After deployment, you’ll be ready to install and configure the necessary software on your VM.
## Prerequisites
* An active Azure subscription
* A cloned repository containing:
* `setup/Azure-VM-templates/template.json`
* `setup/Azure-VM-templates/parameters.json`
* A code editor (e.g., Visual Studio Code, Sublime Text)
## 1. Review the ARM Template
Open `template.json` in your editor. This ARM template declares resources for:
* A virtual network and subnet
* A network interface (NIC) with accelerated networking
* A network security group (NSG) with inbound rules
* A virtual machine instance
```json theme={null}
{
"$schema": "https://schema.management.azure.com/schemas/2015-01-01/deploymentTemplate.json#",
"contentVersion": "1.0.0.0",
"parameters": {
"location": { "value": "eastus" },
"networkInterfaceName": { "value": "devsecops-cloud801" },
"enableAcceleratedNetworking": { "value": true },
"networkSecurityGroupName": { "value": "devsecops-cloud-nsg" },
"networkSecurityGroupRules": {
"value": [
{
"name": "allow-all",
"properties": {
"priority": 100,
"protocol": "*",
"access": "Allow",
"direction": "Inbound",
"sourceAddressPrefix": "*",
"sourcePortRange": "*",
"destinationAddressPrefix": "*",
"destinationPortRange": "*"
}
},
{
"name": "default-Allow-ssh",
"properties": {
"priority": 1000,
"protocol": "TCP",
"access": "Allow",
"direction": "Inbound",
"sourceAddressPrefix": "*",
"sourcePortRange": "*",
"destinationAddressPrefix": "*",
"destinationPortRange": "22"
}
}
]
}
}
}
```
The NSG rules allow all traffic and restrict SSH to port 22. Adjust priorities and prefixes to tighten security.
### Parameters File
Inspect `parameters.json` to see all values you’ll supply during deployment:
```json theme={null}
{
"$schema": "https://schema.management.azure.com/schemas/2019-04-01/deploymentParameters.json#",
"contentVersion": "1.0.0.0",
"parameters": {
"location": { "value": null },
"networkInterfaceName": { "value": null },
"enableAcceleratedNetworking": { "value": null },
"networkSecurityGroupName": { "value": null },
"networkSecurityGroupRules": { "value": null },
"subnetName": { "value": null },
"virtualNetworkName": { "value": null },
"addressPrefixes": { "value": null },
"subnets": { "value": null }
}
}
```
All required parameters are declared; you will populate them in the Azure portal.
## 2. Deploy via Azure Portal
1. Sign in to the [Azure portal](https://portal.azure.com).
2. In the top search bar, type **Marketplace** and select **Marketplace**.
3. Search for **template**, then choose **Deploy a custom template** → **Create**.
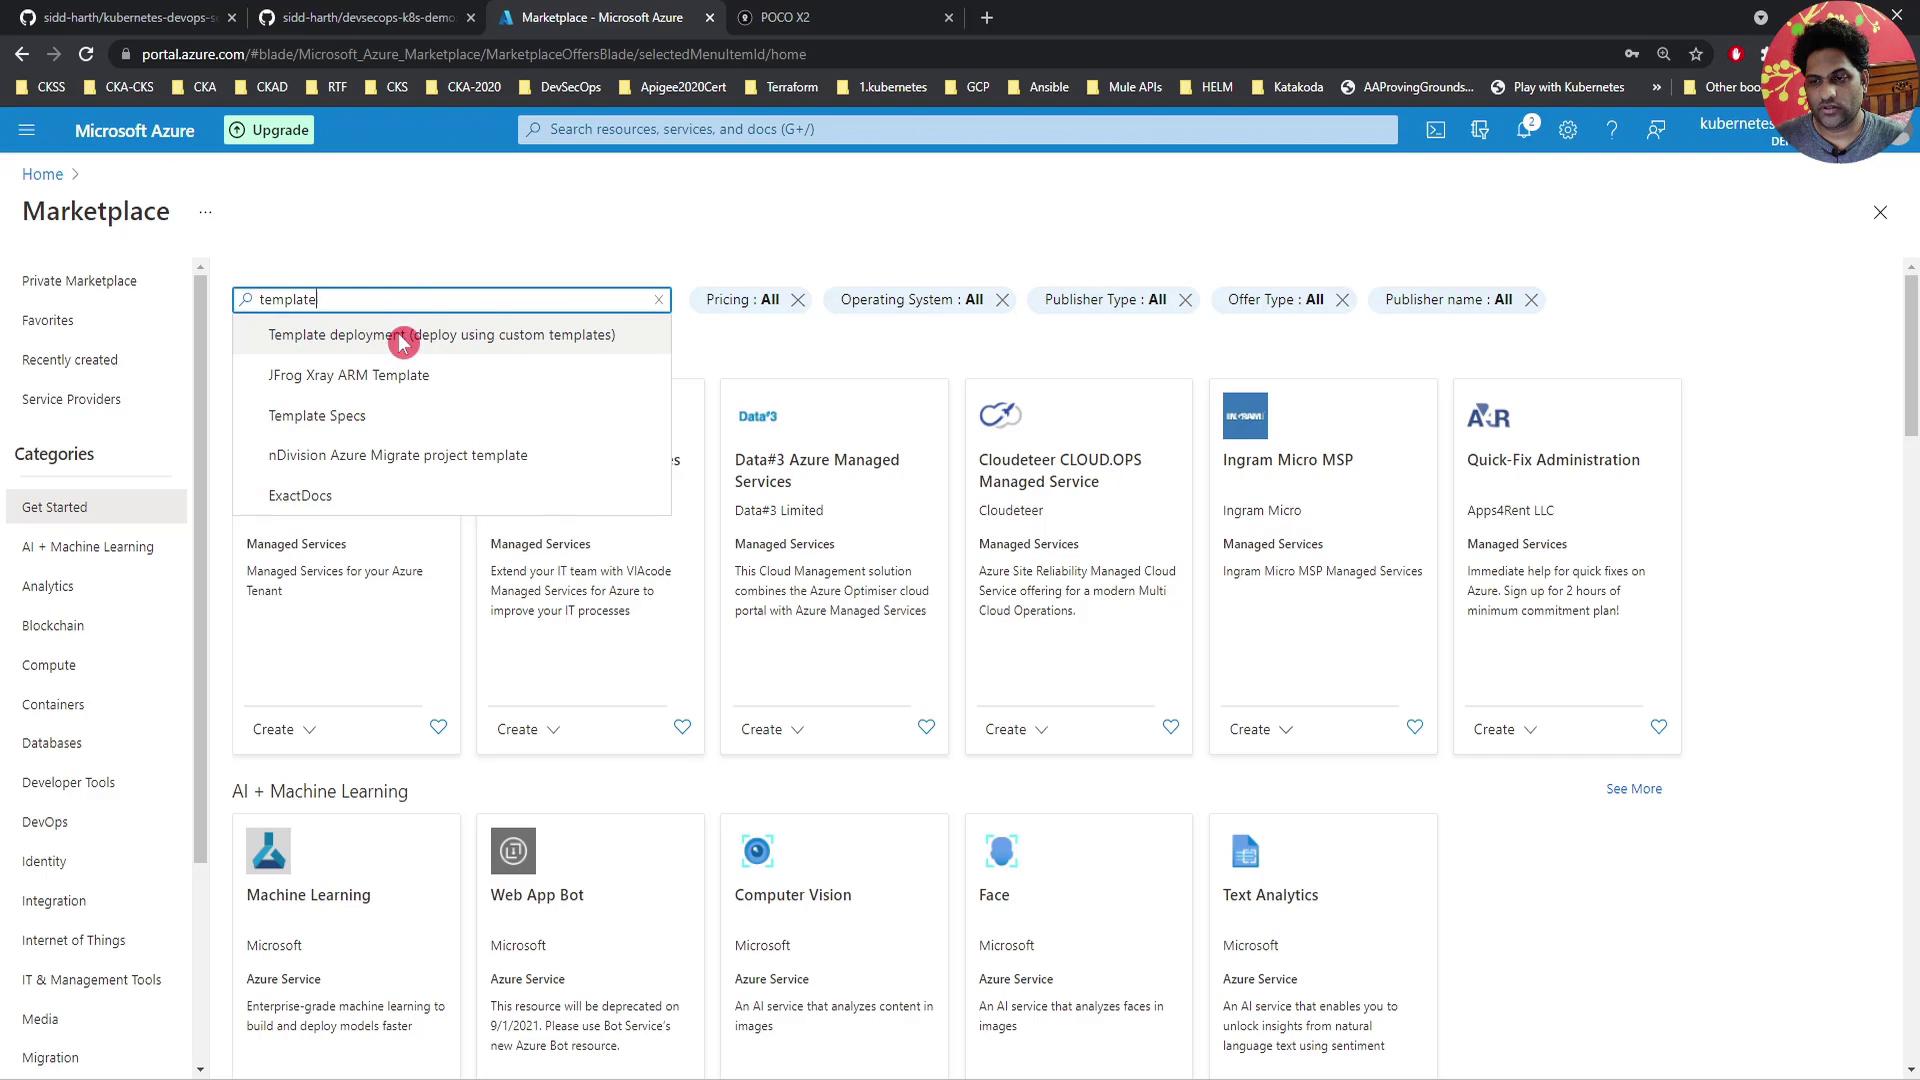
4. In the **Custom deployment** blade, click **Build your own template in the editor**.
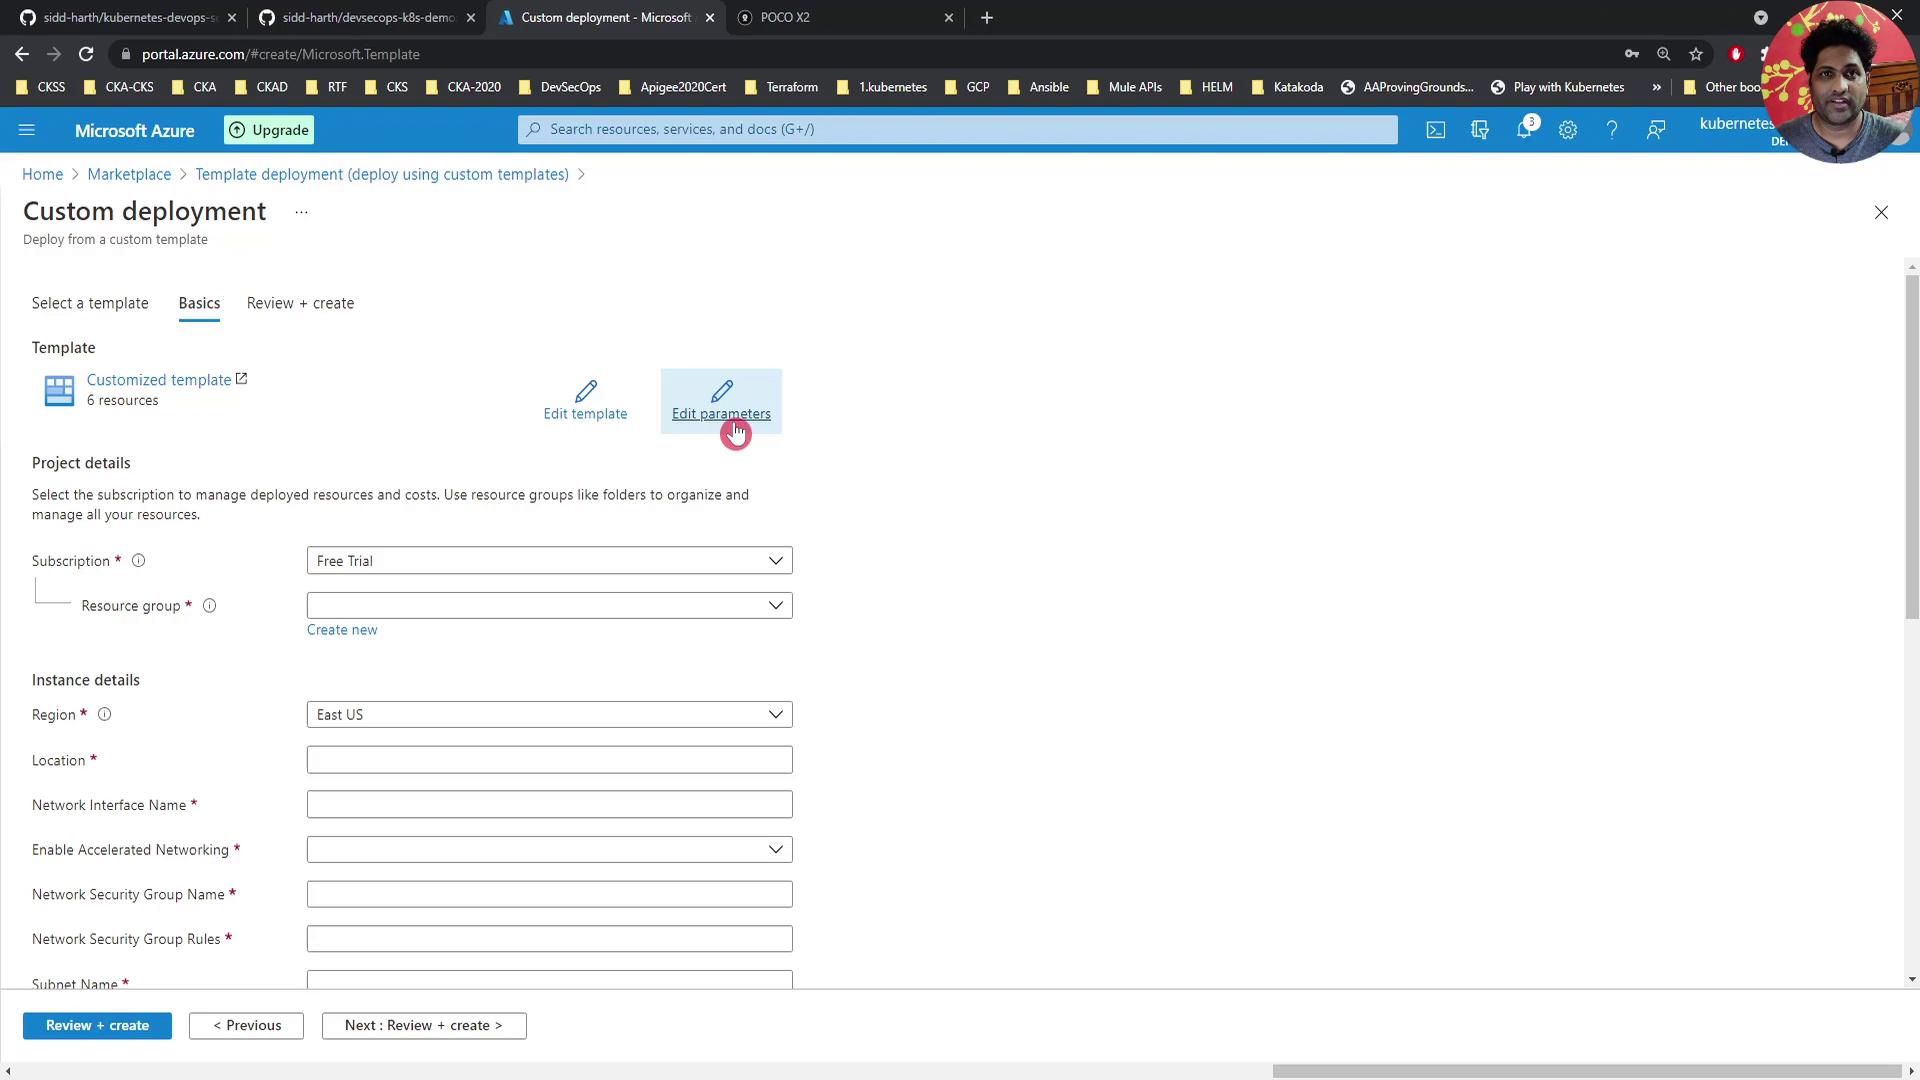
5. Click **Load file**, browse to `template.json` in your repo, and upload it. Then **Save**.
6. Select **Edit parameters**, choose **Load file**, upload `parameters.json`, and **Save**. All parameter fields will appear for you to review.
7. Under **Basics**, configure:
* **Subscription**: Your Azure subscription
* **Resource group**: Create a new group, e.g., **DevSecOps-group**
* **Region**: Inherited from the template
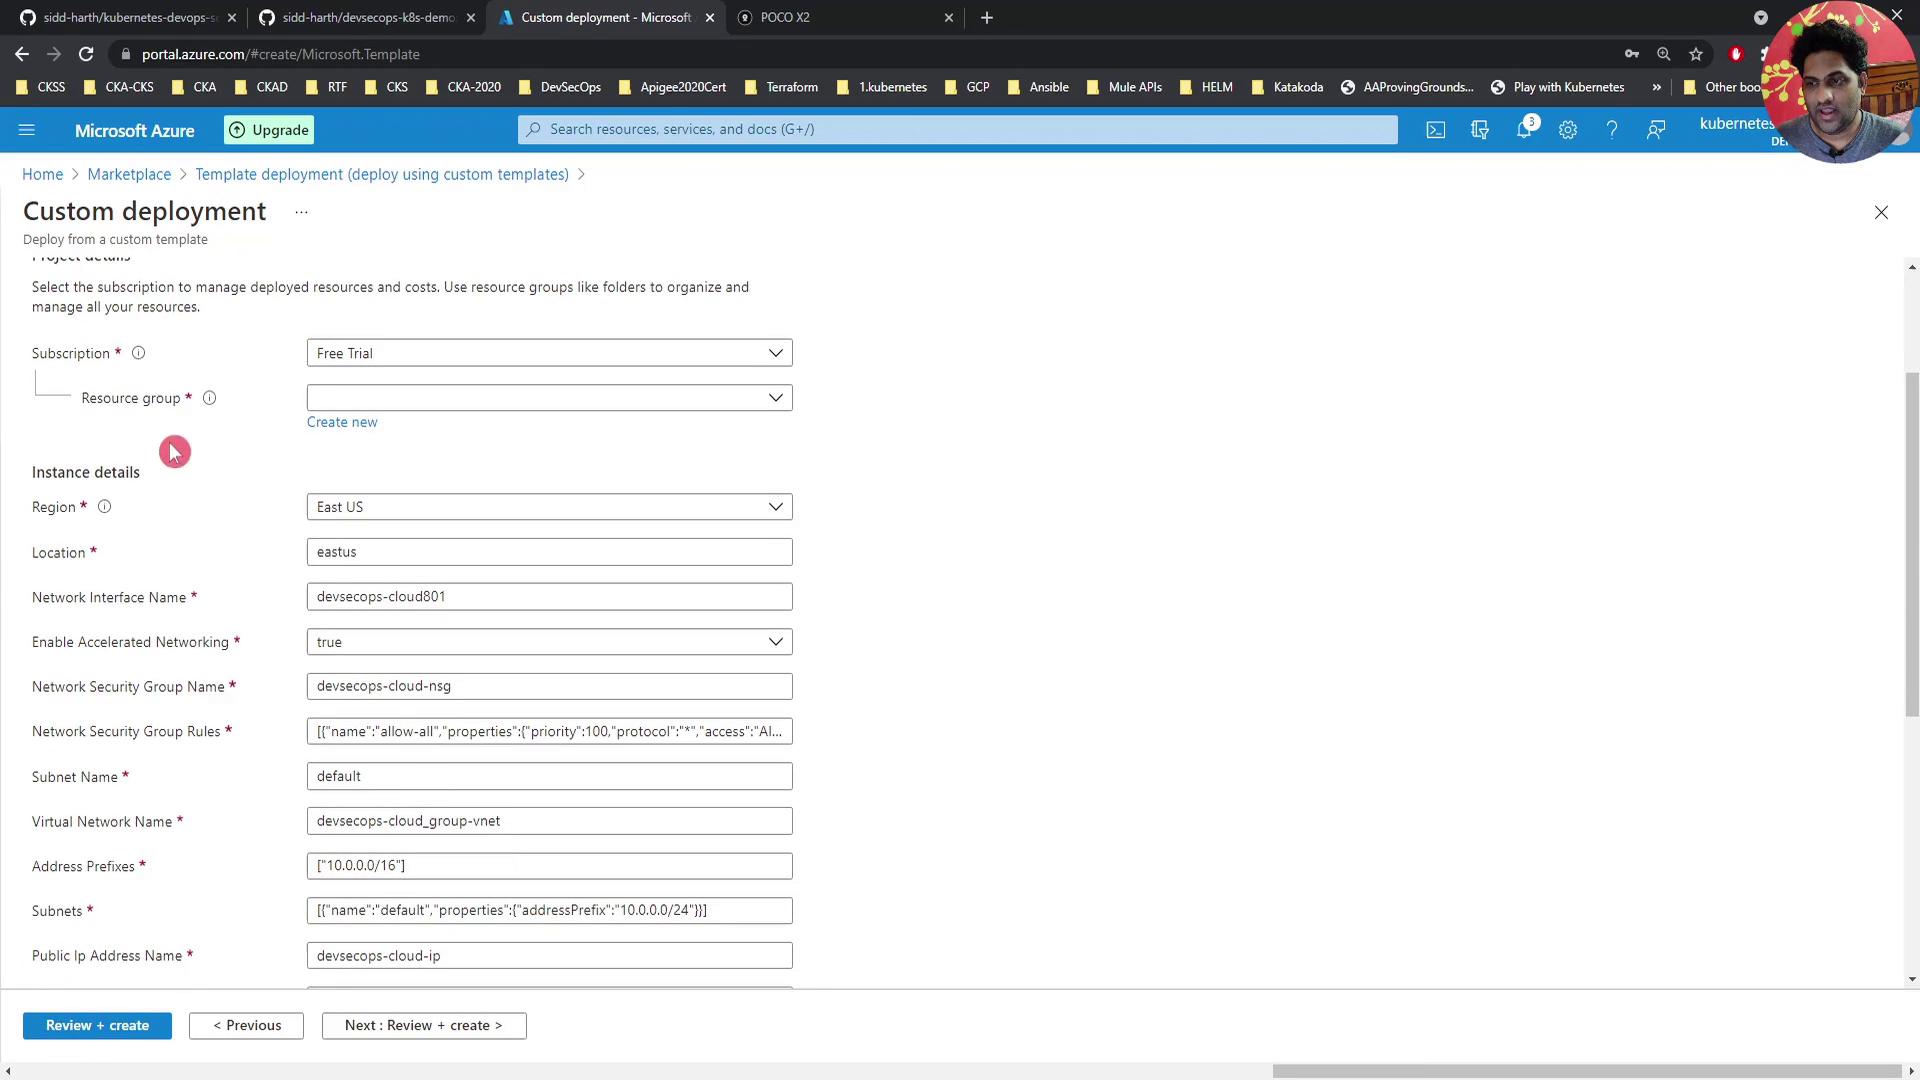
8. Scroll to **Instance details** and set:
* **Size**: Standard (4 vCPUs, 16 GB RAM)
* **Admin username**: `DevSecOps` (or your choice)
* **Authentication type**: Password
* **Admin password**: Use a strong, unique password
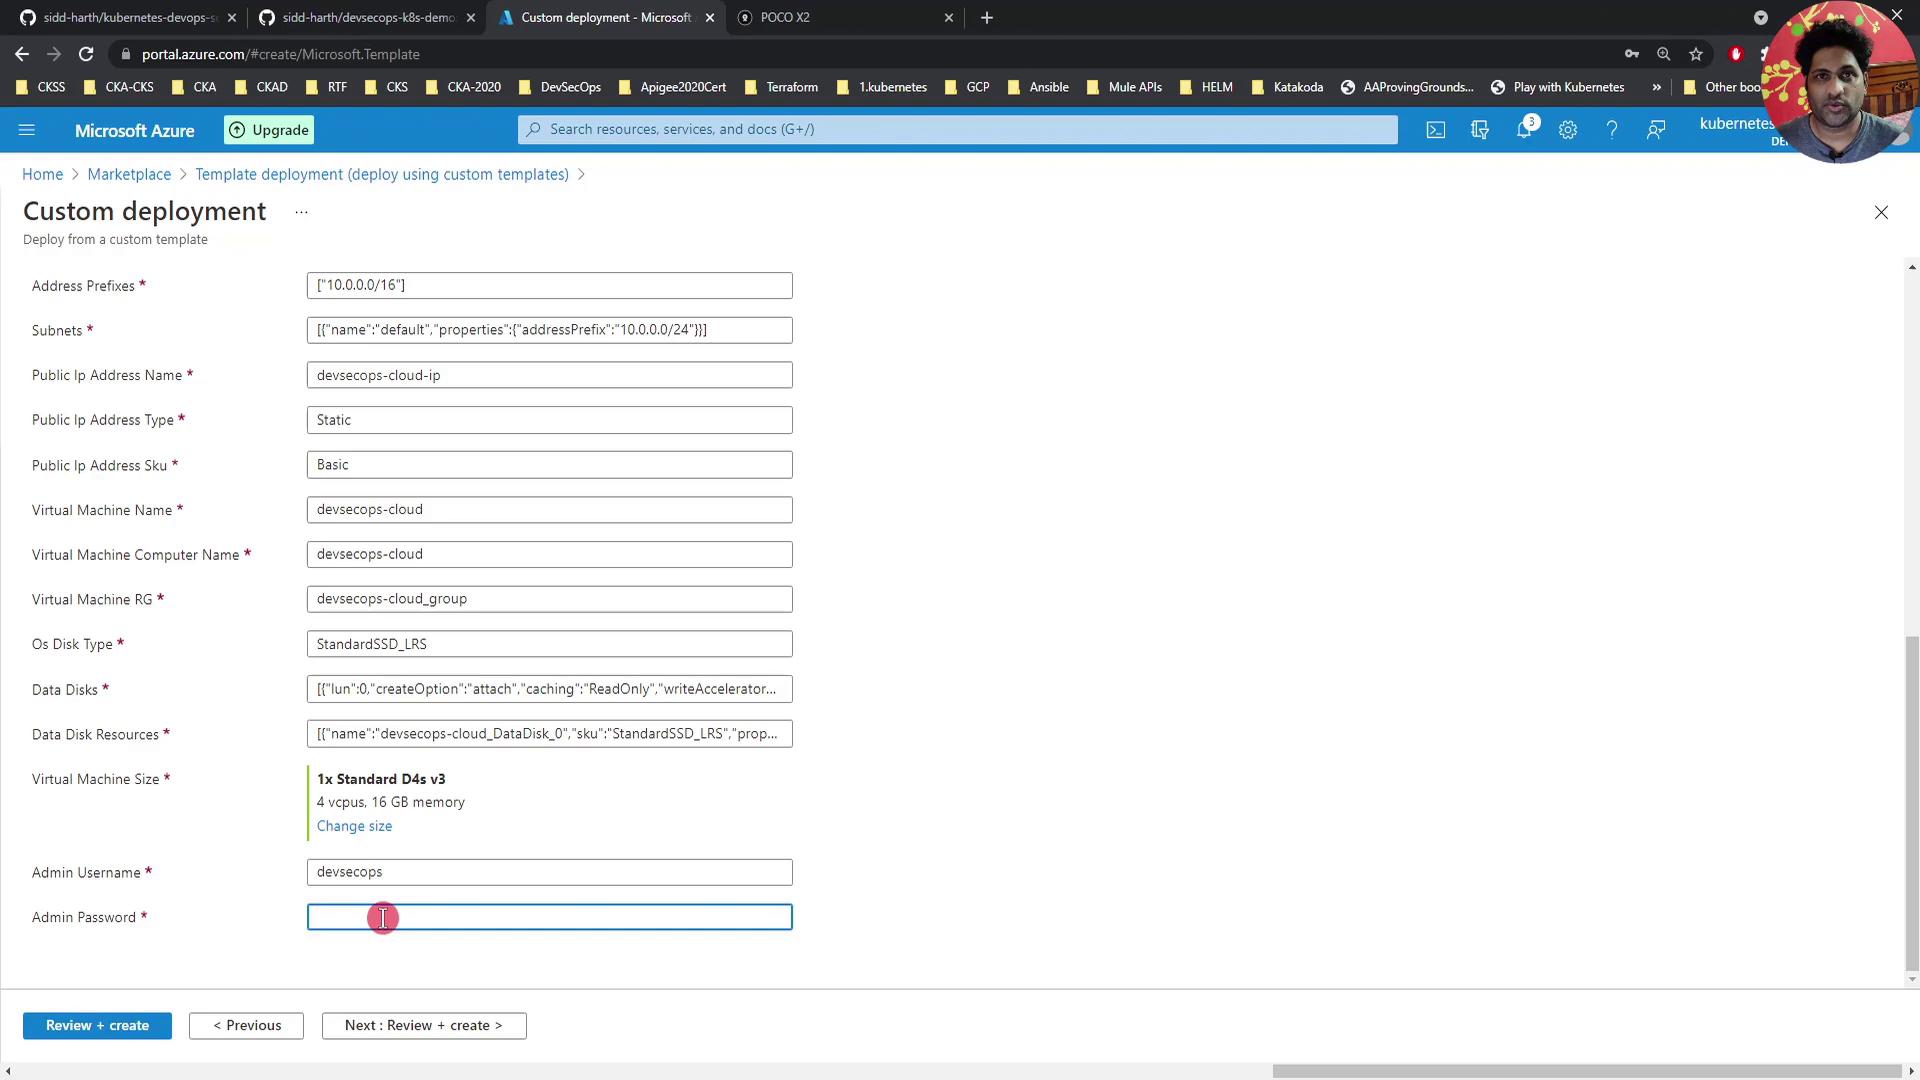
9. Click **Review + create**, verify your settings, and then **Create**. Azure will validate and begin provisioning:
* Virtual Network and subnet
* NIC with accelerated networking
* NSG with rules
* VM instance
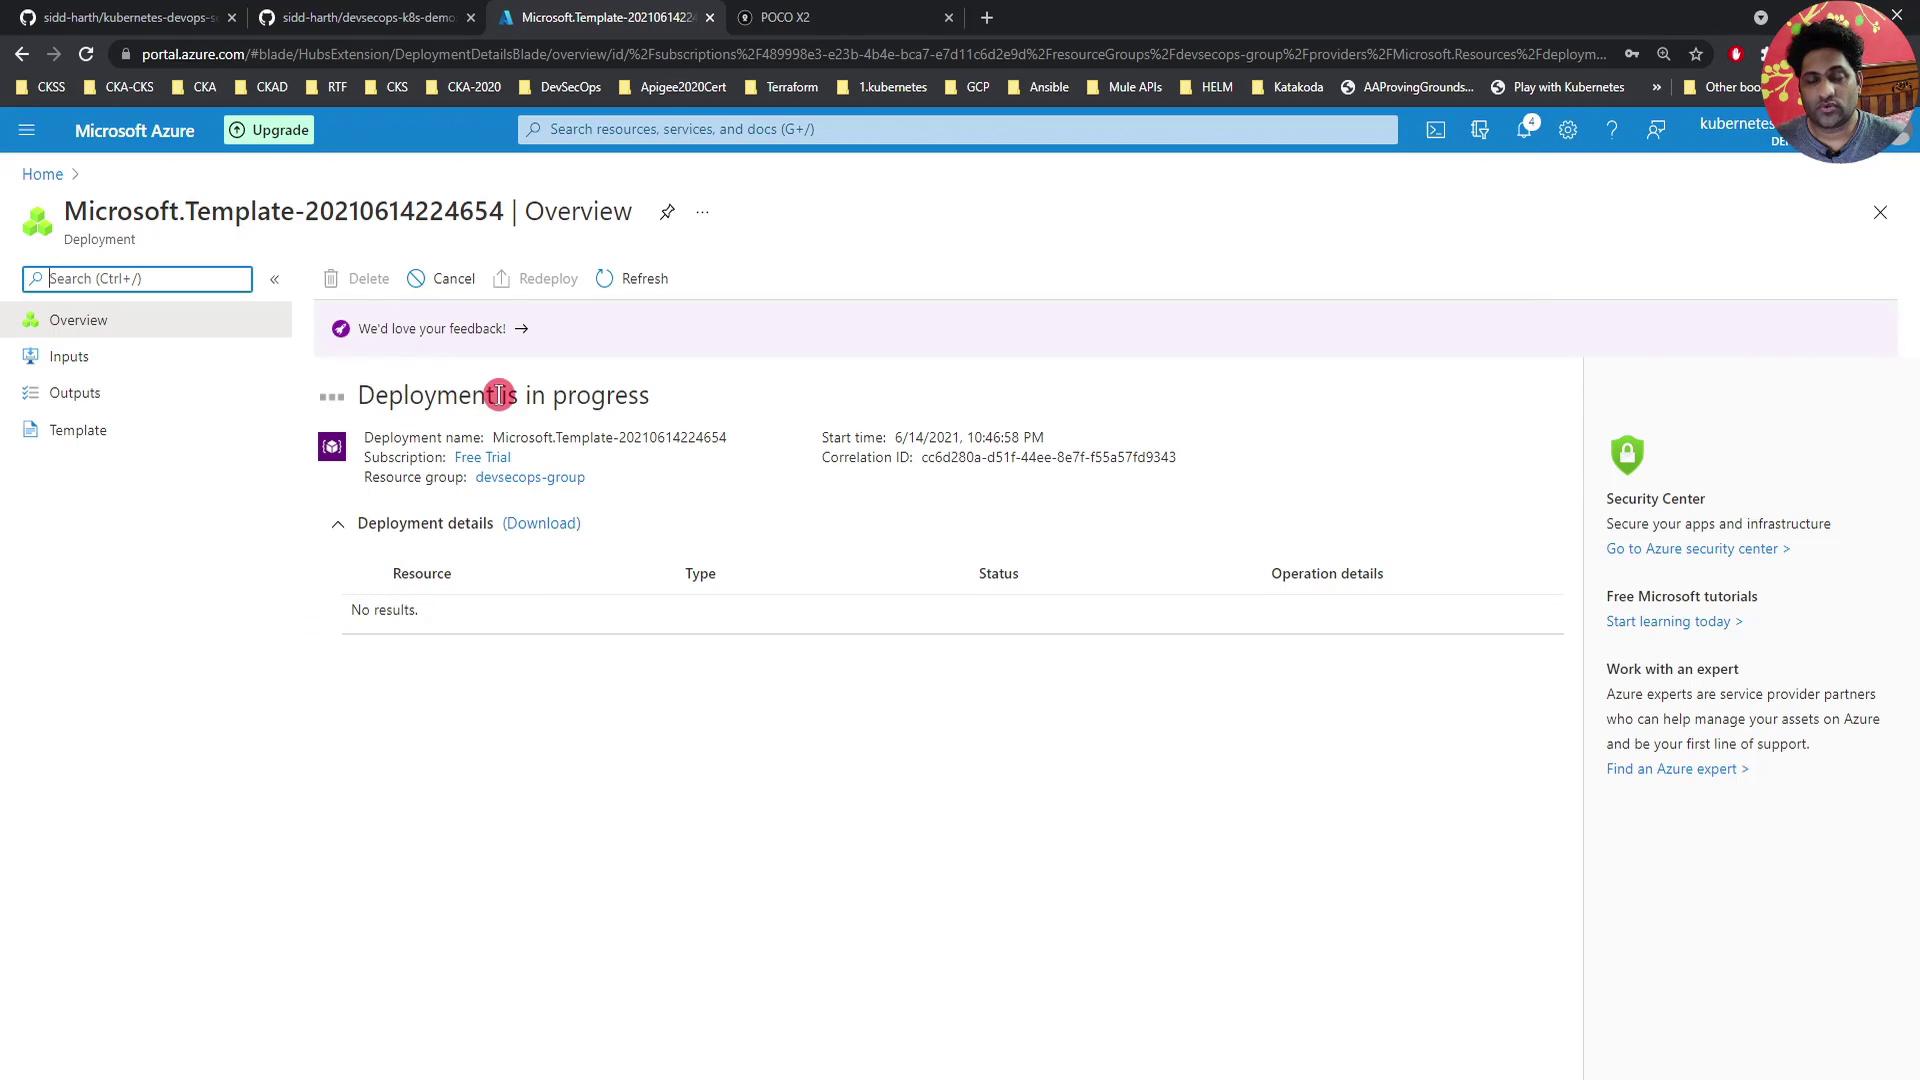
Deployment usually completes within a few minutes. When it's done, SSH into your VM:
```bash theme={null}
ssh DevSecOps@
```
## Resource Summary
| Resource Type | Name | Purpose |
| ---------------------------- | ----------------------- | ---------------------------------------- |
| Virtual Network & Subnet | Defined in ARM template | Networking backbone |
| Network Interface (NIC) | `devsecops-cloud801` | Connects VM to the subnet |
| Network Security Group (NSG) | `devsecops-cloud-nsg` | Controls inbound traffic |
| Virtual Machine | Specified in parameters | Compute instance for development & tests |
## Next Steps
Once the VM is running, you can:
* Install Docker, Kubernetes tools, or other required software
* Configure monitoring and backups
* Extend your ARM template to include additional Azure resources
## Links and References
* [Azure Resource Manager Templates](https://docs.microsoft.com/azure/azure-resource-manager/templates/)
* [Quickstart: Deploy Template in Azure Portal](https://docs.microsoft.com/azure/azure-resource-manager/templates/quickstart-create-templates-use-the-portal)
Enjoy your new Azure VM!