> ## Documentation Index
> Fetch the complete documentation index at: https://notes.kodekloud.com/llms.txt
> Use this file to discover all available pages before exploring further.
# Demo Deployment in Docker EE
> Step-by-step guide to deploy and manage a Swarm service in Docker EE using the Universal Control Plane UCP console.
***
title: Demo Deployment in Docker EE with UCP
description: Step-by-step guide to deploy and manage a Swarm service in Docker EE using the Universal Control Plane (UCP) console.
----------------------------------------------------------------------------------------------------------------------------------
## Prerequisites
* A running Docker EE UCP cluster
* Access rights to create and manage services
Ensure you are logged into the UCP console with an account that has the `admin` or `cluster_admin` role.
## Step-by-Step: Deploying a Swarm Service
### 1. Access the UCP Console
Open your browser and navigate to:
```text theme={null}
https:///
```
From the left menu, click **Swarm** → **Services**. If no services exist, you’ll see an empty list.
### 2. Create a New Service
Click **Create** and configure the **Details** tab:
| Setting | Value |
| ------- | -------------- |
| Name | `KodeKloud` |
| Image | `nginx:latest` |
Leave all other options at their defaults.
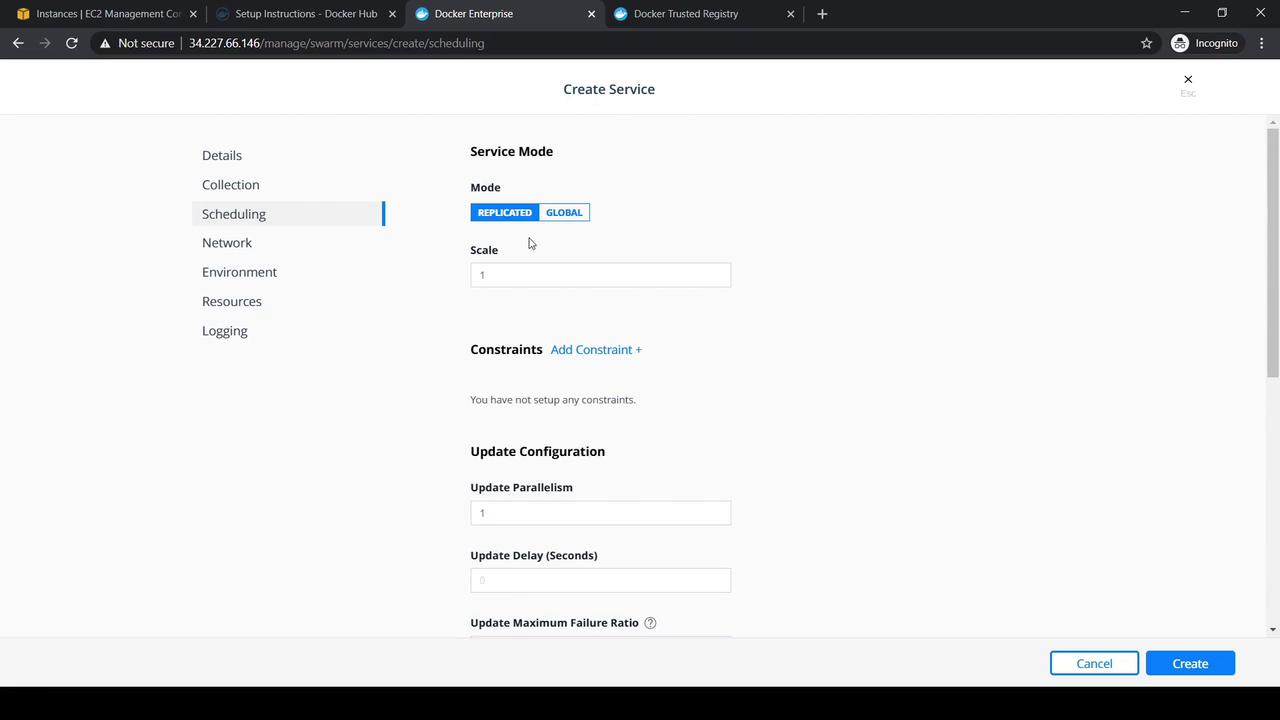
### 3. Adjust Scheduling Policies
Switch to the **Scheduling** tab to modify:
* Service mode (replicated or global)
* Replica count
* Placement constraints
* Update policy (parallelism, delay)
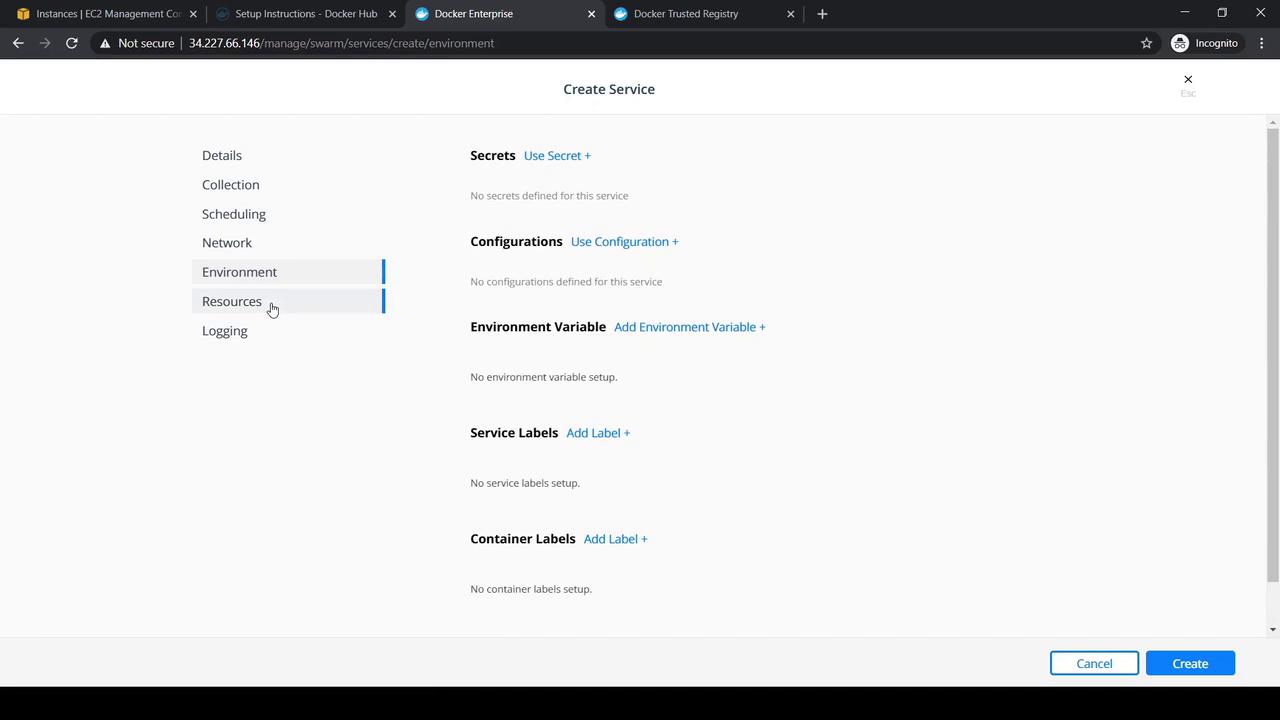
### 4. Define Environment Variables
On the **Environment** tab, you can:
* Add `Environment Variables`
* Attach `Secrets` and `Configs`
* Assign service `Labels`
### 5. Allocate Resources
Use the **Resources** tab to reserve or limit CPU and memory. Configure volume mounts if needed.
### 6. Configure Logging
Select a logging driver (e.g., `json-file`, `syslog`) and set driver options under the **Logging** tab.
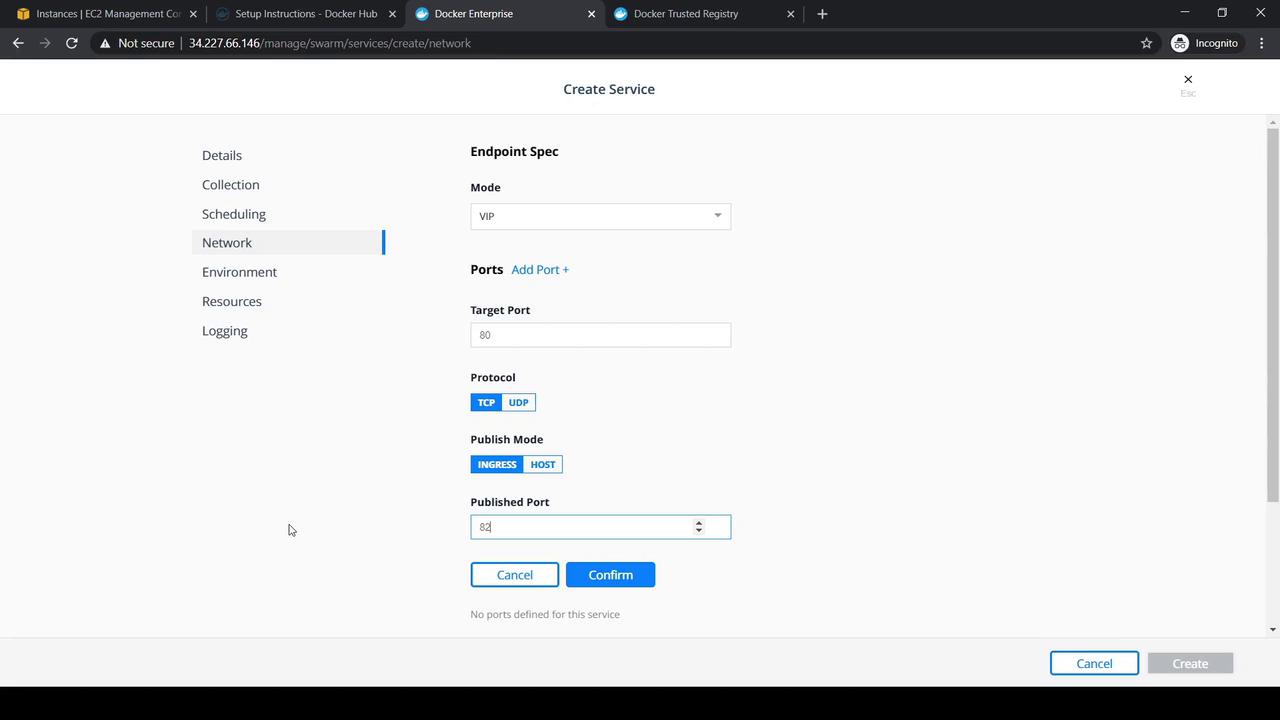
### 7. Publish Service Ports
Under **Network**, map the service ports for external access:
| Port Setting | Value |
| -------------- | ----- |
| Mode | `tcp` |
| Target Port | `80` |
| Published Port | `82` |
Click **Confirm**, review your settings, then **Create**.
## Verifying Deployment
After creation, the service appears in *Pending* (red) and then becomes *Running* (green). Click the service name to view details and endpoint information.
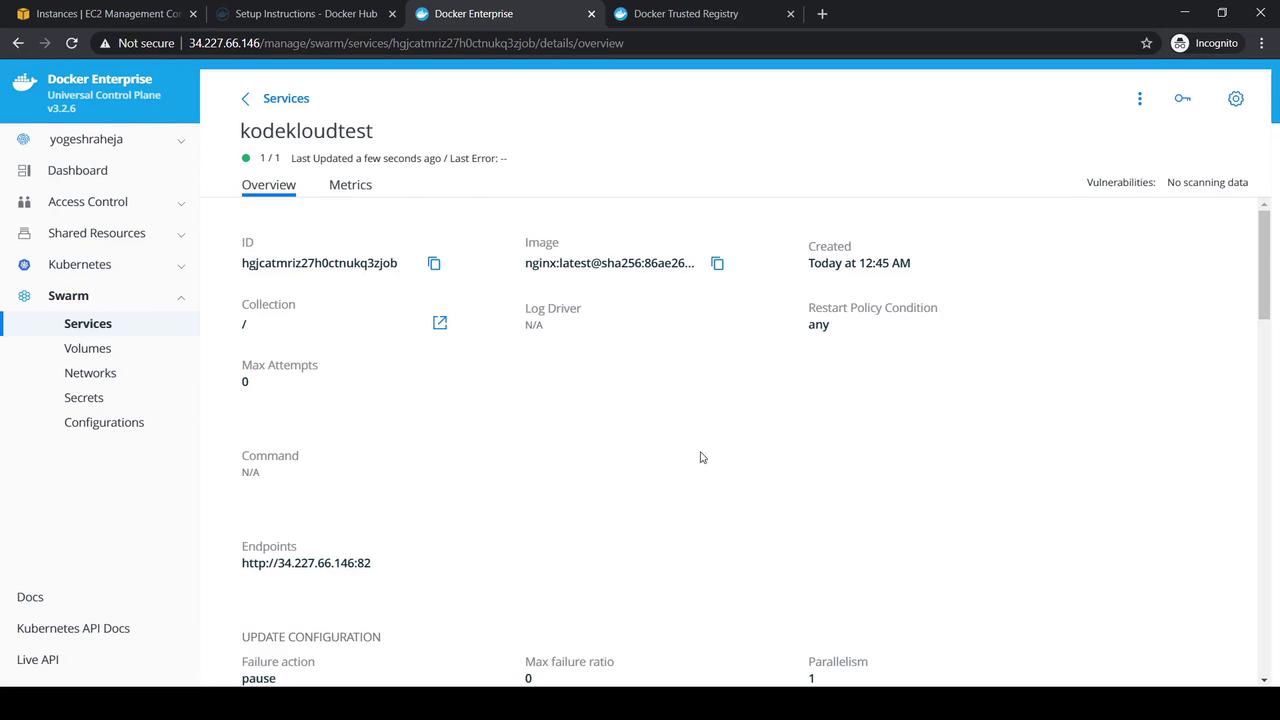
Copy and open the endpoint URL in your browser:
```text theme={null}
http://:82
```
You’ll see the default NGINX welcome page, confirming external access is working.
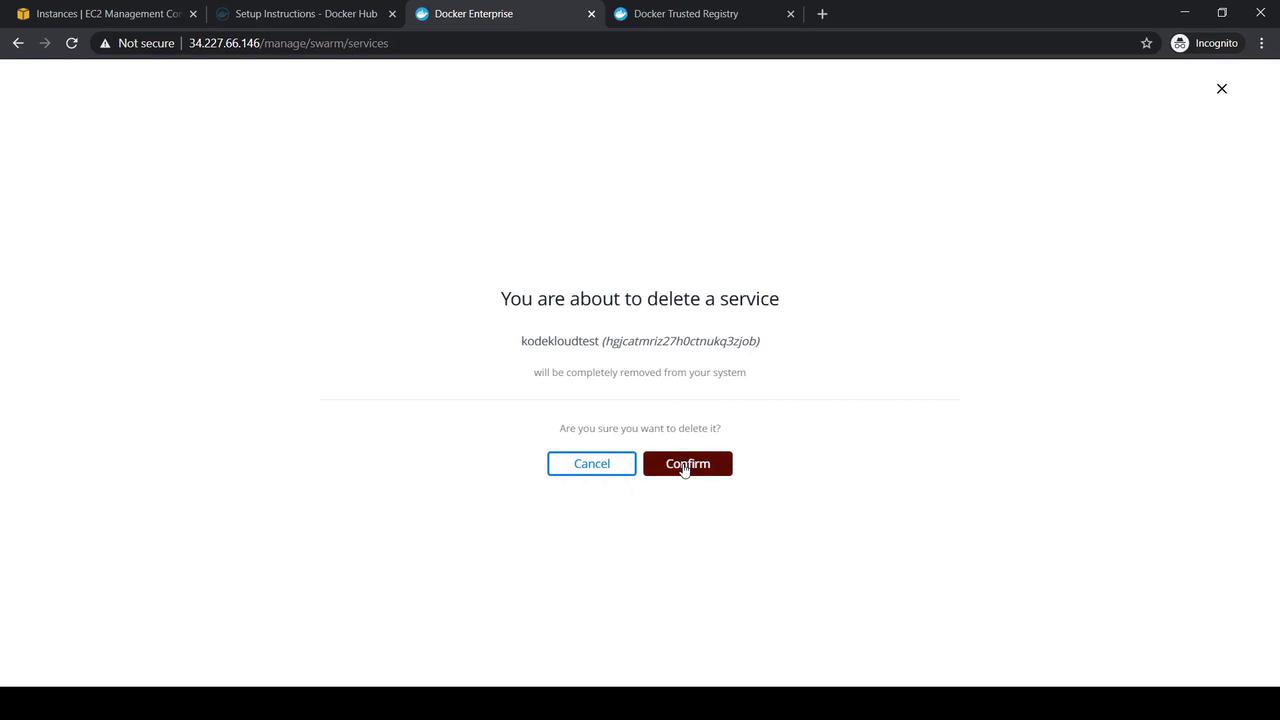
To remove the service, select it, choose **Actions** → **Delete**, and confirm the prompt.
## References
* [Docker Enterprise Documentation](https://docs.docker.com/ee/ucp/)
* [Docker Swarm Overview](https://docs.docker.com/engine/swarm/)
* [Kubernetes vs. Swarm](https://docs.docker.com/engine/swarm/stack-deploy/)