> ## Documentation Index
> Fetch the complete documentation index at: https://notes.kodekloud.com/llms.txt
> Use this file to discover all available pages before exploring further.
# Demo Deployment in Kubernetes from UCP
> This tutorial covers deploying an NGINX Pod in Kubernetes, exposing it via a Service, and cleaning up resources using Docker UCP.
In this tutorial, you’ll learn how to deploy an NGINX Pod, expose it via a Service, and clean up resources using the Docker Enterprise Universal Control Plane (UCP). By the end, you’ll have a working application accessible through a NodePort and know how to uninstall DTR and UCP components cleanly.
## Prerequisites
* A running UCP cluster with at least one manager node.
* `kubectl` configured to communicate with UCP’s Kubernetes API.
* Access to a node’s external IP for Service testing.
For more background on Kubernetes primitives, see [Kubernetes Basics](https://kubernetes.io/docs/concepts/overview/what-is-kubernetes/).
***
## 1. Creating an NGINX Pod
1. In the UCP console, go to **Kubernetes → Pods** and click **Create**.
2. Select the **default** namespace.
Avoid using the `default` namespace in production. Create a dedicated namespace for isolation and resource quotas.
3. Paste the following Pod manifest to launch an NGINX container:
```yaml theme={null}
apiVersion: v1
kind: Pod
metadata:
name: nginx-pod
labels:
app: nginx
spec:
containers:
- name: nginx
image: nginx:stable
ports:
- containerPort: 80
```
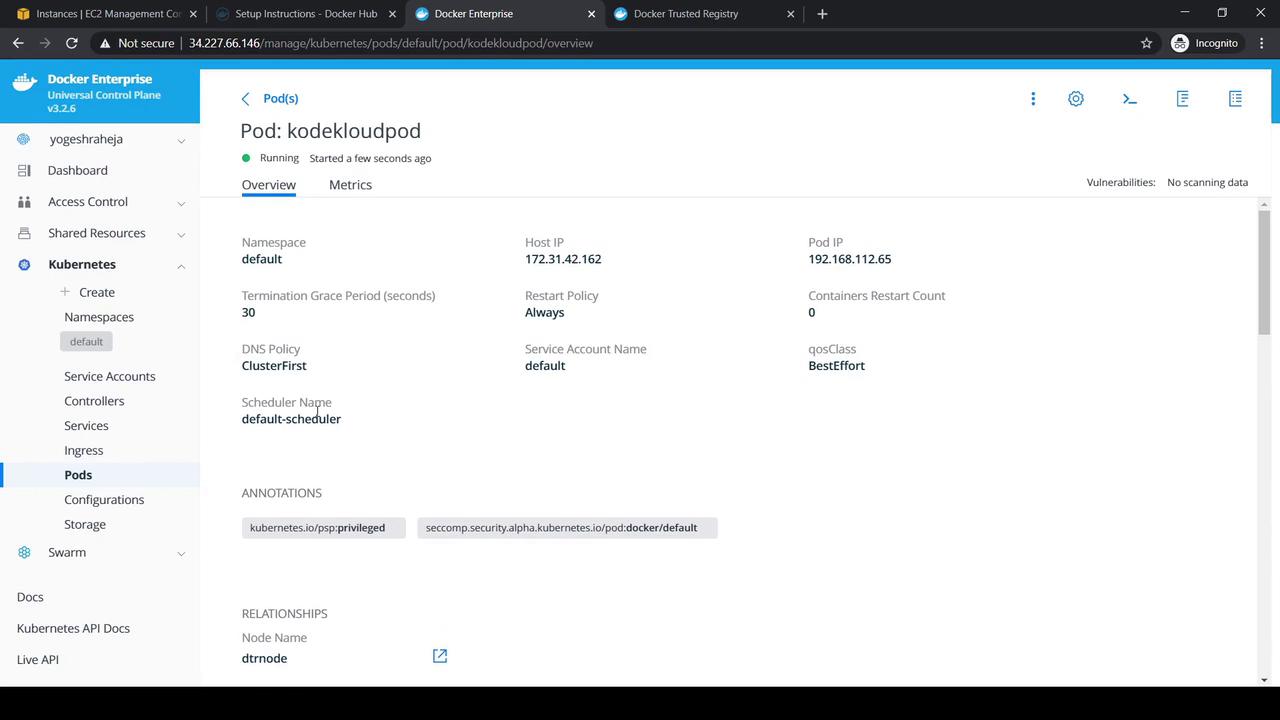
4. Click **Create** and wait until the Pod status changes to **Running**.
5. Click the newly created Pod to view its details:
***
## 2. Exposing the Pod via a NodePort Service
To make the NGINX Pod reachable from outside the cluster:
1. Navigate to **Kubernetes → Services** and click **Create**.
2. Keep the **default** namespace selected.
3. Enter this Service manifest, which maps port 80 on the Pod to port 30080 on each node:
```yaml theme={null}
apiVersion: v1
kind: Service
metadata:
name: nginx-nodeport-svc
spec:
type: NodePort
selector:
app: nginx
ports:
- name: http
protocol: TCP
port: 80
targetPort: 80
nodePort: 30080
```
4. Click **Create** to provision the Service.
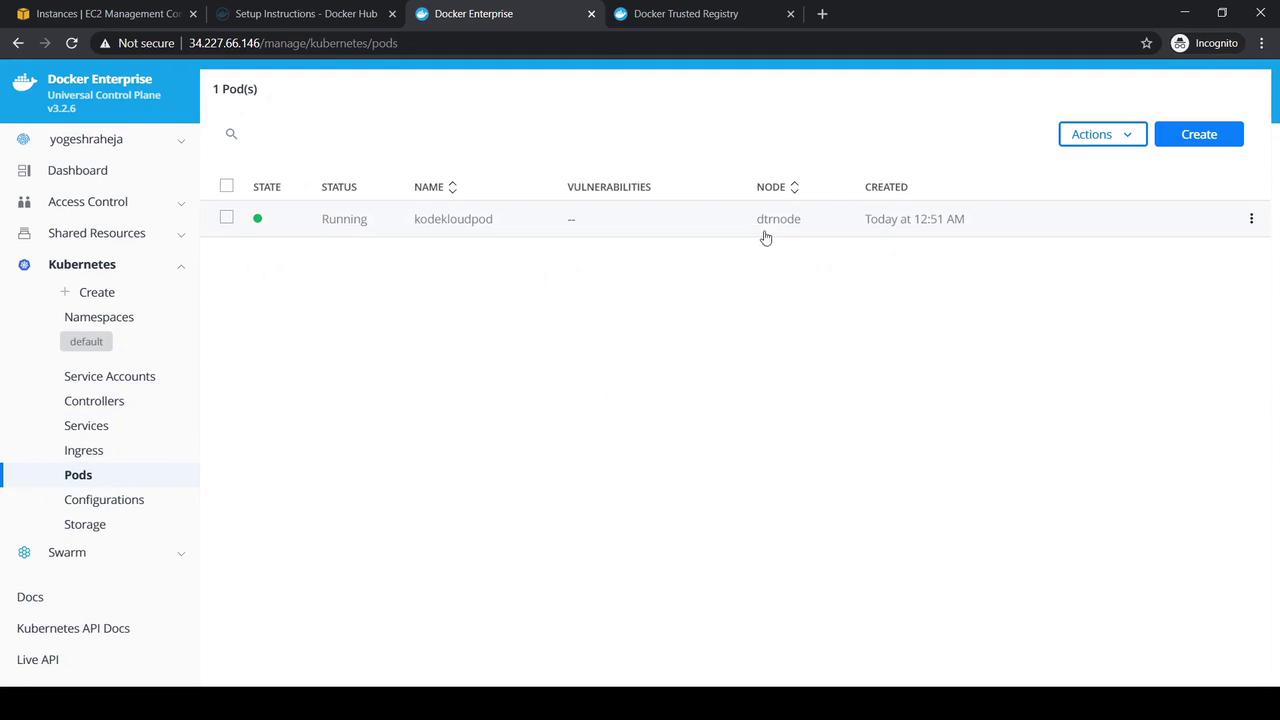
5. Open the Service details to confirm the assigned ports:
6. Retrieve the external IP of the node hosting the Pod:
```bash theme={null}
kubectl get nodes -o wide
```
7. In your browser, navigate to `http://:30080`. You should see the default NGINX welcome page.
***
## 3. Cleaning Up Resources
Once testing is complete, remove the Pod and Service:
1. In the UCP console, select the **nginx-nodeport-svc** Service.
2. Click **Action → Remove**, then confirm.
3. Repeat for the **nginx-pod** Pod.
This ensures a clean slate for future deployments.
***
Follow the official Docker documentation for a safe and complete uninstallation process.
| Component | Documentation Link |
| ----------------------------- | -------------------------------------------------------------------------------------------------------------- |
| Docker Trusted Registry (DTR) | [https://docs.docker.com/ee/dtr/administration/install](https://docs.docker.com/ee/dtr/administration/install) |
| Universal Control Plane (UCP) | [https://docs.docker.com/ee/ucp/administration/install](https://docs.docker.com/ee/ucp/administration/install) |
## Uninstalling Docker Trusted Registry
1. Open the [DTR docs](https://docs.docker.com/ee/dtr/administration/install) and scroll to **Uninstall**.
2. Copy the provided command and execute it, supplying your UCP URL and credentials when prompted.
## Uninstalling Universal Control Plane
1. In the [UCP docs](https://docs.docker.com/ee/ucp/administration/install), find the **Uninstall** section.
2. Run the interactive uninstall command on one manager node:
```bash theme={null}
docker container run --rm -it \
-v /var/run/docker.sock:/var/run/docker.sock \
--name ucp \
docker/ucp:3.2.6 uninstall-ucp --interactive
```
3. To clean up leftovers, execute:
```bash theme={null}
# Remove UCP services
docker service rm $(docker service ls -f name=ucp -q)
# Remove UCP containers
docker container rm -f $(docker container ls -q -f name=ucp_)
# Remove UCP volumes
docker volume rm $(docker volume ls -f name=ucp -q)
```
4. Finally, delete any UCP-related secrets:
```bash theme={null}
docker secret rm
```
That completes this demo. Happy deploying!